← samimirash.com
Resident Evil: Requiem
Spoiler-free 100% completion: all permanent pickups, endings, challenges, difficulties, replay unlocks, and extra-mode ranks · 26 areas · 346 tracked items
This page shows everything, including exact locations.
It exists so you can search for one specific collectible and find it.
If you are playing blind, use the
interactive spoiler-free version instead, it hides
locations until you ask for them, one item at a time.
Open the spoiler-free interactive guide
Wrenwood Hotel
You are here when: Inside the compact hotel with a front desk, a lounge/bar, guest rooms, and Room 204 upstairs.
Sweep the hotel rooms, reception side room, and upstairs recreation room before using the obvious room interaction.
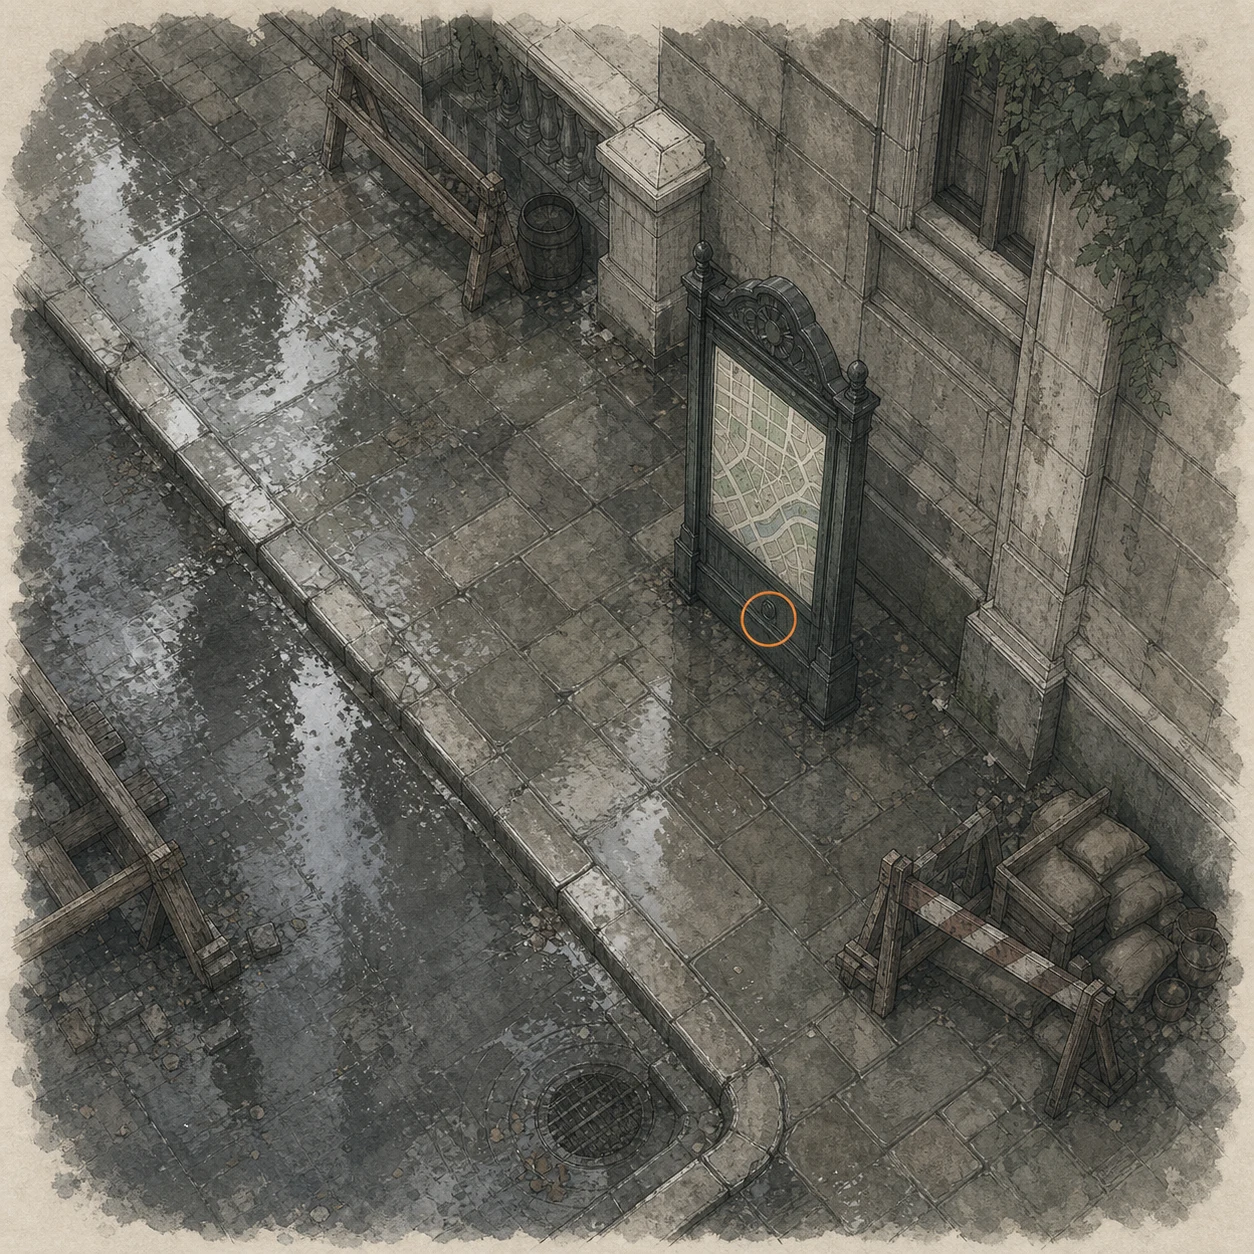
File #2 - Wrenwood City Guide (missable)
File
HintAlong the opening street, pay attention to public information displays.
WhereOn the opening street, interact with the city map on the right side to read the Wrenwood City Guide.
Full detailInspect the city map on the right side of the opening street and read the guide entry before continuing beyond this stretch.
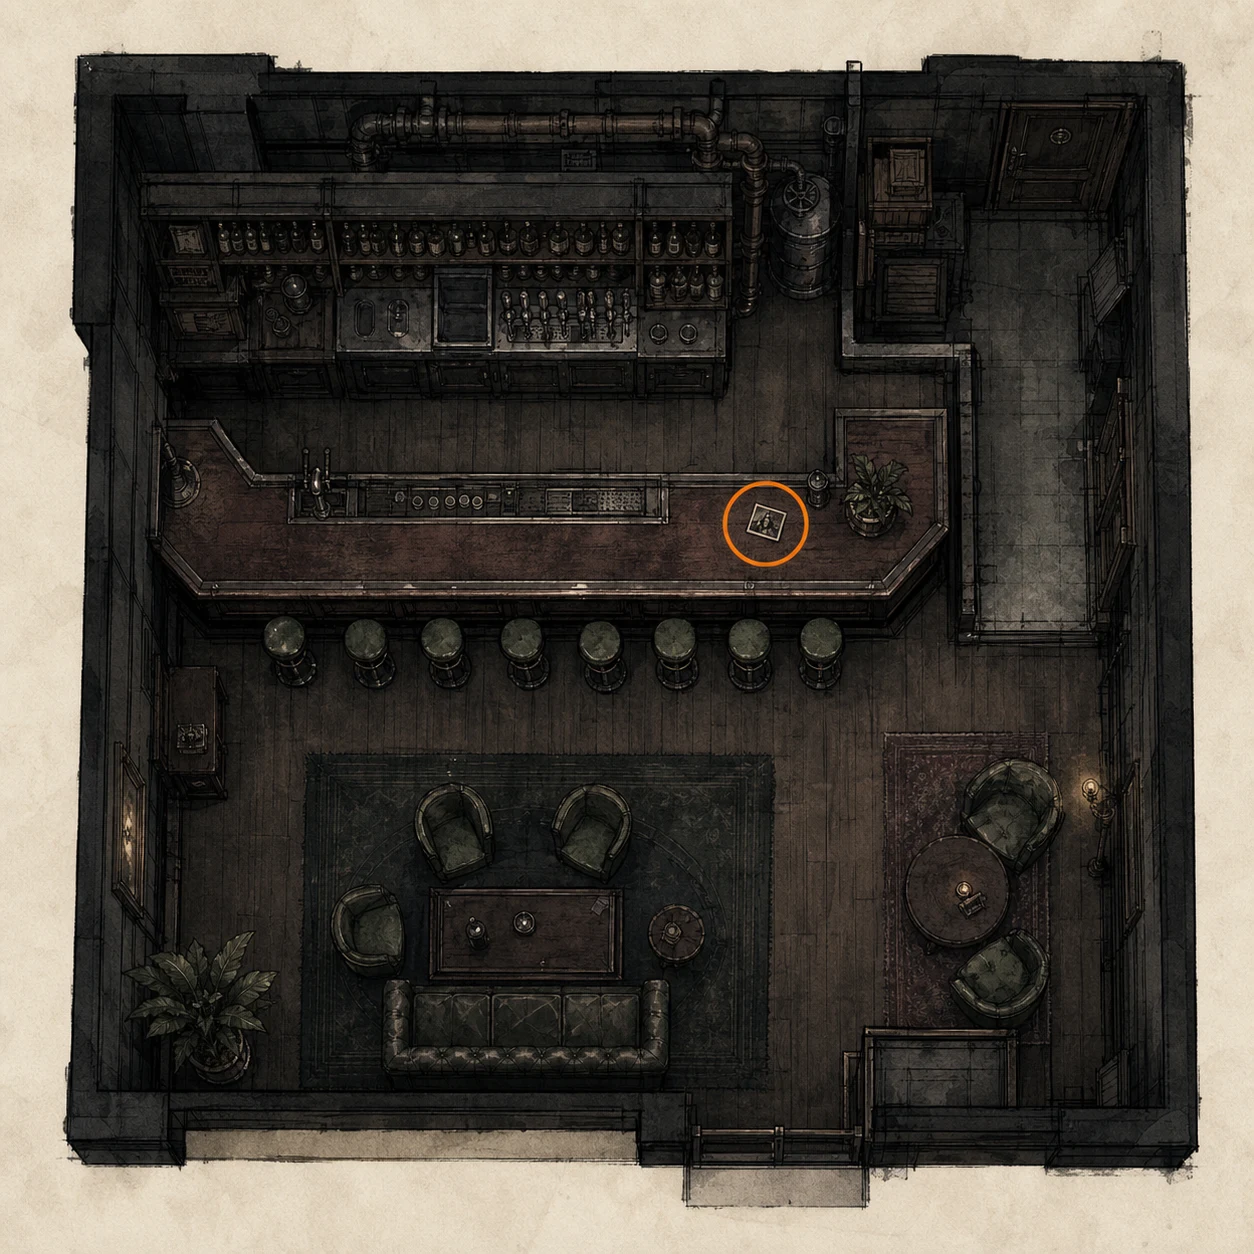
Old Key (missable)
Key item
HintAfter passing through the kitchen, inspect objects carefully in the dark rooms ahead.
WhereBeyond the kitchen, enter the unlit Lounge and Bar, turn over the photograph fixed to the counter, and inspect its reverse.
Full detailUse the flashlight in the dark Lounge and Bar, interact with the photo taped to the bar, then rotate it and inspect the back to take the Old Key; the map also becomes available in this section.
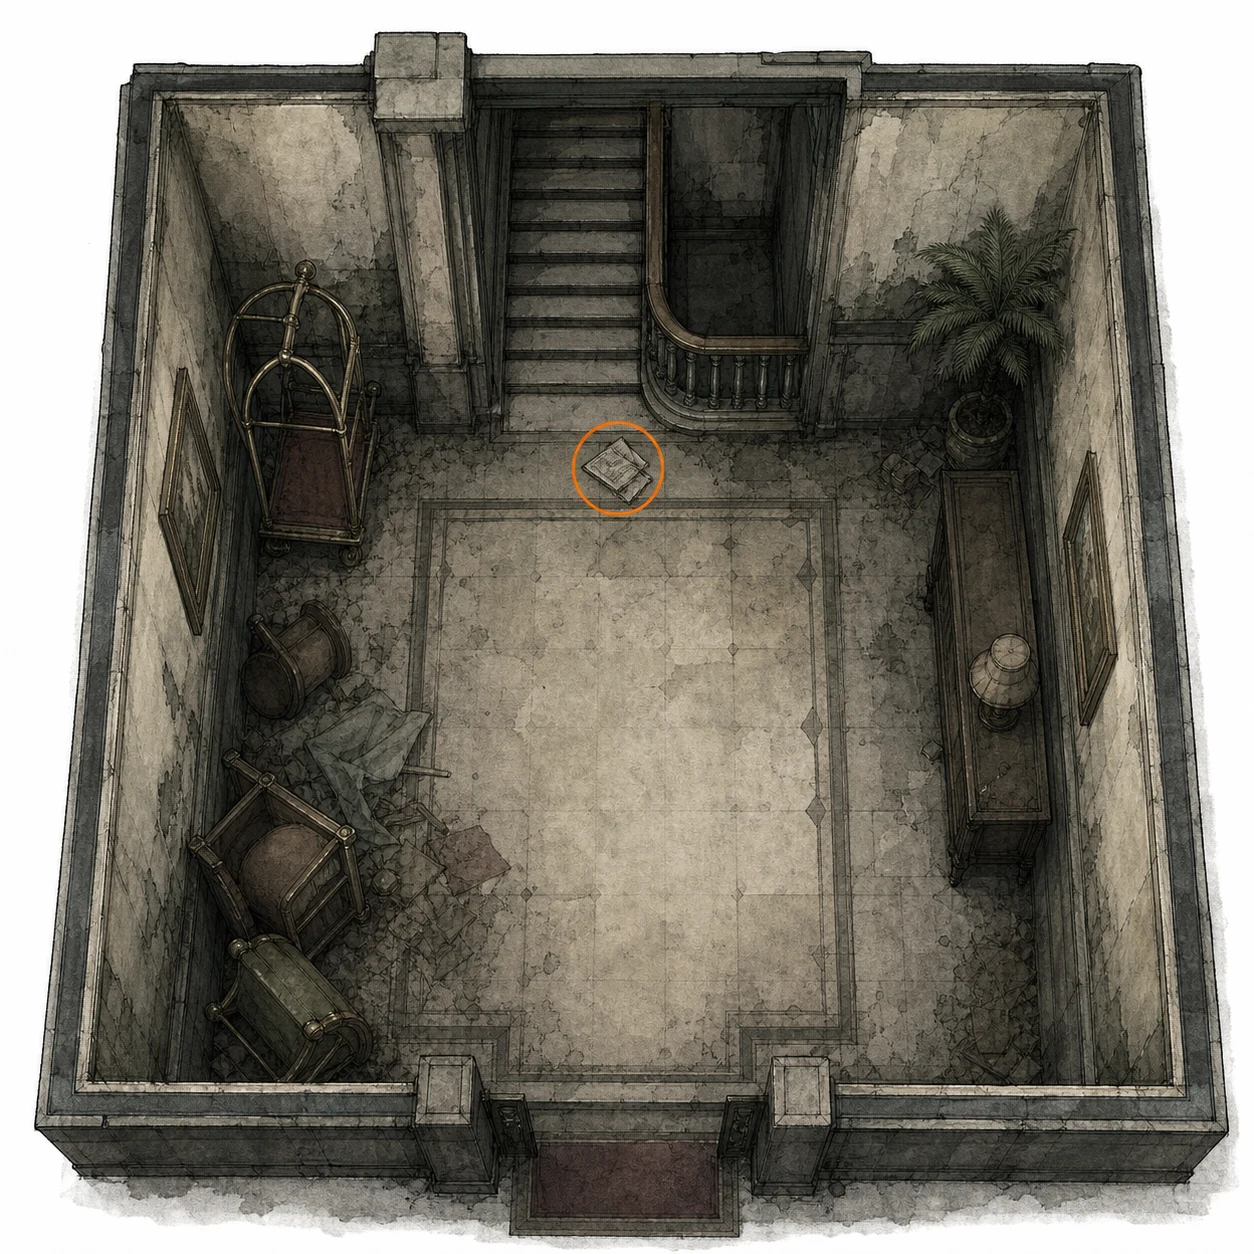
File #3 - Hotel Pamphlet (missable)
File
HintOnce the first locked route opens, check the floor near the next staircase.
WhereUse the Old Key, enter the room with the stairs, and collect the Hotel Pamphlet from the floor ahead.
Full detailUnlock the door with the Old Key, proceed into the room with the staircase, and pick up the pamphlet from the floor before going upstairs.
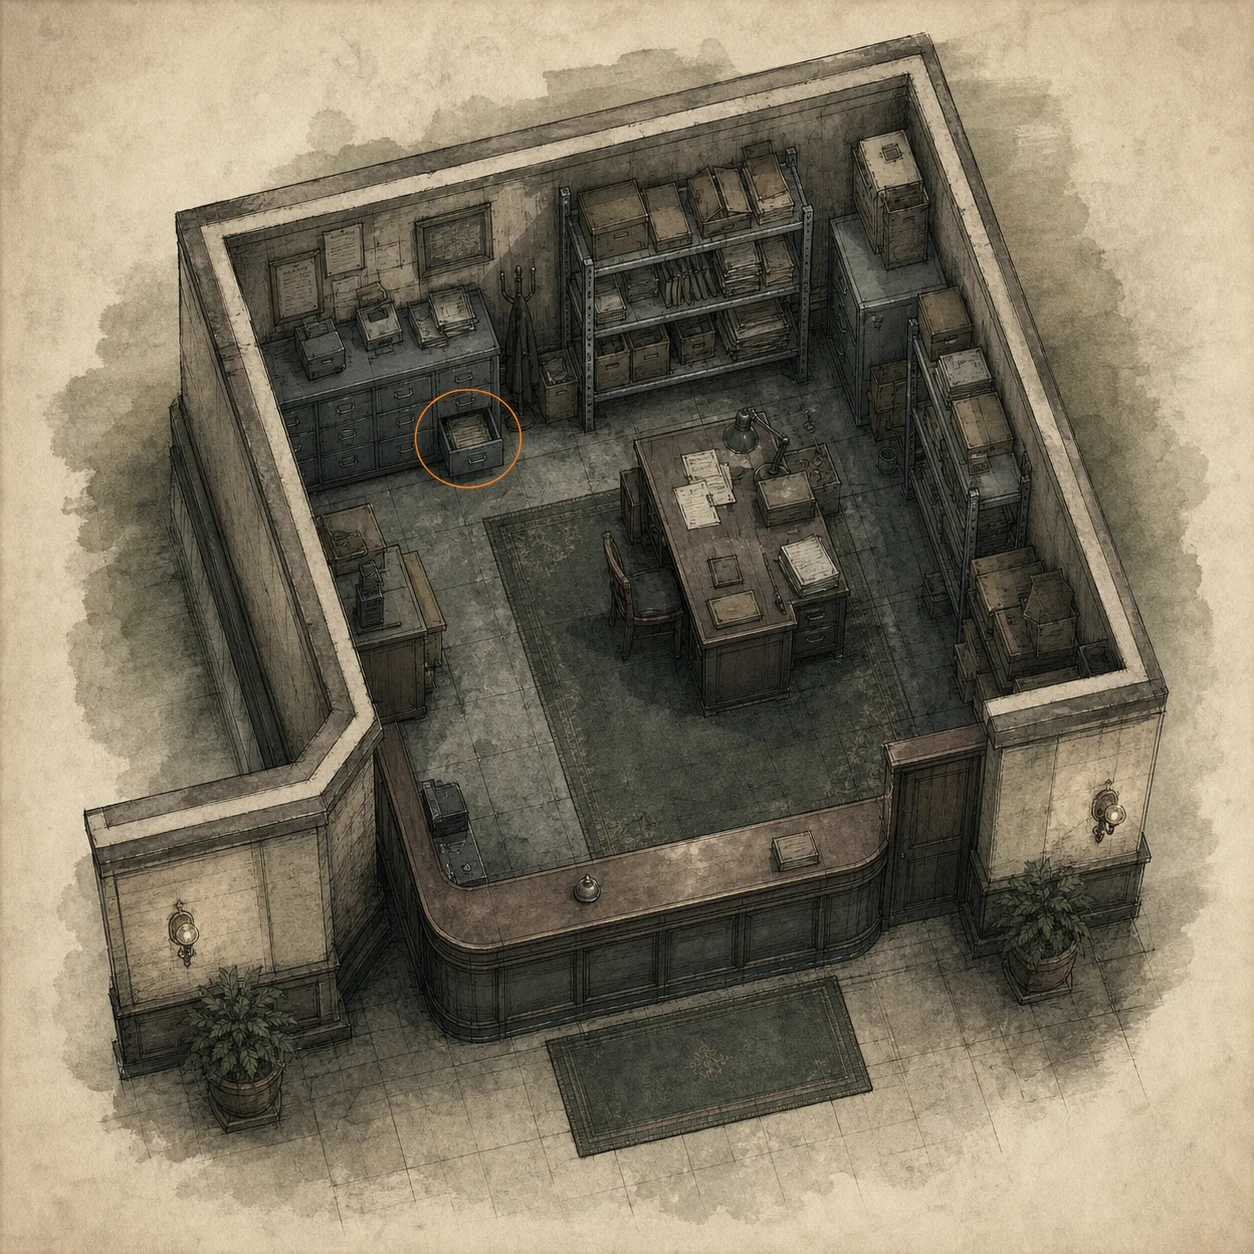
File #4 - Notice of Closure (missable)
File
HintReception has a small back office worth searching before you move on.
WhereGo behind the reception desk, follow the passage into the back office, and open the blue drawer.
Full detailFrom the lobby, circle behind reception and follow the route into its back office, then open the blue drawer and read the Notice of Closure.
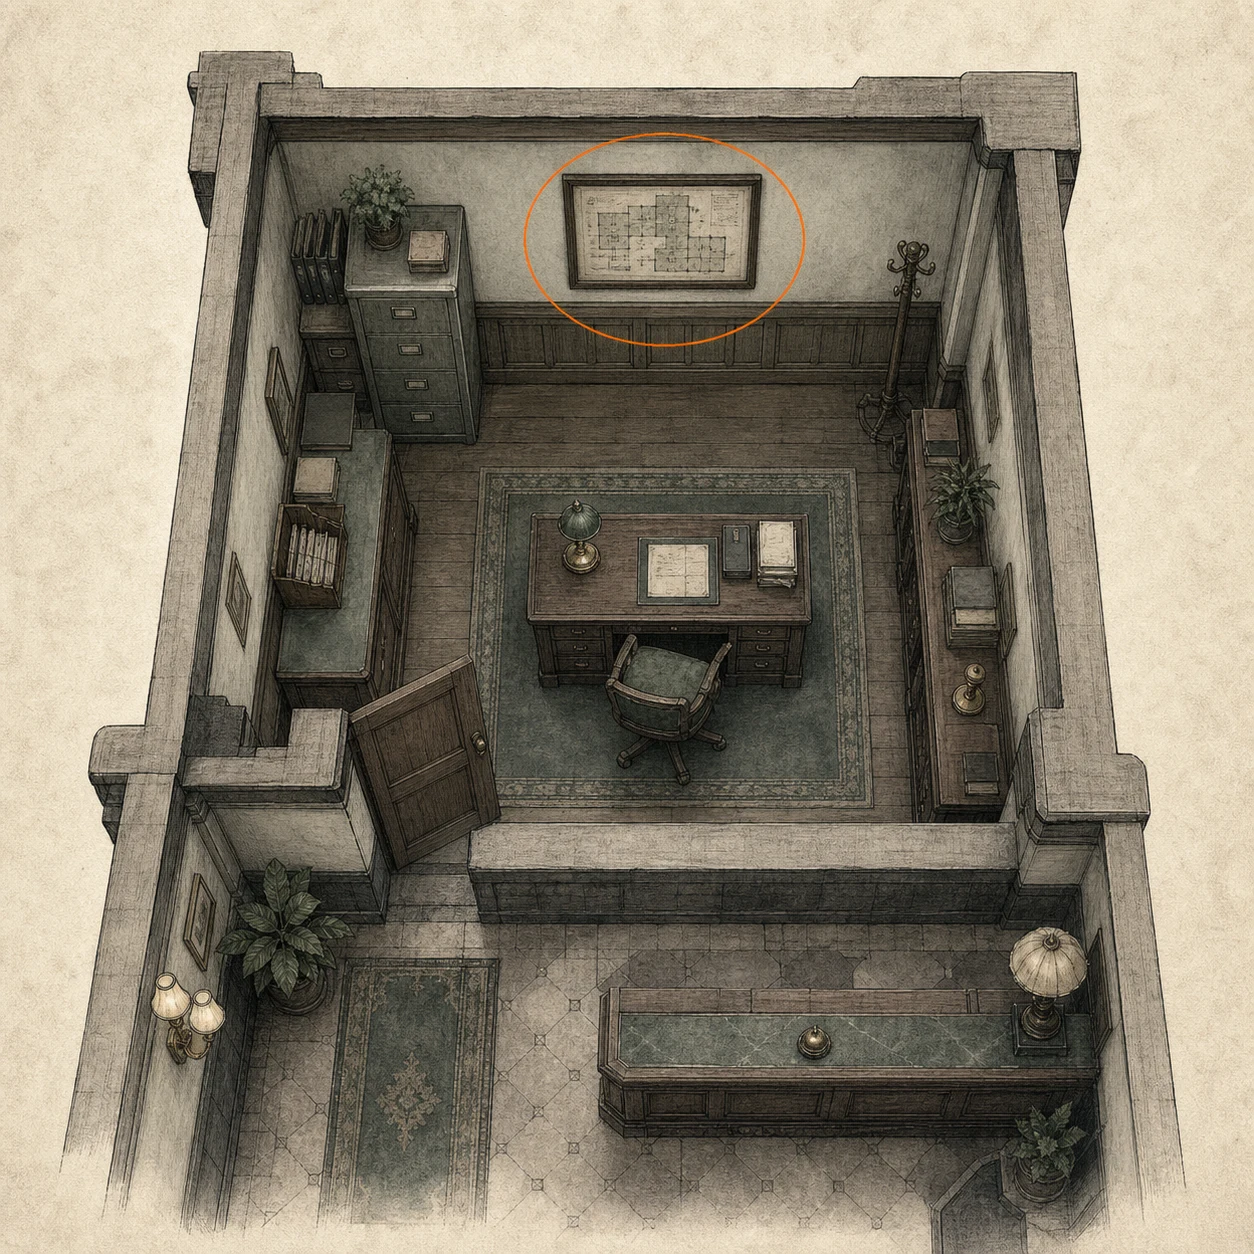
Wrenwood Hotel Map (missable)
Map
HintThe reception office contains more than one useful find.
WhereCollect the Wrenwood Hotel Map from the wall in the office behind reception.
Full detailAfter opening the blue drawer in the office behind reception, inspect the wall in the same room and take the hotel map before leaving.
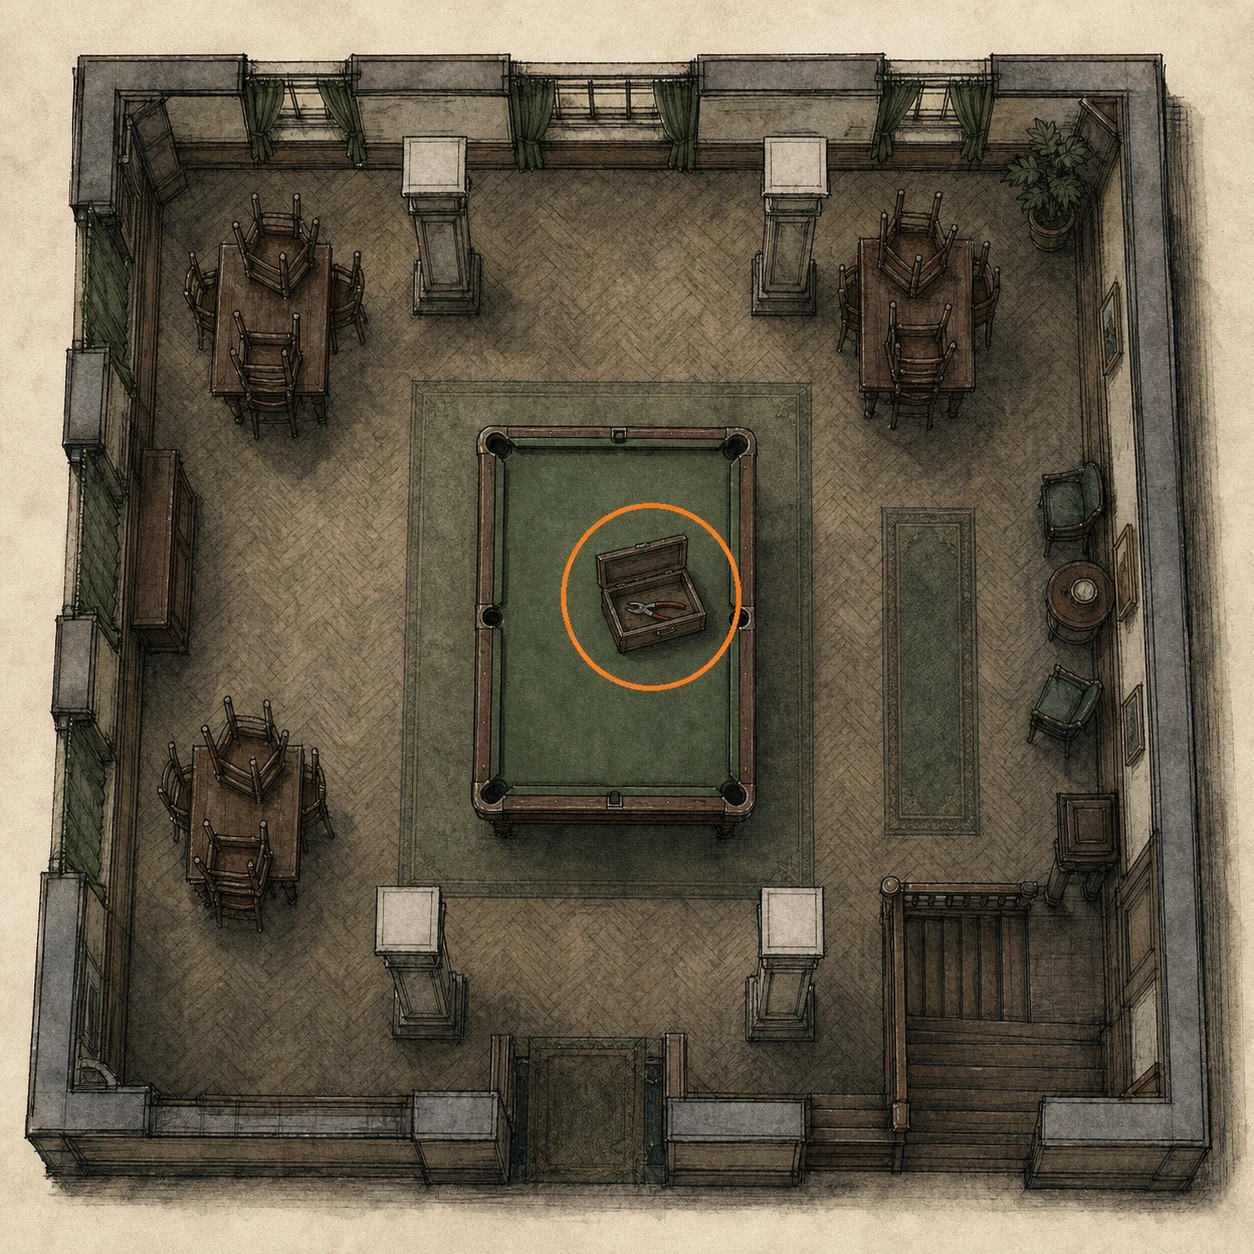
Wire Cutters (missable)
Key item
HintOn the upper floor, give the recreational rooms a thorough sweep.
WhereIn the second-floor Rec Room, collect the Wire Cutters from the pool table.
Full detailReach the second-floor Rec Room, approach the pool table, and take the Wire Cutters before returning to any chained route.
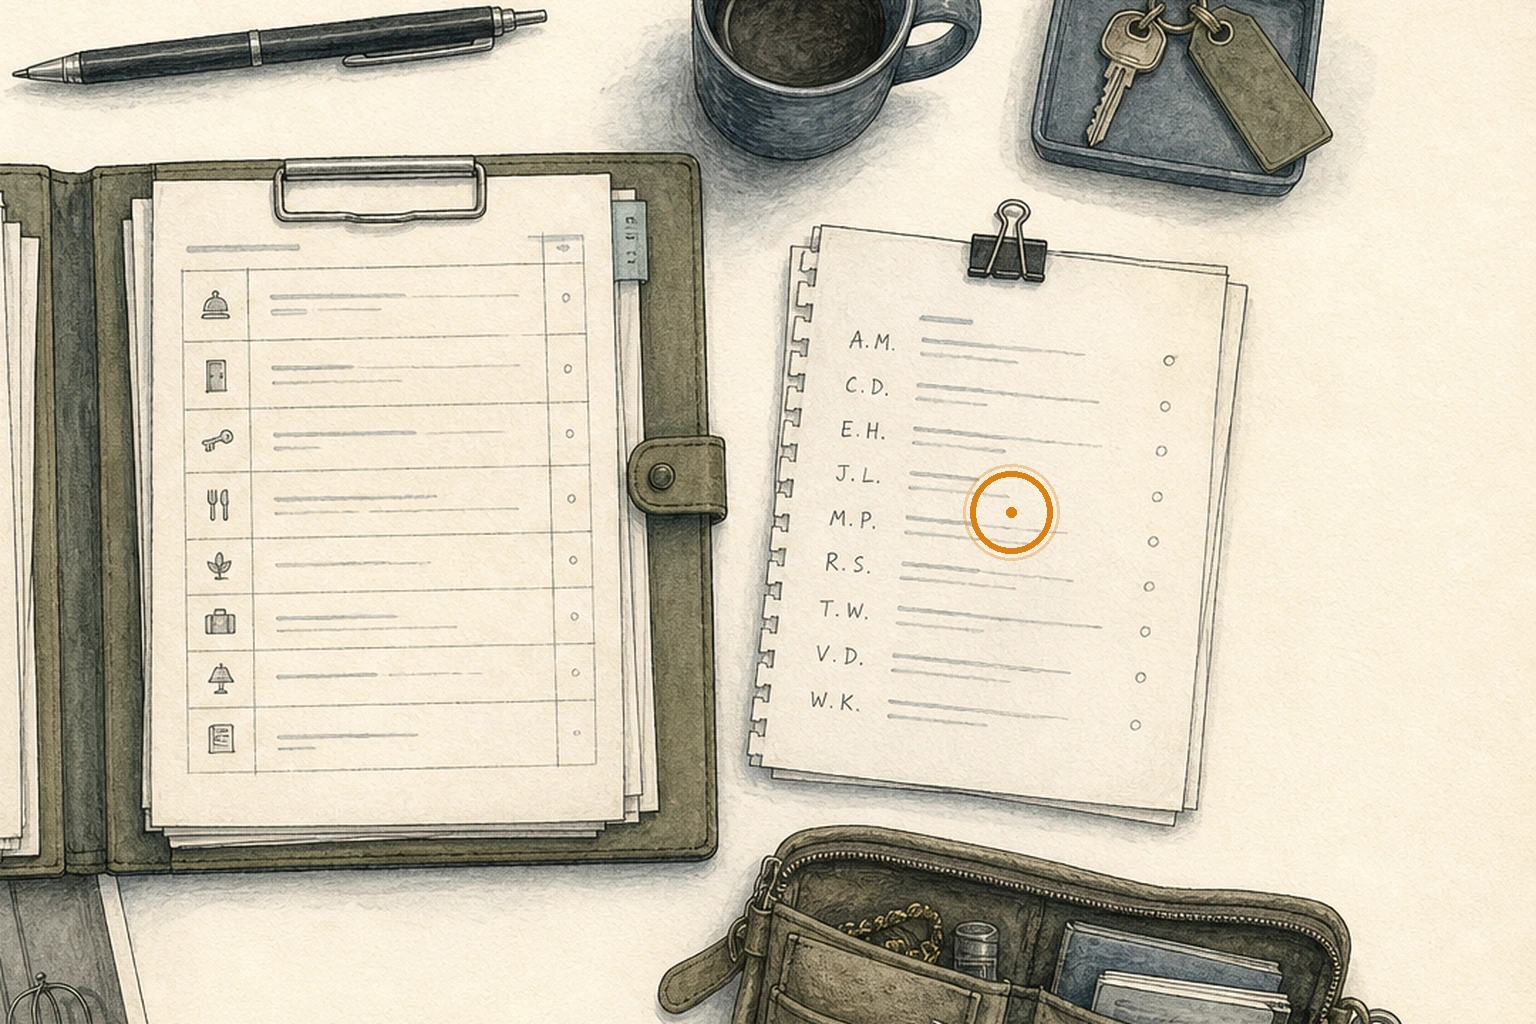
M. Warren Reference (missable)
Secret or Easter egg
HintAn early report contains a familiar municipal surname.
WhereRead the Investigation Report closely and inspect the abbreviated name in its list.
Full detailOpen the Investigation Report and find M. Warren. The name points back to Raccoon City's former mayor in an earlier entry.
Main Street
You are here when: On the short outdoor street stretch with shopfronts, side pavement, and a highway crossing at the far end.
A brief outdoor section. Check the street-facing surfaces before crossing the highway.
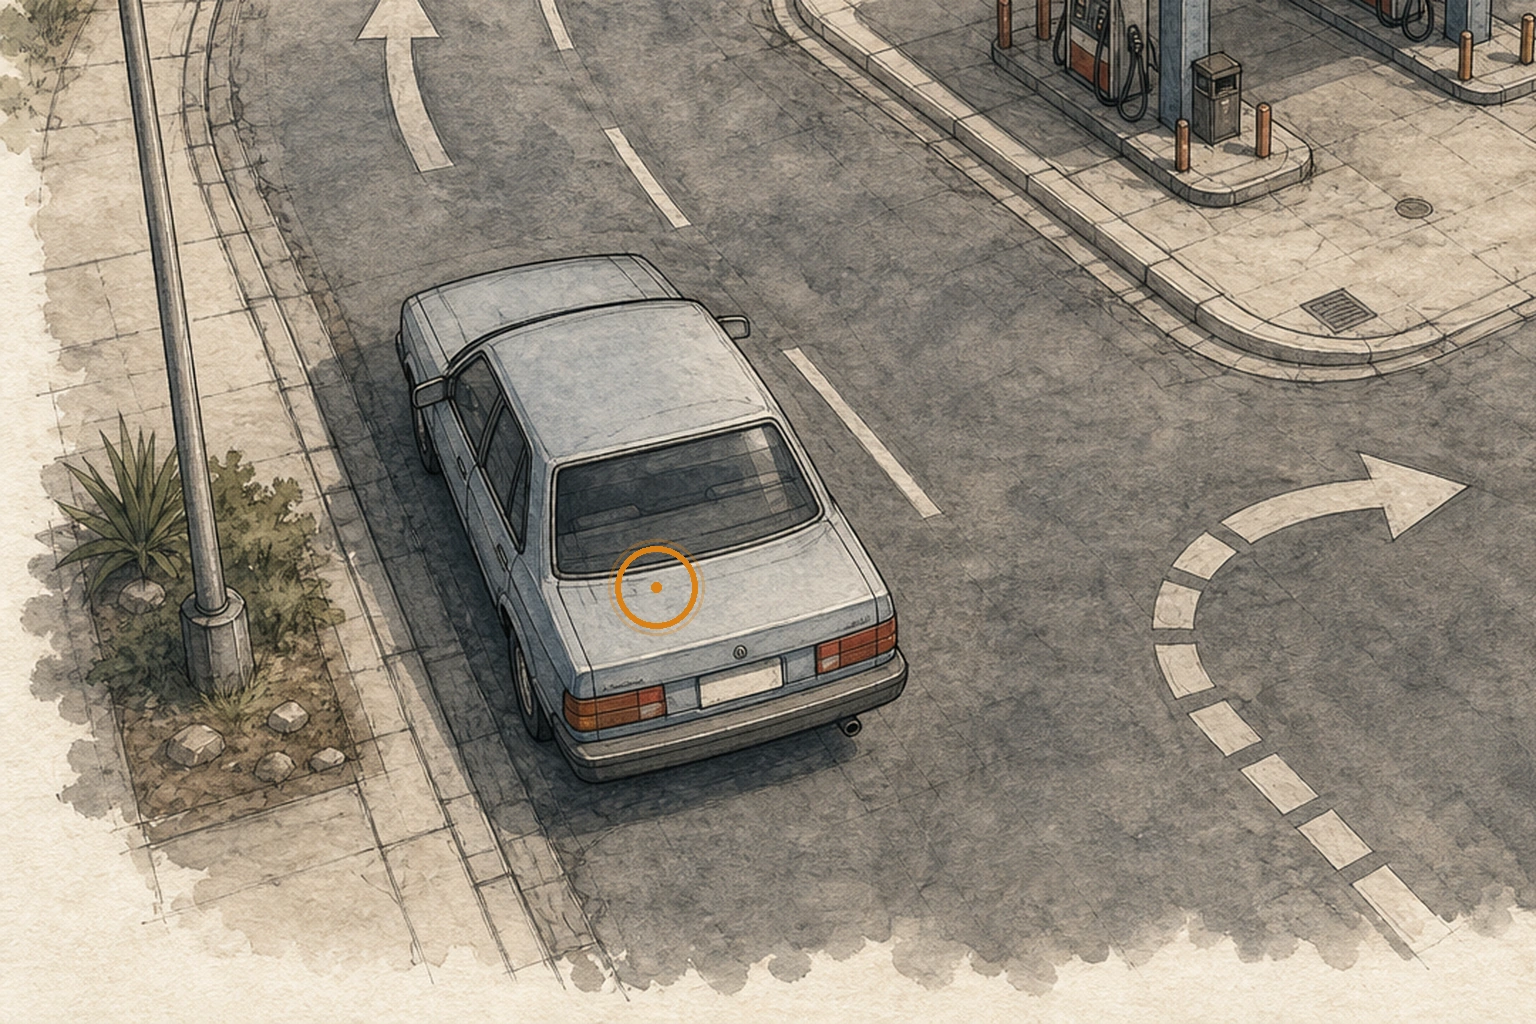
License-Plate Number Reference (missable)
Secret or Easter egg
HintWatch the vehicle details during the roadside sequence.
WhereRead the plate on the car shown along the early road.
Full detailPause or use the model viewer if needed and read ND-9642 on the plate; its digits collect the numbered entries in which this driver is playable.
Mizoil Forecourt Reference (missable)
Secret or Easter egg
HintA roadside business reuses a recognizable company name.
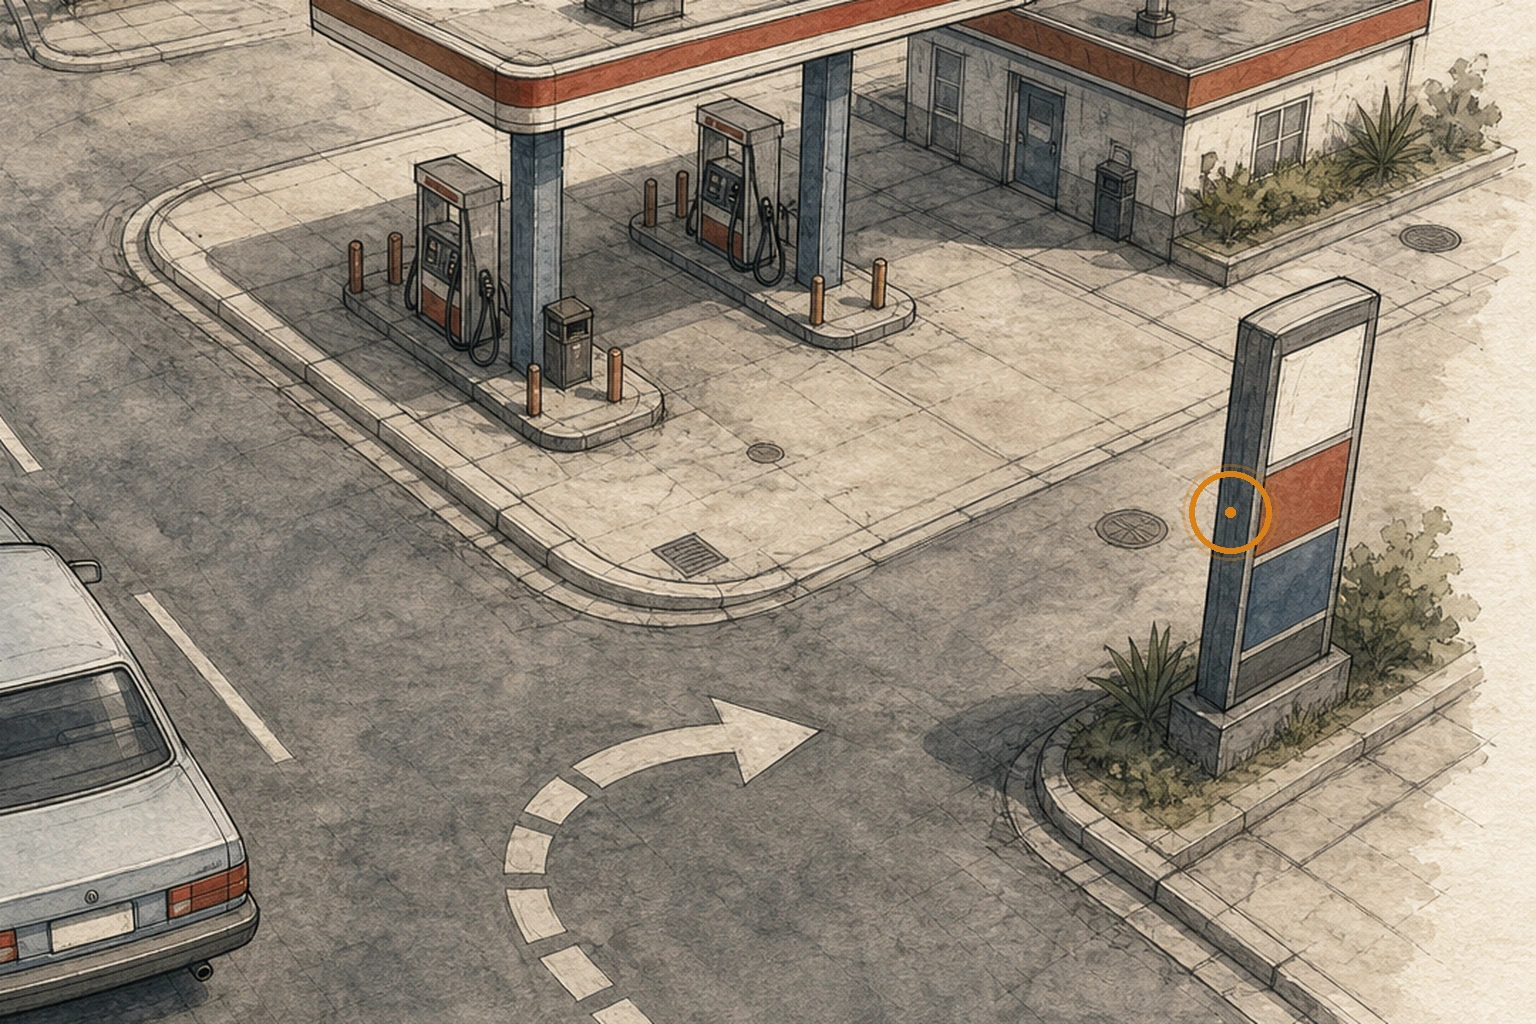
WhereLook at the gas-station branding during the drive toward the city.
Full detailWatch the roadside forecourt and identify its Mizoil sign. The location recalls the gas-station setting used in an earlier Raccoon City game.
Care Center - Patient Rooms
You are here when: When control resumes inside the medical building around Room 203, Room 202, Room 201, and the nearby nurse station.
This opening wing has one easy-to-miss coin and several small room pickups.
File #7 - Progress Notes (missable)
File
HintAt the start of this section, check the small furniture before leaving the room.
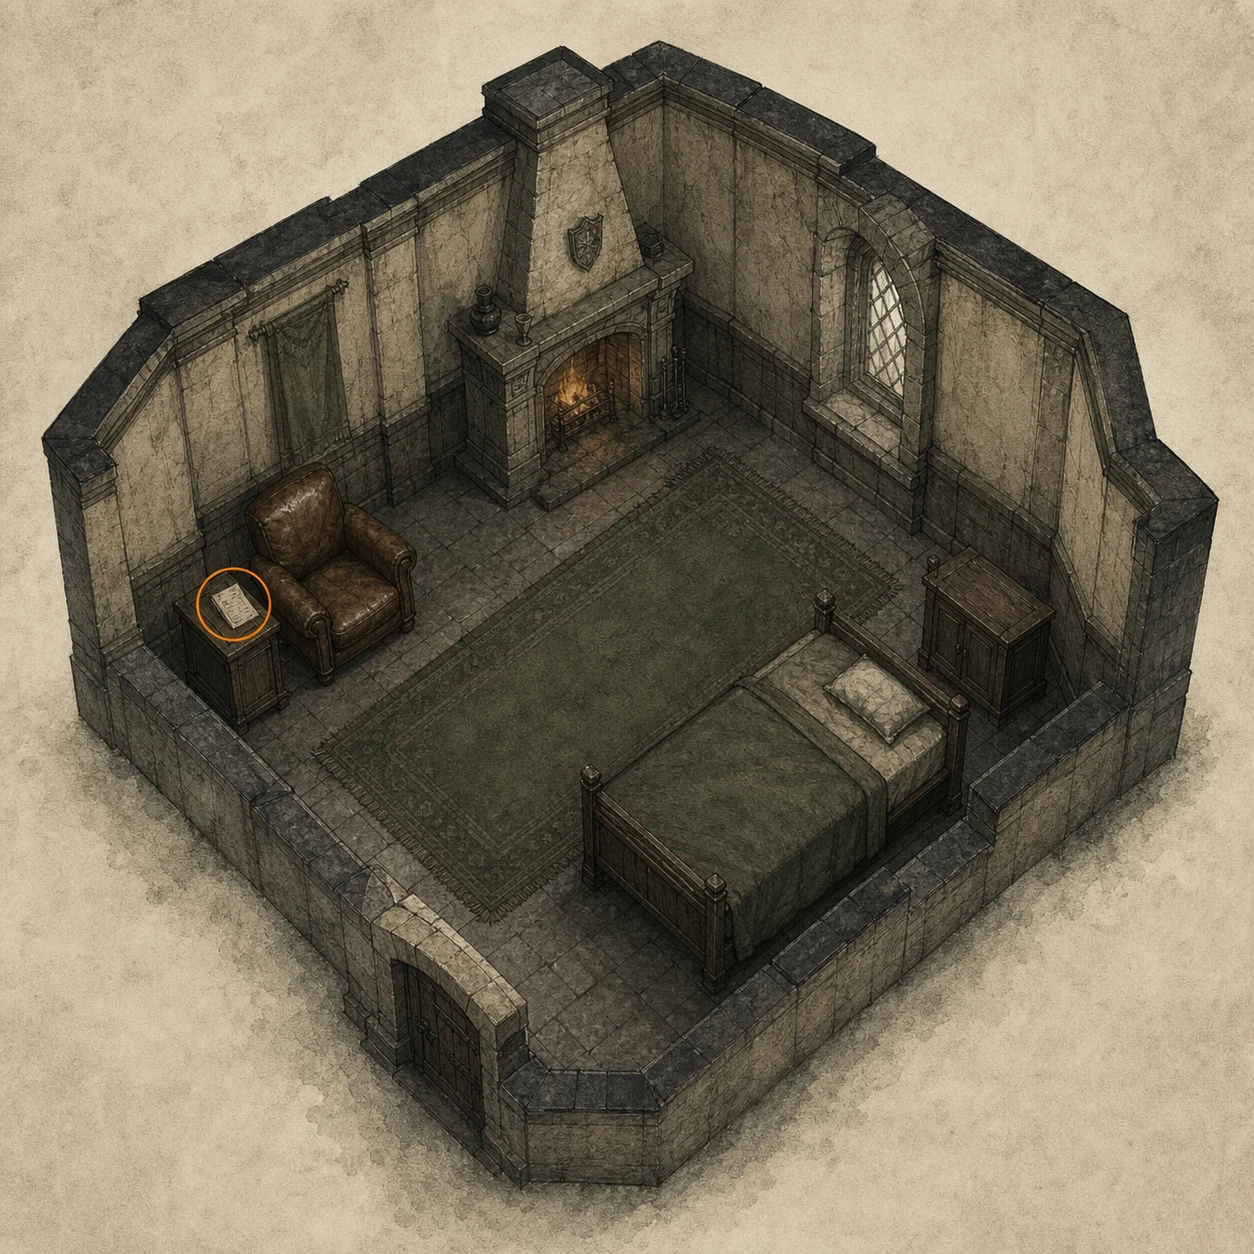
WhereCollect the Progress Notes from the small table in Room 203.
Full detailBefore leaving Room 203, inspect the small table in the room and read the Progress Notes.
Cherub Key (missable)
Key item
HintNear an early locked gate, search the surrounding storage carefully.
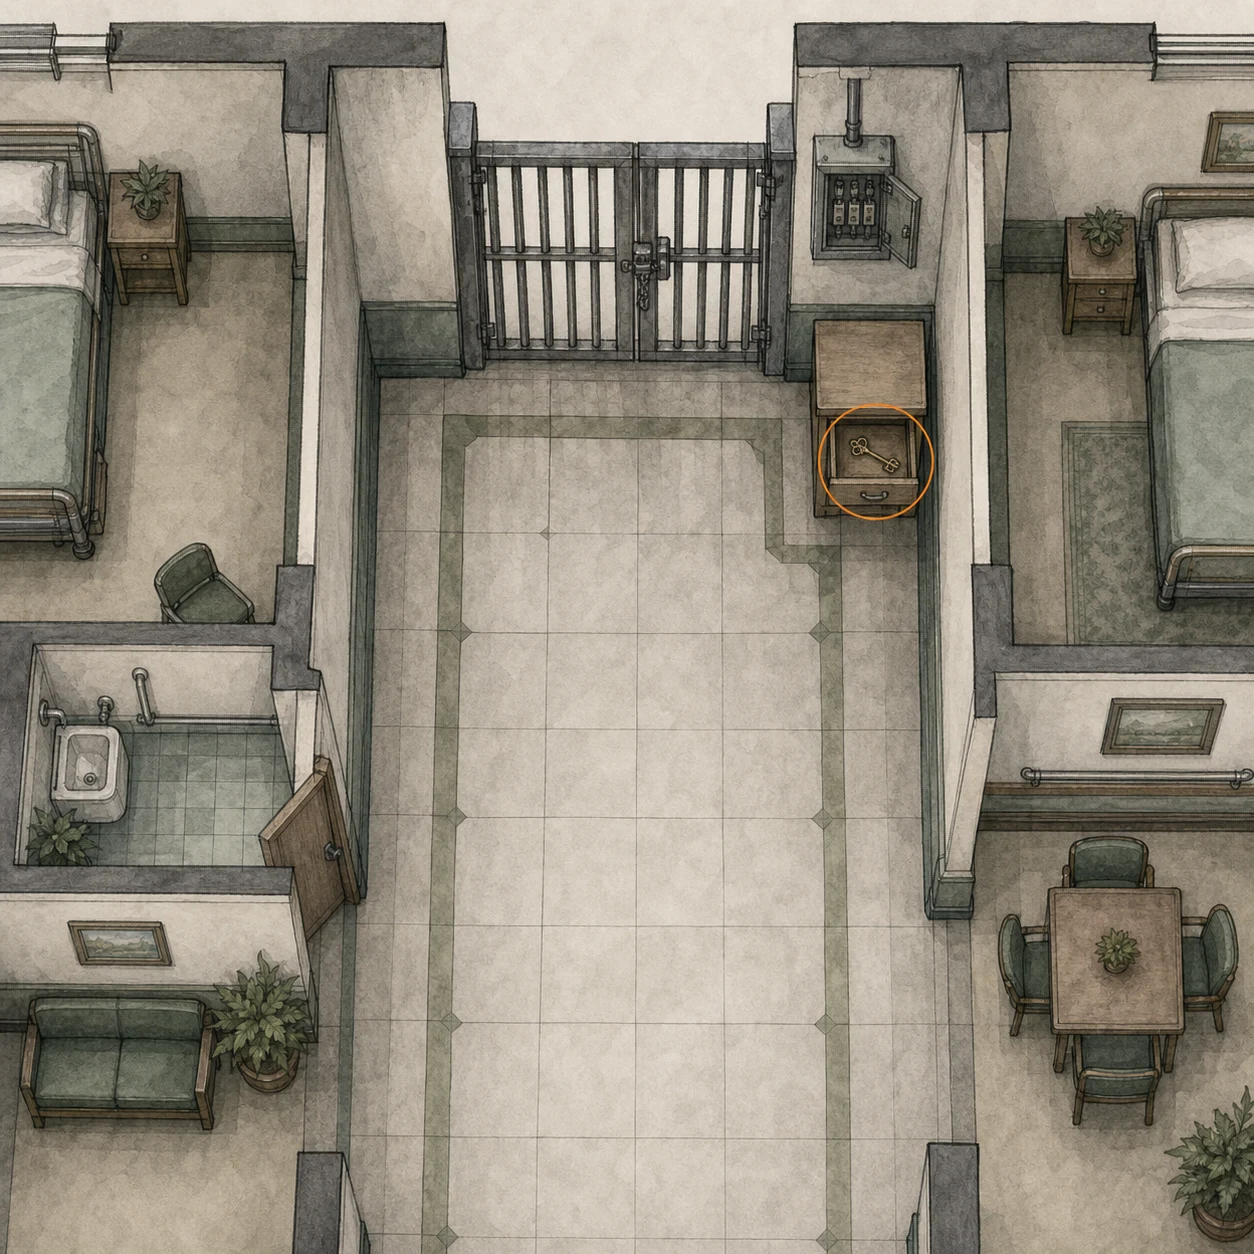
WhereOpen the drawer beside the locked gate and its fuse box to collect the Cherub Key.
Full detailAt the locked gate with the adjacent fuse box, open the nearby drawer and take the Cherub Key; use it to unlock Room 201.
Lighter (missable)
Key item
HintOnce a numbered room is unlocked, inspect the area around its electrical panel.
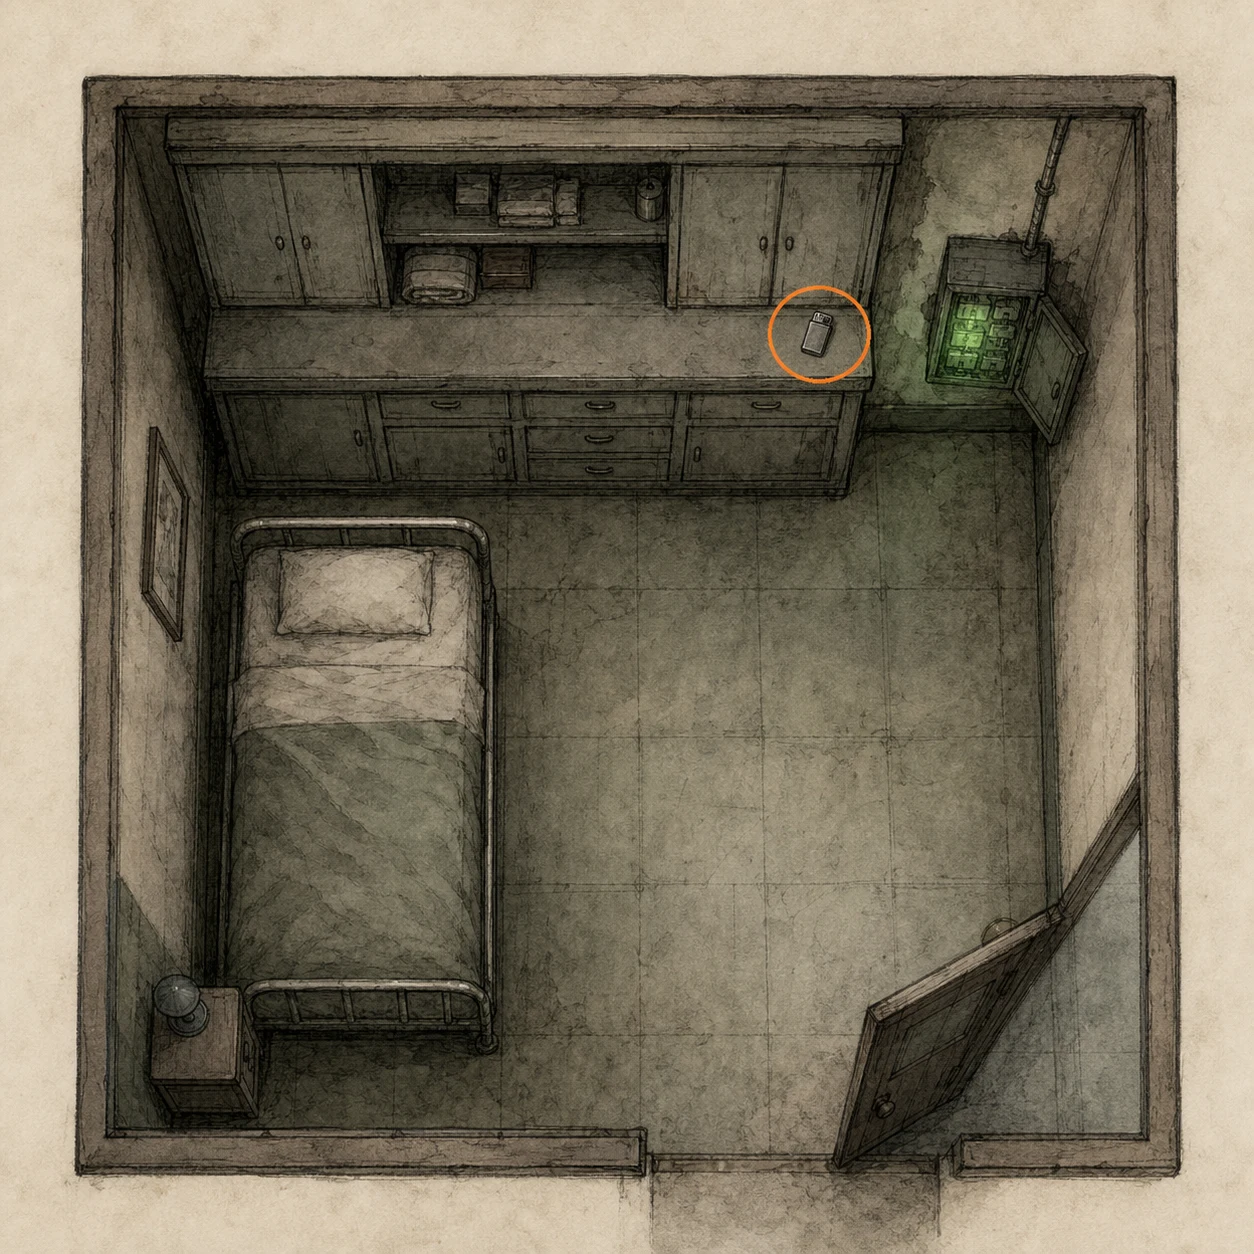
WhereUnlock Room 201 with the Cherub Key and collect the Lighter beside the green fuse box.
Full detailUse the Cherub Key on Room 201, enter, and take the Lighter positioned next to the green fuse box before leaving.
File #8 - Note on Cardboard Box (missable)
File
HintOne nearby numbered room has a closet worth opening.
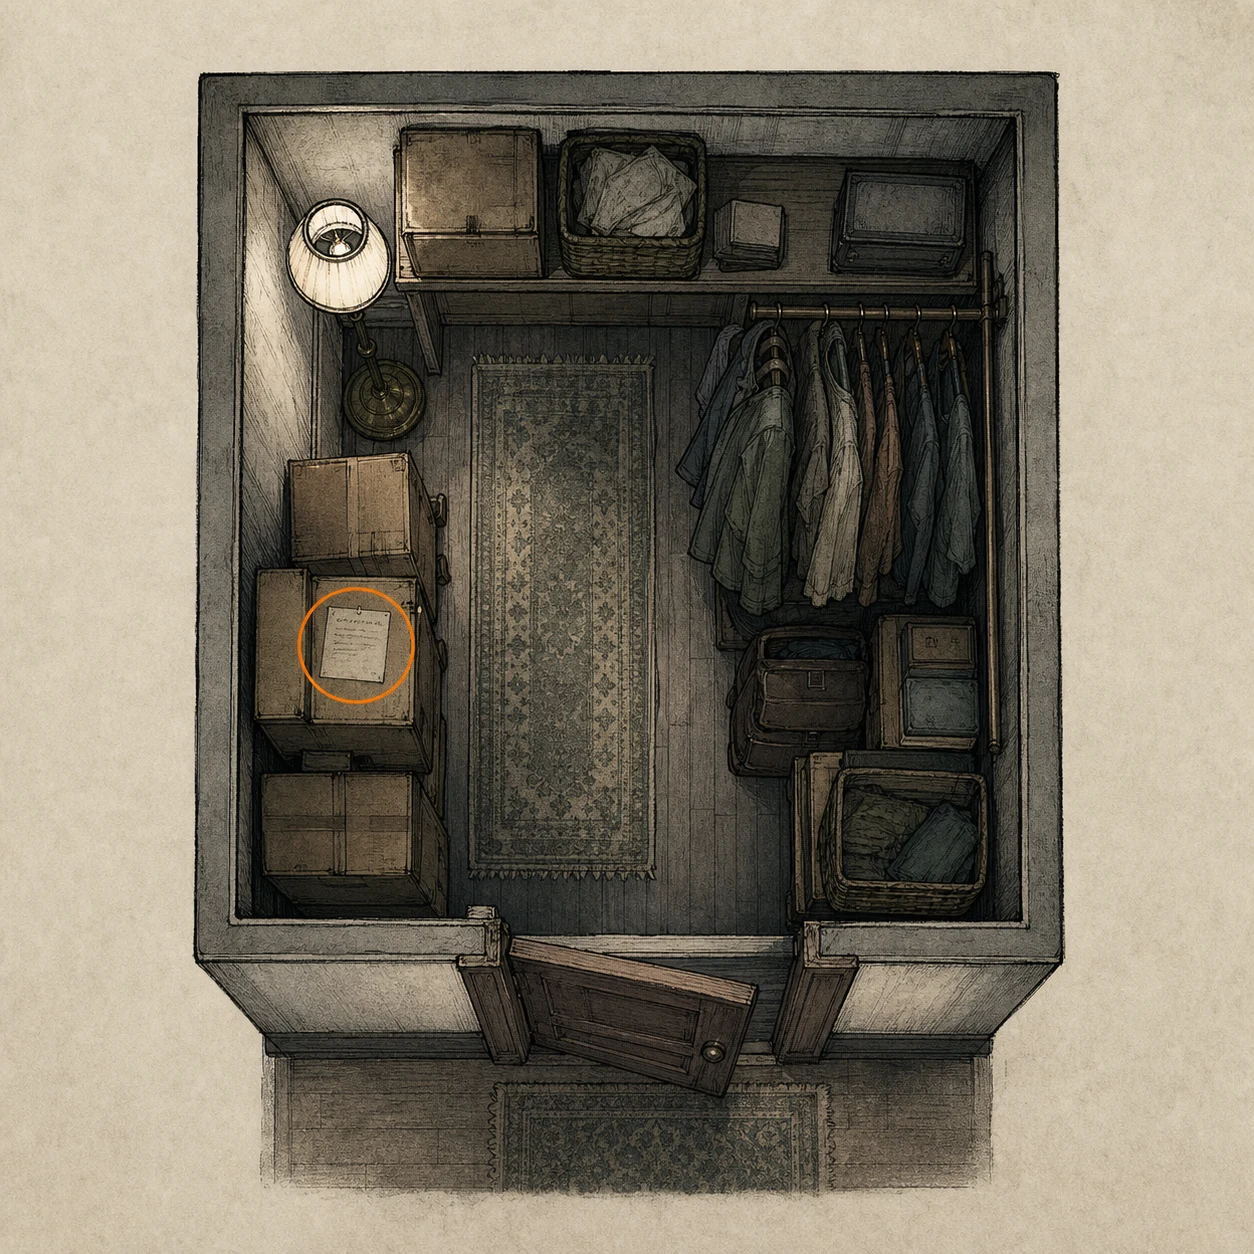
WhereEnter Room 202 and read the Note on Cardboard Box inside the closet.
Full detailOpen the closet in Room 202, inspect the cardboard box inside, and read the note before moving on.
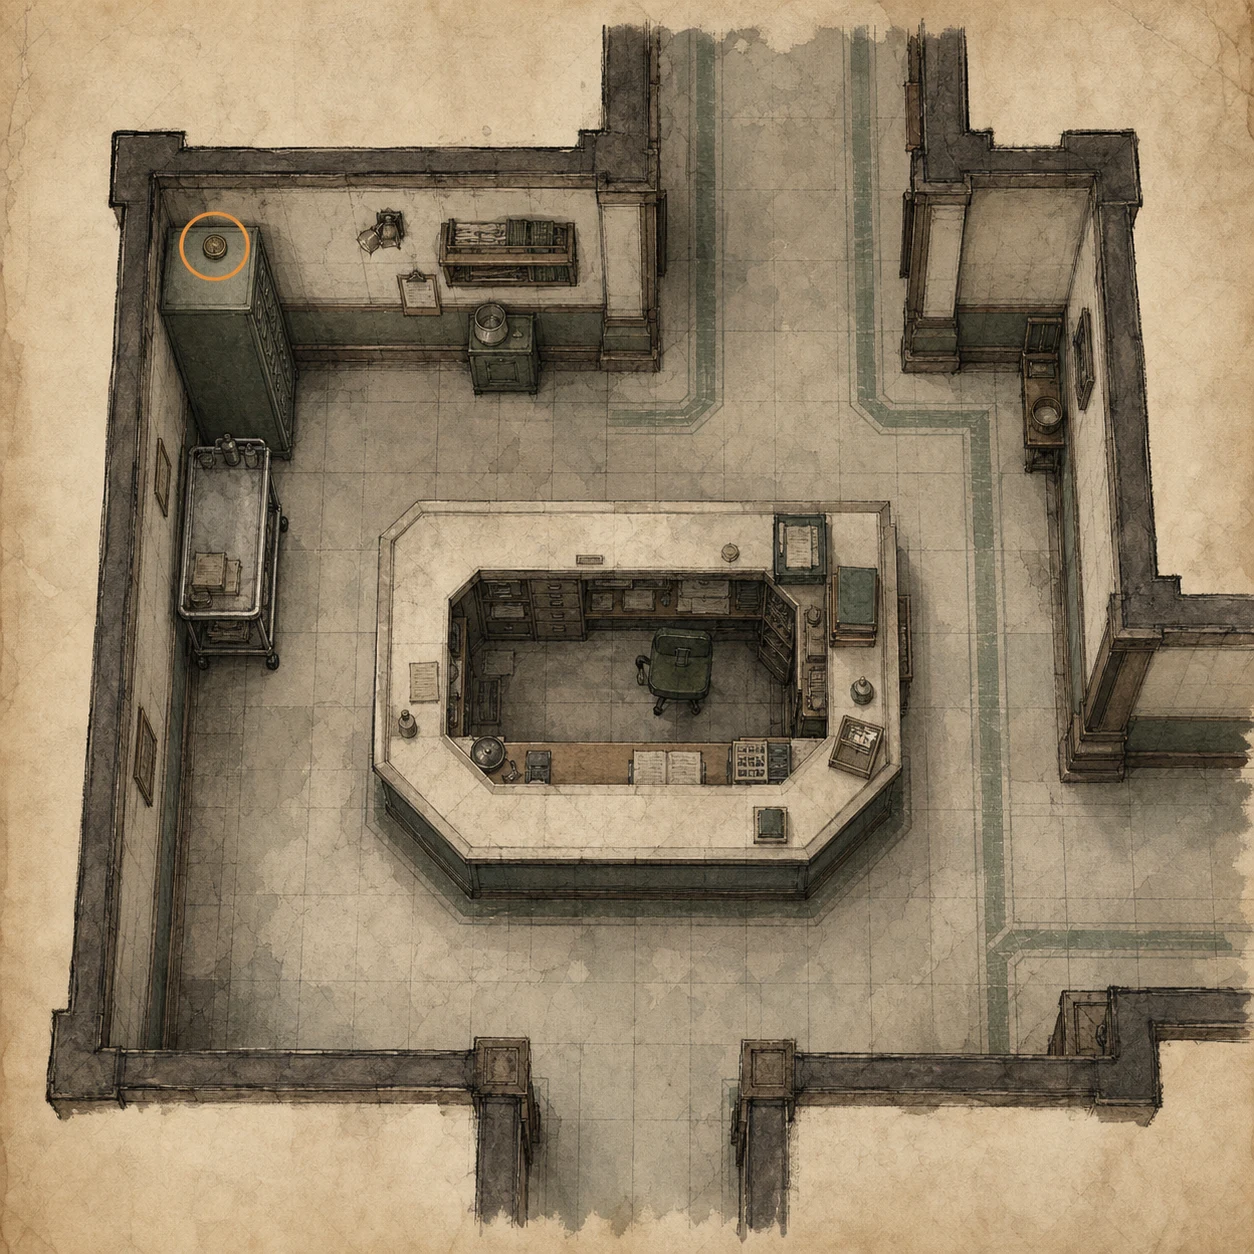
Antique Coin #1 (missable)
Antique Coin
HintA movable cart can help you reach more than one side of the Nurses' Station.
WhereBefore moving the cart to the right, climb it on the left side of the Nurses' Station and collect the coin from atop the locker.
Full detailIn the Nurses' Station, climb the cart while it is still on the left and take the coin from the top of the locker; collect it before pushing the cart right, where it is needed for the next pickup.
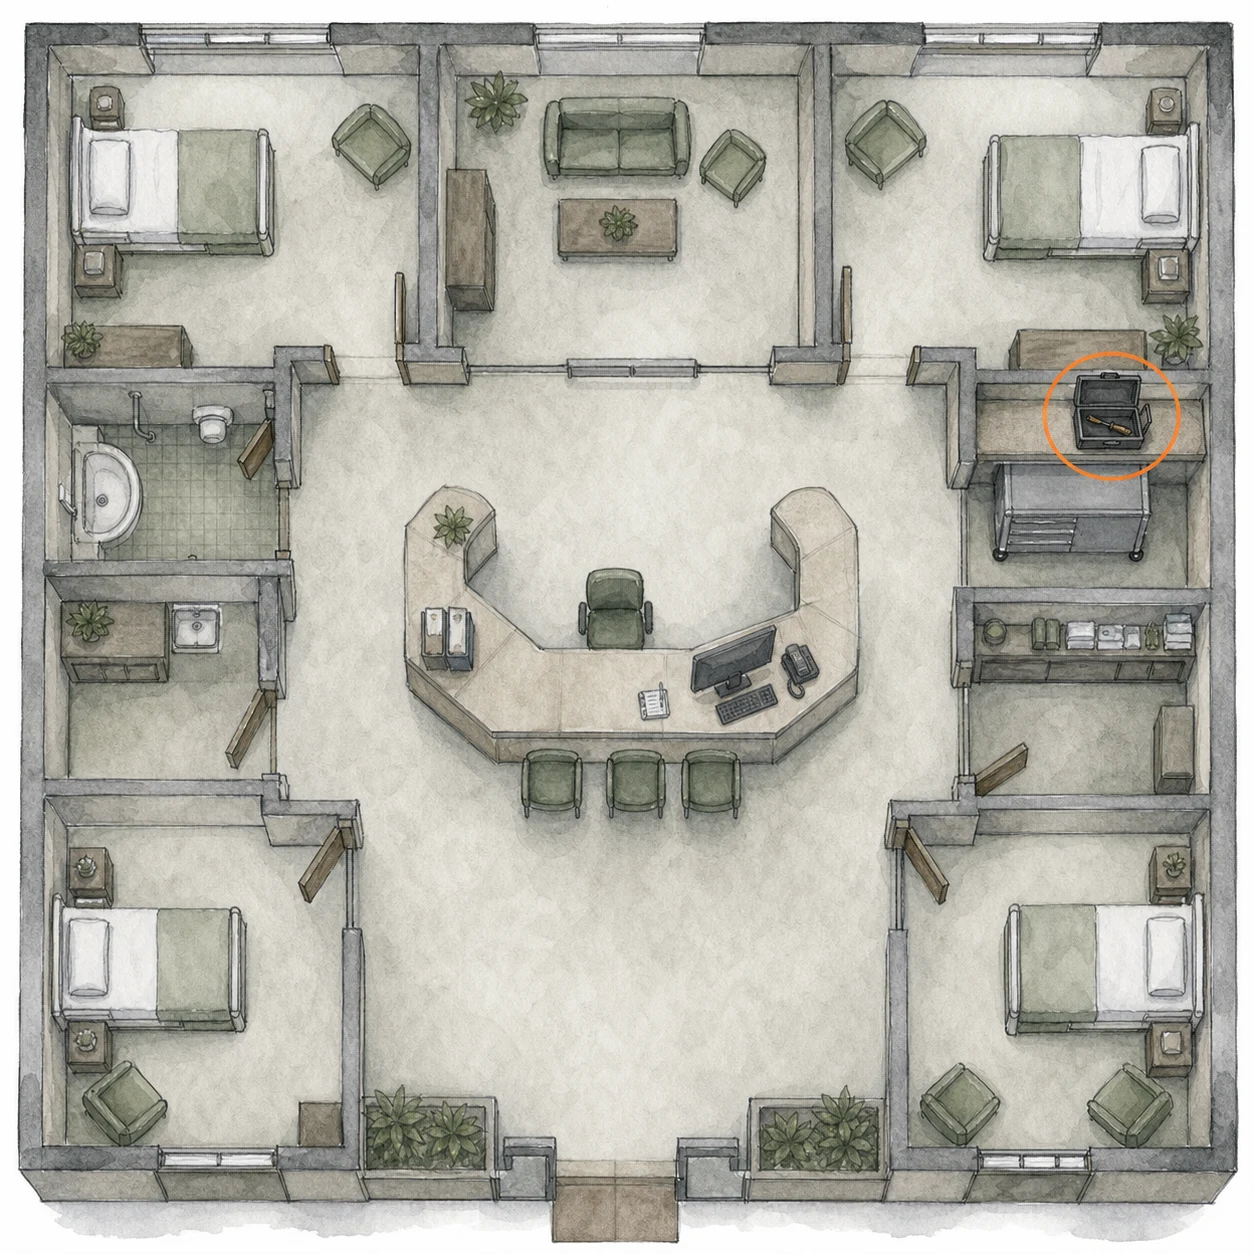
Screwdriver (missable)
Key item
HintAfter using the cart on one side, reposition it and look higher.
WhereMove the cart to the right side of the Nurses' Station, climb it, and open the toolbox on the shelf.
Full detailAfter collecting the coin from the left side, push the cart to the right, climb up, and take the Screwdriver from the toolbox on the shelf.
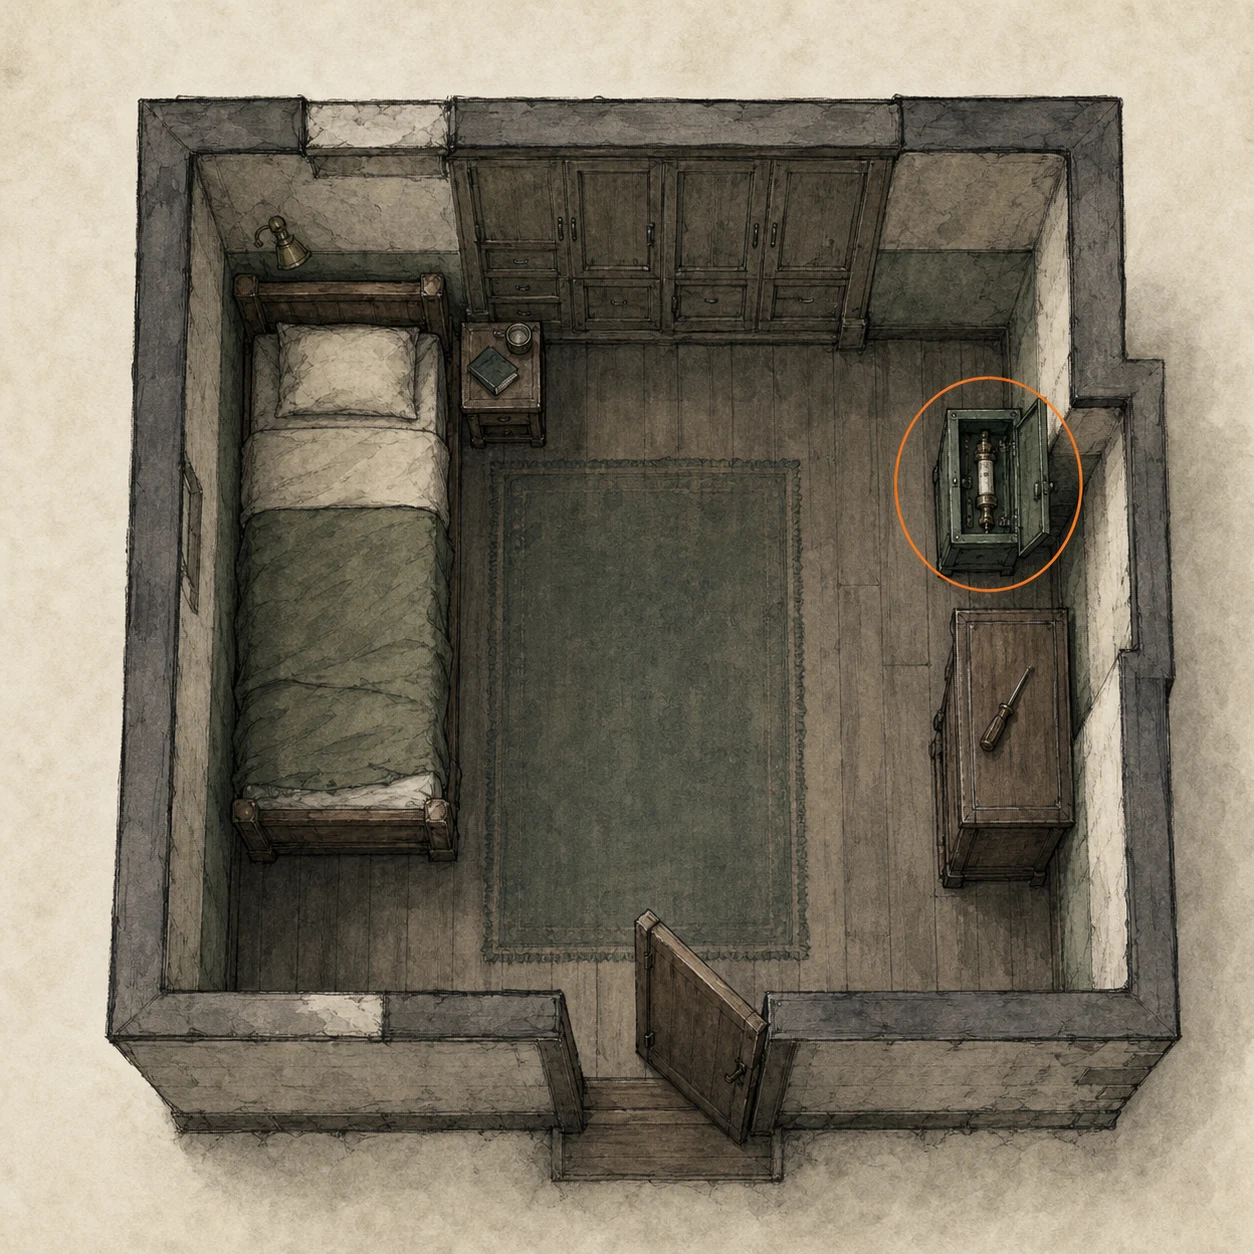
Fuse (missable)
Key item
HintA previously visited room contains a panel that can now be opened.
WhereReturn to Room 201 and use the Screwdriver to open the fuse box and take the Fuse.
Full detailUse the Cherub Key to access Room 201 if needed, open its fuse box with the Screwdriver, take the Fuse, then install it at the locked gate.
Care Center - Rehabilitation Ward
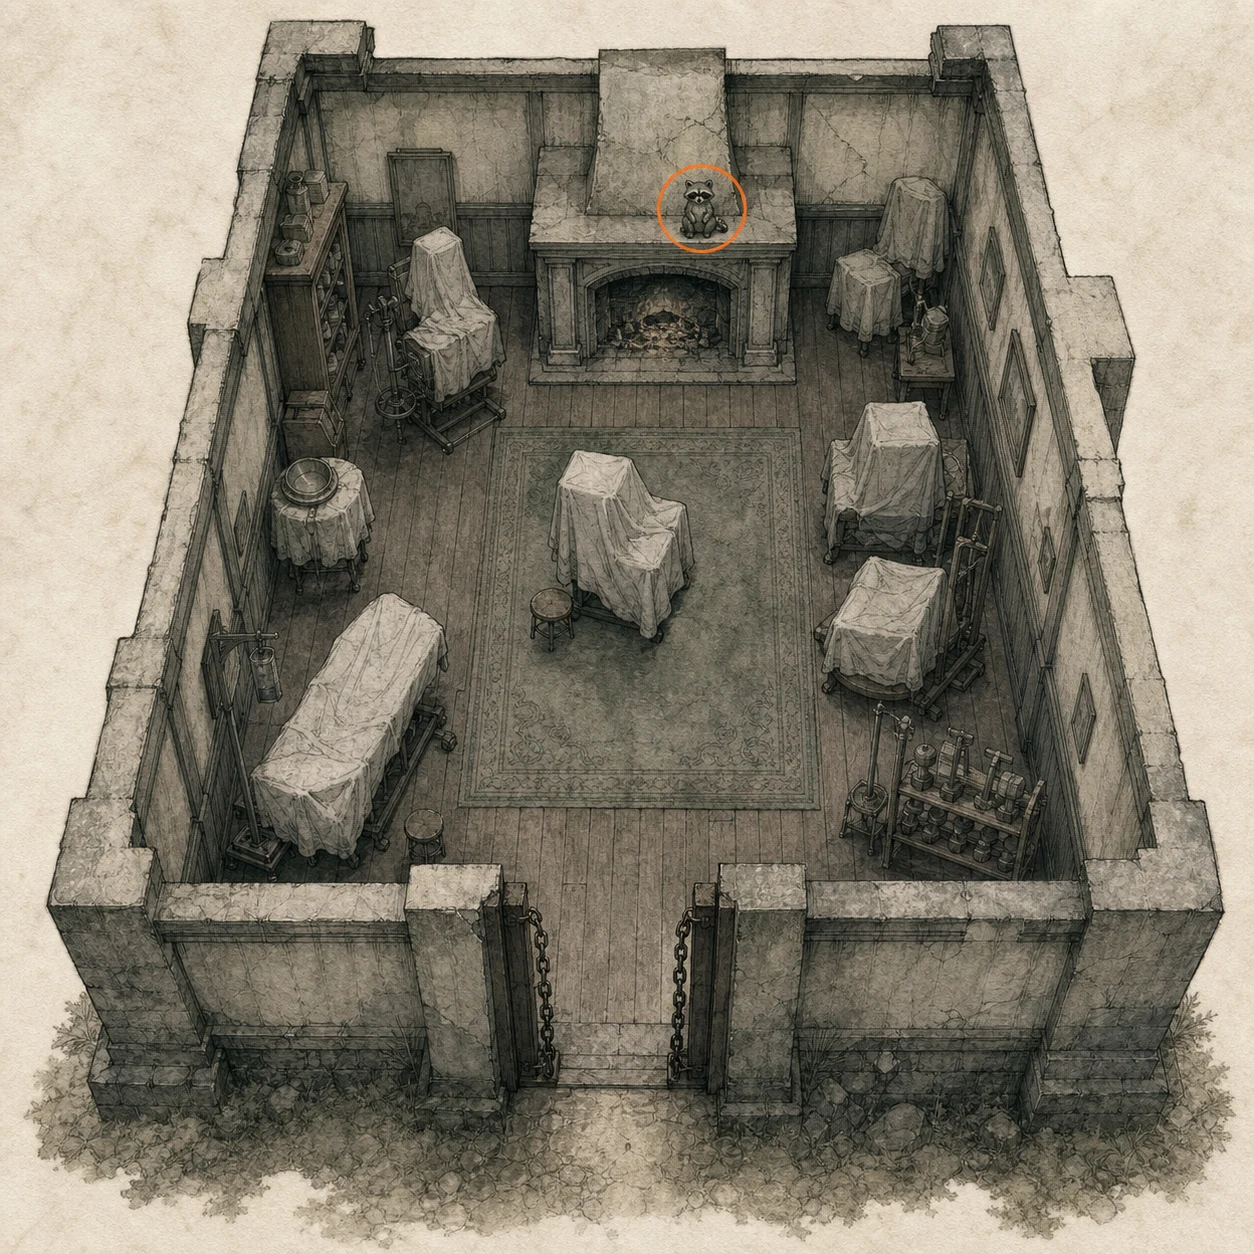
You are here when: Inside the therapy/rehabilitation wing, with a fireplace visible after the cut-open door route.
Short combat-forward wing. Listen and look before leaving the ward.
Mr. Raccoon #1 (missable)
Mr. Raccoon figure
HintAfter opening the chained route, listen for a moving figure in the next interior.
WhereBeyond the chainsaw-cut door, go through the next doorway and find the figure on the fireplace directly ahead.
Full detailCut through the chained door, enter the following room, and destroy the moving, noise-making figure on the fireplace in front of you.
Care Center - Main Building
You are here when: The large multi-floor medical building hub with the central hall, west/east wings, parlor, offices, kitchen, garage, and lab rooms.
Large hub section. Many collectibles are behind keycard tiers and room returns, so keep manual saves in separate slots.
Antique Coin #2 (missable)
Antique Coin
HintThe first downstairs safe room has several surfaces worth checking.
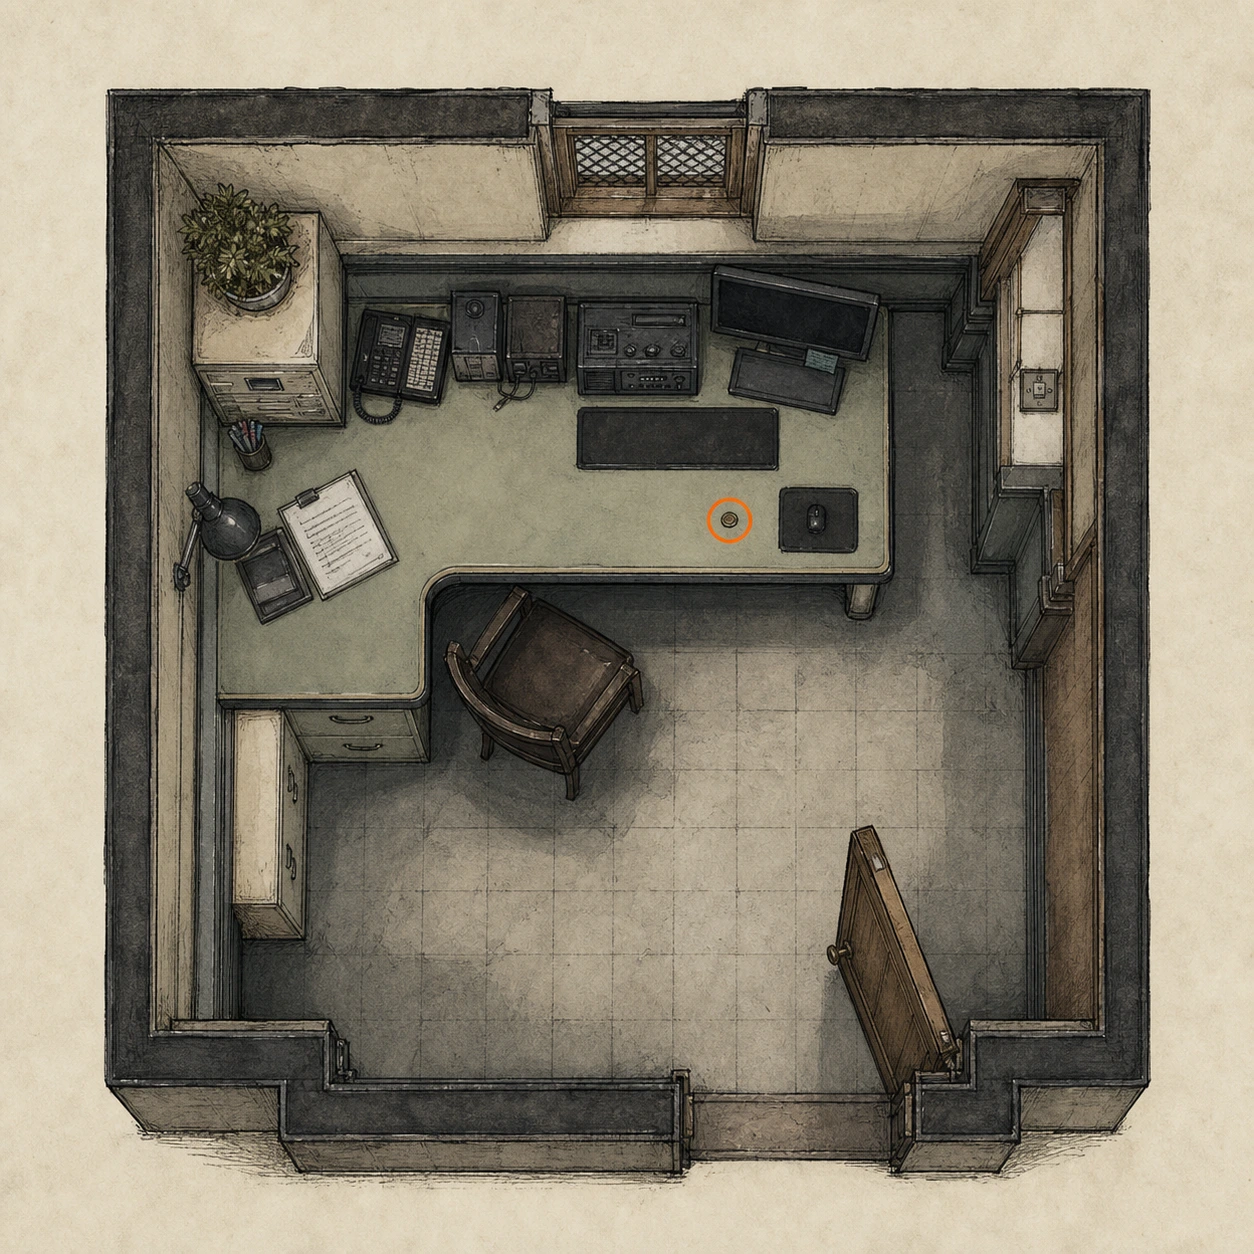
WhereGo downstairs to the Guard Office safe room and collect the coin from the desk.
Full detailEnter the downstairs Guard Office safe room, inspect the desk, and take the coin before leaving through the red-lit route.
File #9 - Care Center Pamphlet (missable)
File
HintThe downstairs safe room holds more than one document.
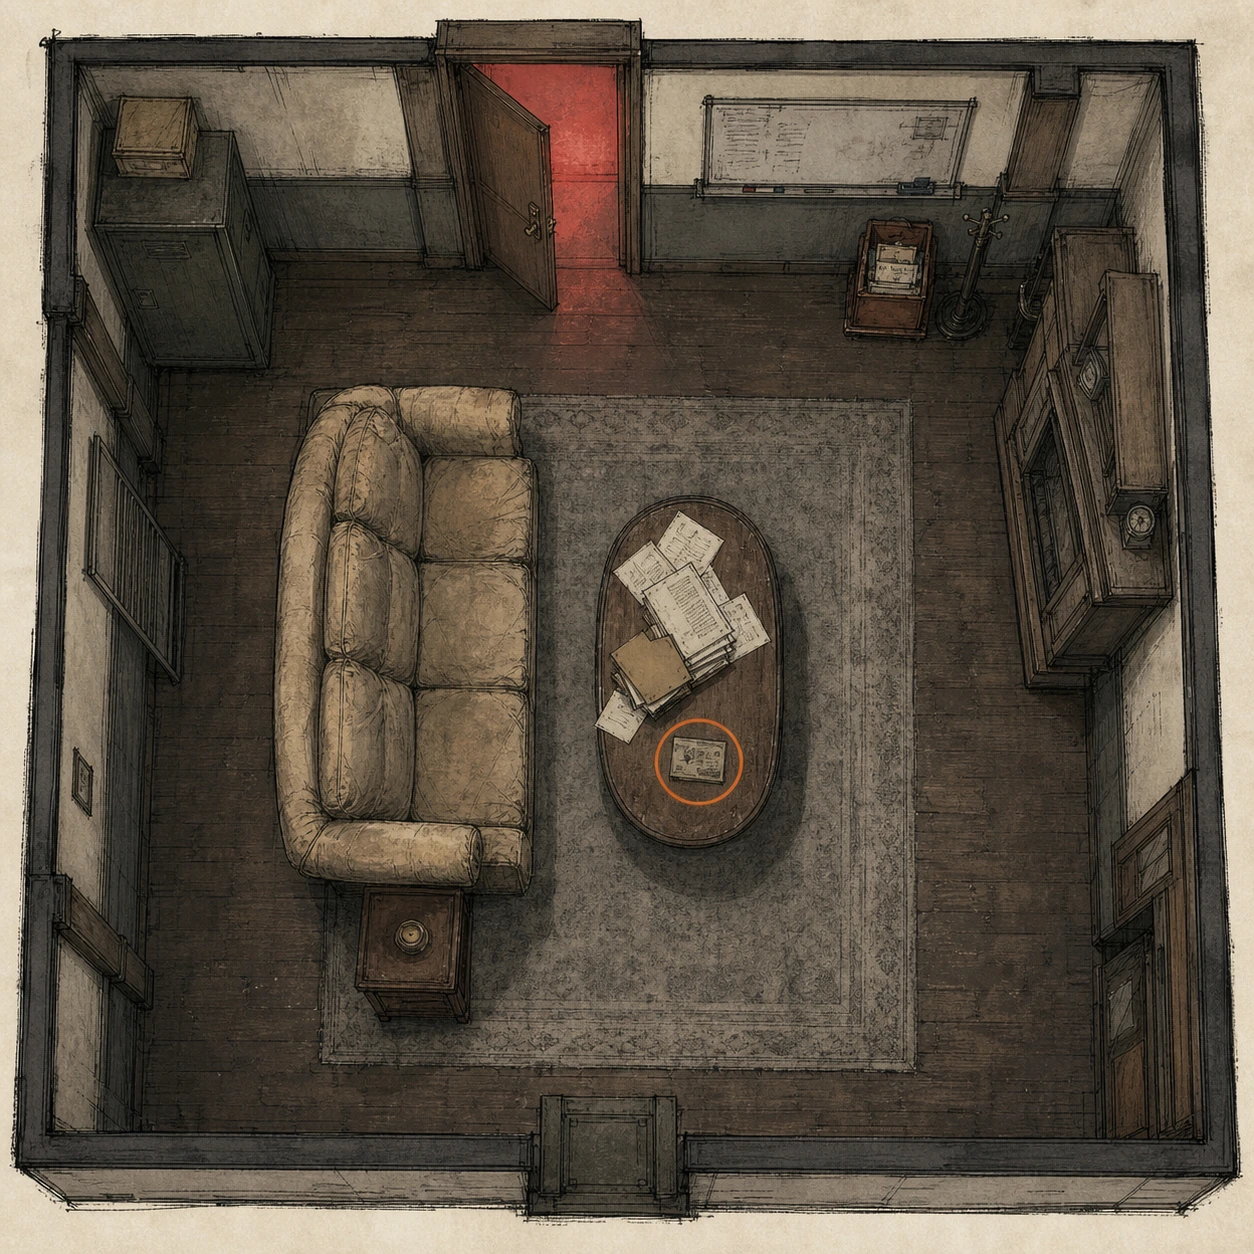
WhereIn the Guard Office safe room, read the Care Center Pamphlet on the table by the couch.
Full detailAfter entering the Guard Office safe room downstairs, inspect the couch table and read the pamphlet before moving on.
File #10 - Whiteboard Scrawl (missable)
File
HintBefore leaving the downstairs safe room, inspect its wall displays.
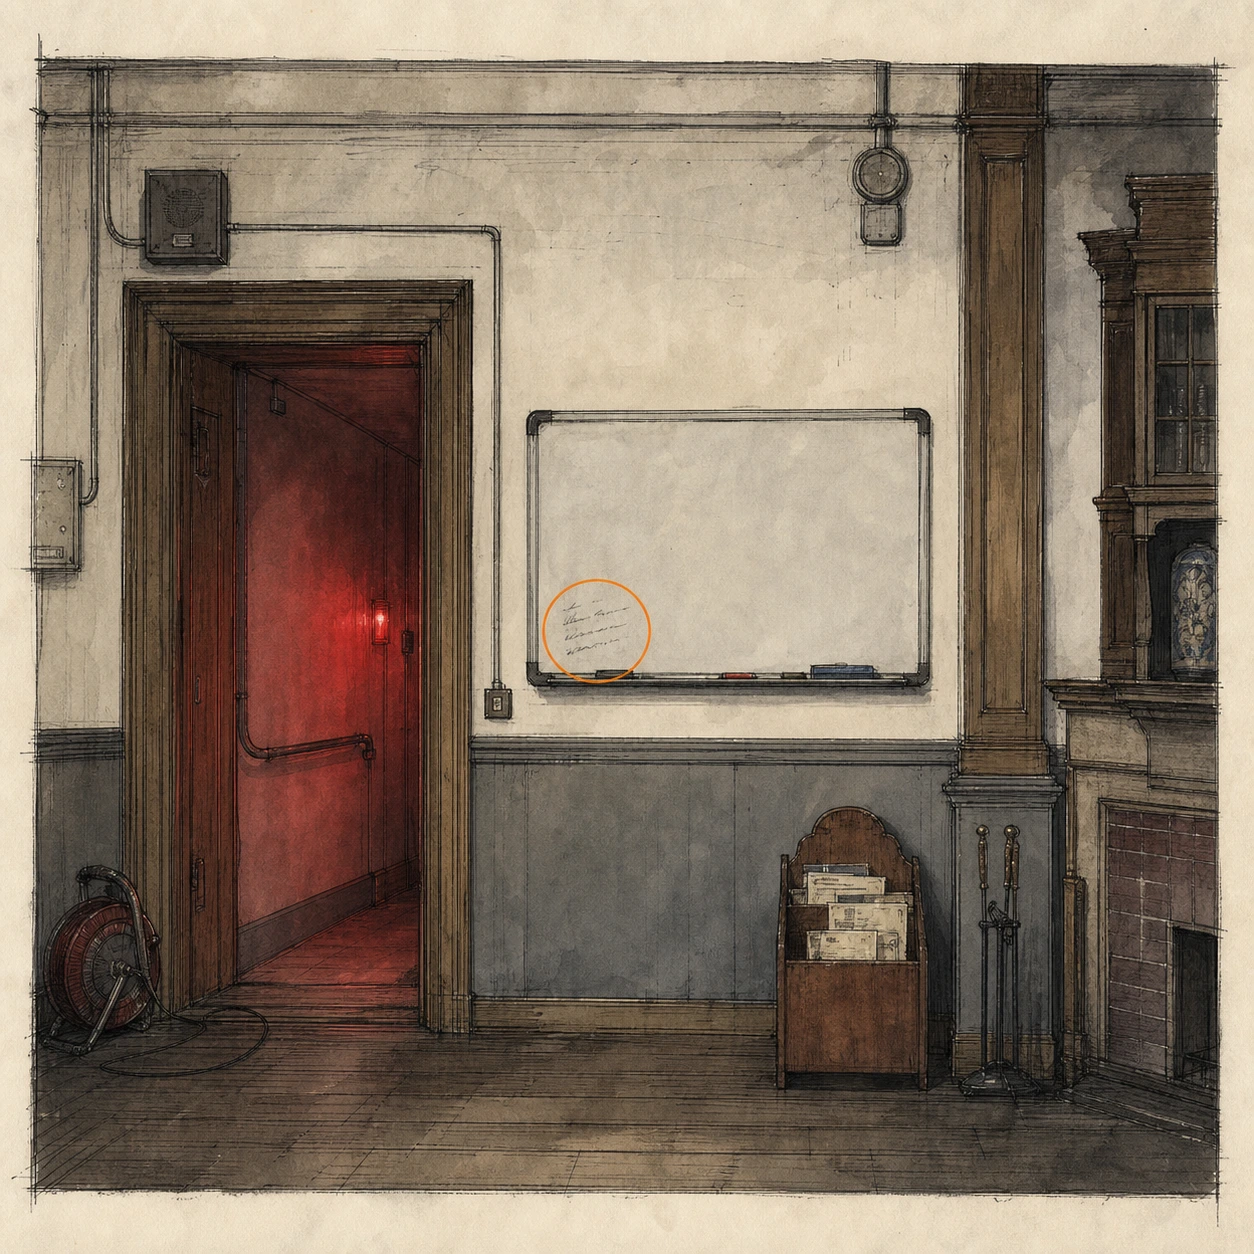
WhereIn the Guard Office safe room, read the writing on the wall-mounted whiteboard near the exit.
Full detailCross the Guard Office toward its exit and interact with the whiteboard on the wall to register the Whiteboard Scrawl.
B934 (Pistol) (missable)
Weapon
HintAfter passing through the kitchen, check the floor in the next large room.
WhereEnter the Dining Room through the Kitchen and collect the B934 pistol from the floor.
Full detailFollow the route through the Kitchen into the Dining Room, then pick up the B934 from the floor before searching the room's shelves.
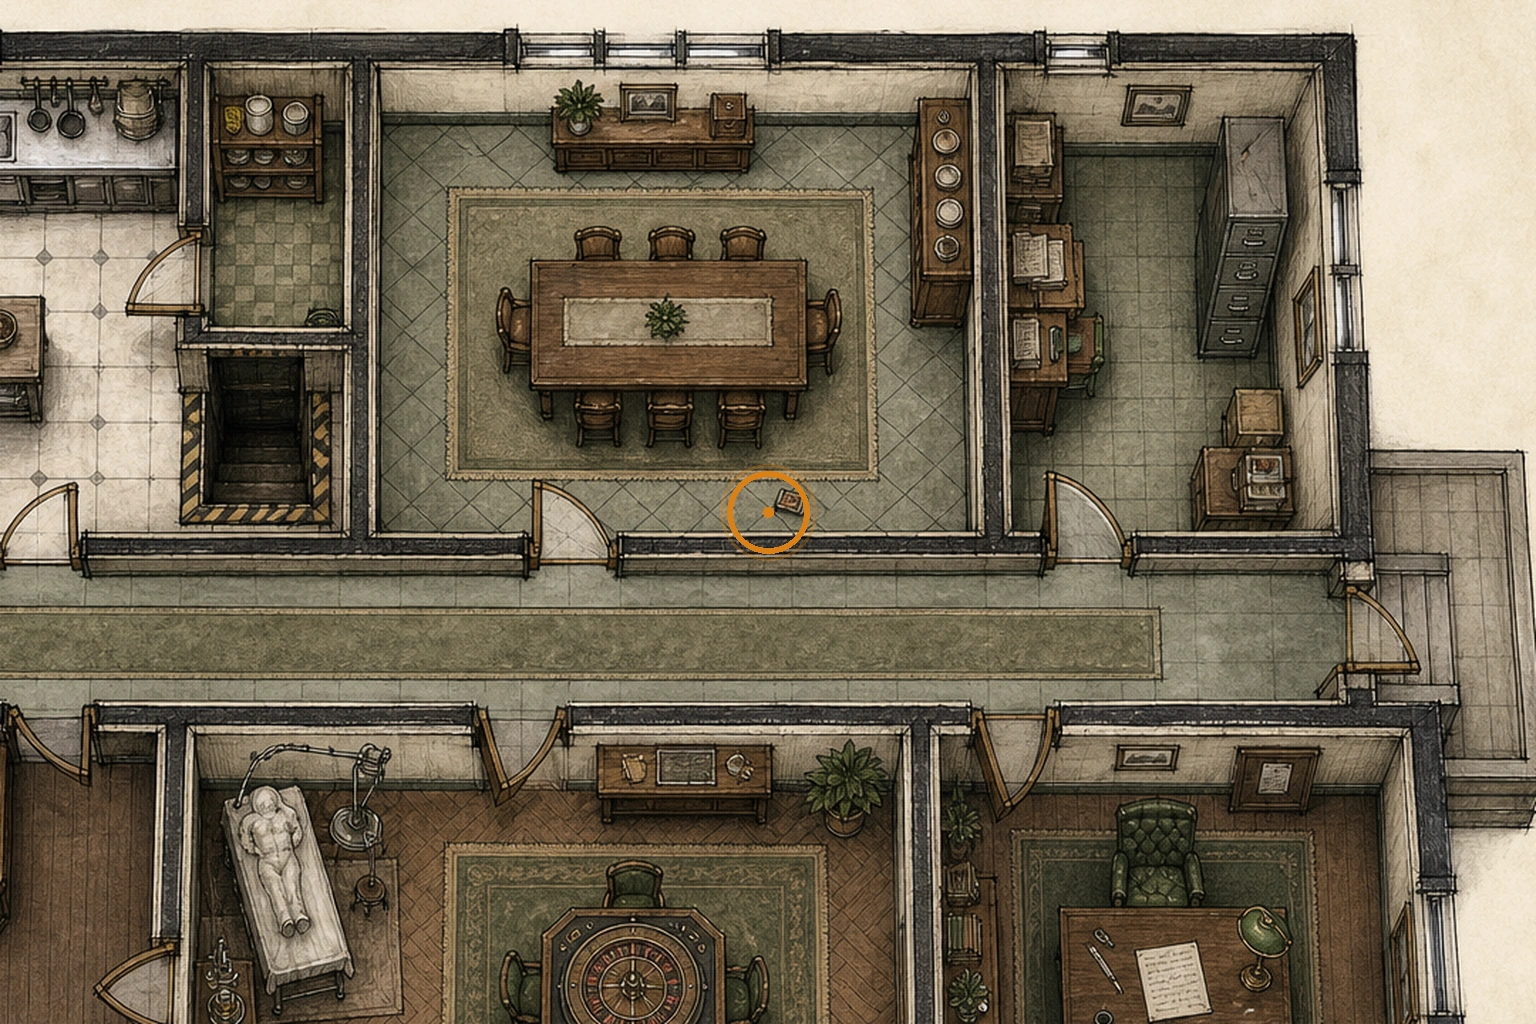
Empty Bottle (missable)
Optional item
HintA seemingly ordinary container in the Dining Room is worth keeping for much later.
WhereIn the Dining Room, look behind the table on the left and take the Empty Bottle from the shelf.
Full detailCollect the Empty Bottle from the shelf behind the left-side Dining Room table, then keep it in your inventory or storage box; do not discard it, because a later optional completion step requires it.
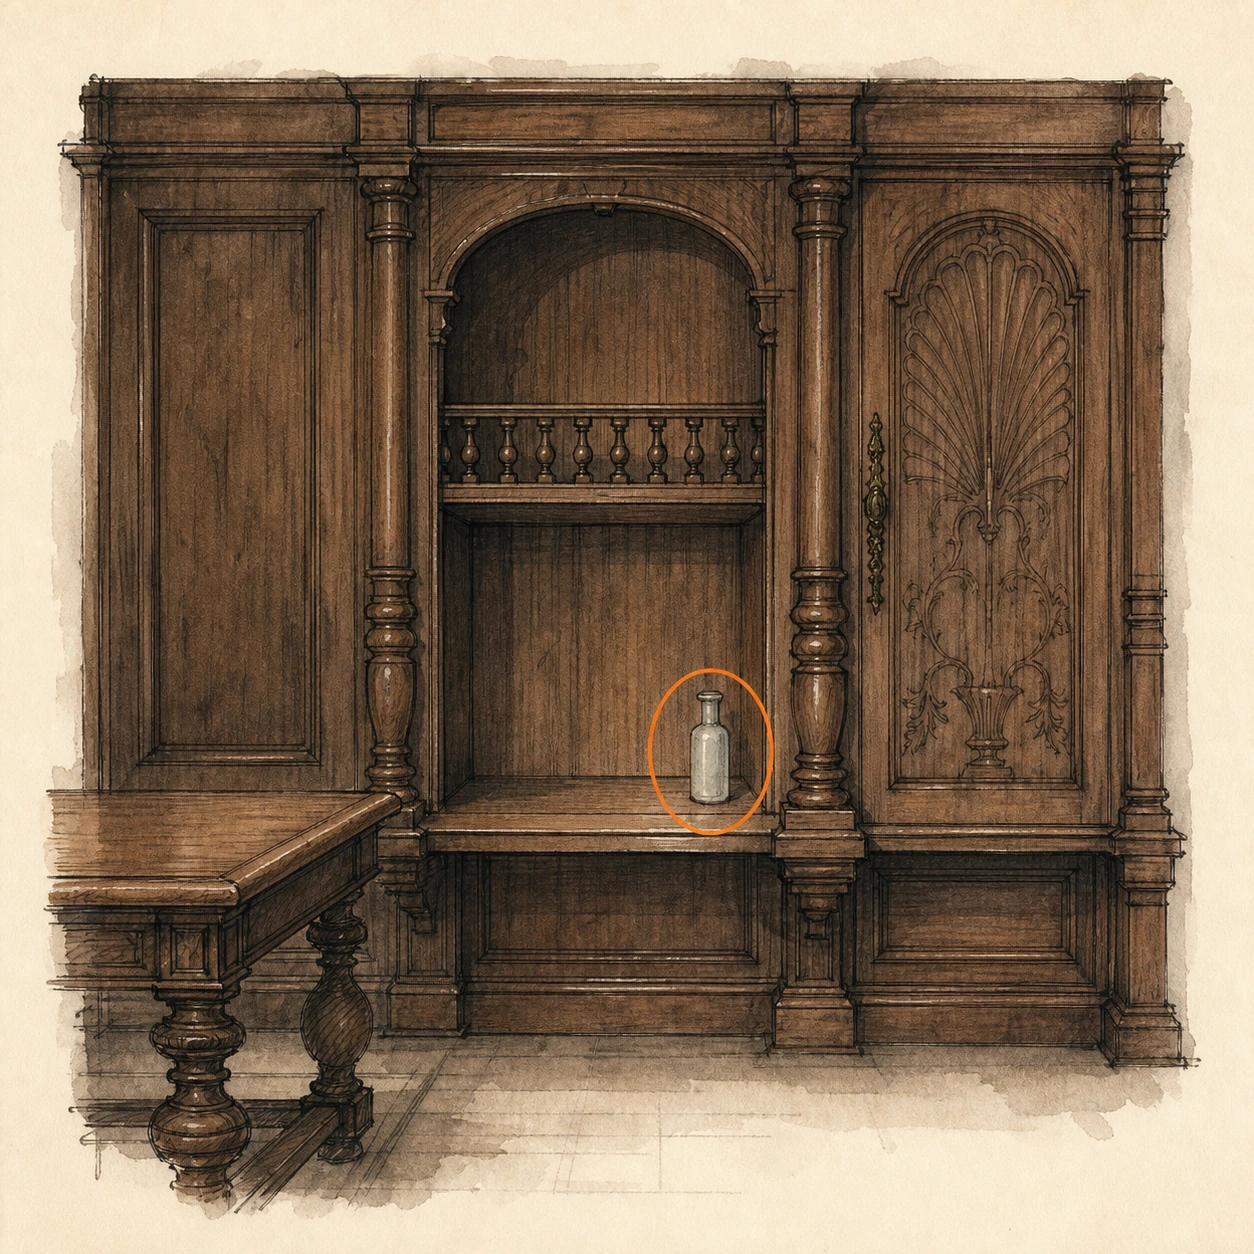
Makeshift Knife (missable)
Weapon
HintThe rooms adjoining the Dining Room contain another useful weapon.
WhereOpen the locker in the Filing Room next to the Dining Room to collect the Makeshift Knife.
Full detailEnter the Filing Room beside the Dining Room, open its locker, and take the Makeshift Knife before continuing north.
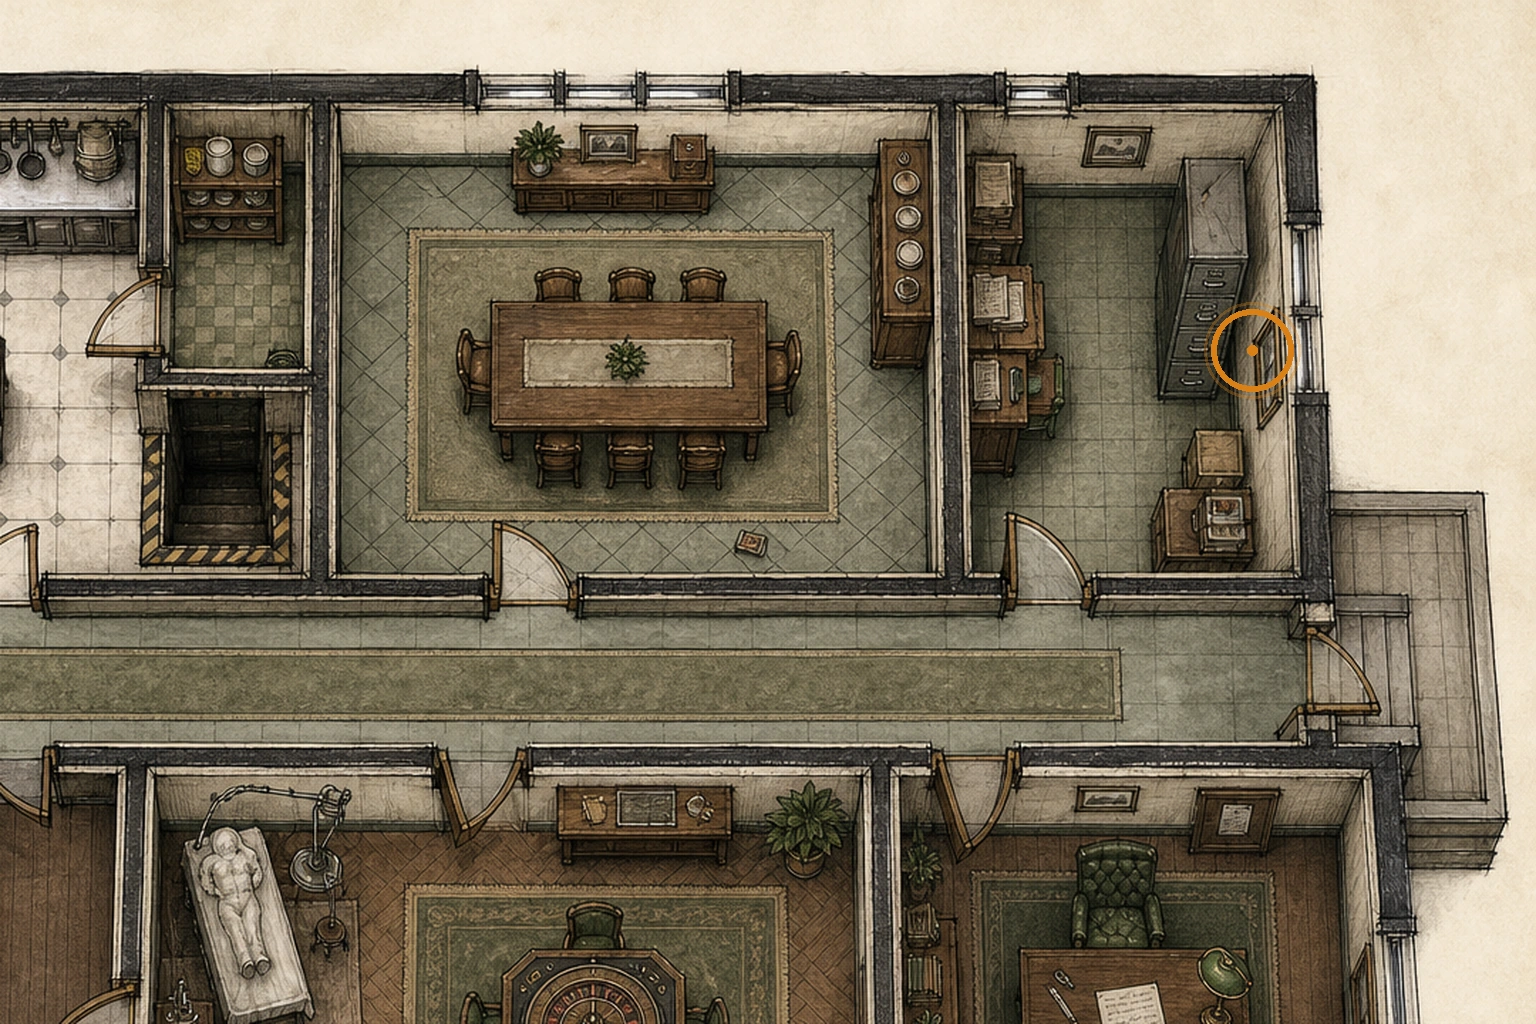
Hunting Knife (missable)
Weapon
HintWatch what nearby enemies are carrying around the Dining and Filing Rooms.
WhereDefeat the knife-wielding enemy near the Dining Room and Filing Room, then collect the dropped Hunting Knife.
Full detailFind the enemy visibly carrying a knife near the Dining and Filing Rooms, defeat it, and pick up the Hunting Knife it drops before leaving the area.
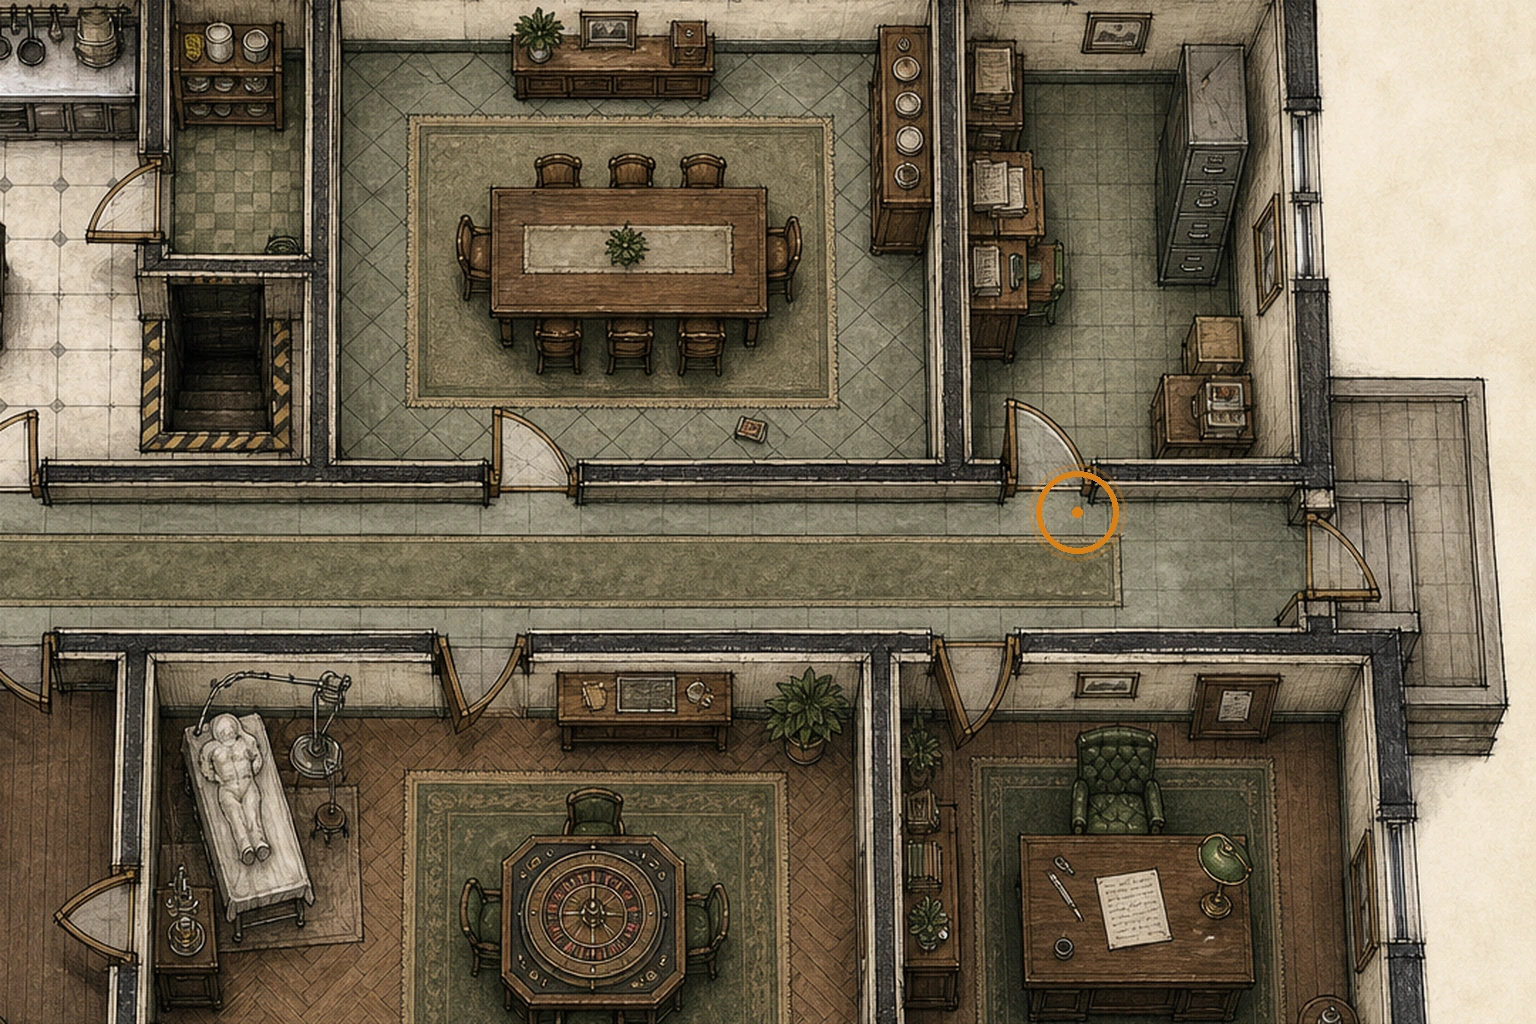
Antique Coin #3 (missable)
Antique Coin
HintCheck the connecting corridors after searching the Filing Room.
WhereCollect the coin in the corridor directly north of the Filing Room.
Full detailLeave the Filing Room by the northern route, search the connecting corridor, and pick up the coin before climbing farther into the West Wing.
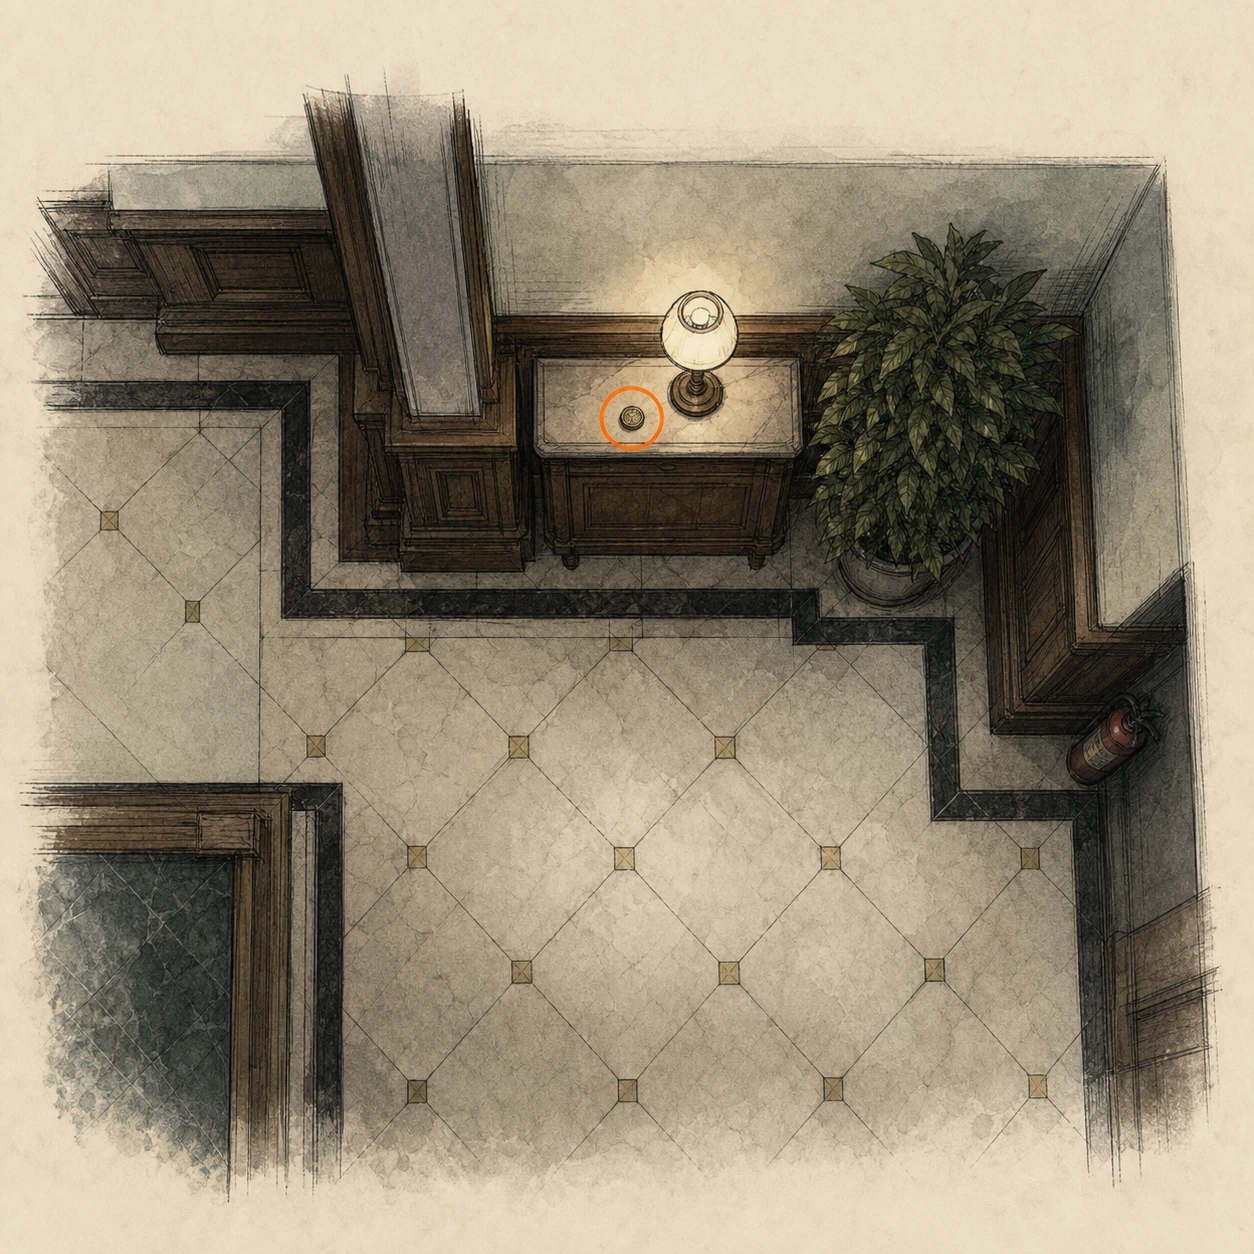
West Wing Map (missable)
Map
HintEarly on the upper route, inspect the walls around the stairs.
WhereAfter climbing the first set of West Wing stairs, collect the map from the wall.
Full detailTake the first staircase in the West Wing and inspect the wall at the top to collect the West Wing Map before proceeding.
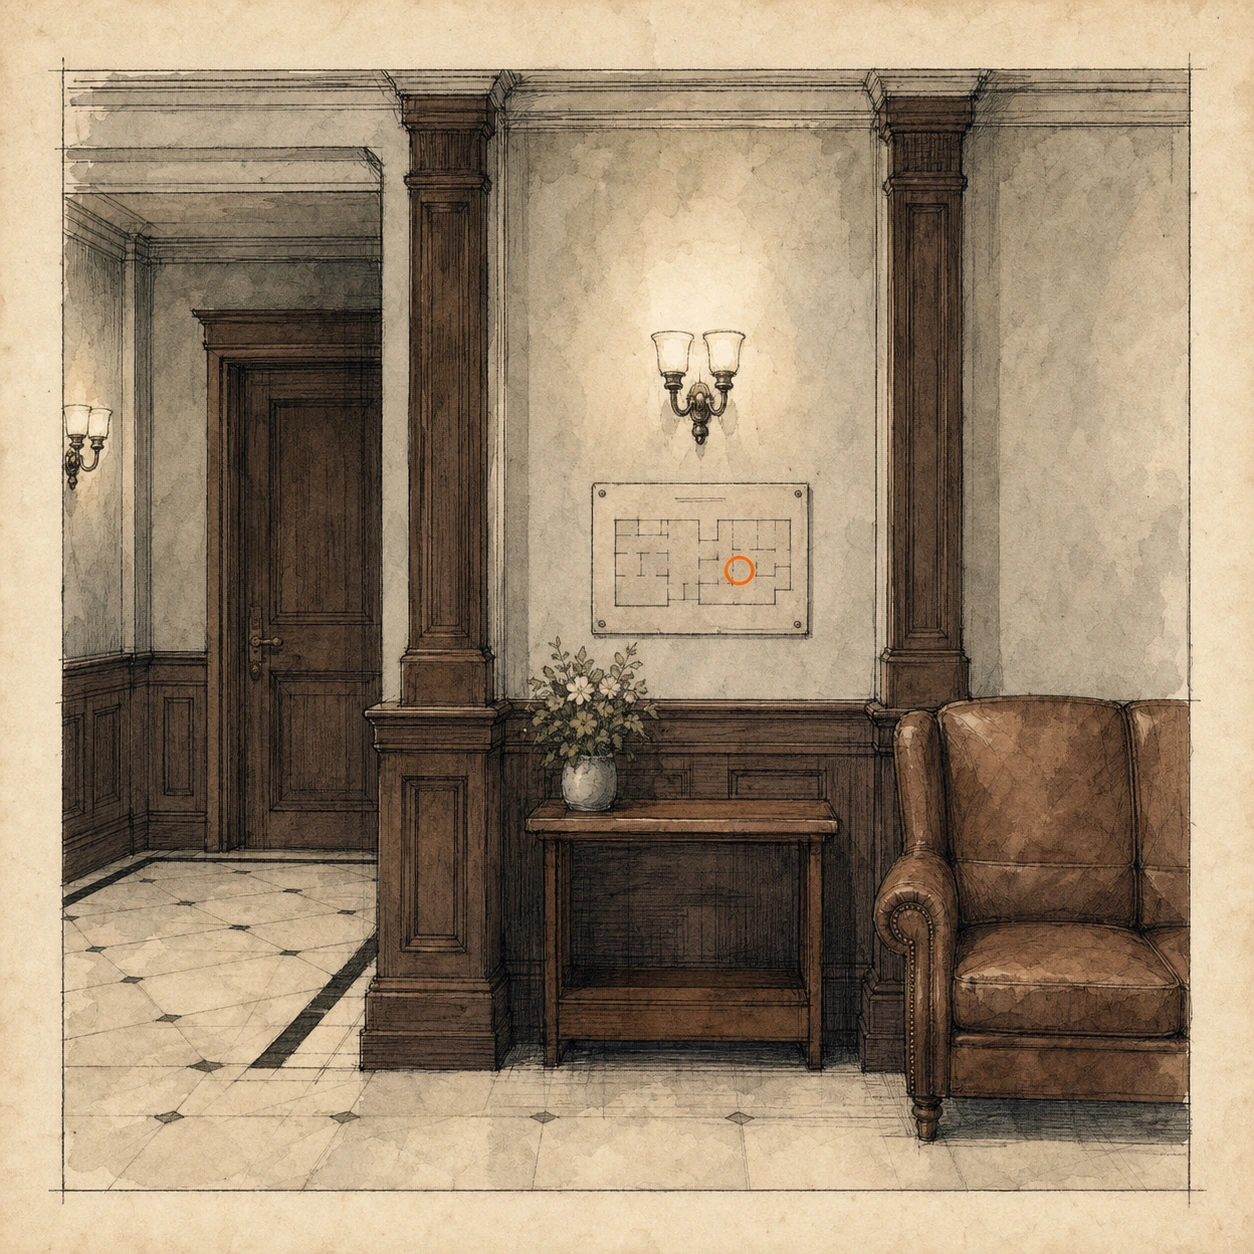
Antique Coin #4 (missable)
Antique Coin
HintIn the lounge, inspect the musical furnishings as well as the bar.
WhereCollect the coin from the piano in the Bar and Lounge.
Full detailEnter the Bar and Lounge, approach the piano, and take the coin resting on it before dealing with the locked safe.
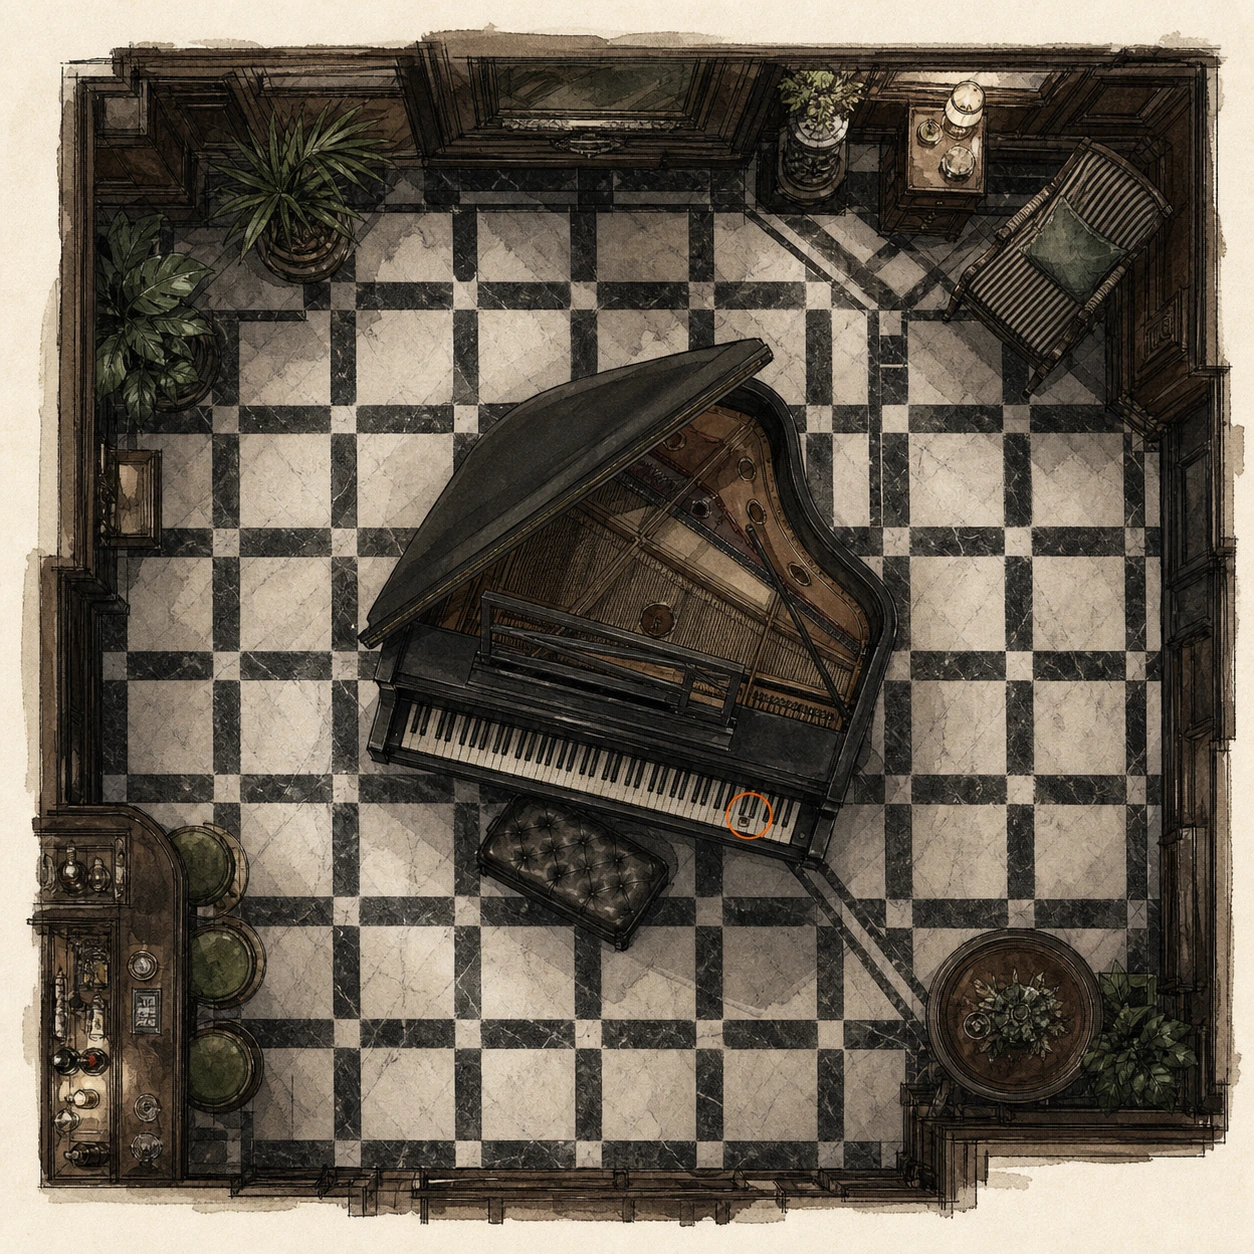
Antique Coin #5 (missable)
Antique Coin
HintOne distinctive enemy in the lounge carries a collectible.
WhereDefeat the singing enemy in the white dress in the Bar and Lounge and collect the coin it drops.
Full detailLocate the singing, white-dressed enemy in the Bar and Lounge, defeat it, and pick up the dropped coin before leaving the room.
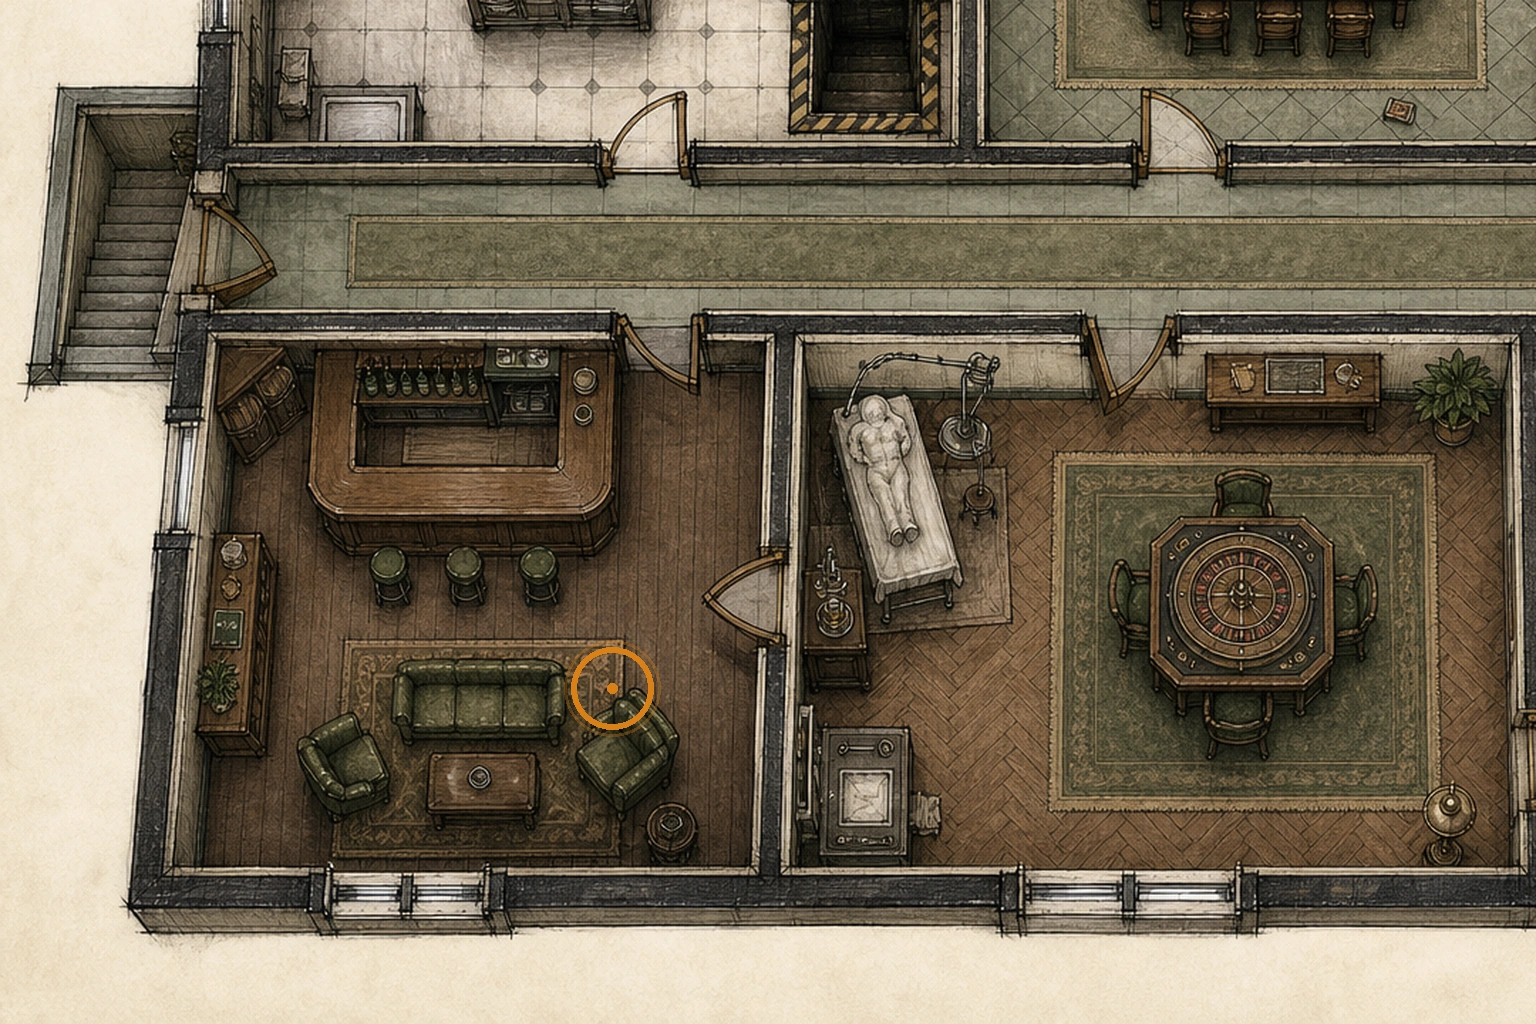
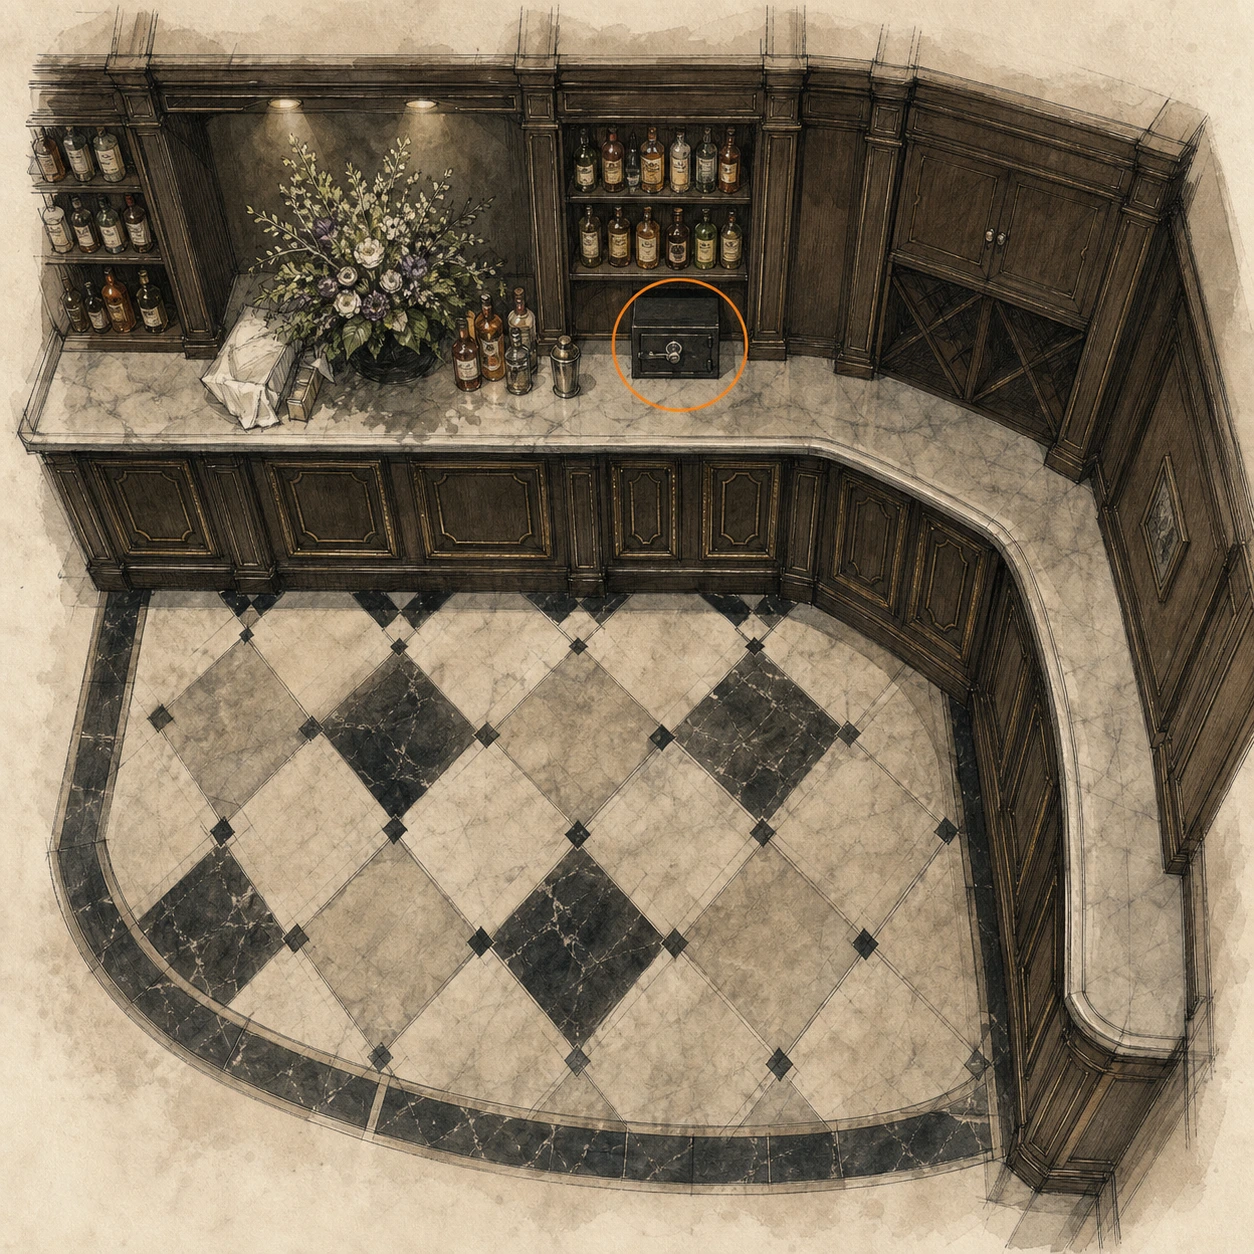
Safe #1 (missable)
Safe
HintA locked container is sitting in plain view around the lounge's serving area.
WhereFind the safe on the bar counter in the Bar and Lounge, behind the enemies.
Full detailOpen the bar-counter safe with Left 10, Right 80, Left 30 on Casual/Standard or Right 20, Left 50, Right 30 on Insanity; it contains three Antique Coins, and the later code file is not required.
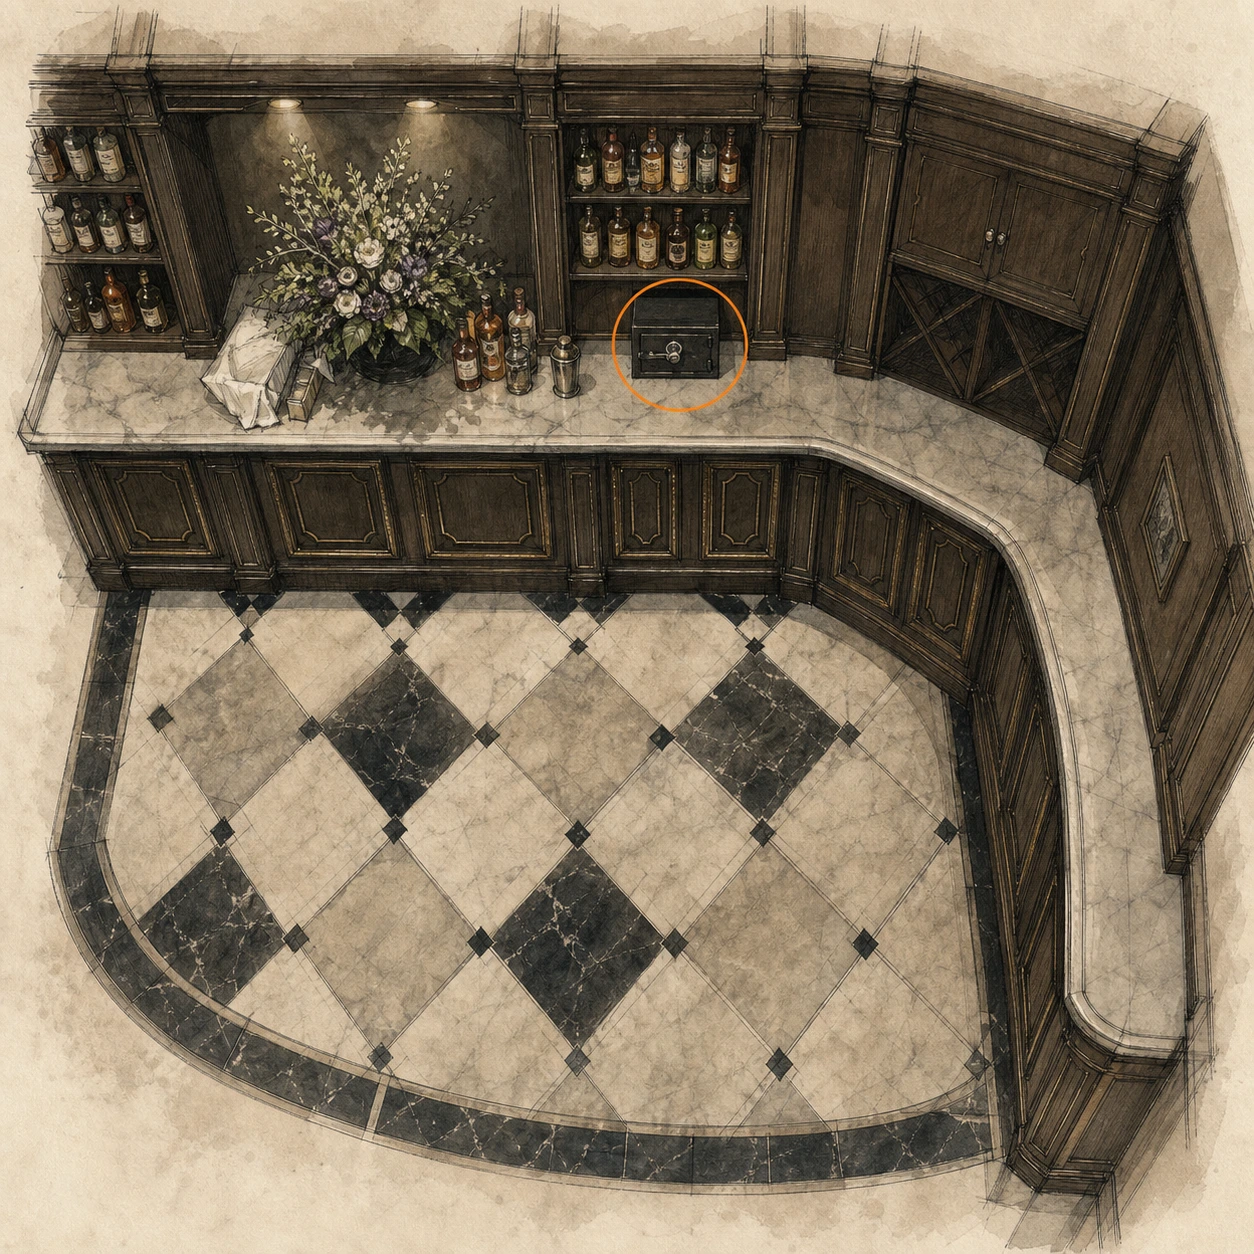
Antique Coin #6 (missable)
Antique Coin
HintA lounge safe contains a small group of collectibles.
WhereThis is one of the three coins inside the safe on the Bar and Lounge counter.
Full detailOpen the bar-counter safe with Left 10, Right 80, Left 30 on Casual/Standard or Right 20, Left 50, Right 30 on Insanity, then collect all three coins inside; this entry is one of them.
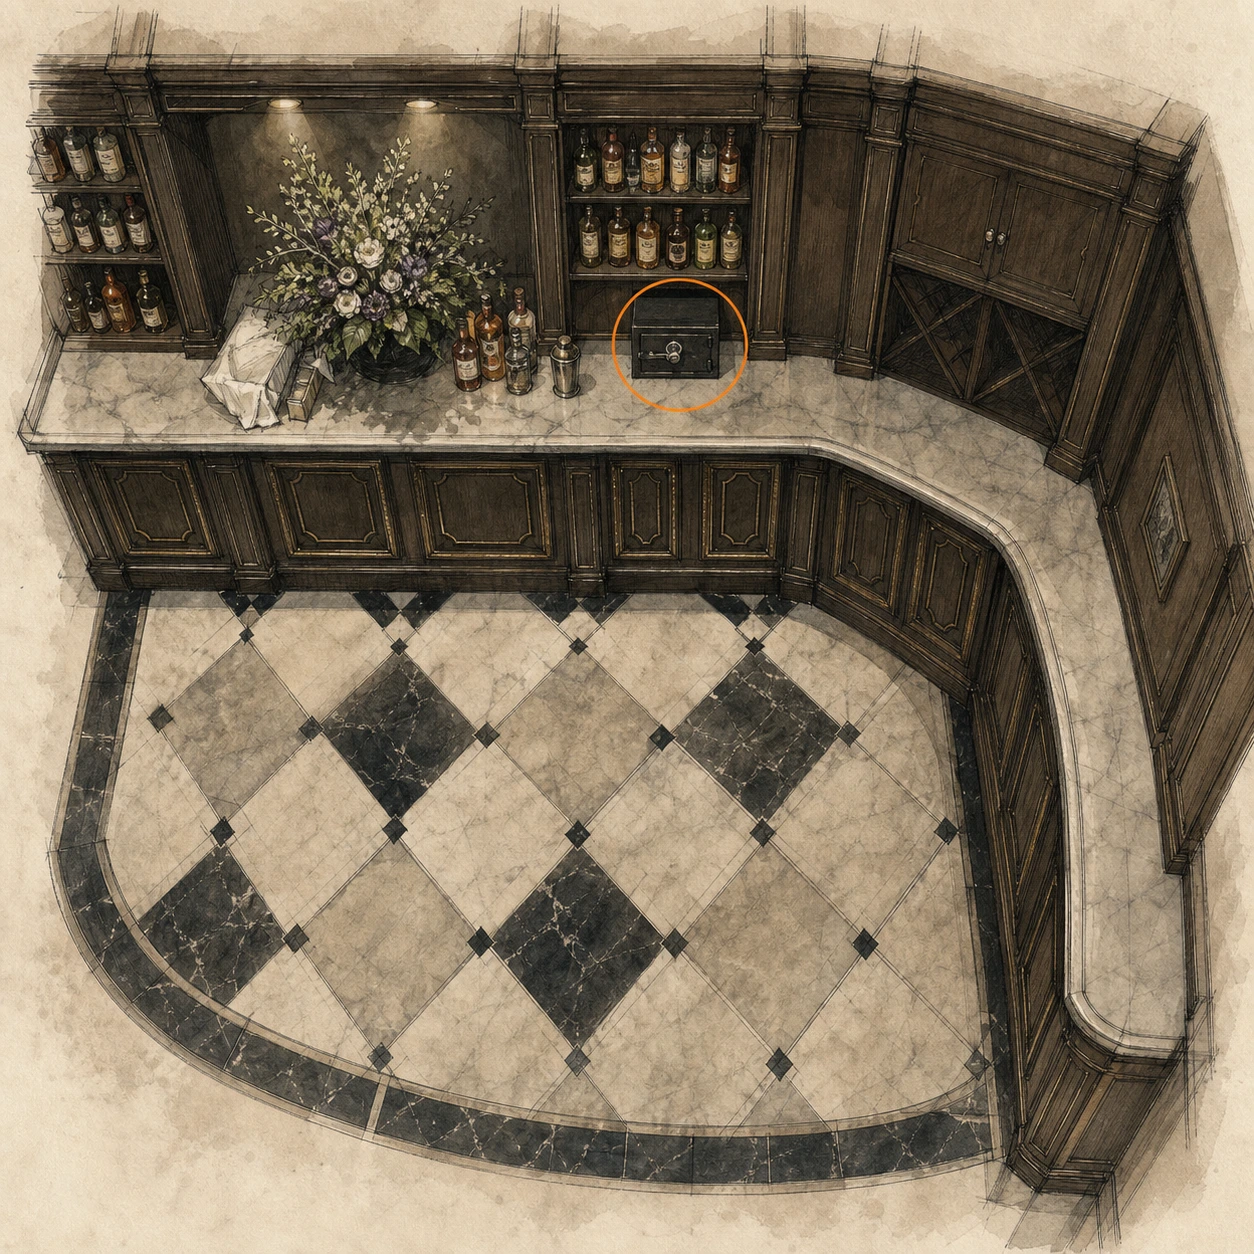
Antique Coin #7 (missable)
Antique Coin
HintA lounge safe contains a small group of collectibles.
WhereThis is one of the three coins inside the safe on the Bar and Lounge counter.
Full detailOpen the bar-counter safe with Left 10, Right 80, Left 30 on Casual/Standard or Right 20, Left 50, Right 30 on Insanity, then collect all three coins inside; this entry is one of them.
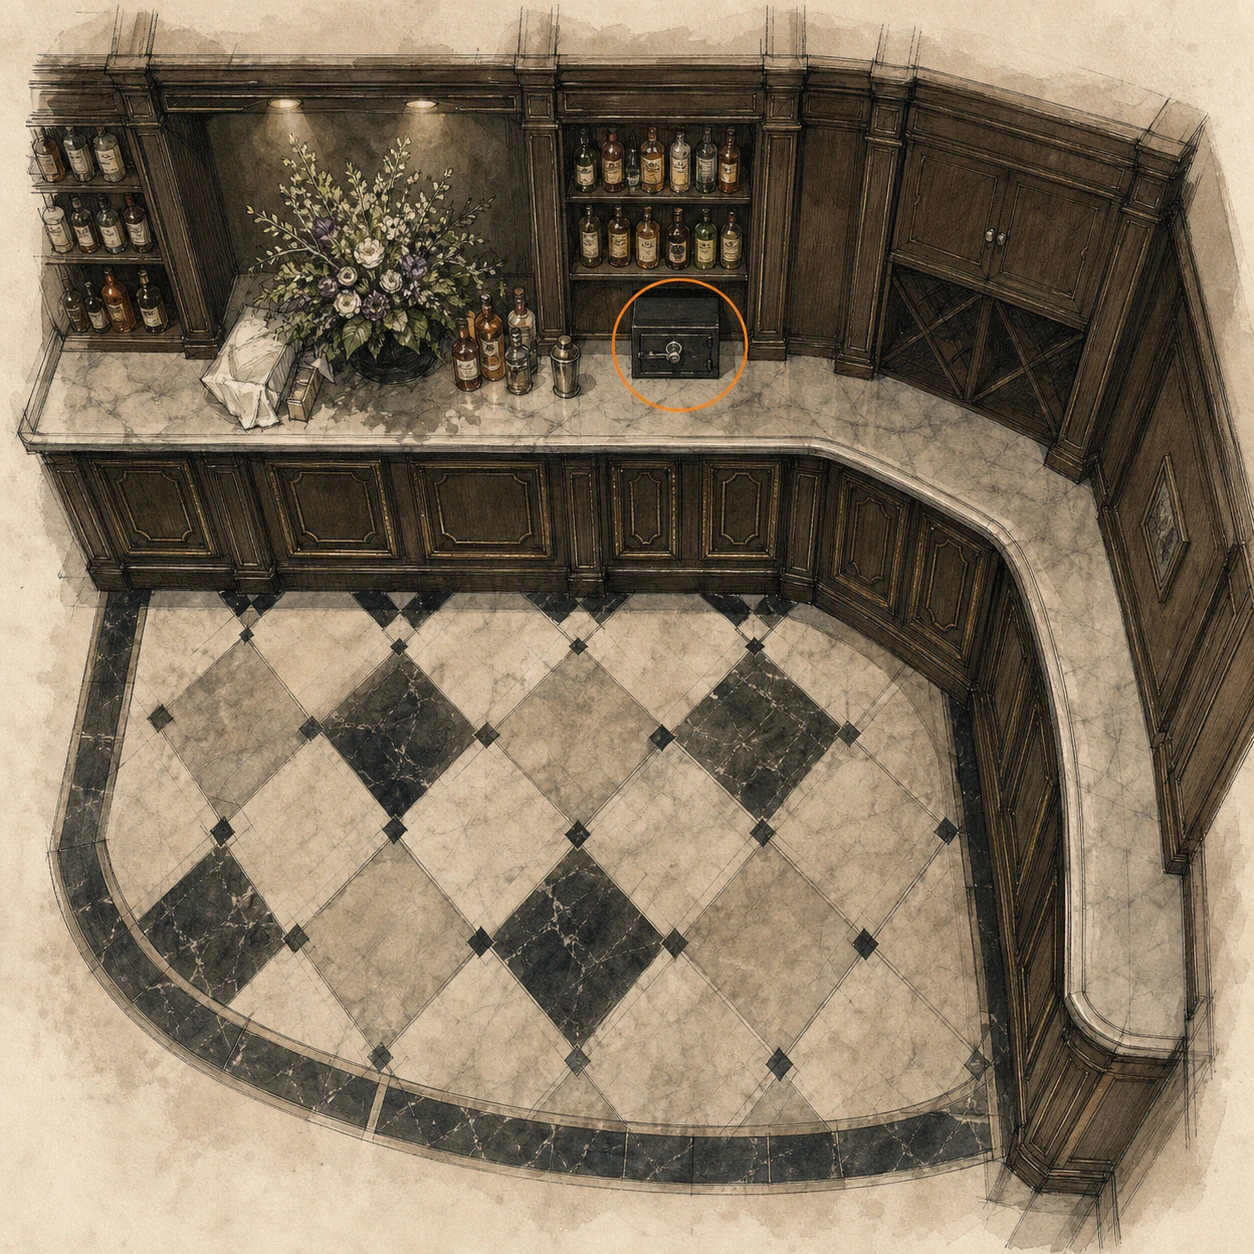
Antique Coin #8 (missable)
Antique Coin
HintA lounge safe contains a small group of collectibles.
WhereThis is one of the three coins inside the safe on the Bar and Lounge counter.
Full detailOpen the bar-counter safe with Left 10, Right 80, Left 30 on Casual/Standard or Right 20, Left 50, Right 30 on Insanity, then collect all three coins inside; this entry is one of them.
S&S M232 (missable)
Weapon
HintThe lounge bar holds another useful pickup in the open.
WhereCollect the S&S M232 from the bar counter in the Bar and Lounge.
Full detailAfter clearing a path through the Bar and Lounge, approach the bar counter and take the S&S M232 before entering the next corridor.
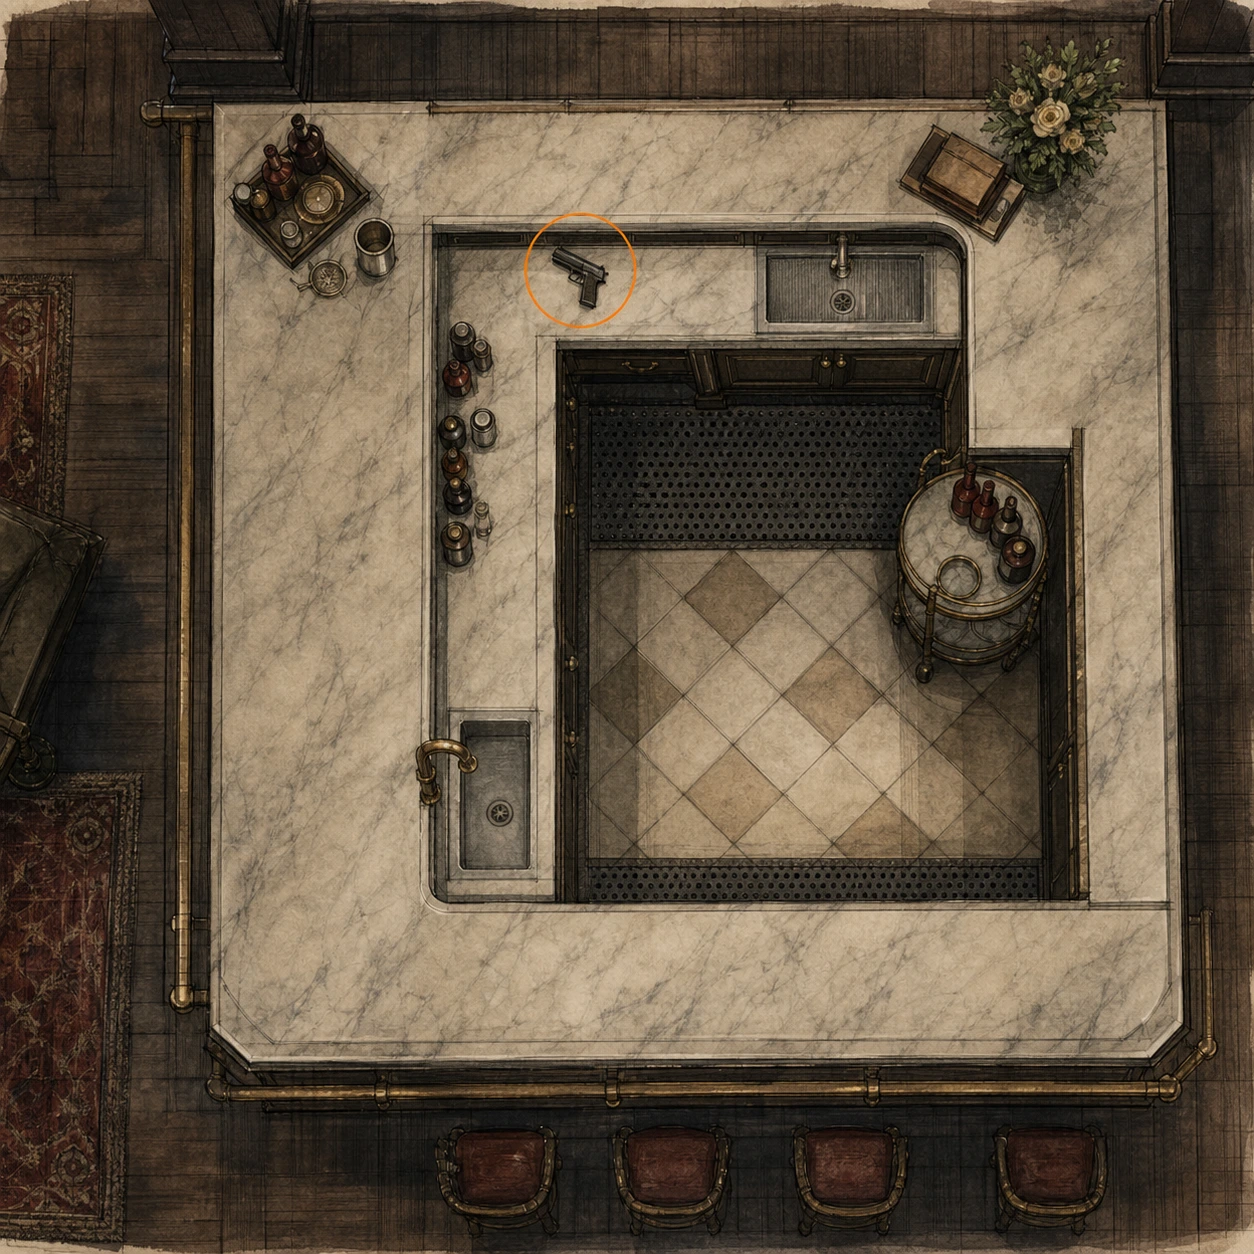
File #11 - Folded Note (missable)
File
HintAfter leaving the lounge, inspect clothing and fixtures along the corridor.
WhereContinue past the Bar and Lounge, take the corridor's left turn, and search the wall-hung white coat.
Full detailFrom the Bar and Lounge, follow the corridor and take the left turn, then interact with the hanging white coat to retrieve and read the Folded Note.
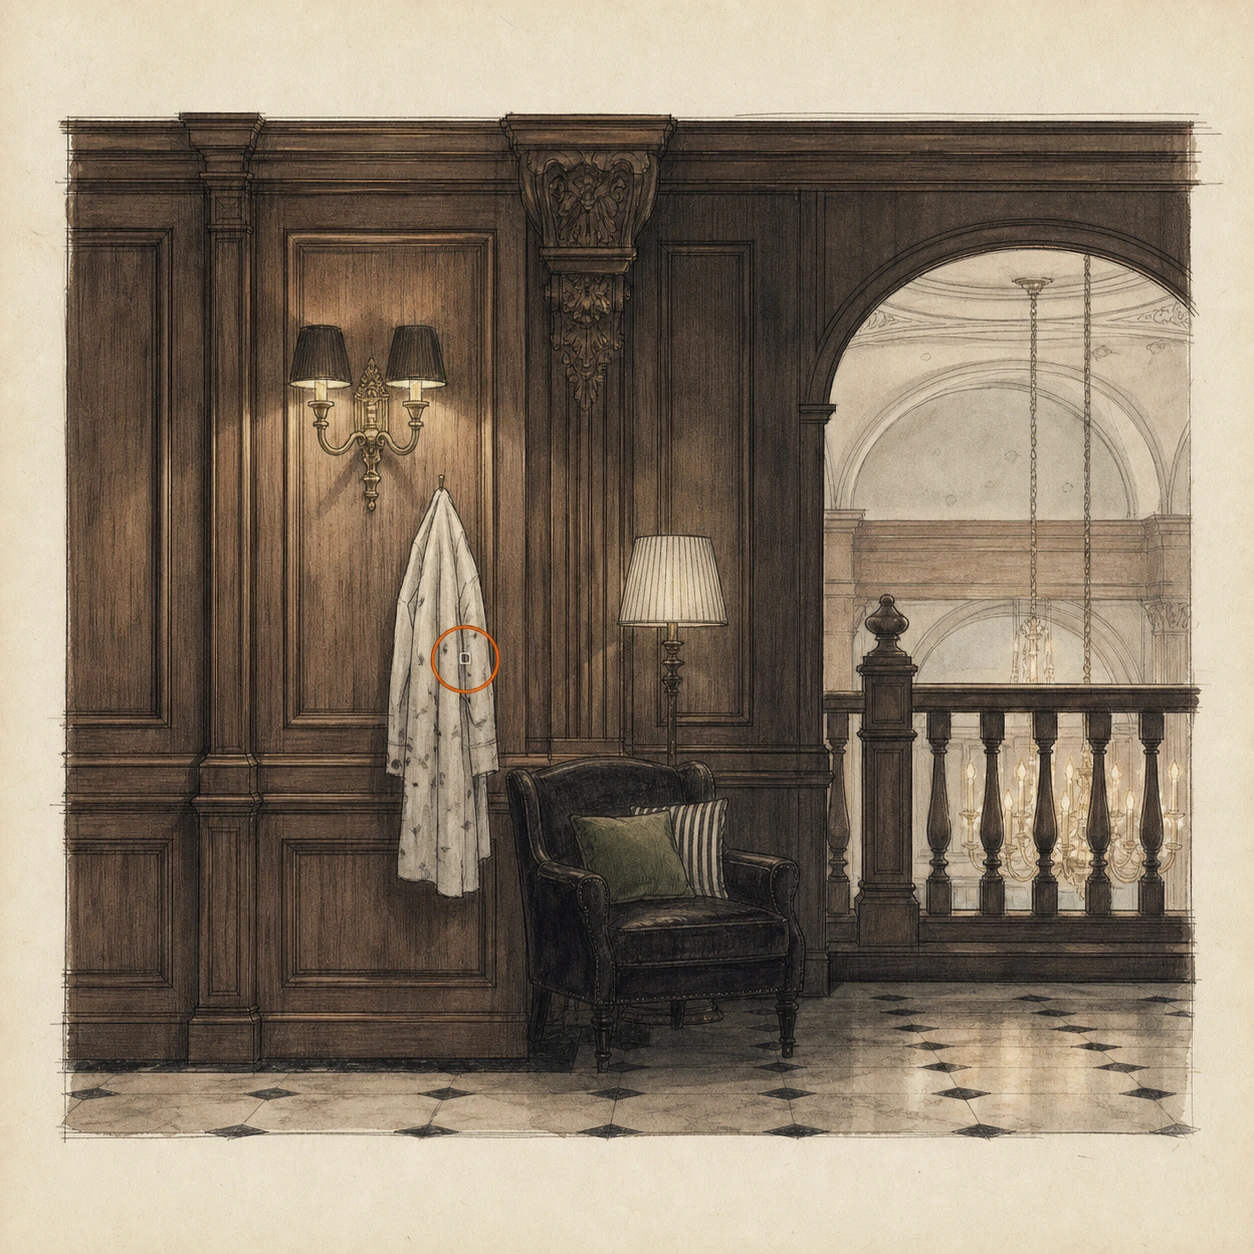
Red Jewel (missable)
Key item
HintA dark office contains a key item tucked into one of its corners.
WhereIn the Chairman's Office, collect the Red Jewel from the Unicorn Trinket Box in the left corner; on Insanity, check the rear room instead.
Full detailSearch the left corner of the dark Chairman's Office for the Unicorn Trinket Box and take the Red Jewel; on Insanity, the box is moved into the office's rear room.
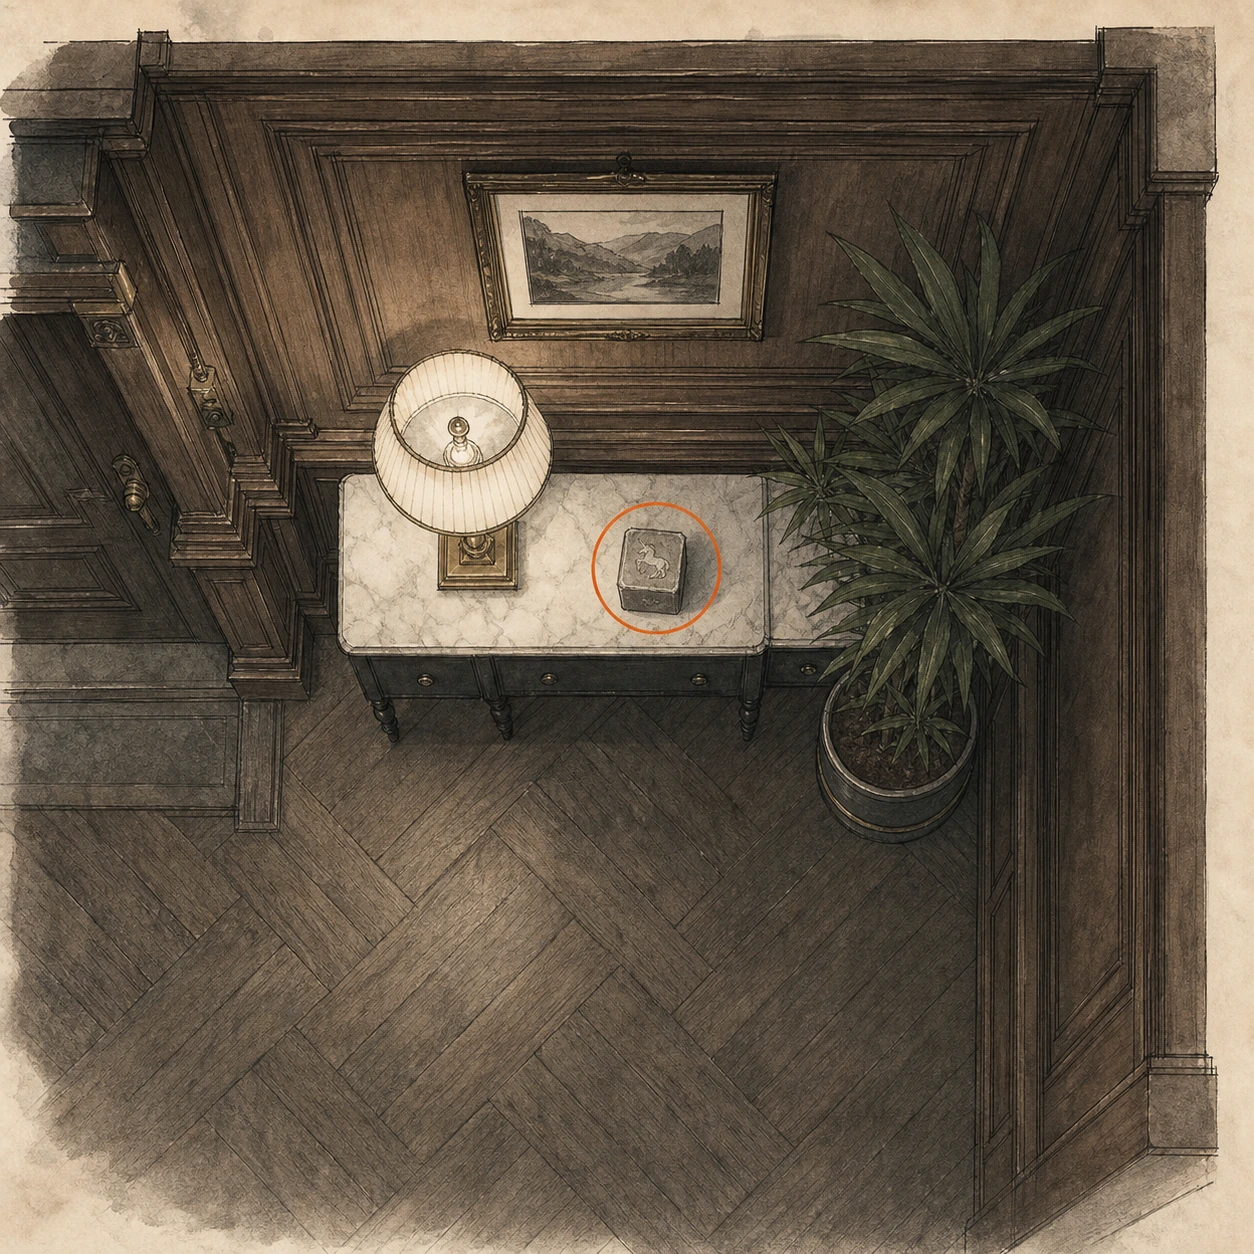
File #12 - Copy of an Email to a Manager (missable)
File
HintThe dark office contains a document on its storage furniture.
WhereIn the Chairman's Office, read the Copy of an Email to a Manager on the cupboard.
Full detailBefore leaving the Chairman's Office, inspect the cupboard in the main room and read the email copy.
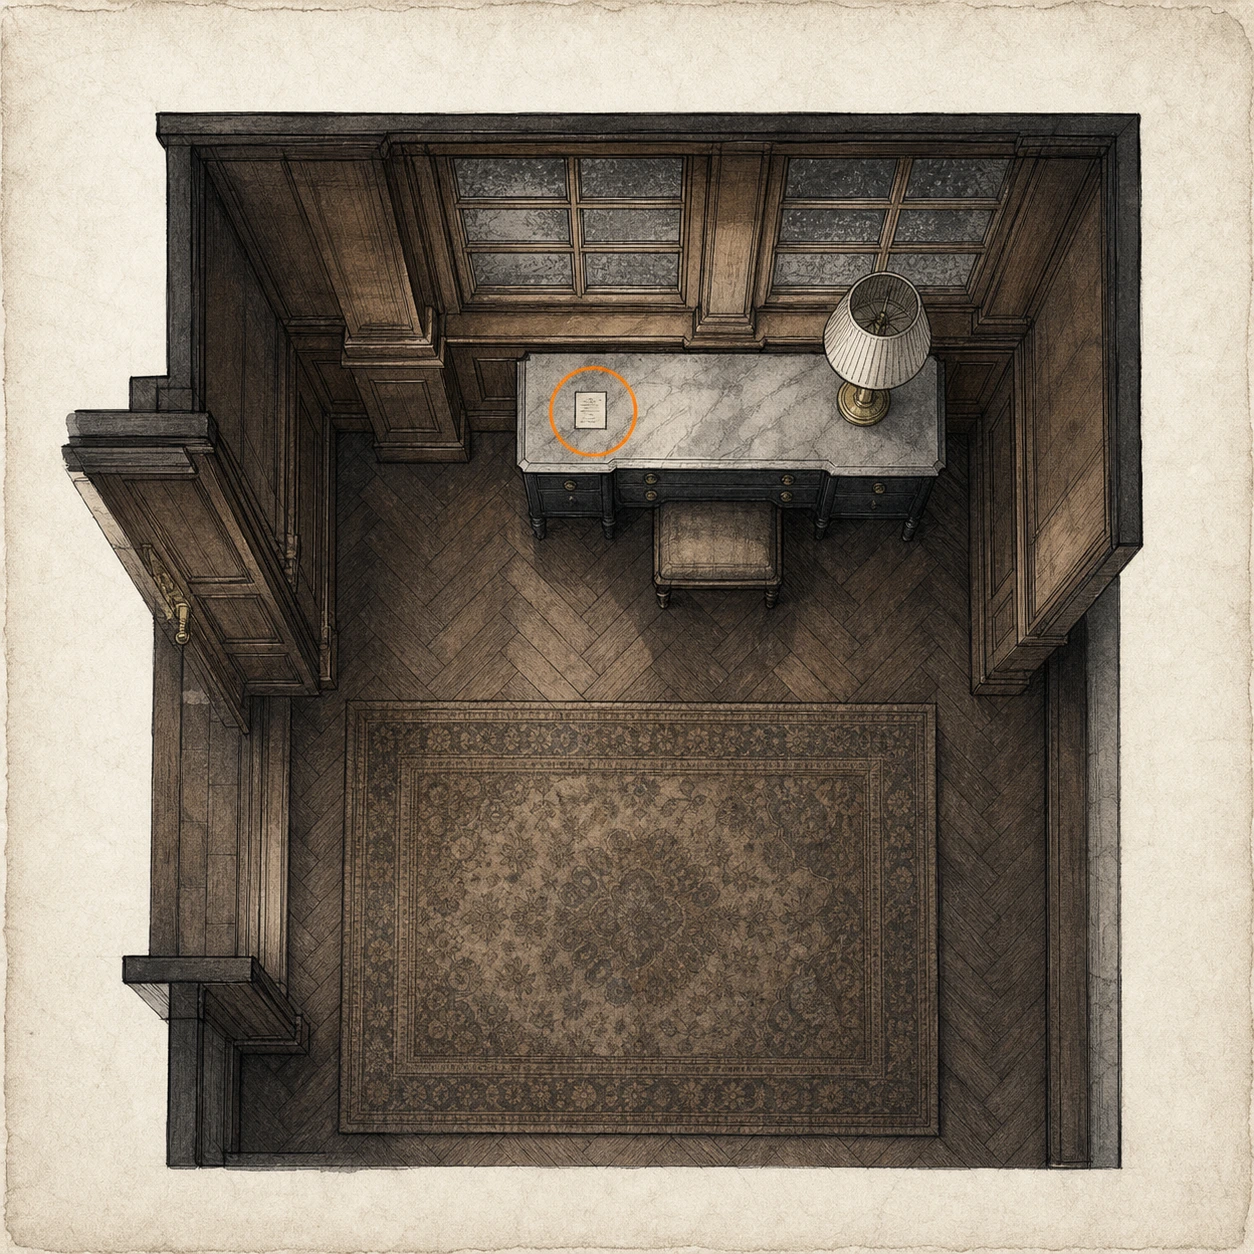
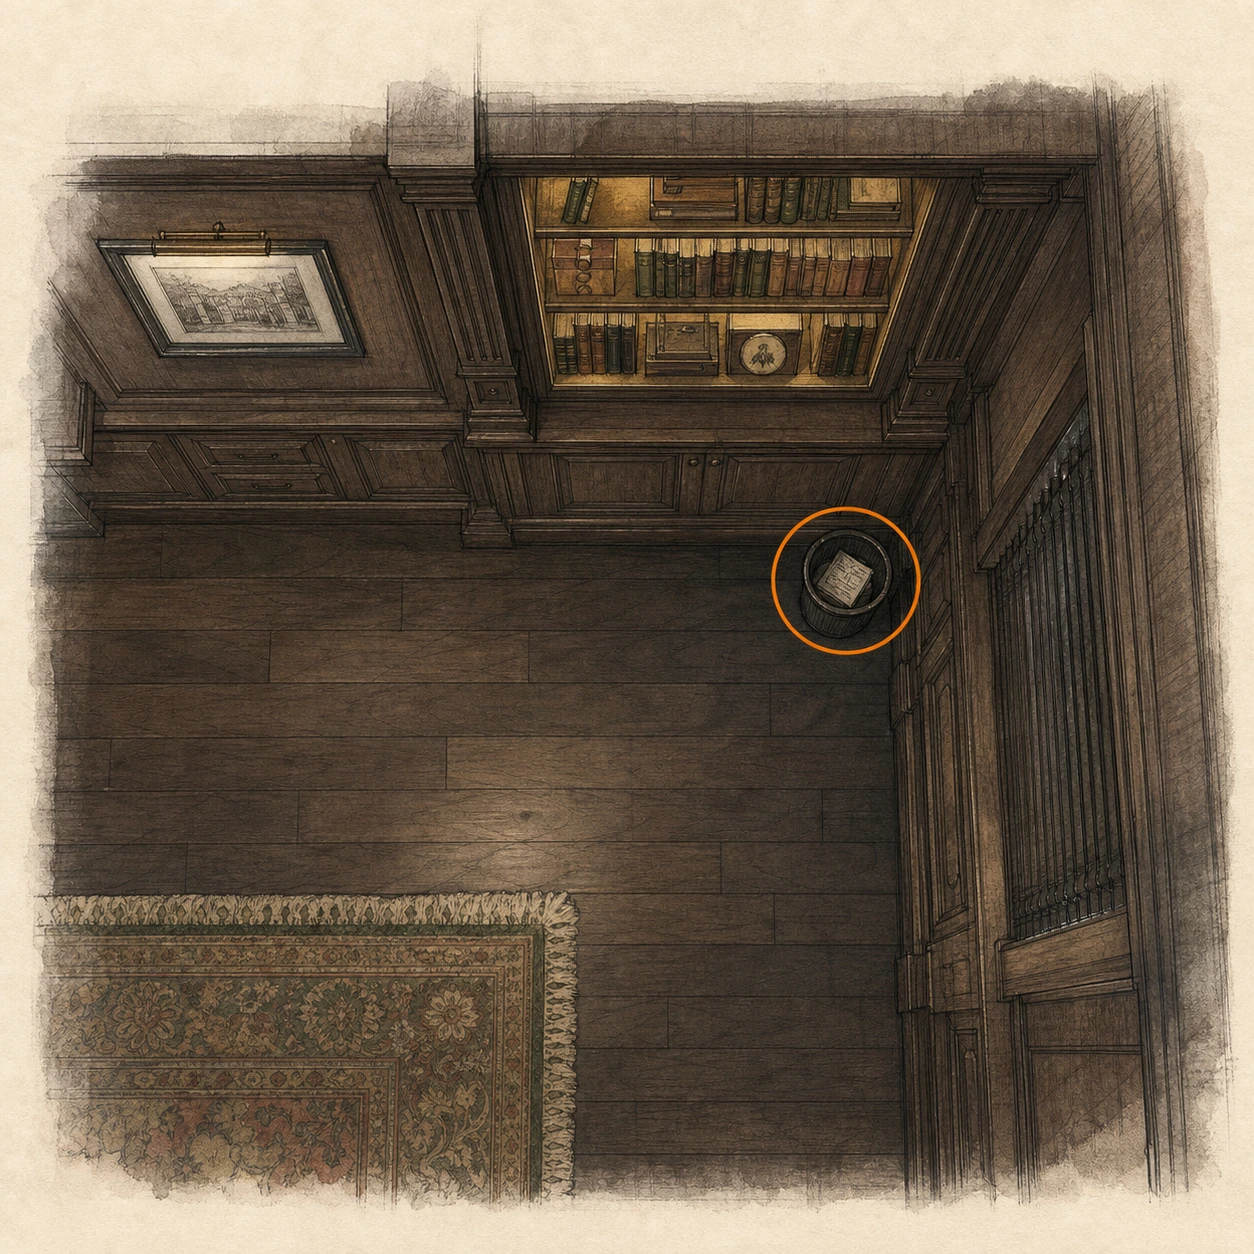
File #13 - Note to a Chairman (missable)
File
HintDo not overlook the waste container in the office's rear room.
WhereEnter the rear room of the Chairman's Office and retrieve the Note to a Chairman from the trash bin.
Full detailSearch the back room of the Chairman's Office, interact with the trash bin, and read the note hidden inside.
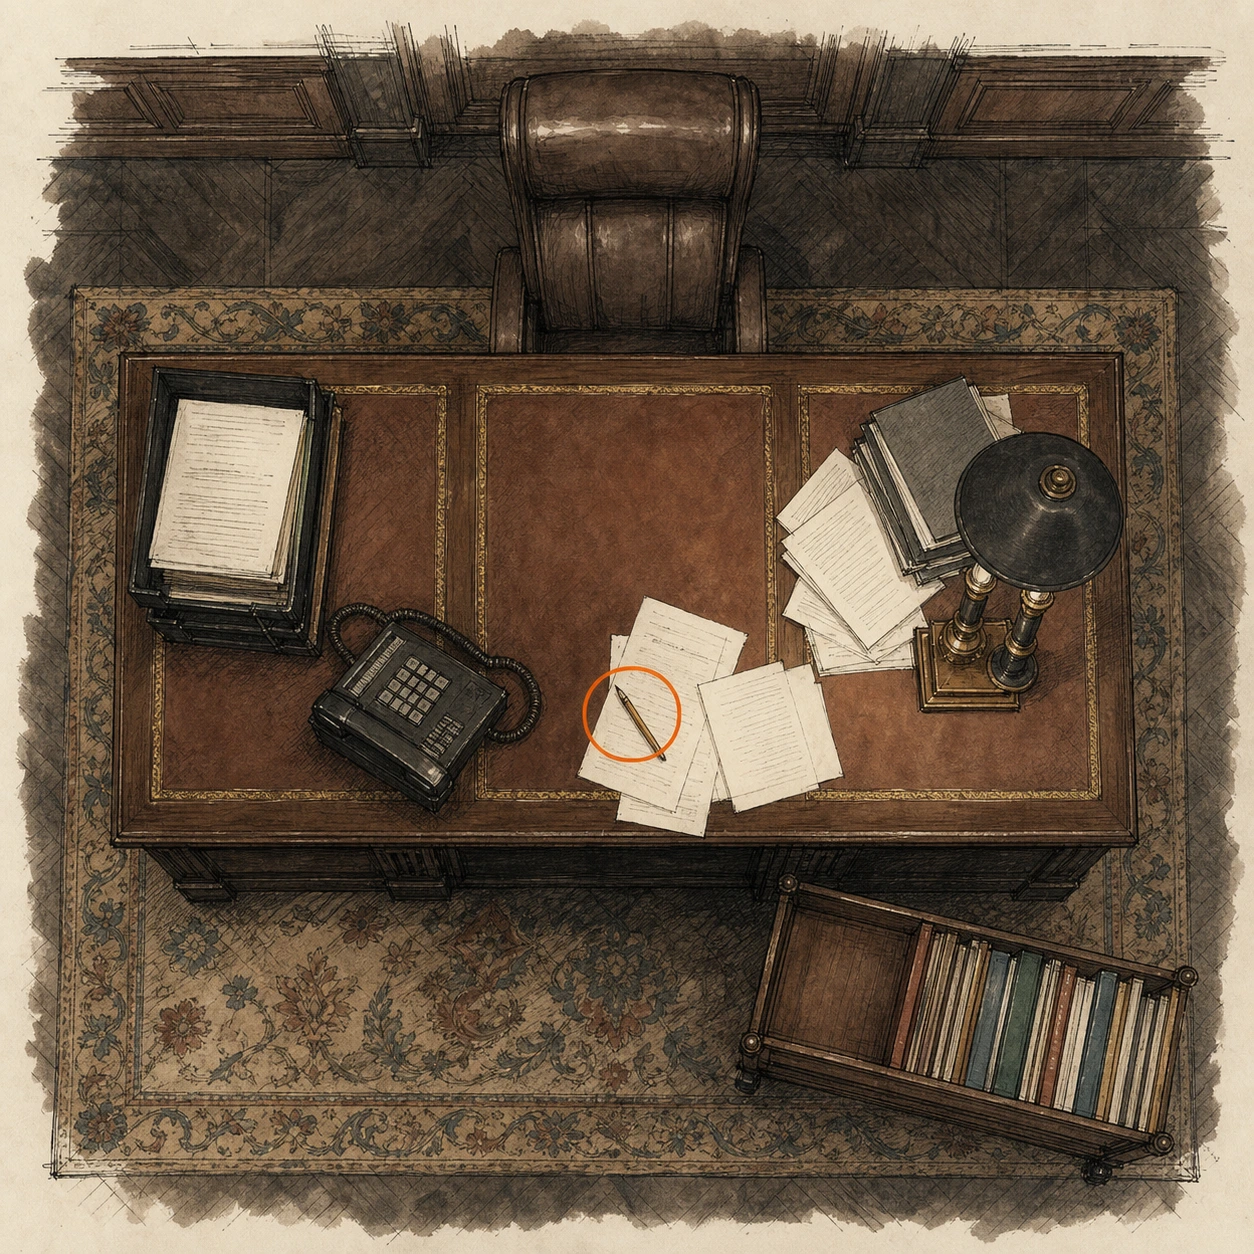
Pencil (missable)
Key item
HintOne ordinary object on the office furniture is needed for a nearby interaction.
WhereCollect the Pencil from the table in the Chairman's Office.
Full detailTake the Pencil from the Chairman's Office table, keep it in your inventory, and use it on the unfinished note in the same office.
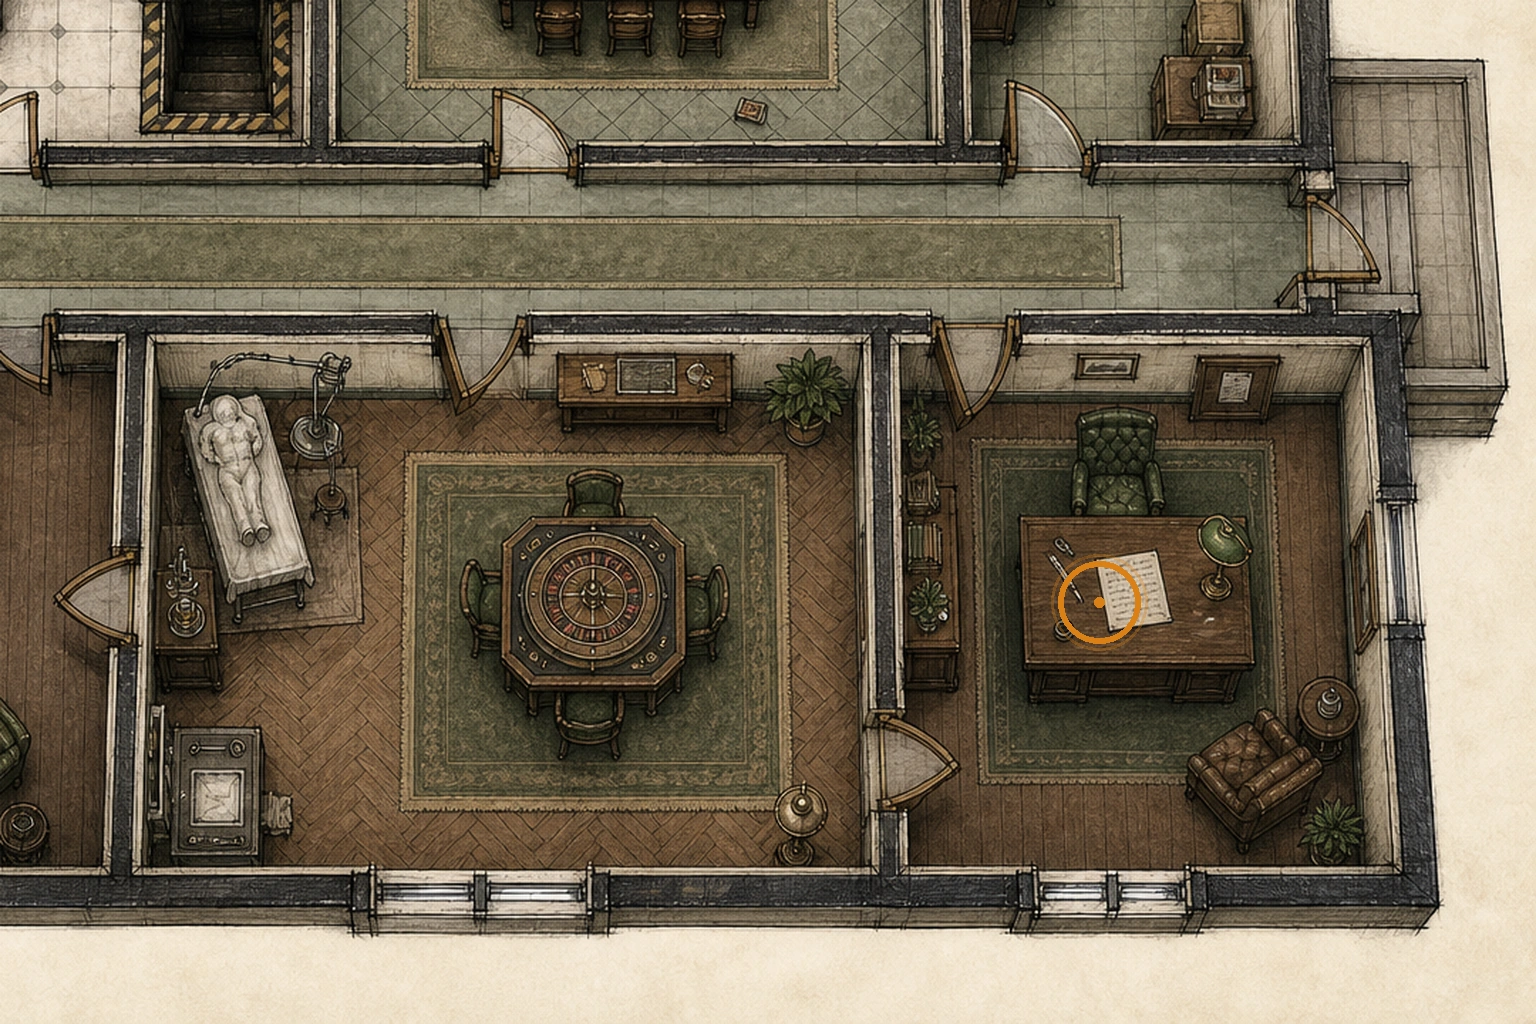
File #14 - Chairman's Note (missable)
File
HintAn unfinished document in the office can be completed with a nearby item.
WhereUse the Pencil to shade the unfinished note in the Chairman's Office and receive the completed file.
Full detailCollect the Pencil from the office table, interact with the unfinished note, and choose to shade it; the Chairman's Note is then added as a file.
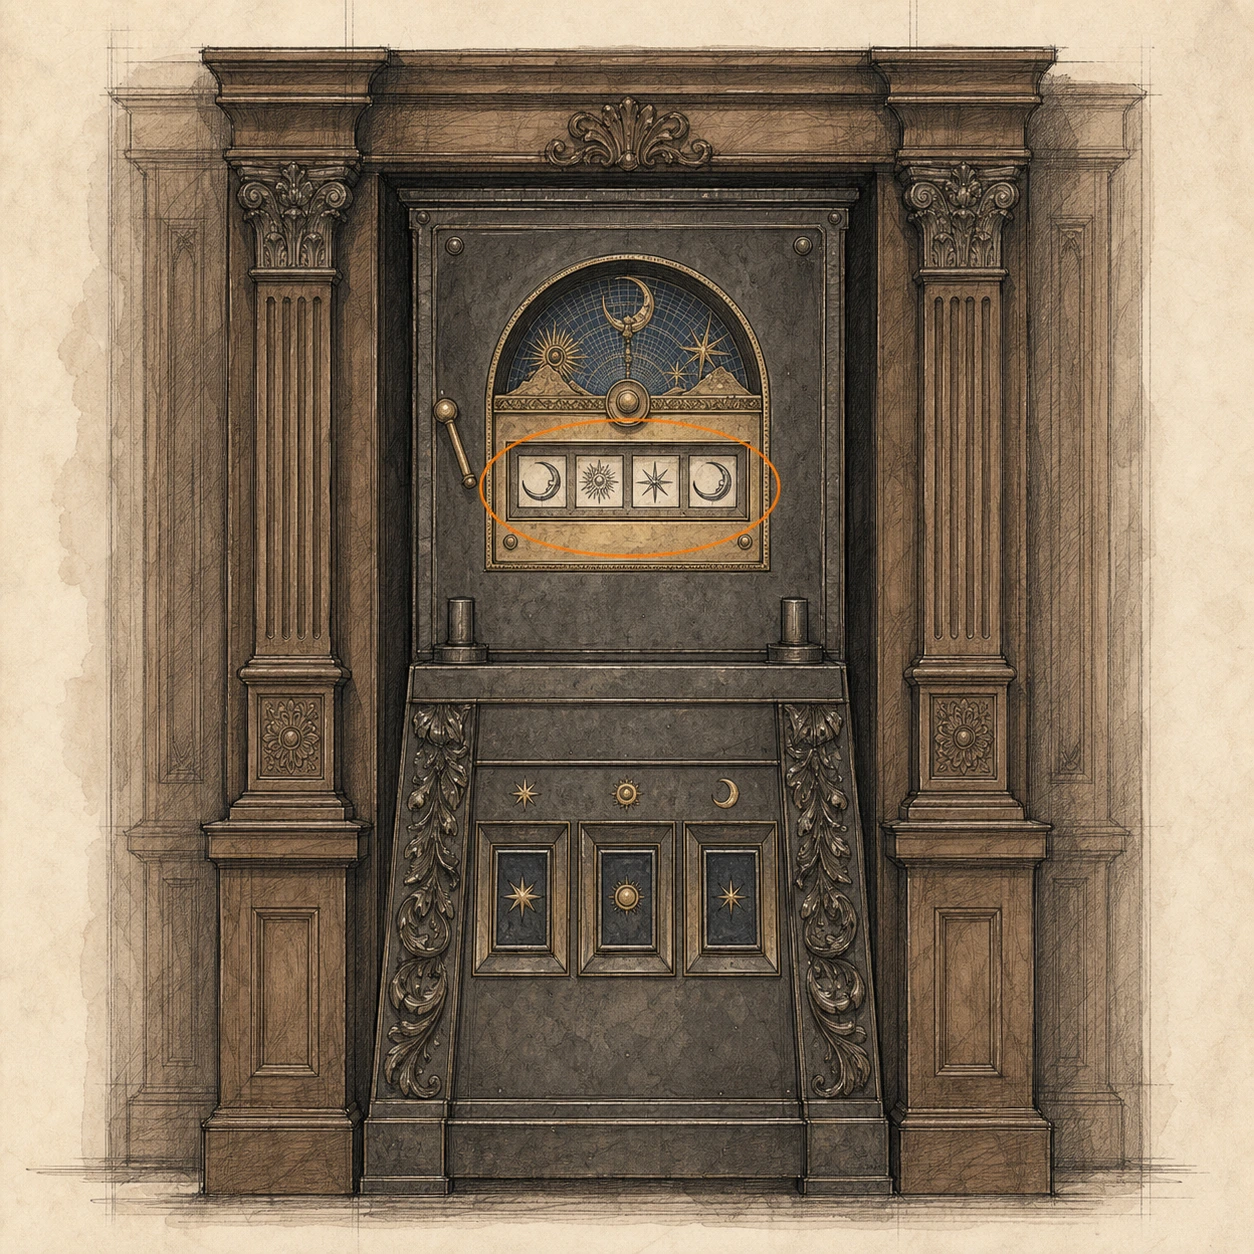
Moon Quartz (missable)
Key item
HintThe same office contains a symbol puzzle guarding a key item.
WhereInteract with the puzzle safe in the Chairman's Office to obtain the Moon Quartz.
Full detailEnter Moon, Sun, Star, Moon on the Chairman's Office puzzle safe, take the Moon Quartz, then use it on the Quartz Door in Central Hall.
Antique Coin #9 (missable)
Antique Coin
HintA previously locked room downstairs becomes worth revisiting once you have a jewel.
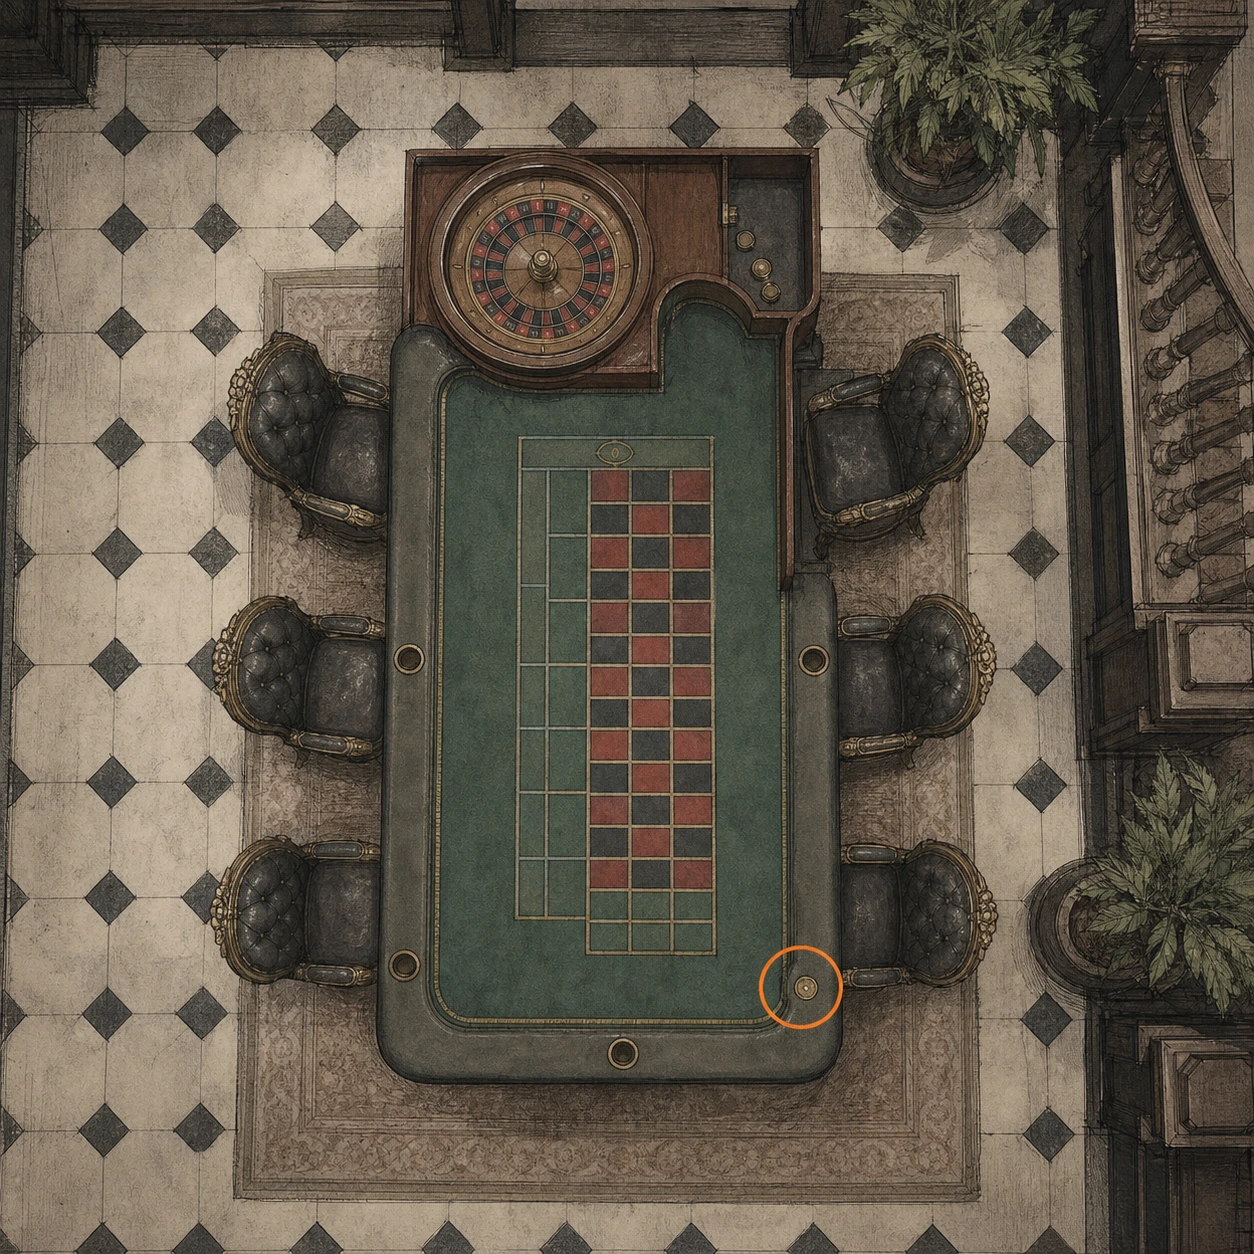
WhereUse the Red Jewel on the Parlor door downstairs, then collect the coin from the roulette table.
Full detailBacktrack downstairs through the West Wing, insert the Red Jewel into the Parlor door, and take the coin from the roulette table inside.
Antique Coin #10 (missable)
Antique Coin
HintThe newly opened Parlor has more than one coin in its serving area.
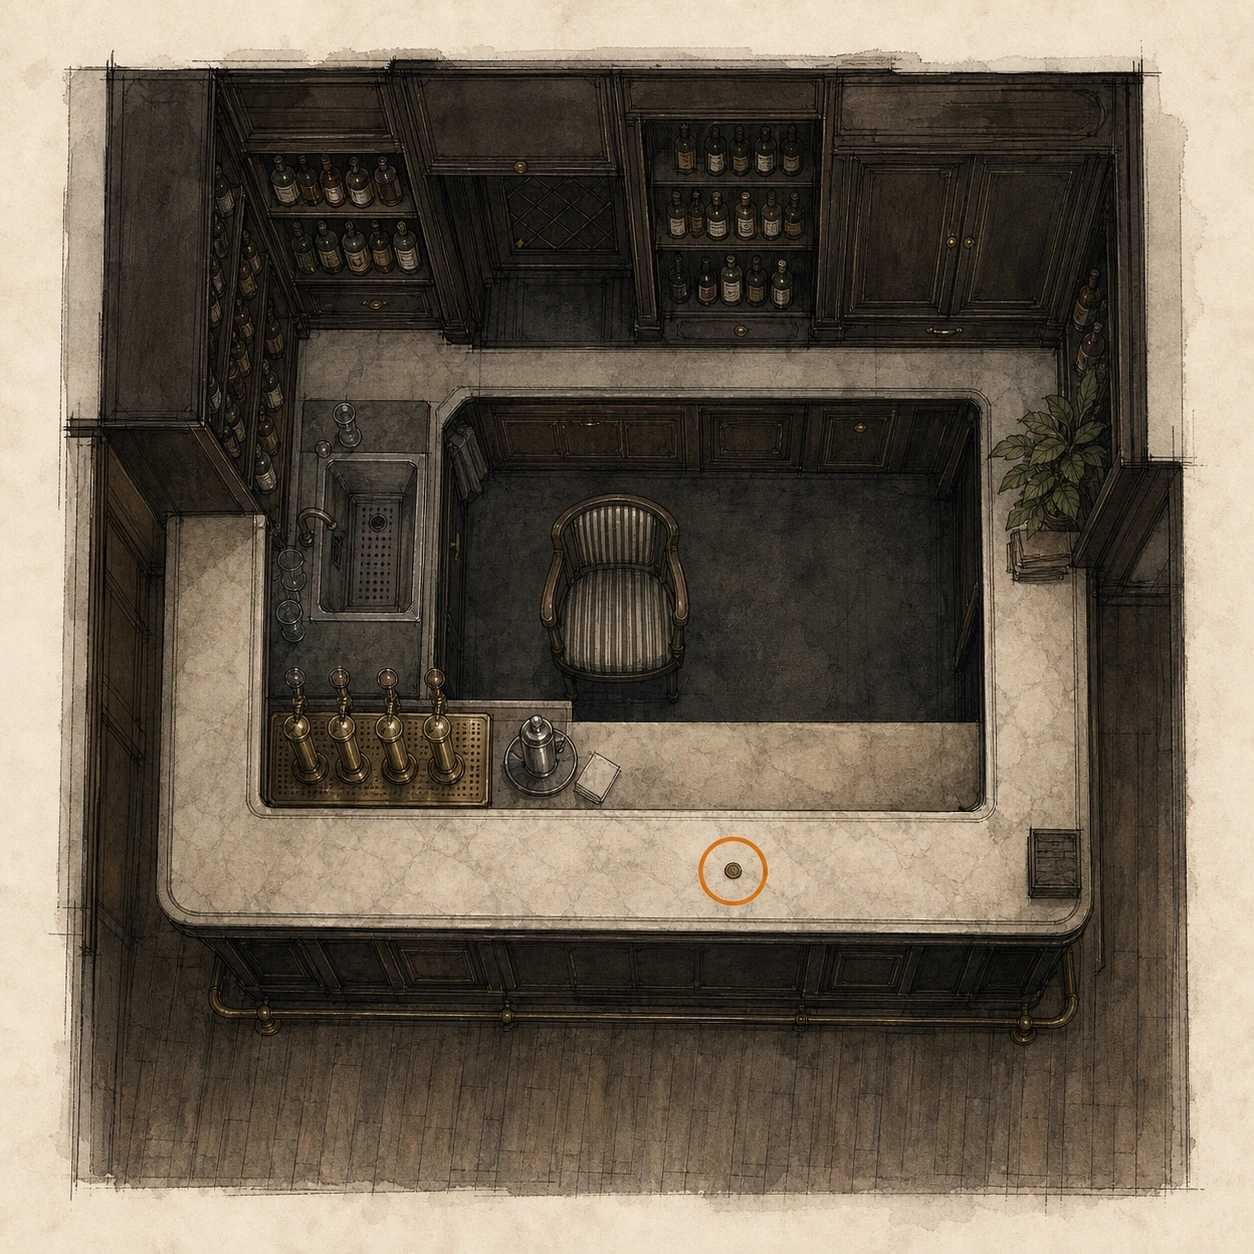
WhereCollect the coin from the bar counter inside the Parlor.
Full detailAfter opening the Parlor with the Red Jewel, inspect its bar counter and take the coin resting in the open.
Antique Coin #11 (missable)
Antique Coin
HintOne Parlor collectible is concealed in a breakable object.
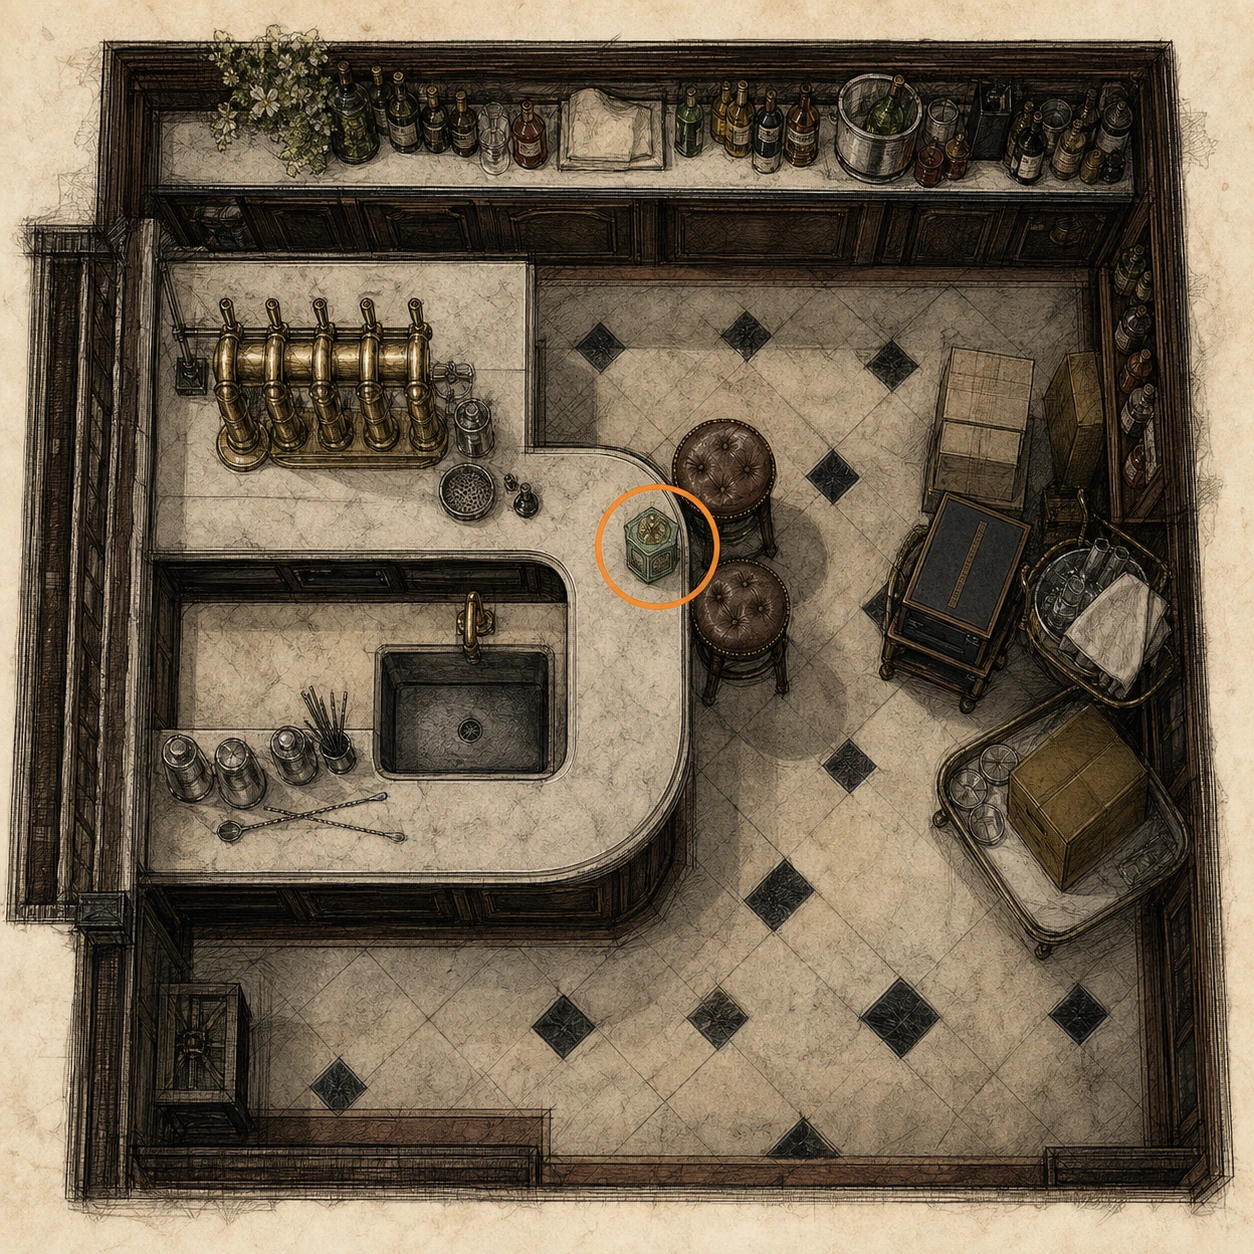
WhereBehind the Parlor counter, destroy the porcelain container beside the previous coin.
Full detailGo behind the Parlor bar counter near Antique Coin #10, break the porcelain container, and collect the coin revealed inside.
East Wing Keycard (missable)
Key item
HintSearch the rear corners of the newly opened Parlor carefully.
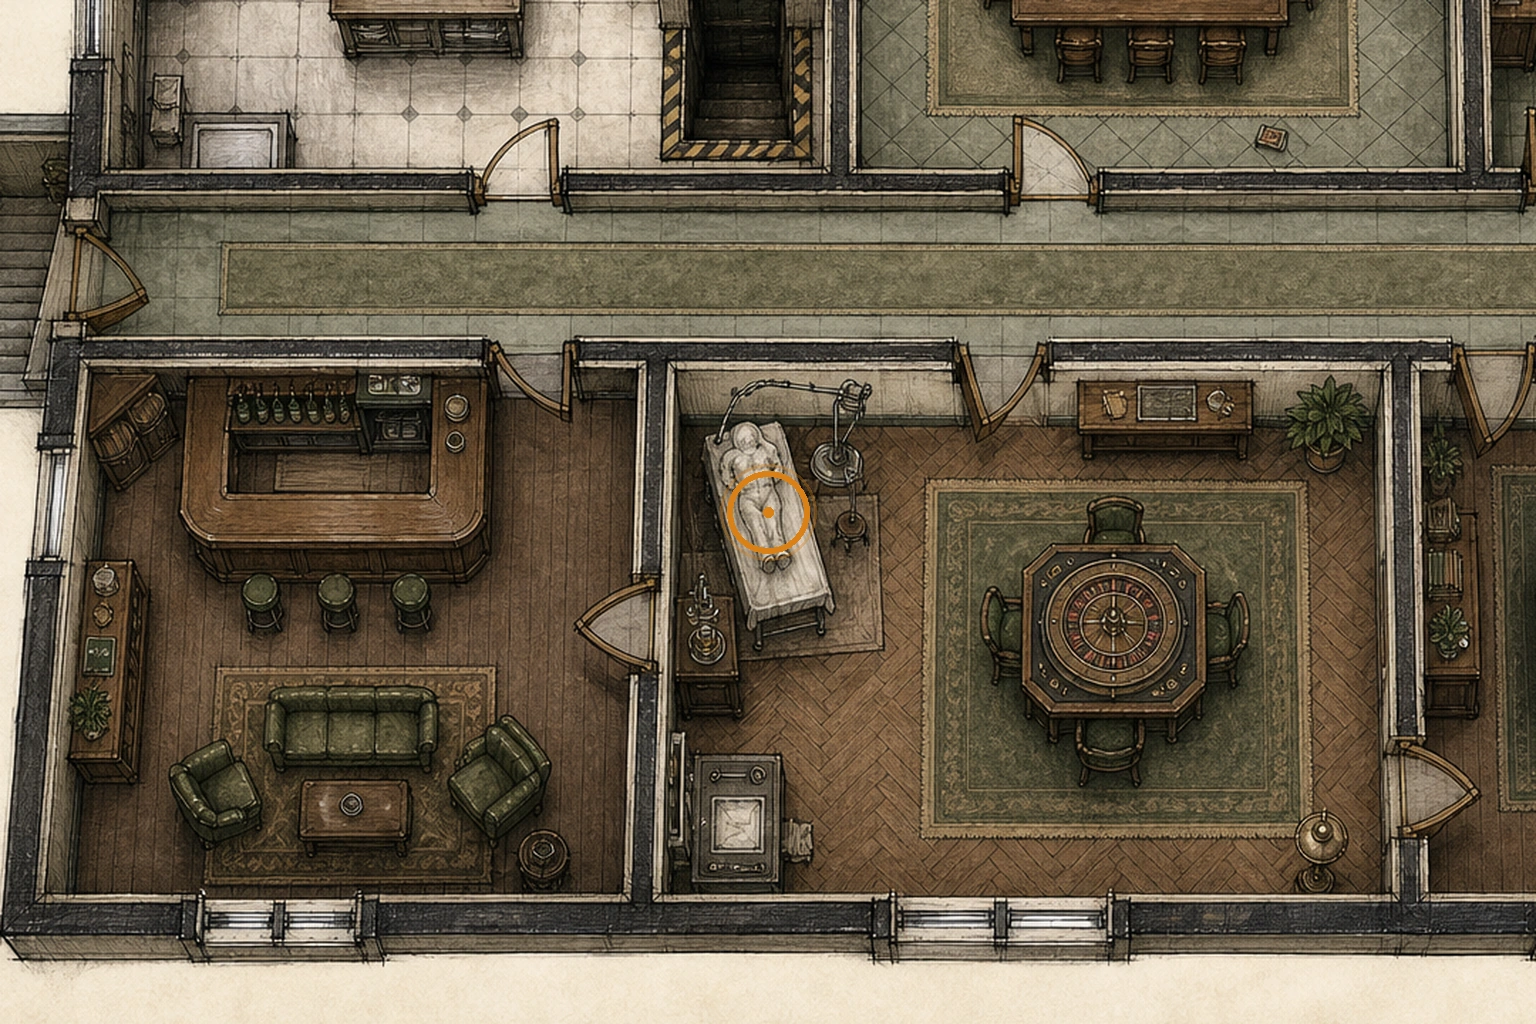
WhereSearch the Parlor's rear-left corner and examine the severed arm to obtain the East Wing Keycard.
Full detailUnlock the Parlor with the Red Jewel, go to its back-left corner, and inspect the severed arm closely to retrieve the East Wing Keycard.
Hip Pouch (missable)
Hip Pouch (inventory upgrade)
HintThe coin-operated lockers in the Parlor offer permanent upgrades.
WhereSpend three Antique Coins on the Parlor locker containing the Hip Pouch.
Full detailOpen the 3-coin Parlor locker to obtain the Hip Pouch; all four lockers cost 17 coins total, so buy what you can now and return later, while Insanity changes the full lineup to Hip Pouch, 30 Handgun Ammo, RIP Knife, and Override Manual.
Stabilizer (missable)
Upgrade
HintThe coin-operated lockers in the Parlor offer permanent upgrades.
WhereSpend four Antique Coins on the Parlor locker containing the Stabilizer.
Full detailOpen the 4-coin Parlor locker for the Stabilizer; all four lockers cost 17 coins total, so return after finding more, while Insanity changes the full lineup to Hip Pouch, 30 Handgun Ammo, RIP Knife, and Override Manual.
Steroids (missable)
Upgrade
HintThe coin-operated lockers in the Parlor offer permanent upgrades.
WhereSpend four Antique Coins on the Parlor locker containing the Steroids.
Full detailOpen the other 4-coin Parlor locker for the Steroids; all four lockers cost 17 coins total, so return after finding more, while Insanity changes the full lineup to Hip Pouch, 30 Handgun Ammo, RIP Knife, and Override Manual.
Override Manual (missable)
Upgrade
HintThe coin-operated lockers in the Parlor offer permanent upgrades.
WhereSpend six Antique Coins on the Parlor locker containing the Override Manual.
Full detailOpen the 6-coin Parlor locker for the Override Manual; all four lockers cost 17 coins total, so return after finding more, while Insanity changes the full lineup to Hip Pouch, 30 Handgun Ammo, RIP Knife, and Override Manual.
Pantry Key (missable)
Key item
HintA large enemy on the kitchen route carries access to a nearby side room.
WhereDefeat the large enemy in the Kitchen, collect the dropped Pantry Key, and use it on the pantry door.
Full detailDefeat the large Kitchen enemy, make sure you pick up the Pantry Key it drops, then unlock the pantry door before leaving this wing.
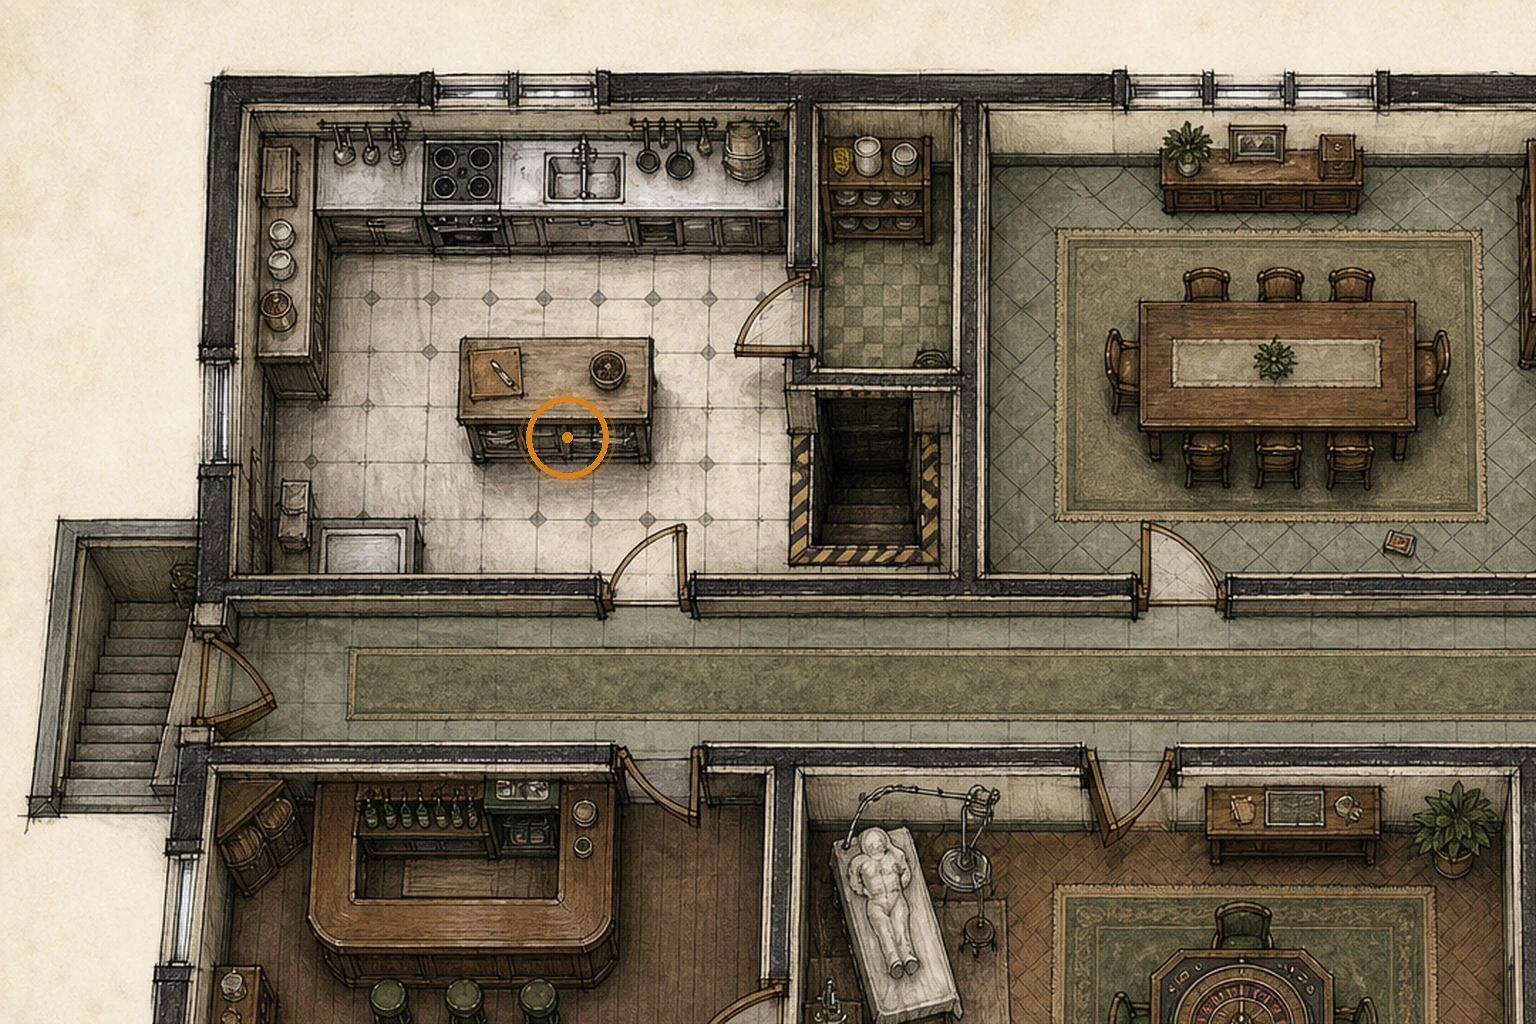
Stakeout Takeout Charm (missable)
Charm
HintThe locked kitchen side room has a reward at its far end.
WhereUnlock the Pantry from the Kitchen with the Pantry Key and collect the charm at the back of the room.
Full detailTake the Pantry Key from the large Kitchen enemy, unlock the pantry door, and collect the charm at the back; if supplies are low, use the ammunition lockbox there or return before the area closes.
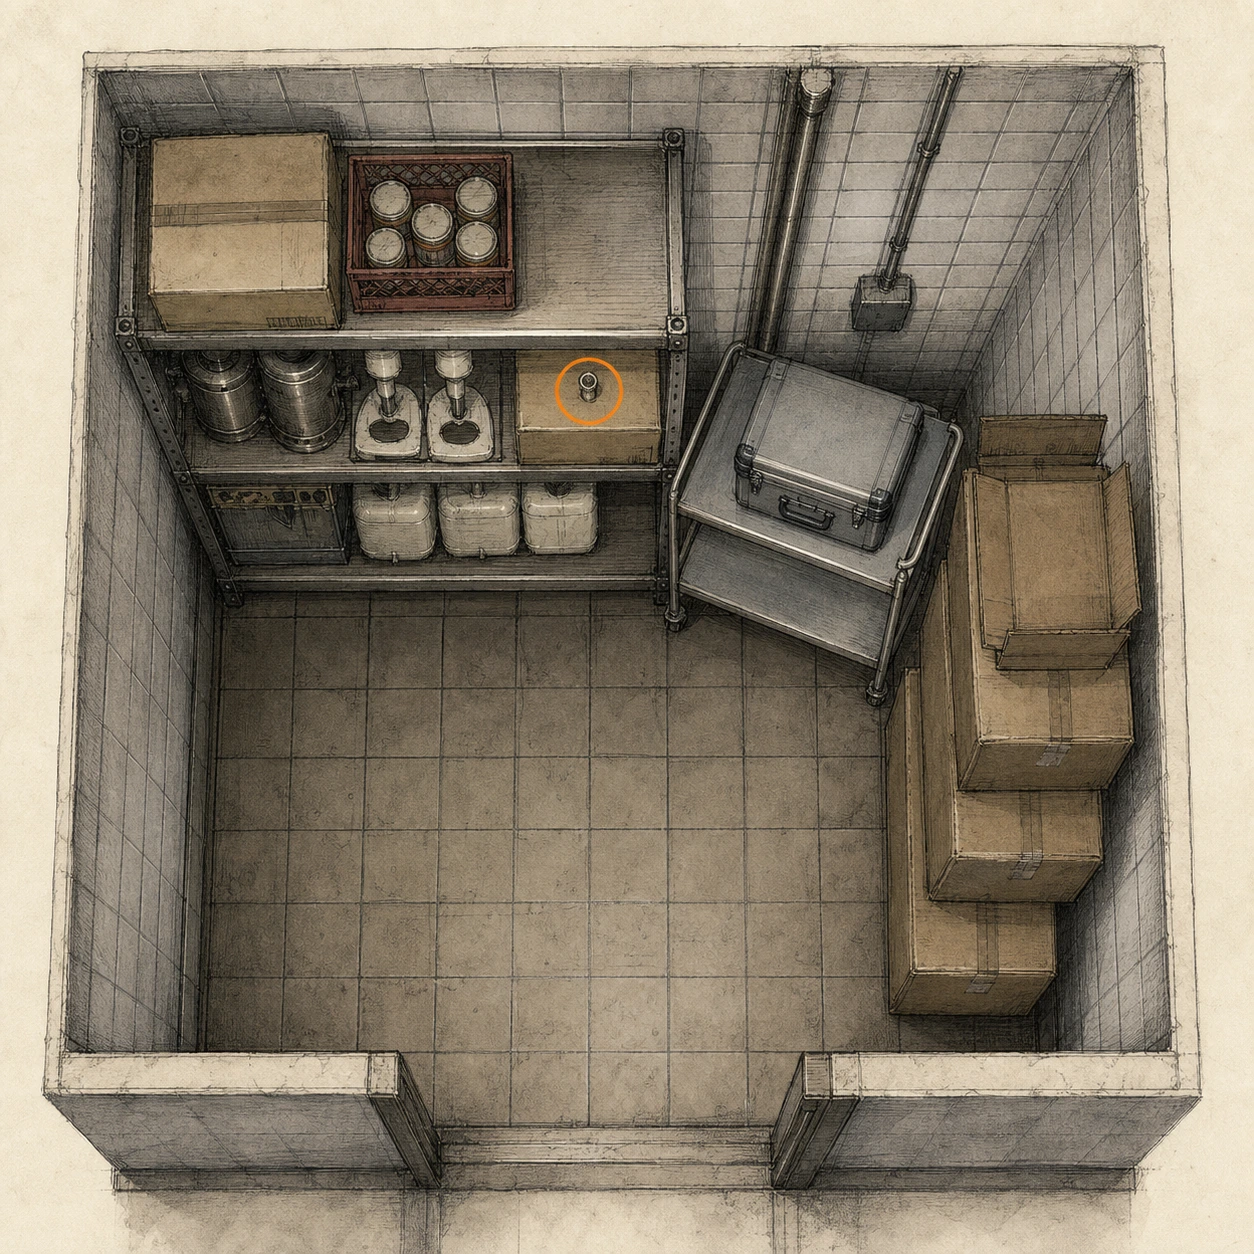
Mr. Raccoon #2 (missable)
Mr. Raccoon figure
HintAfter opening the next wing, check its reception furniture immediately.
WhereUse the East Wing Keycard in Central Hall and find the figure on the reception desk in the East Wing Lobby.
Full detailUnlock the East Wing from Central Hall, enter its lobby, and destroy the figure sitting directly ahead on the reception desk.
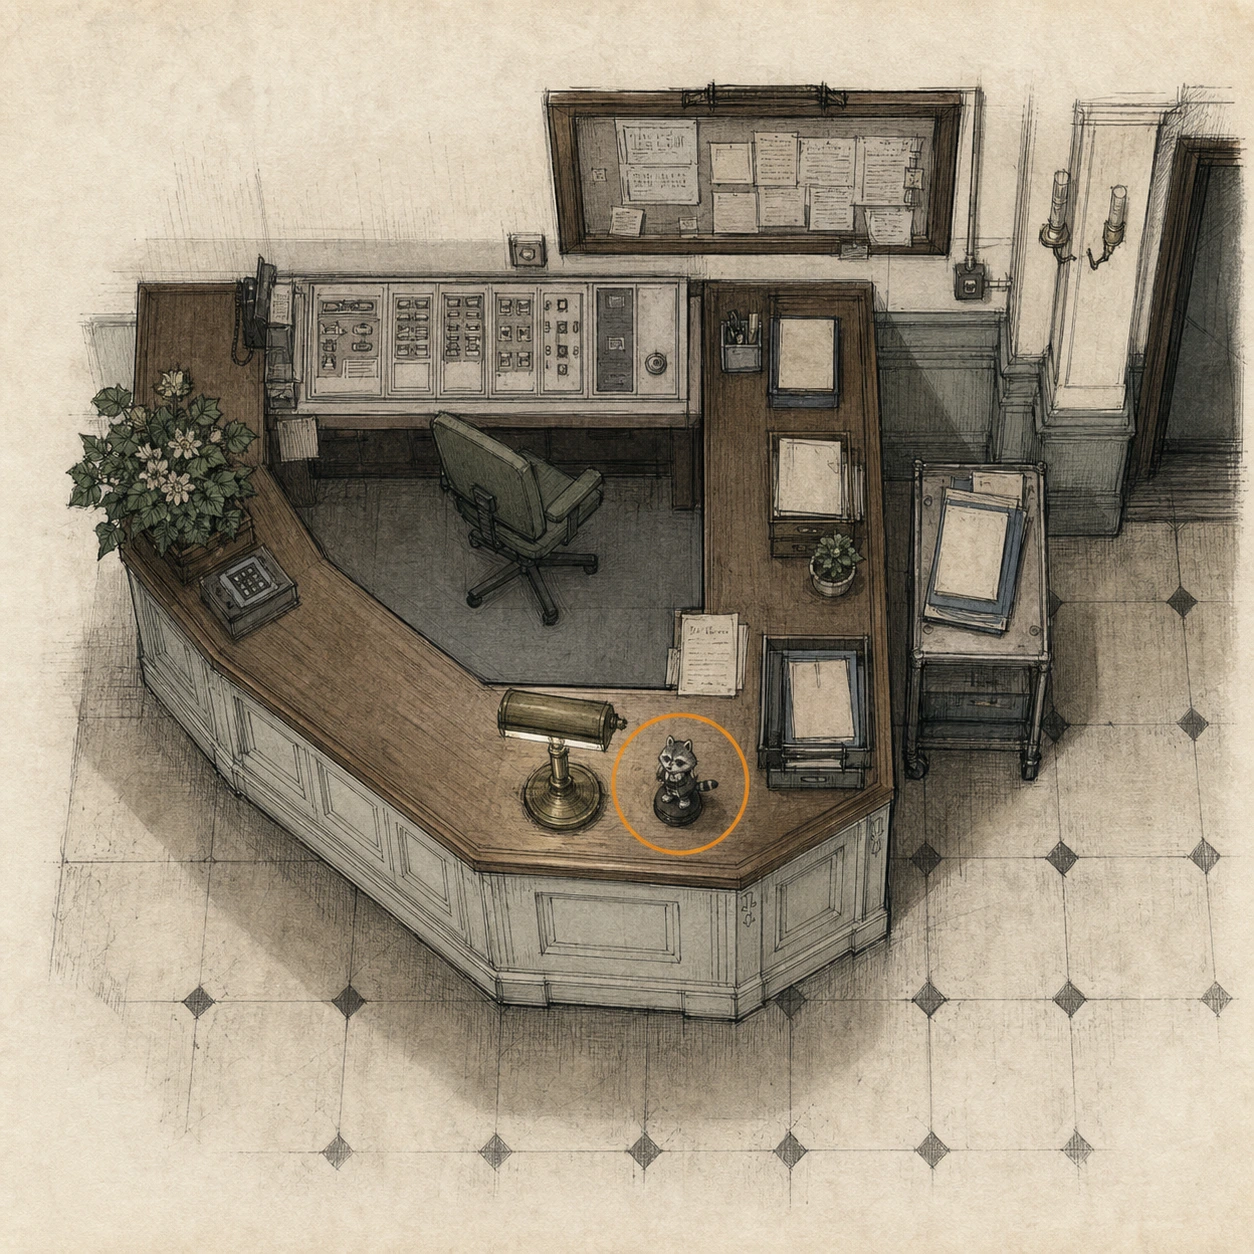
Hemolytic Injector (missable)
Weapon
HintThe examination area has a useful item left on a clean work surface.
WhereIn the Examination Room, collect the Hemolytic Injector from the white desk.
Full detailEnter the Examination Room, inspect the white desk, and take the Hemolytic Injector before checking the cabinet in the corner.
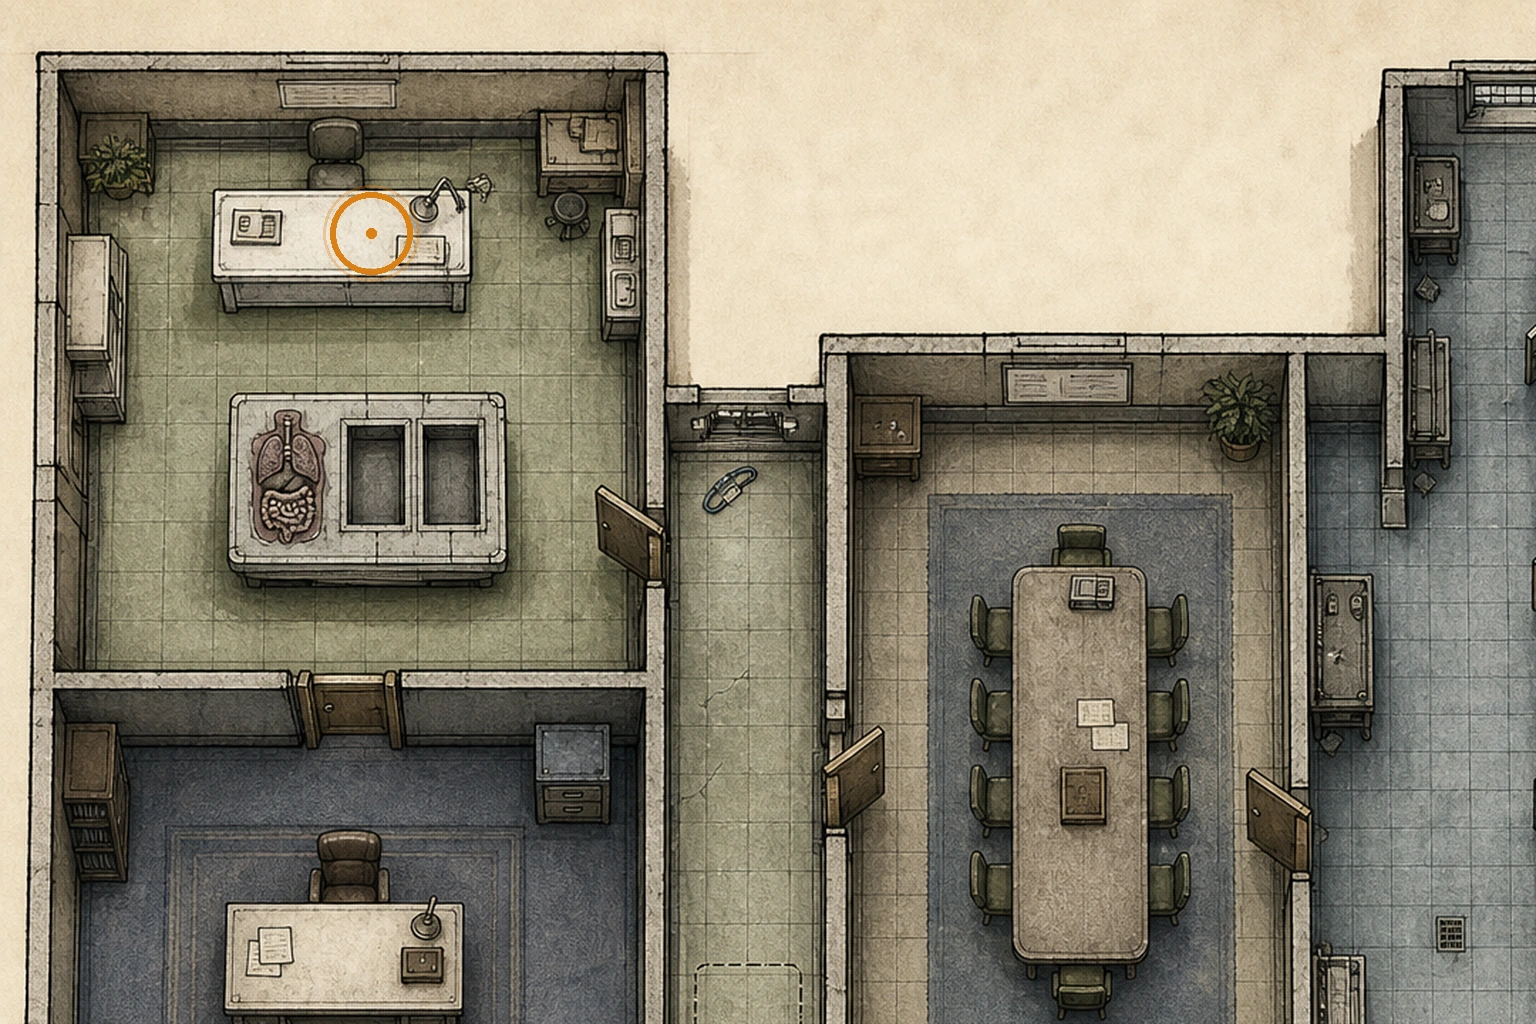
Safe #2 (missable)
Safe
HintA cabinet in the examination area conceals a locked container.
WhereFind the safe inside the cabinet in the corner of the Examination Room.
Full detailOpen the Examination Room safe with Right 30, Left 10, Right 50 on Casual/Standard or Left 50, Right 30, Left 90 on Insanity; it contains three Antique Coins, and the later code file is not required.
Antique Coin #12 (missable)
Antique Coin
HintA concealed safe in the examination area holds a small group of collectibles.
WhereThis is one of the three coins inside the cabinet safe in the Examination Room.
Full detailOpen the Examination Room safe with Right 30, Left 10, Right 50 on Casual/Standard or Left 50, Right 30, Left 90 on Insanity, then collect all three coins inside; this entry is one of them.
Antique Coin #13 (missable)
Antique Coin
HintA concealed safe in the examination area holds a small group of collectibles.
WhereThis is one of the three coins inside the cabinet safe in the Examination Room.
Full detailOpen the Examination Room safe with Right 30, Left 10, Right 50 on Casual/Standard or Left 50, Right 30, Left 90 on Insanity, then collect all three coins inside; this entry is one of them.
Antique Coin #14 (missable)
Antique Coin
HintA concealed safe in the examination area holds a small group of collectibles.
WhereThis is one of the three coins inside the cabinet safe in the Examination Room.
Full detailOpen the Examination Room safe with Right 30, Left 10, Right 50 on Casual/Standard or Left 50, Right 30, Left 90 on Insanity, then collect all three coins inside; this entry is one of them.
Blood Collector (missable)
Key item
HintThe laboratory at the end of the next corridor has a tool on its central work surface.
WhereLeave the Treatment Room, go straight to the Blood Lab at the corridor's end, and take the Blood Collector from the table.
Full detailFollow the corridor straight from the Treatment Room into the Blood Lab, then collect the Blood Collector from the table before using the nearby analyzer.
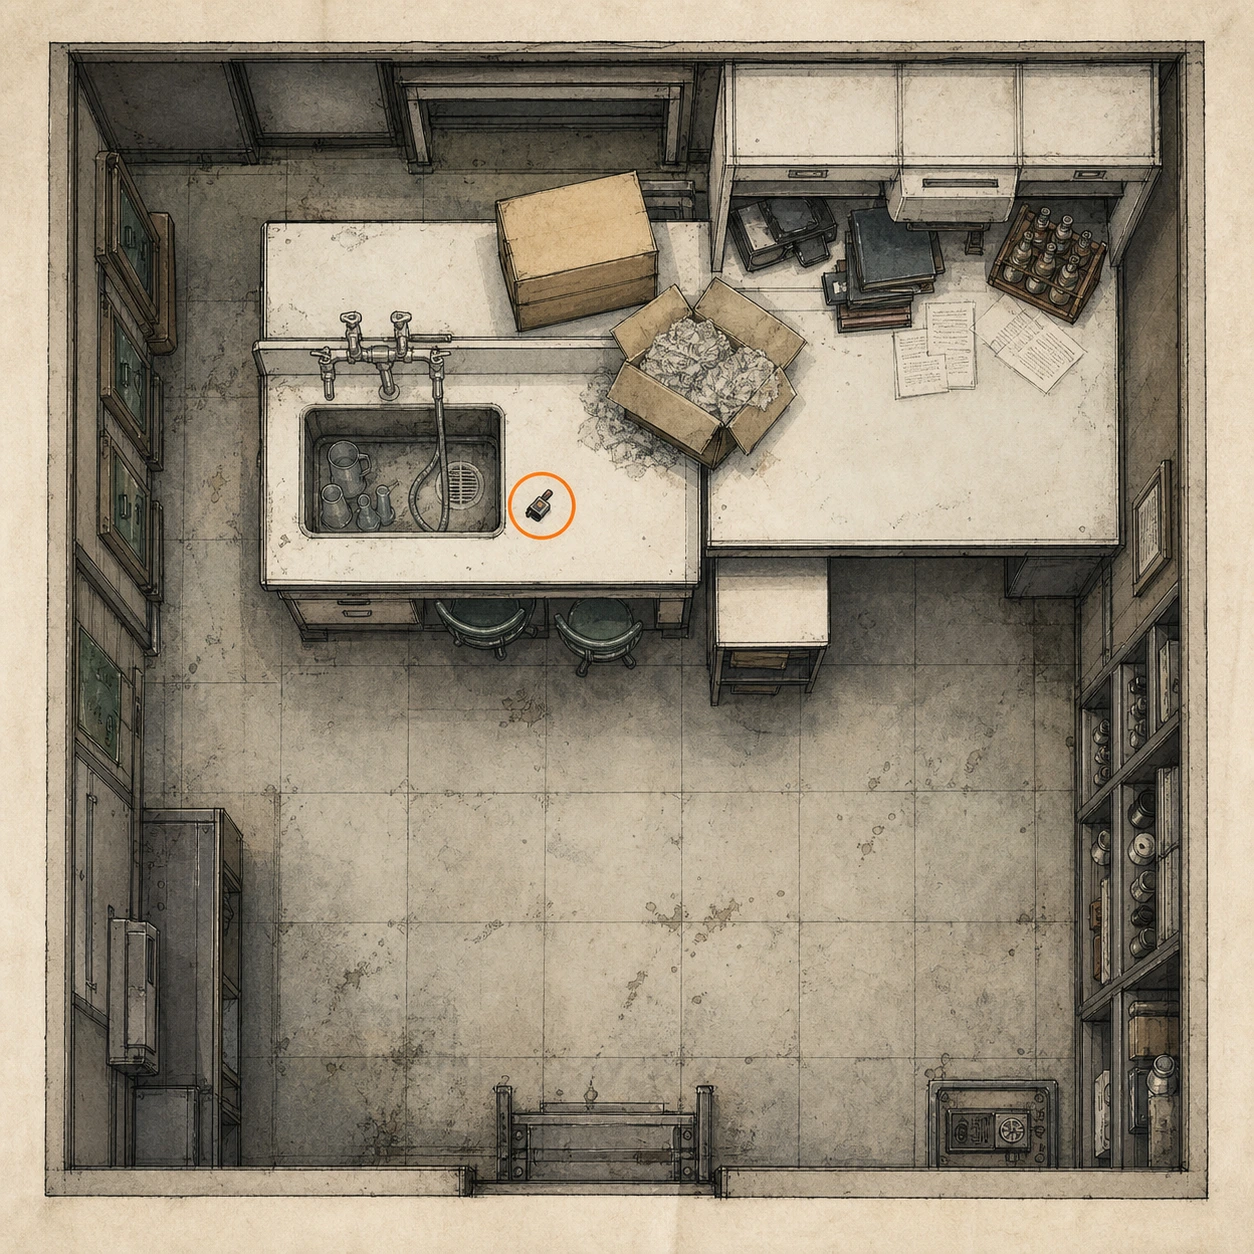
File #15 - Blood Compound Synthesis (missable)
File
HintThe Blood Lab's central table has something to inspect on both sides.
WhereIn the Blood Lab, read Blood Compound Synthesis on the opposite side of the table from the Blood Collector.
Full detailAfter taking the Blood Collector, circle to the other side of the same Blood Lab table and read the Blood Compound Synthesis file.
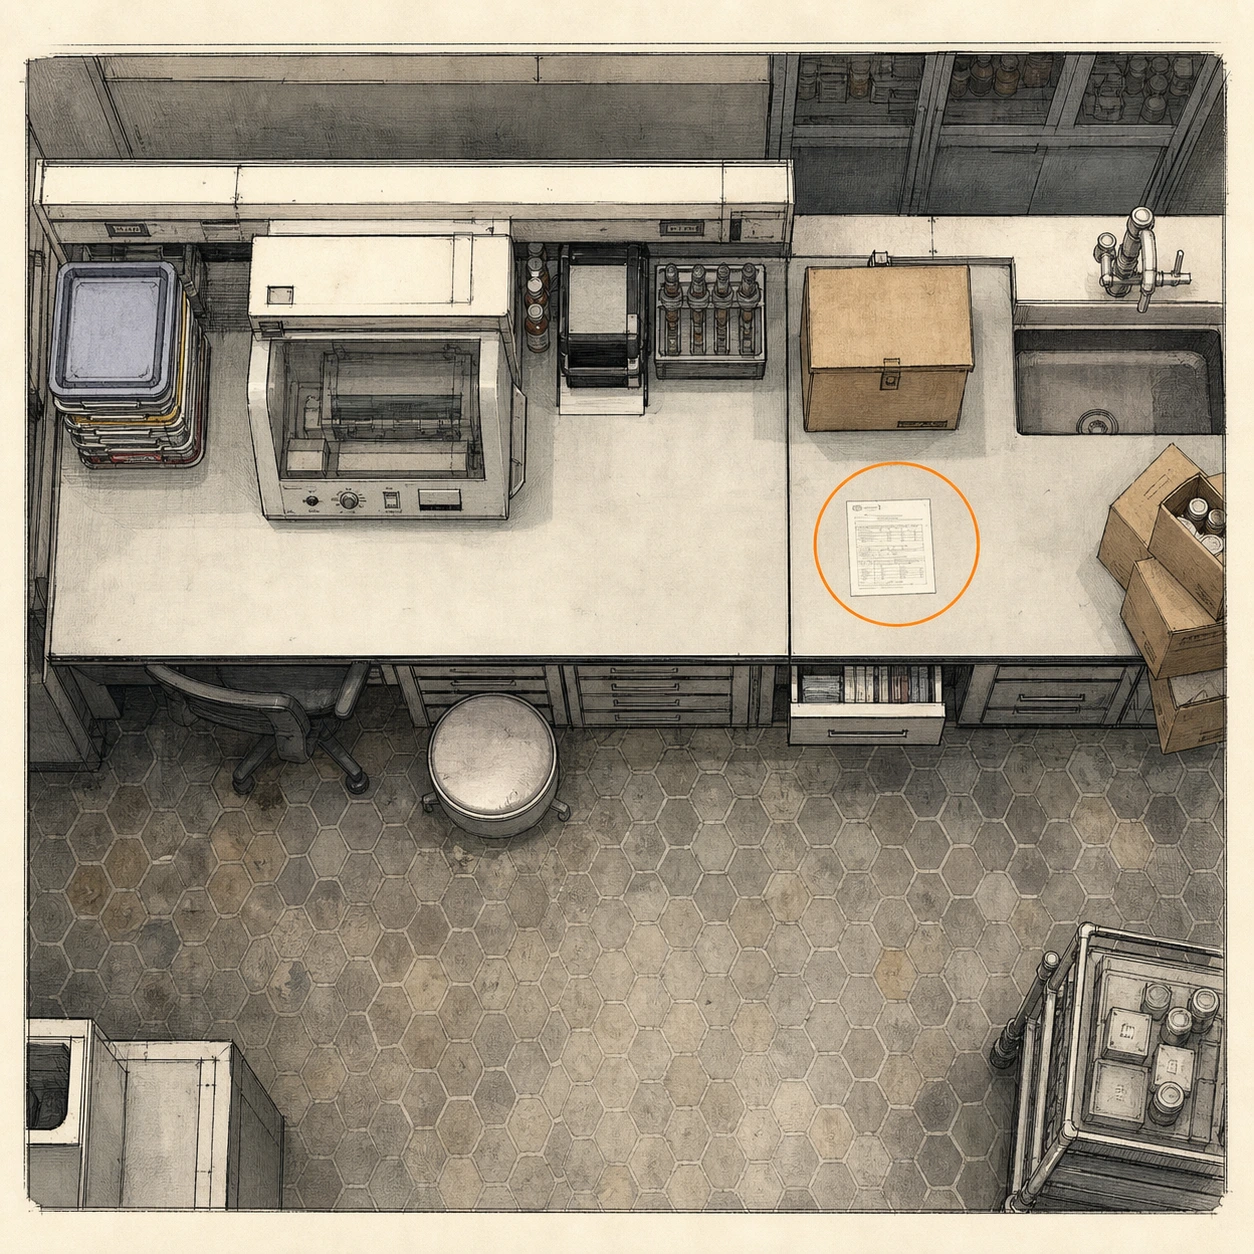
Blood Specimen (Denatured) - Purple (missable)
Blood sample
HintThe Blood Lab includes a sample-and-analyzer puzzle with a useful result.
WhereTake the purple blood sample from the Blood Lab desk and place it in the analyzer immediately to the left.
Full detailInsert the purple Blood Specimen into the adjacent analyzer and adjust it until every atom is red; completing the analysis unlocks Handgun Ammo and Hemolytic Injector crafting.
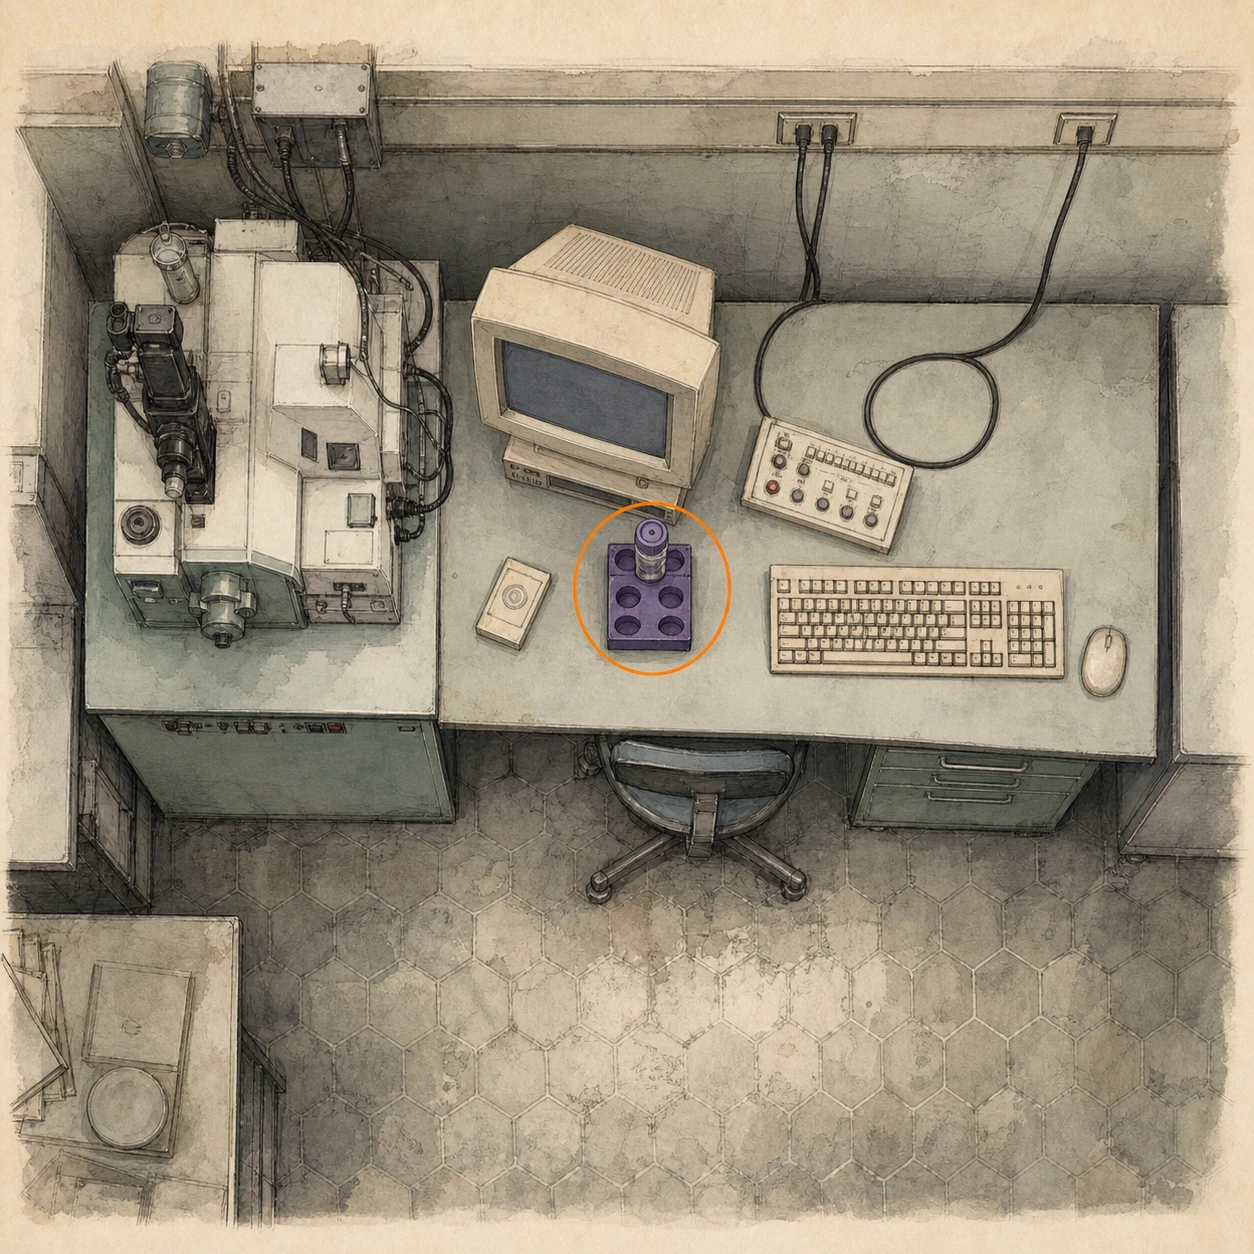
Antique Coin #15 (missable)
Antique Coin
HintOn entering the next waiting area, inspect its tables before crossing the room.
WhereCollect the coin from the table directly ahead when you enter the Waiting Room.
Full detailAs soon as you enter the Waiting Room, approach the table in front of you and take the coin before searching behind the counter.
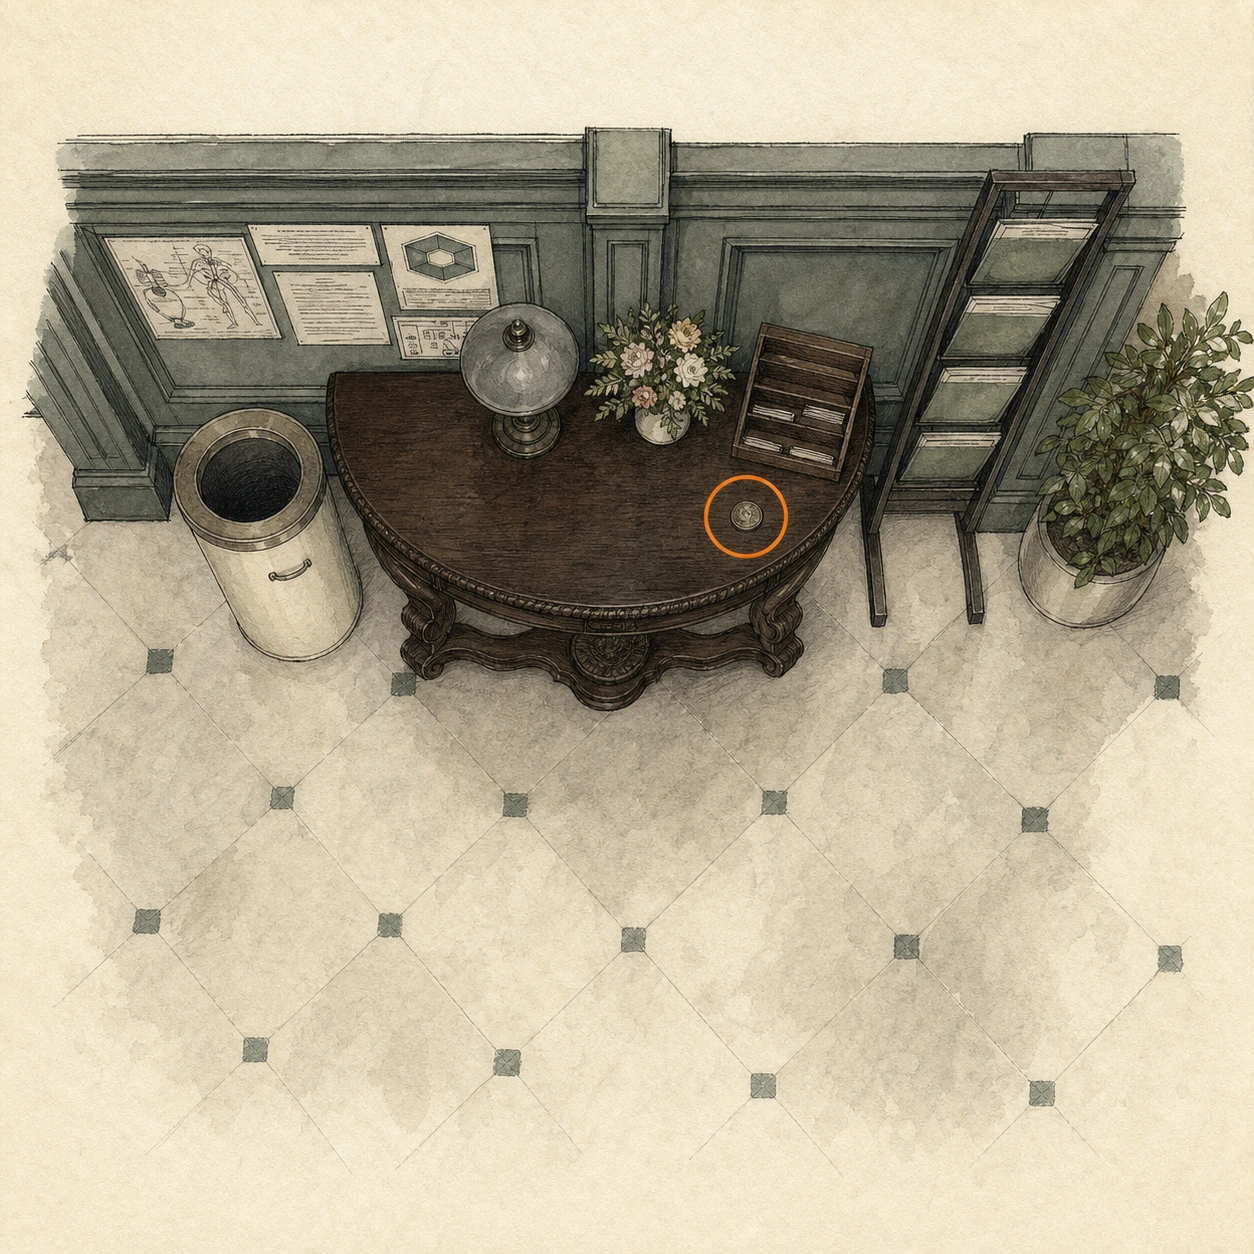
File #16 - Safe Replacements (missable)
File
HintThe waiting area's service counter hides a document near an open container.
WhereBehind the Waiting Room counter, read Safe Replacements beside the open safe.
Full detailGo behind the Waiting Room counter, inspect the document directly beside the open safe, and read it before collecting the safe's contents.
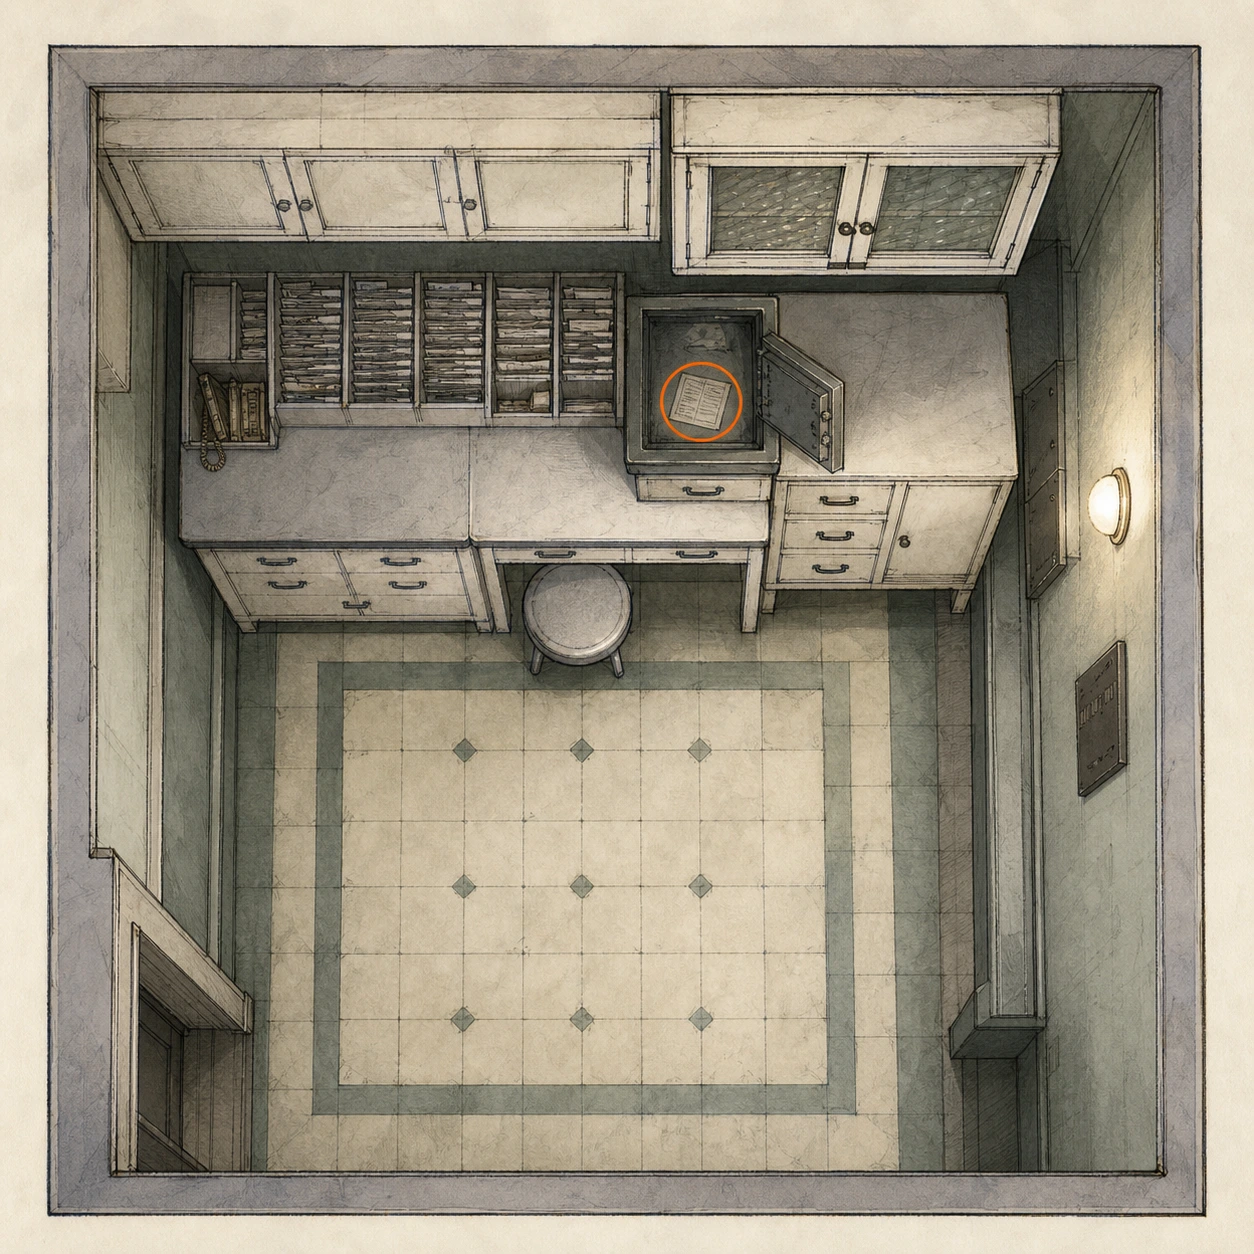
Antique Coin #16 (missable)
Antique Coin
HintAn already-open container in the waiting area holds two collectibles.
WhereThis is one of the two coins inside the open safe behind the Waiting Room counter.
Full detailGo behind the Waiting Room counter, open the accessible safe beside the Safe Replacements file, and collect both coins inside; this entry is one of them.
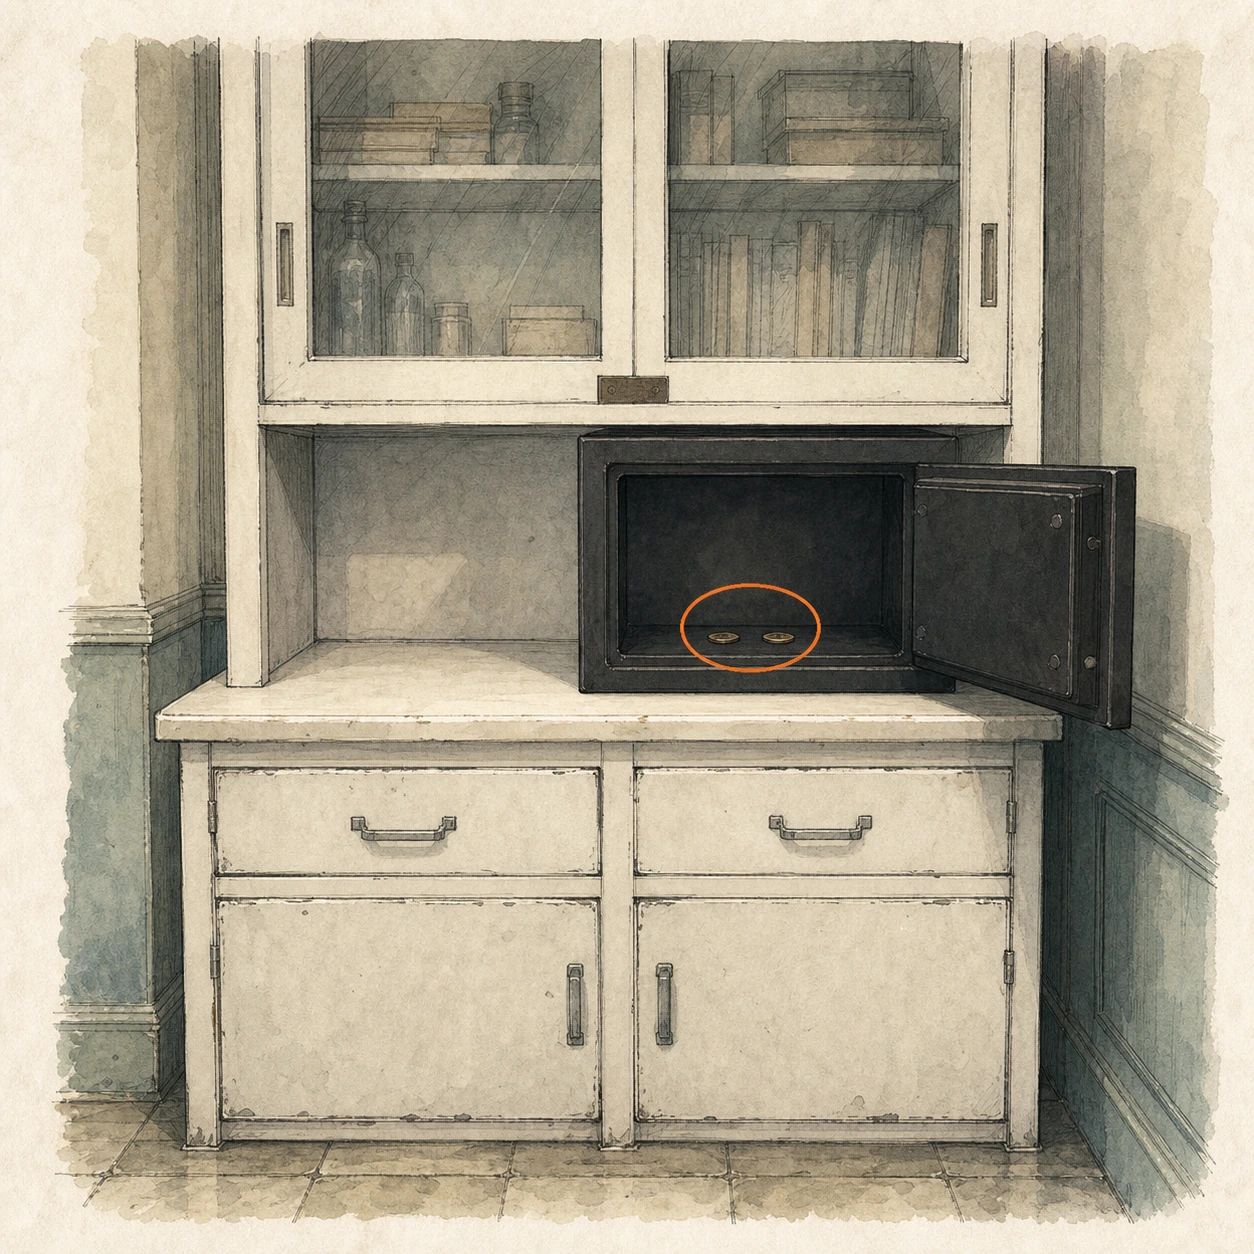
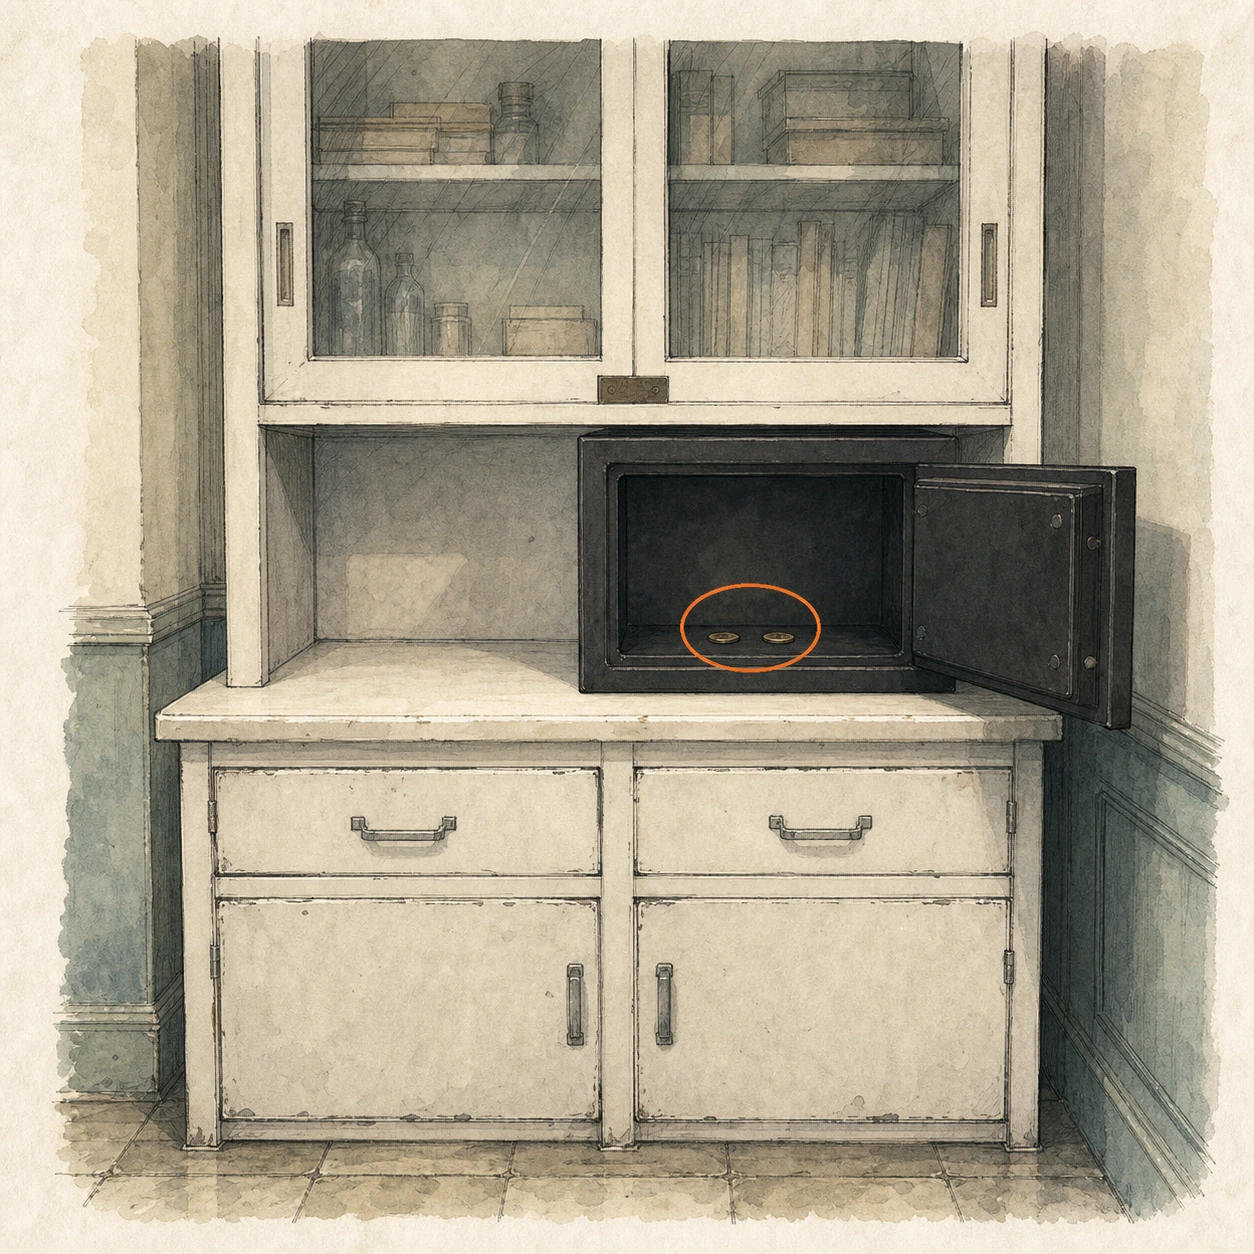
Antique Coin #17 (missable)
Antique Coin
HintAn already-open container in the waiting area holds two collectibles.
WhereThis is one of the two coins inside the open safe behind the Waiting Room counter.
Full detailGo behind the Waiting Room counter, open the accessible safe beside the Safe Replacements file, and collect both coins inside; this entry is one of them.
Mr. Raccoon #3 (missable)
Mr. Raccoon figure
HintBefore taking the next stairs, follow the eastern corridor to its end and listen carefully.
WhereFrom the Waiting Room, follow the eastern corridor to its end and find the figure before the upstairs route.
Full detailFollow the corridor east of the Waiting Room all the way to the dead end before the stairs, locate the moving figure there, and destroy it.
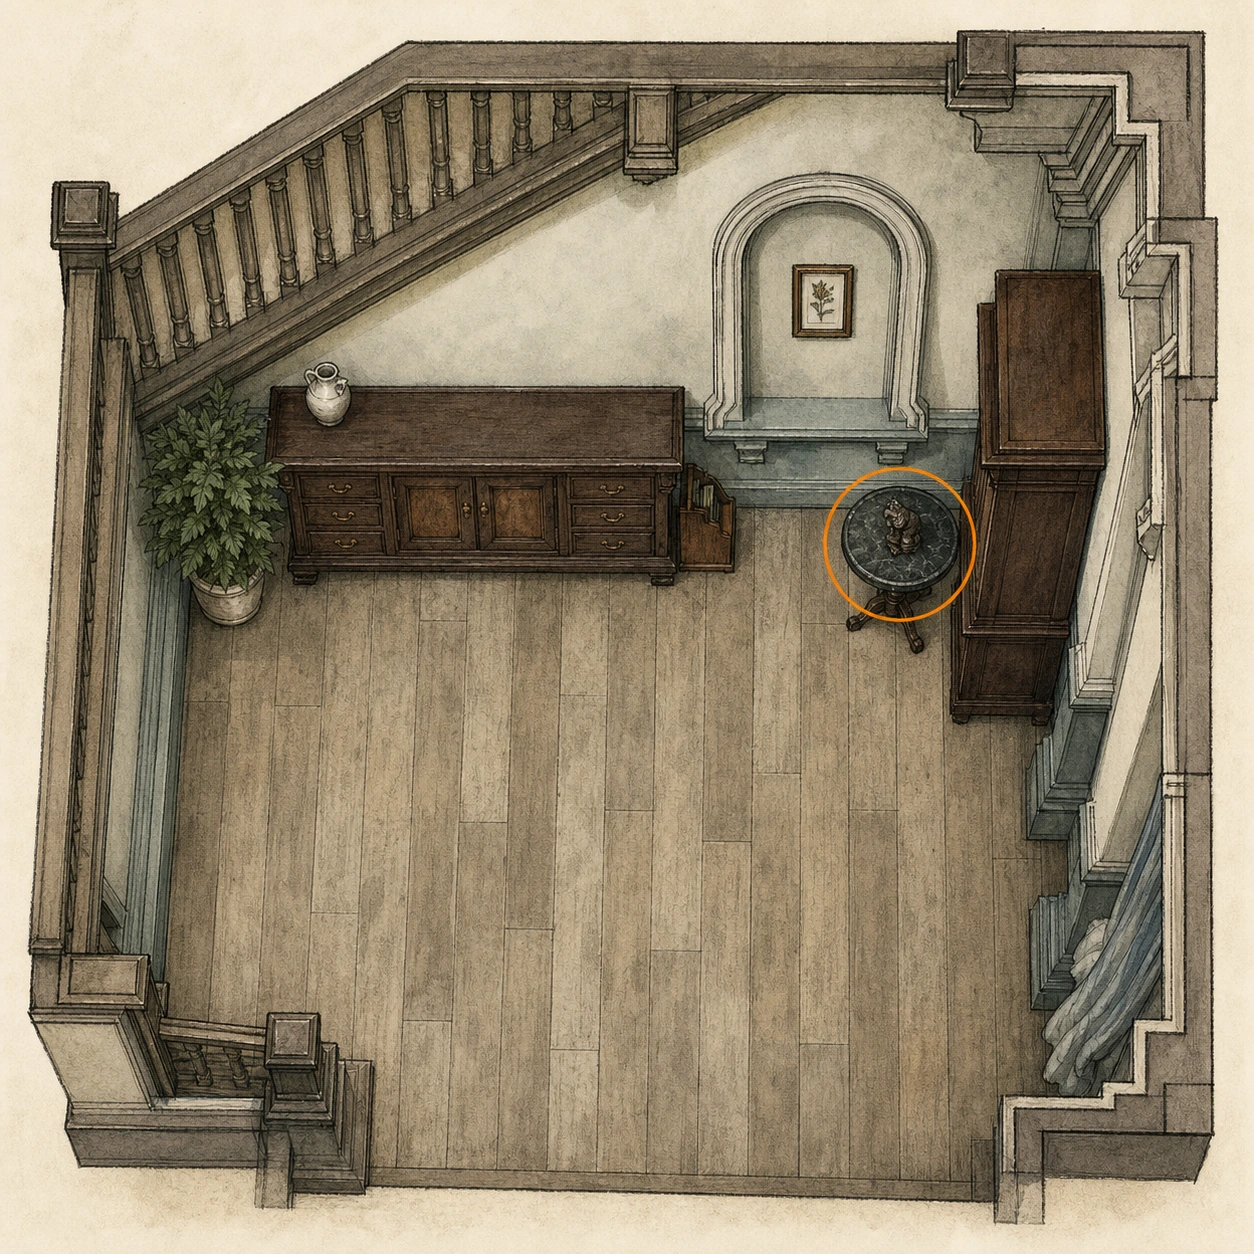
Antique Coin #18 (missable)
Antique Coin
HintThe corridor figure has another collectible resting very close by.
WhereCollect the coin from the small table directly beside Mr. Raccoon #3.
Full detailAt the eastern corridor dead end, destroy Mr. Raccoon #3 and take the coin from the small table immediately beside it.
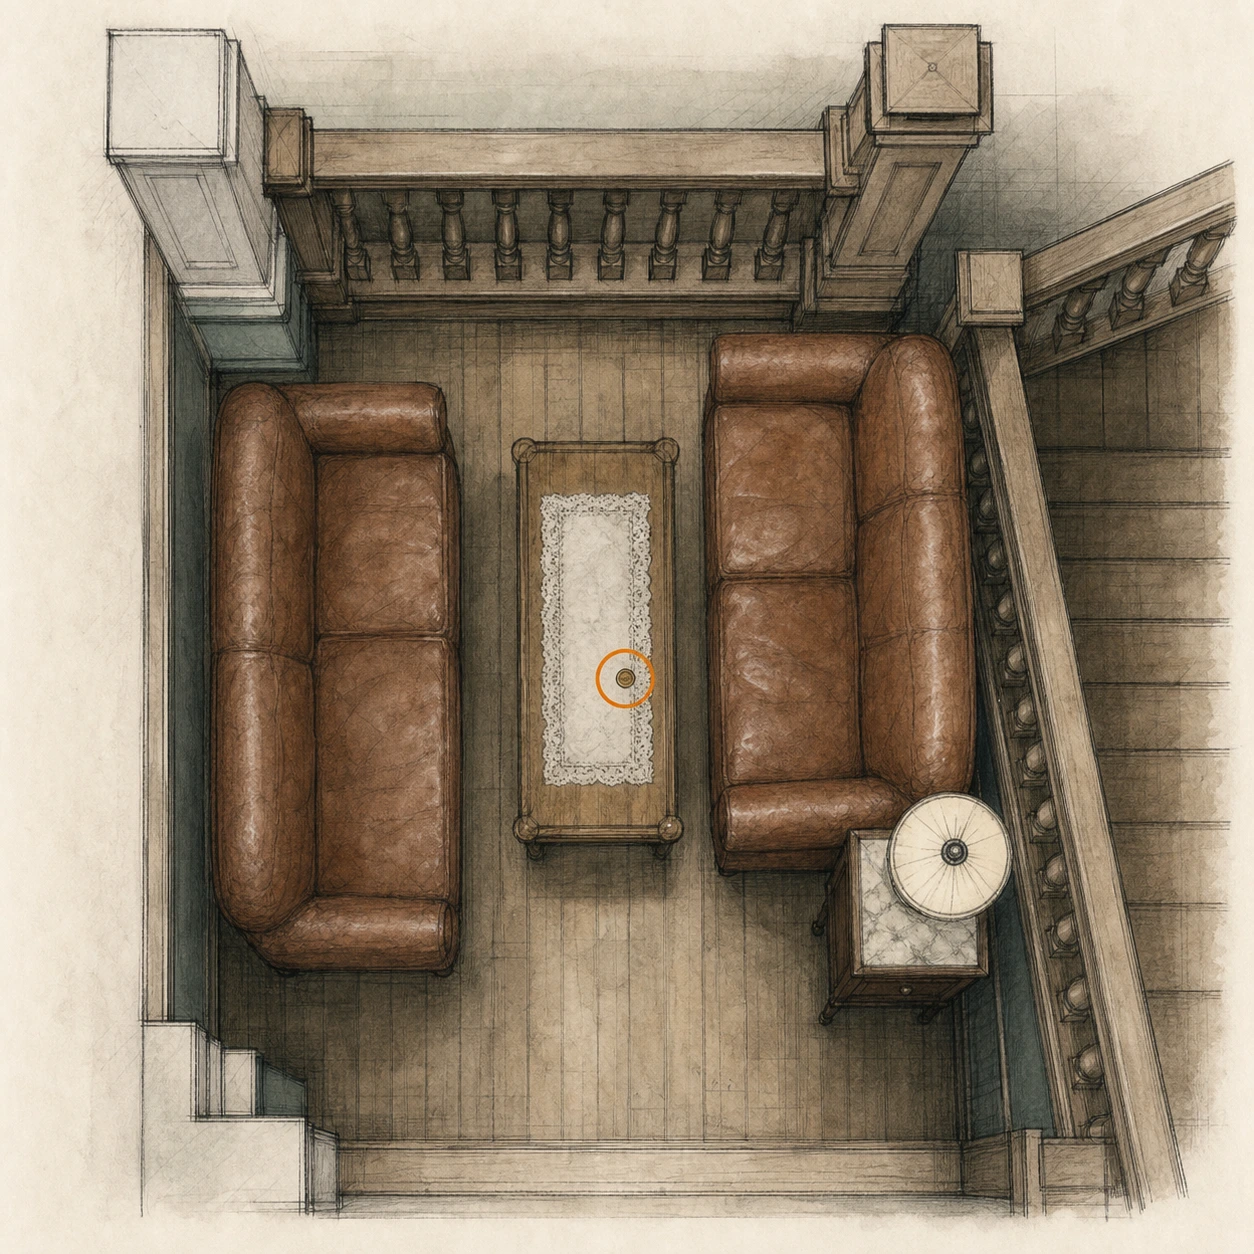
Antique Coin #19 (missable)
Antique Coin
HintA breakable decoration beside the previous pickup conceals another coin.
WhereBreak the white vase beside Antique Coin #18 and collect the coin hidden inside.
Full detailAt the eastern corridor dead end, inspect the white vase next to the small table, destroy it, and pick up the coin revealed inside.
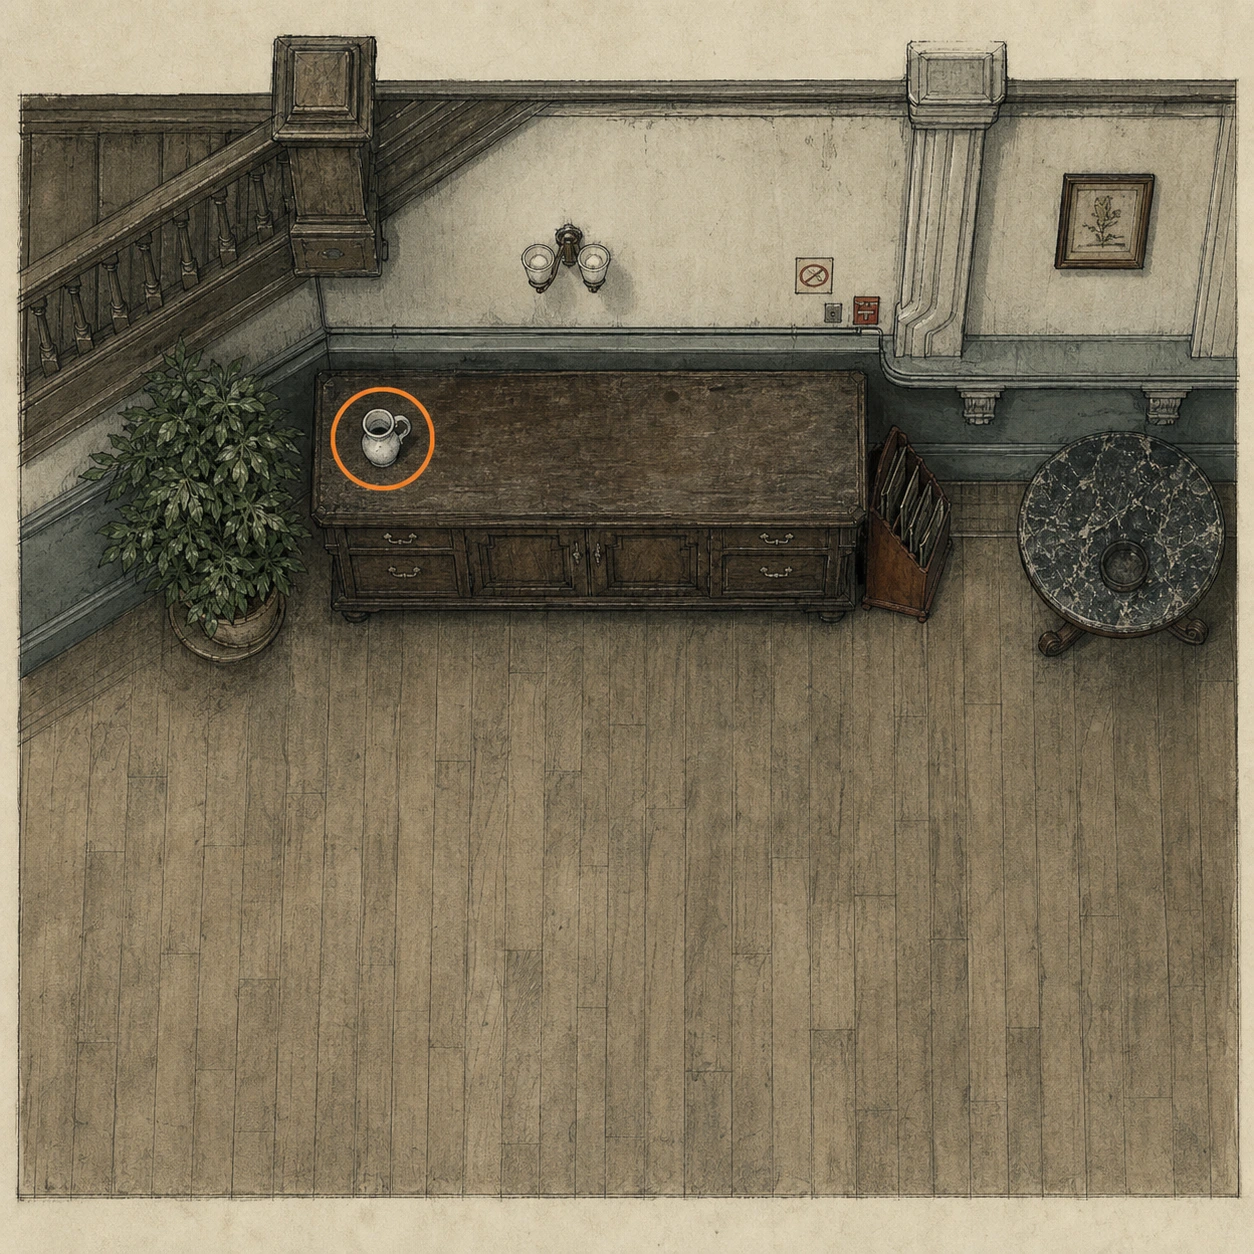
East Wing Map (missable)
Map
HintAfter finishing the corridor dead end, inspect the walls along the route upstairs.
WhereGo upstairs from the eastern corridor dead end and collect the East Wing Map from the wall.
Full detailFrom the corridor containing Mr. Raccoon #3, take the stairs up and inspect the wall at the top to collect the East Wing Map.
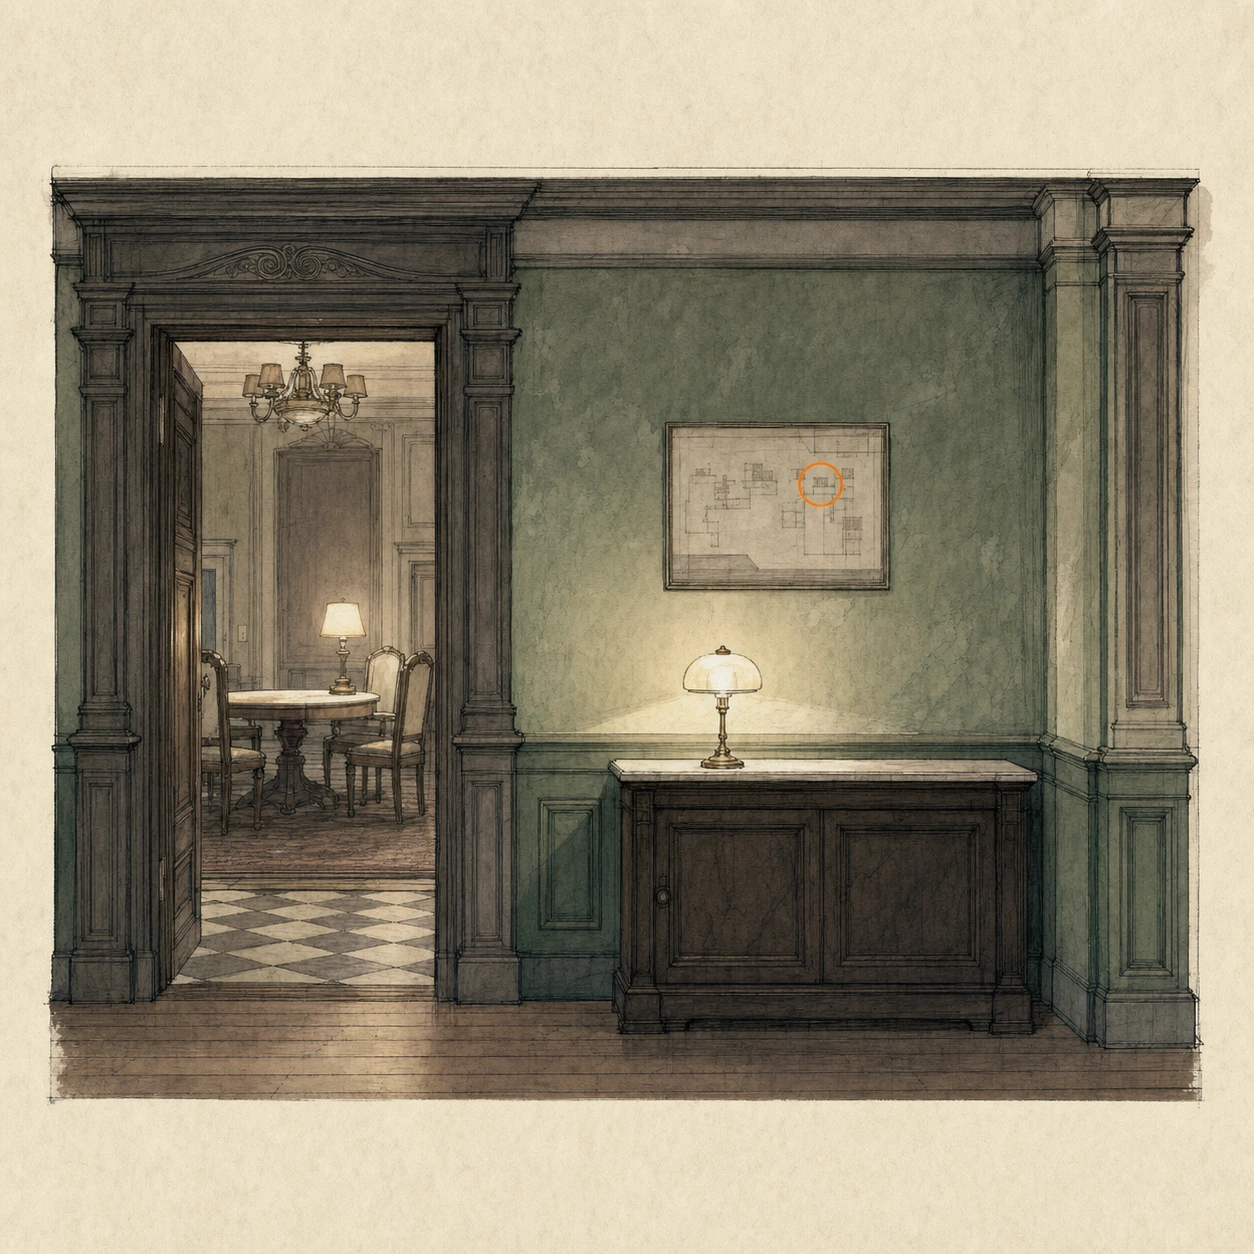
File #17 - Lead Researcher's Picture 2 (missable)
File
HintThe upstairs safe room has a rear space with a document on its storage furniture.
WhereIn the upstairs safe room, enter the back room and inspect the picture on the cupboard.
Full detailReach the upstairs safe room, enter its rear room, and interact with Lead Researcher's Picture 2 on the cupboard before leaving.
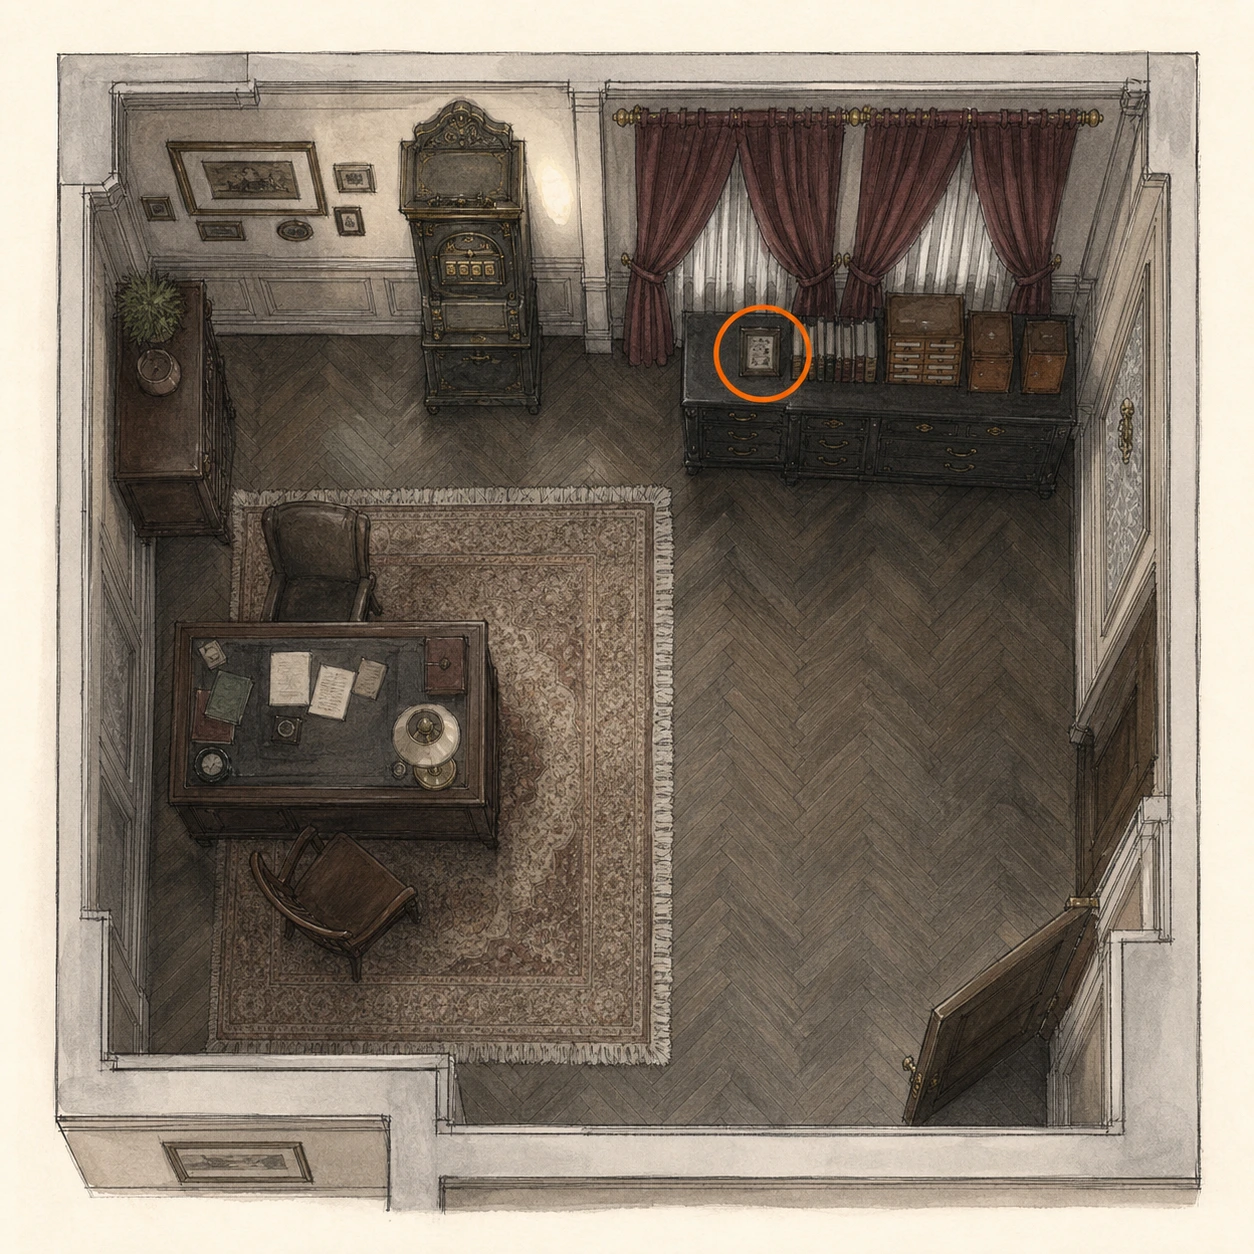
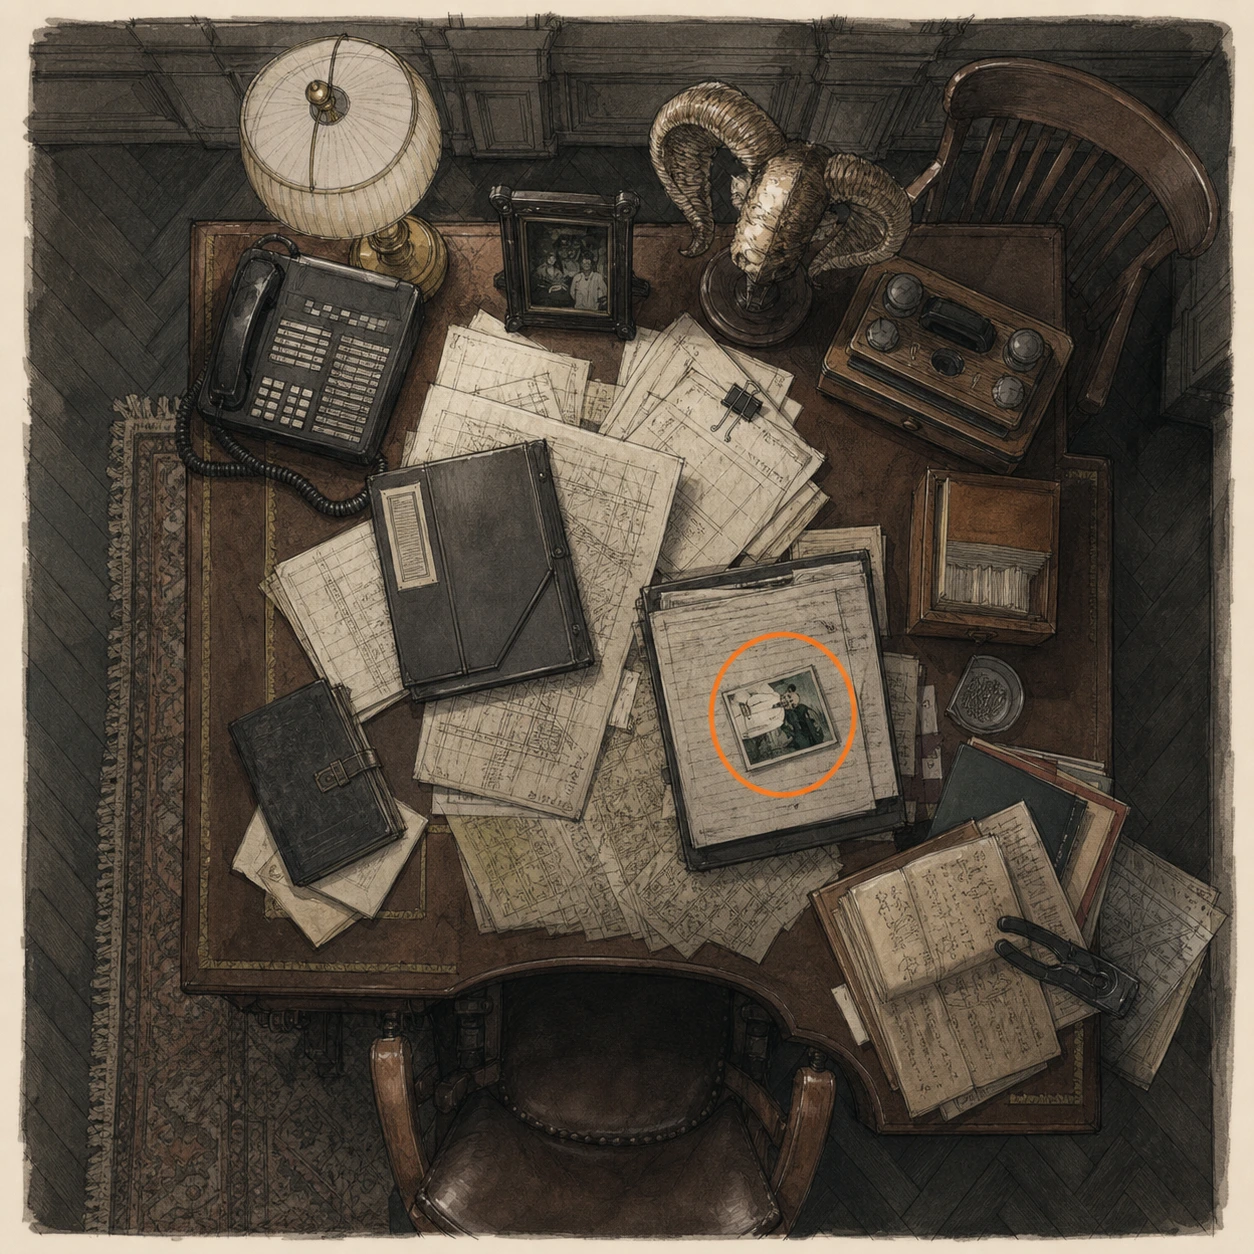
File #18 - Lead Researcher's Picture 1 (missable)
File
HintThe upper office suite contains several records; inspect its work surfaces carefully.
WhereIn the inner room of the Lead Researcher's Office, examine the loose Picture 1 on the desk.
Full detailIn the inner room of the Lead Researcher's Office, examine the loose Picture 1 on the desk; it is a separate file from the framed picture beside it.
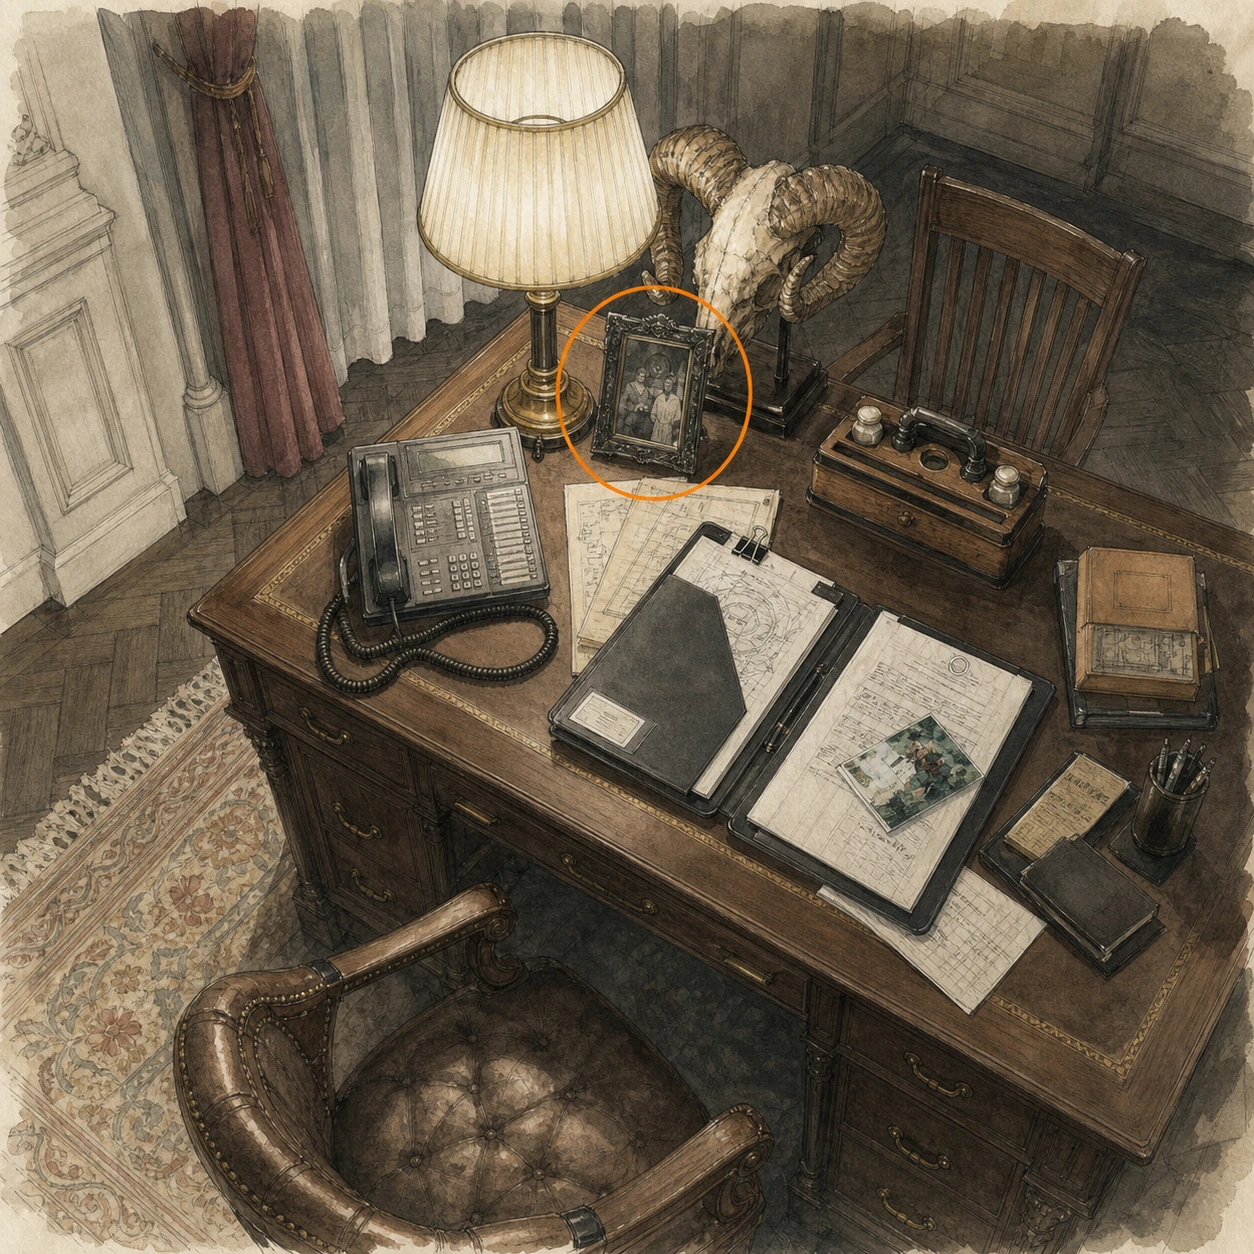
File #19 - Lead Researcher's Picture 3 (missable)
File
HintThe upper office suite contains several records; inspect each displayed photograph.
WhereIn the inner room of the Lead Researcher's Office, examine the framed Picture 3 on the desk.
Full detailIn the inner room of the Lead Researcher's Office, examine the framed Picture 3 on the desk; the loose photograph beside it registers as a separate file.
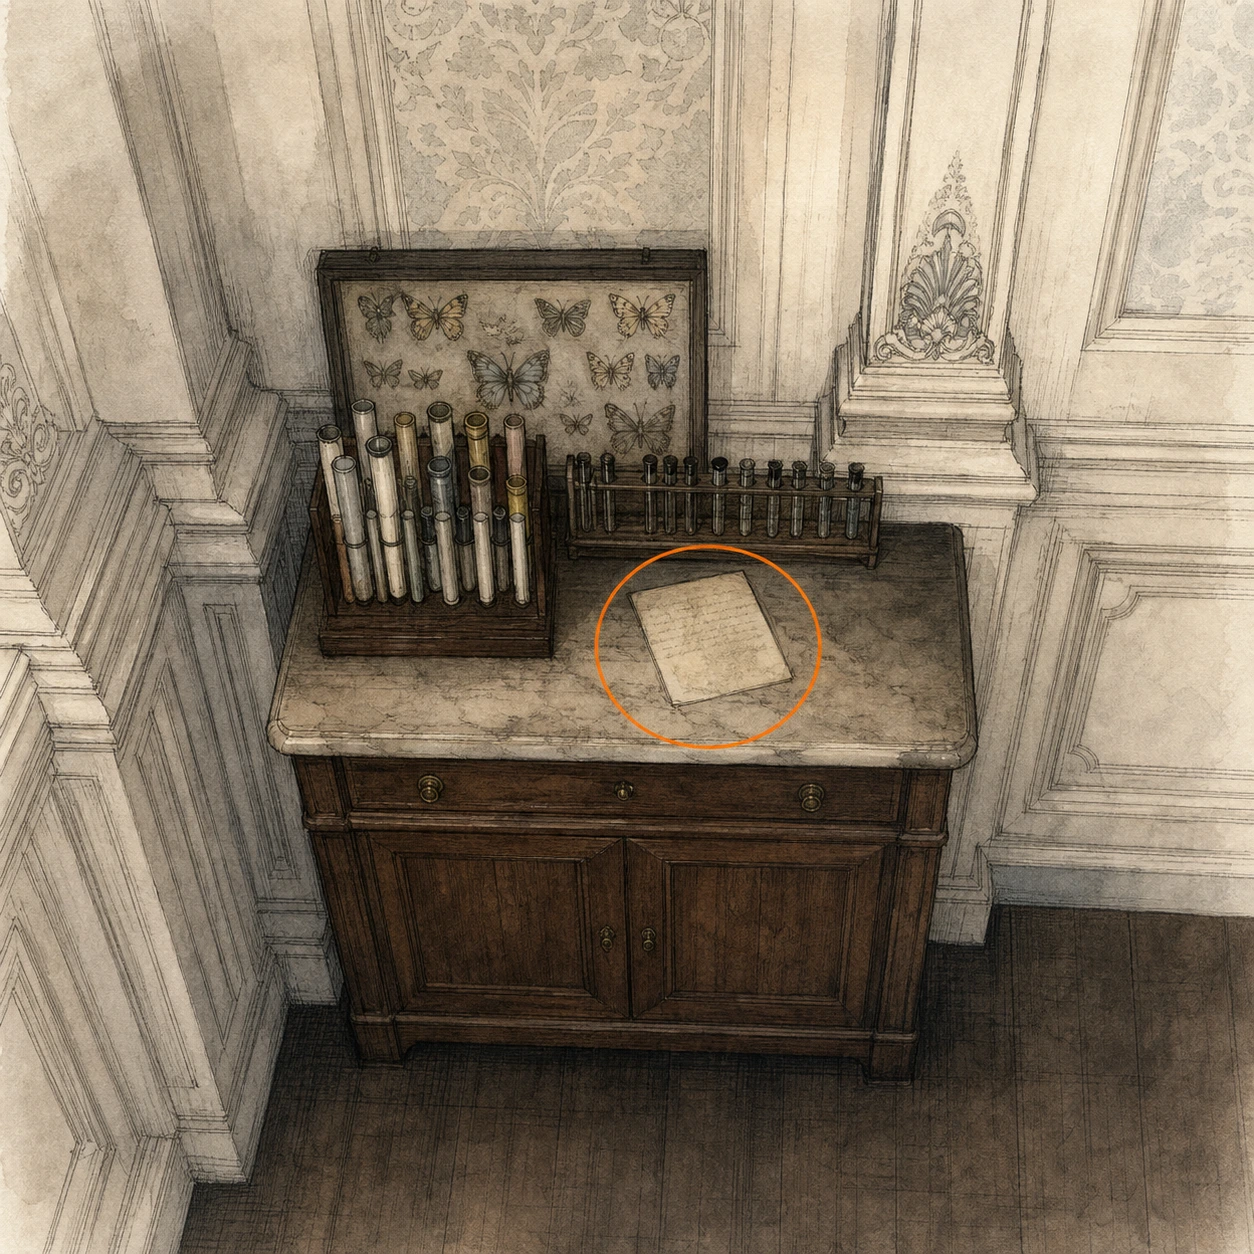
File #20 - Lead Researcher's Message (missable)
File
HintBefore leaving the upper office suite, check its less obvious storage surfaces.
WhereIn the inner room of the Lead Researcher's Office, read the message on the separate cupboard.
Full detailIn the inner room of the Lead Researcher's Office, read the message on the separate cupboard; it is distinct from the three photograph files in this suite.
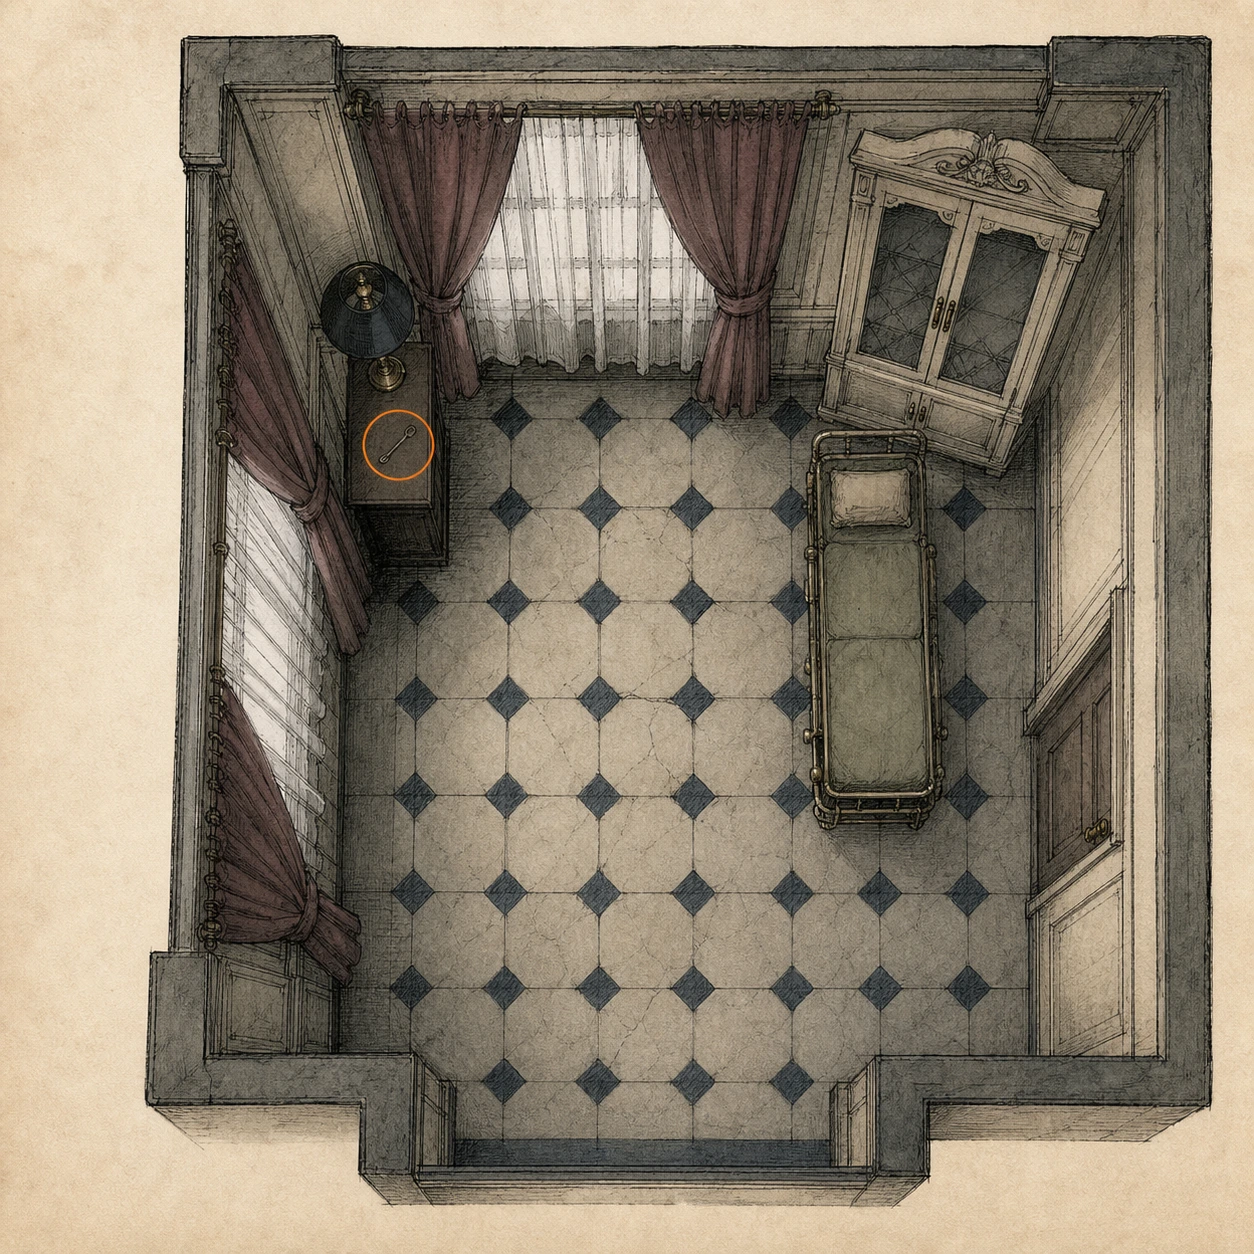
Lockpick (missable)
Key item
HintBefore leaving the upper office, look around the save point for a small tool.
WhereIn the Lead Researcher's Office, take the Lockpick immediately left of the typewriter.
Full detailTake the Lockpick immediately left of the Lead Researcher's Office typewriter, then use it on a locked drawer if you want to open that optional container.
ID Wristband (Level 1) (missable)
Key item
HintOne of the upper east-side corridors holds the access item needed for blue readers.
WhereTake the Level 1 ID Wristband from the corridor beside the Lead Researcher's Office.
Full detailTake the Level 1 ID Wristband from the corridor beside the Lead Researcher's Office, then use it on the blue Level 1 readers throughout the Care Center.
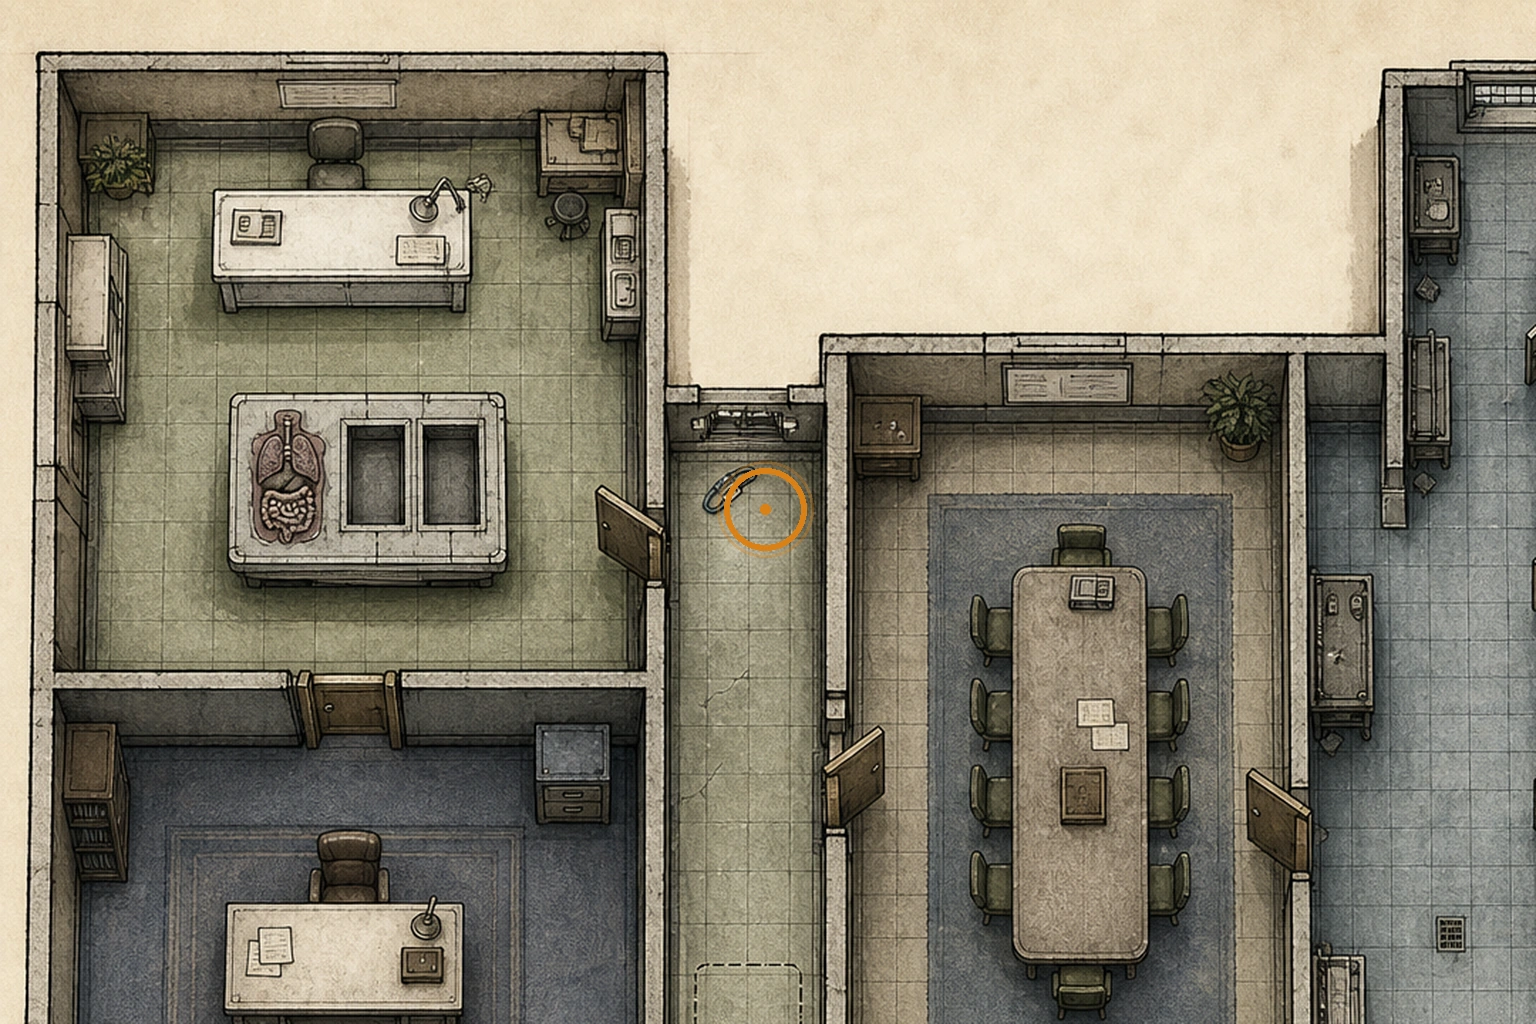
Eye Spy Charm (missable)
Charm
HintA powerful enemy in the east-side return sweep carries something useful.
WhereDefeat the large enemy that appears after you take the Level 1 wristband, then collect its dropped charm.
Full detailDefeat the large enemy that appears after you take the Level 1 wristband and pick up the Eye Spy Charm from its floor drop before leaving the east-wing sweep.
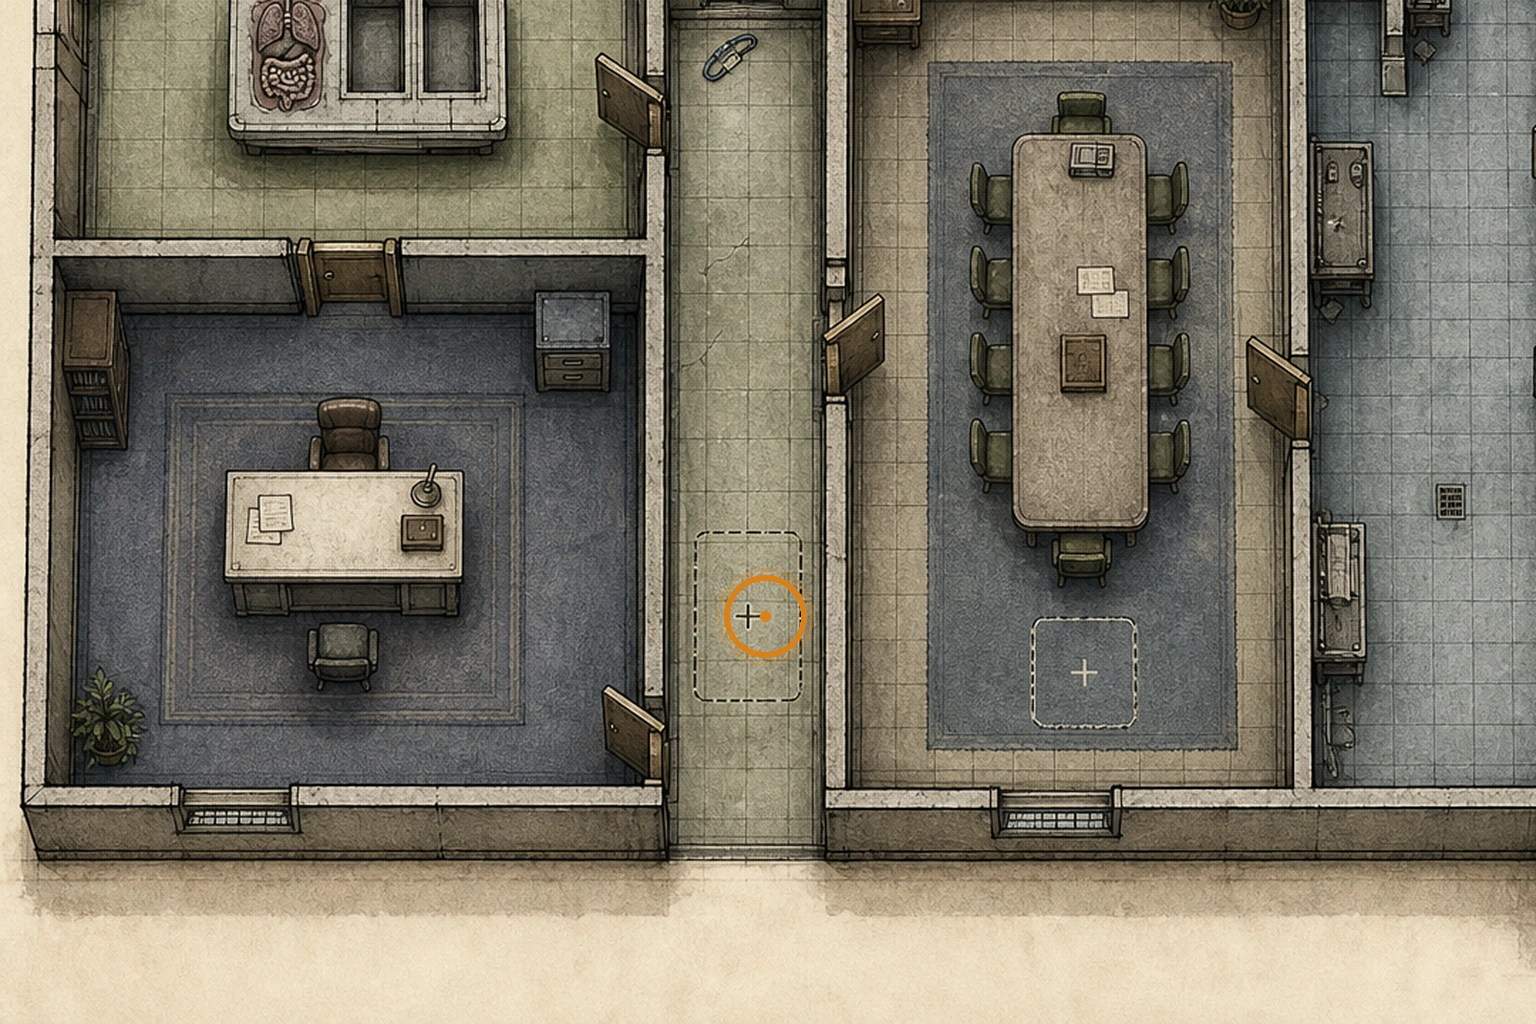
Blood Specimen (Converged) - Green (missable)
Blood sample
HintOnce blue readers are available, revisit previously locked rooms in the east wing.
WhereUse the Level 1 reader on the Closet off the Waiting Room and take the green Blood Specimen inside.
Full detailUse the Level 1 reader on the Closet off the Waiting Room, take the green Blood Specimen, then analyze it in the Blood Lab to unlock the Med Injector and 12.7x55mm Ammo recipes.
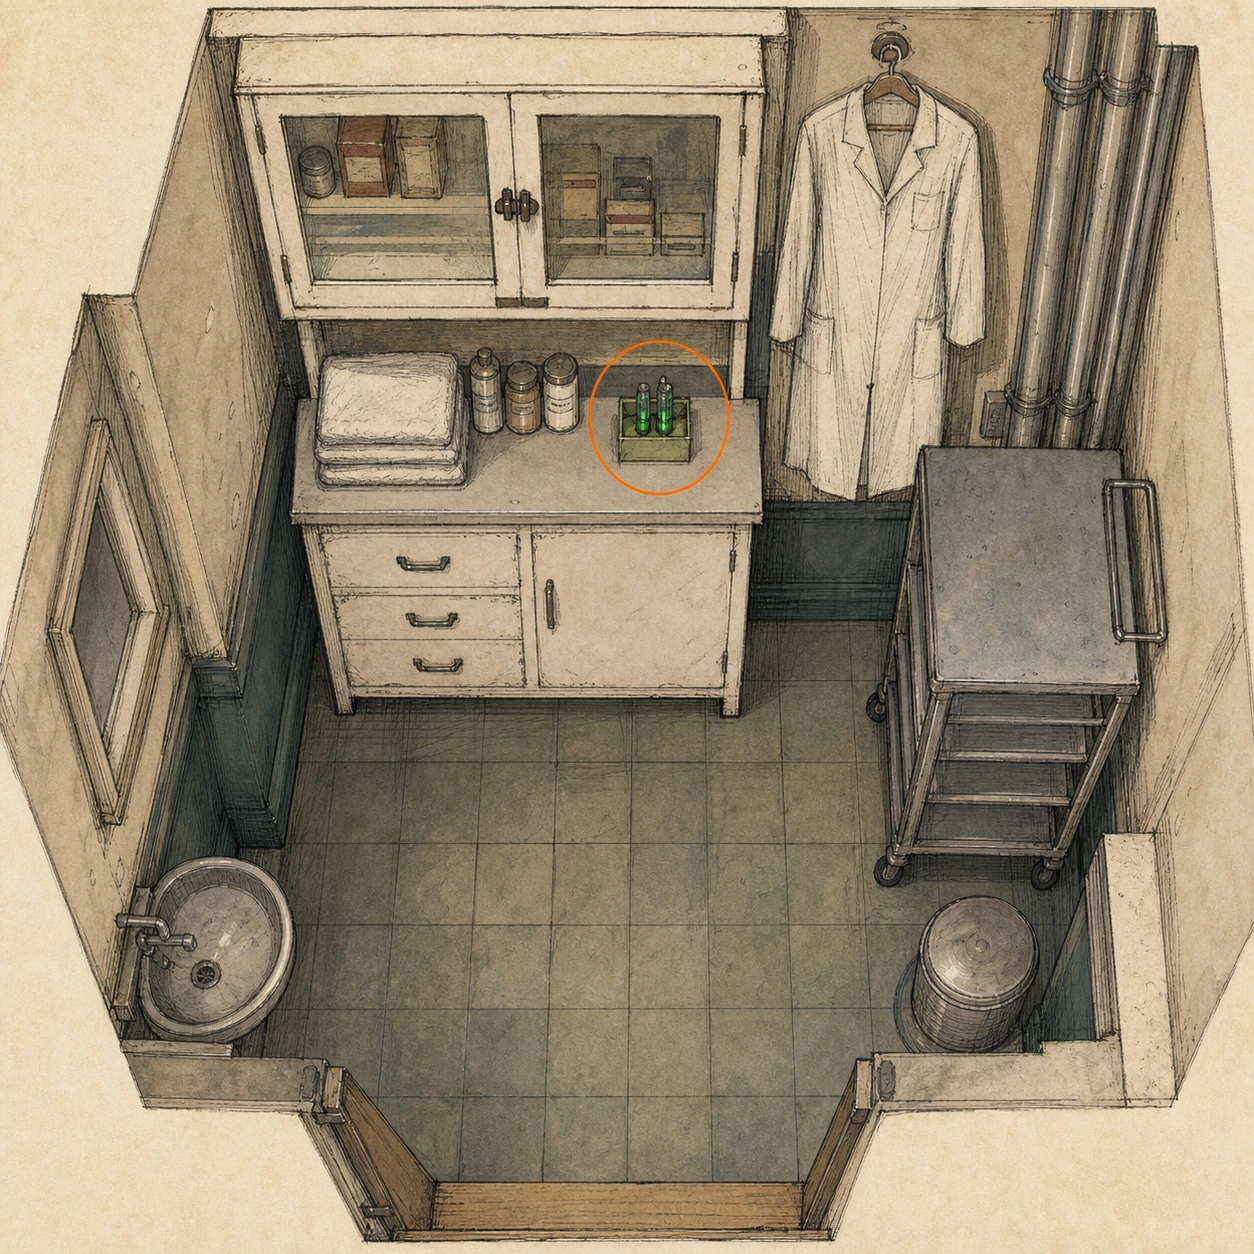
File #21 - Victor's Journal Entry (missable)
File
HintA newly accessible section of the laboratory contains another record.
WhereUse the Level 1 reader in the Blood Lab and read the journal on the table in the room beyond.
Full detailUse the Level 1 reader in the Blood Lab, then read Victor's Journal Entry on the table; the nearby white specimen is a separate pickup.
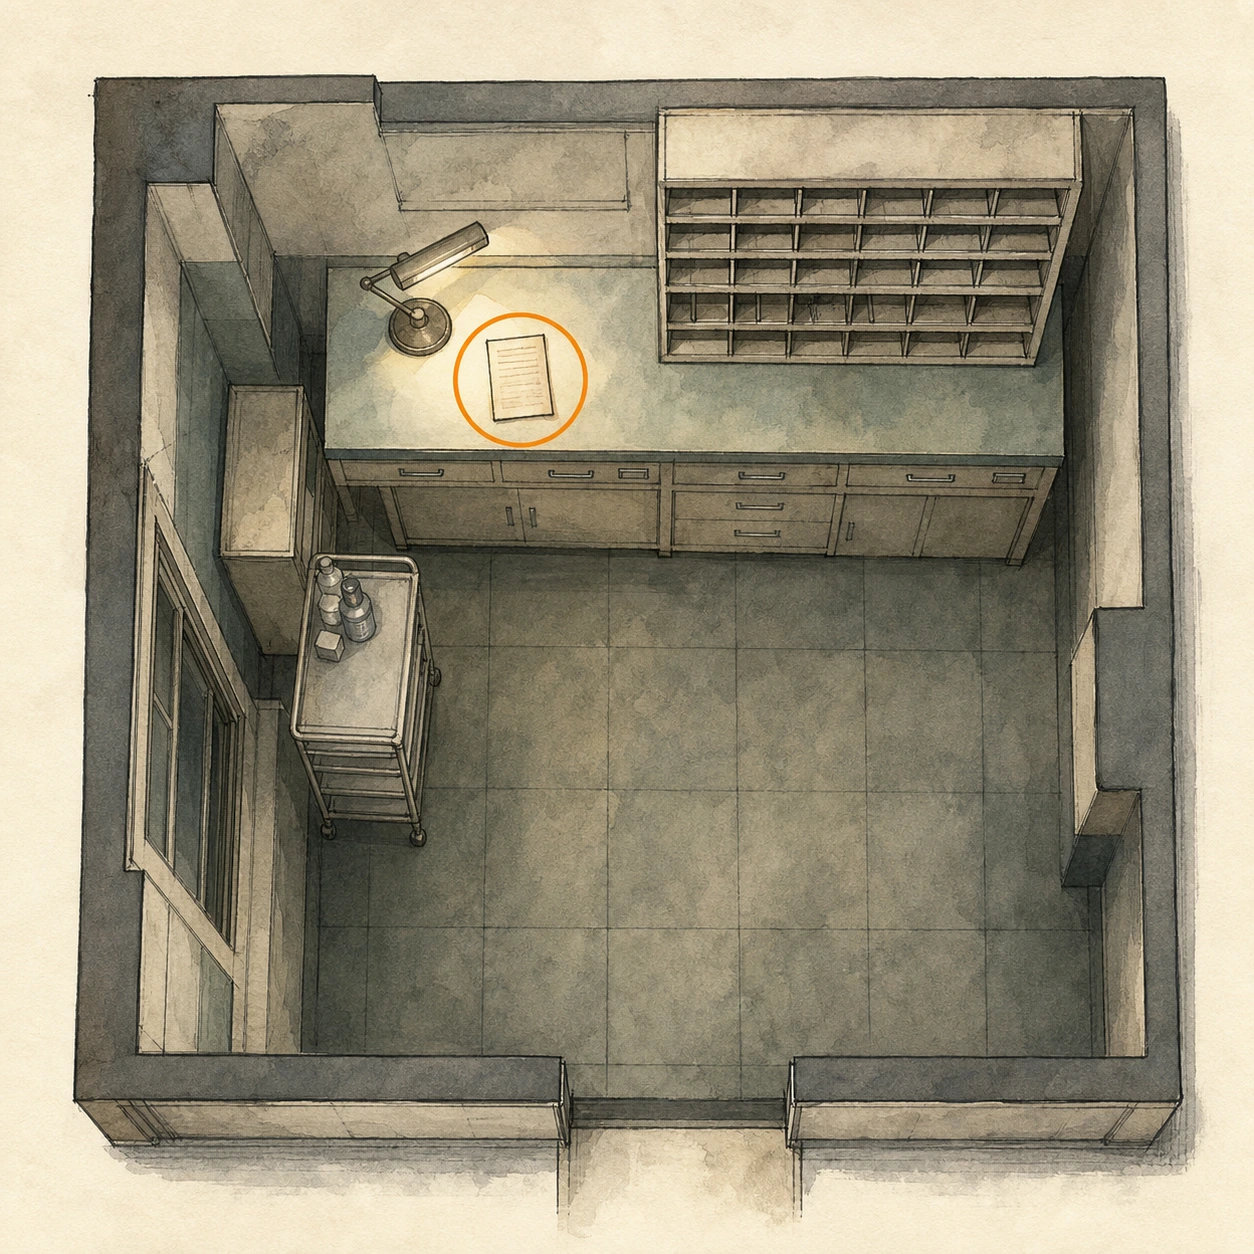
Blood Specimen (Reversible) - White (missable)
Blood sample
HintThe newly accessible laboratory room contains more than a written record.
WhereUse the Level 1 reader in the Blood Lab and take the white Blood Specimen from the room beyond.
Full detailTake the white Blood Specimen from the Level 1 room in the Blood Lab, then analyze it to unlock the Steroids and Stabilizer recipes.
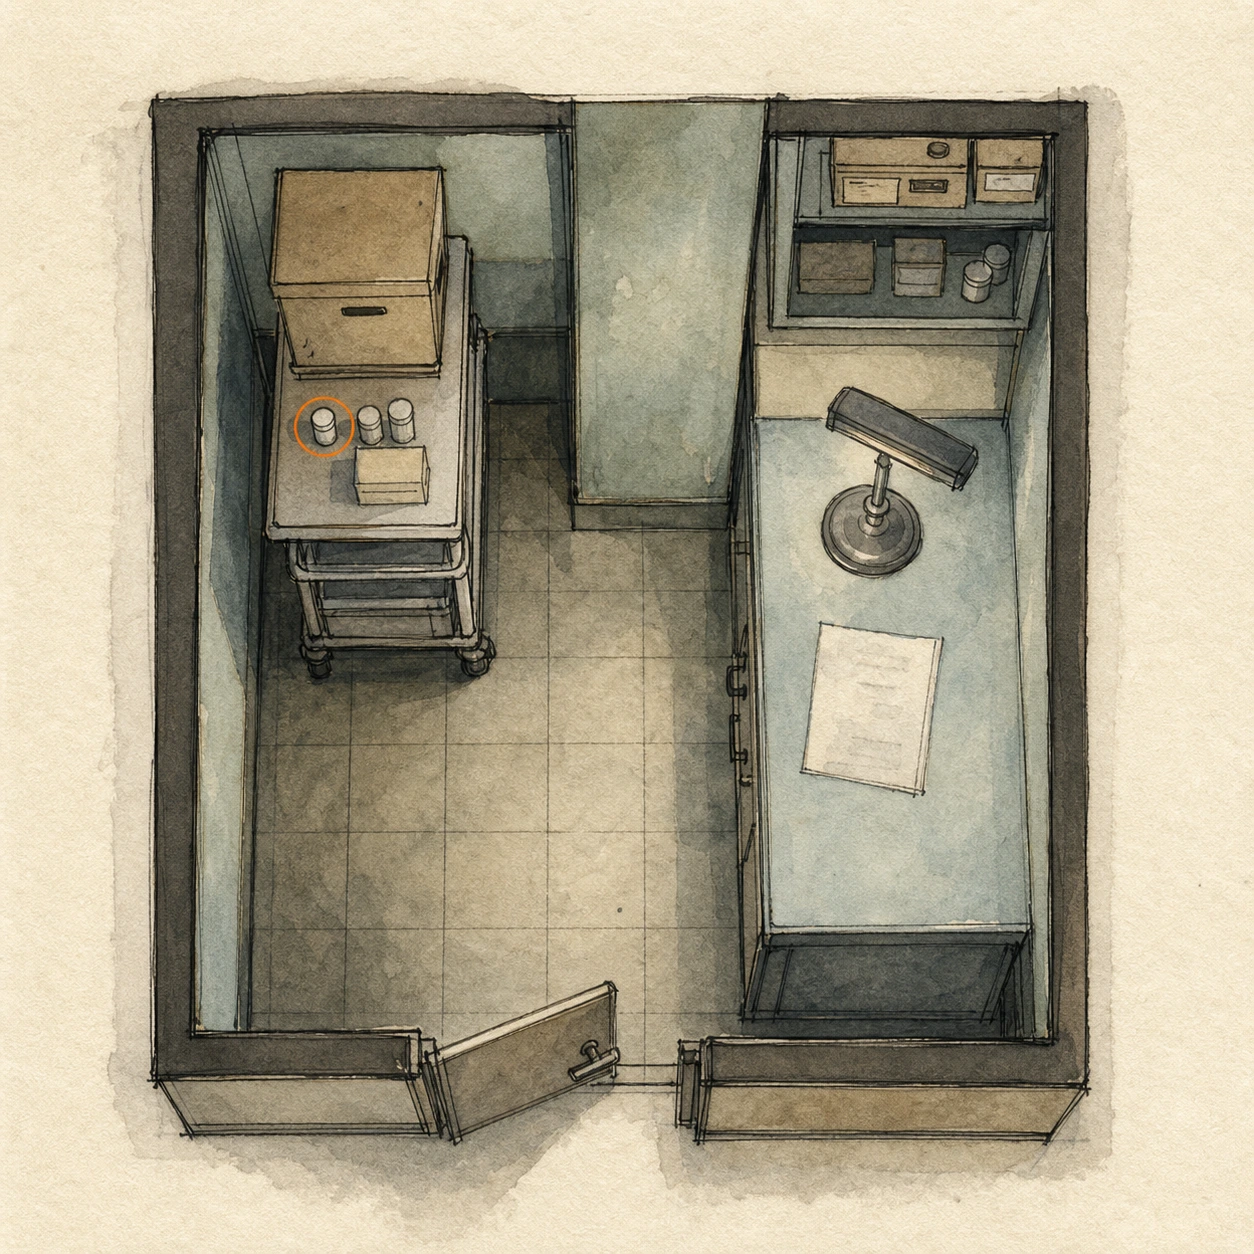
Hip Pouch (missable)
Hip Pouch (inventory upgrade)
HintBlue-reader access also opens an inventory upgrade in the opposite wing.
WhereReturn to the West Wing Filing Room, open its Level 1 door, and take the Hip Pouch inside.
Full detailOpen the Level 1 door in the West Wing Filing Room and take the Hip Pouch from the room beyond to add inventory space.
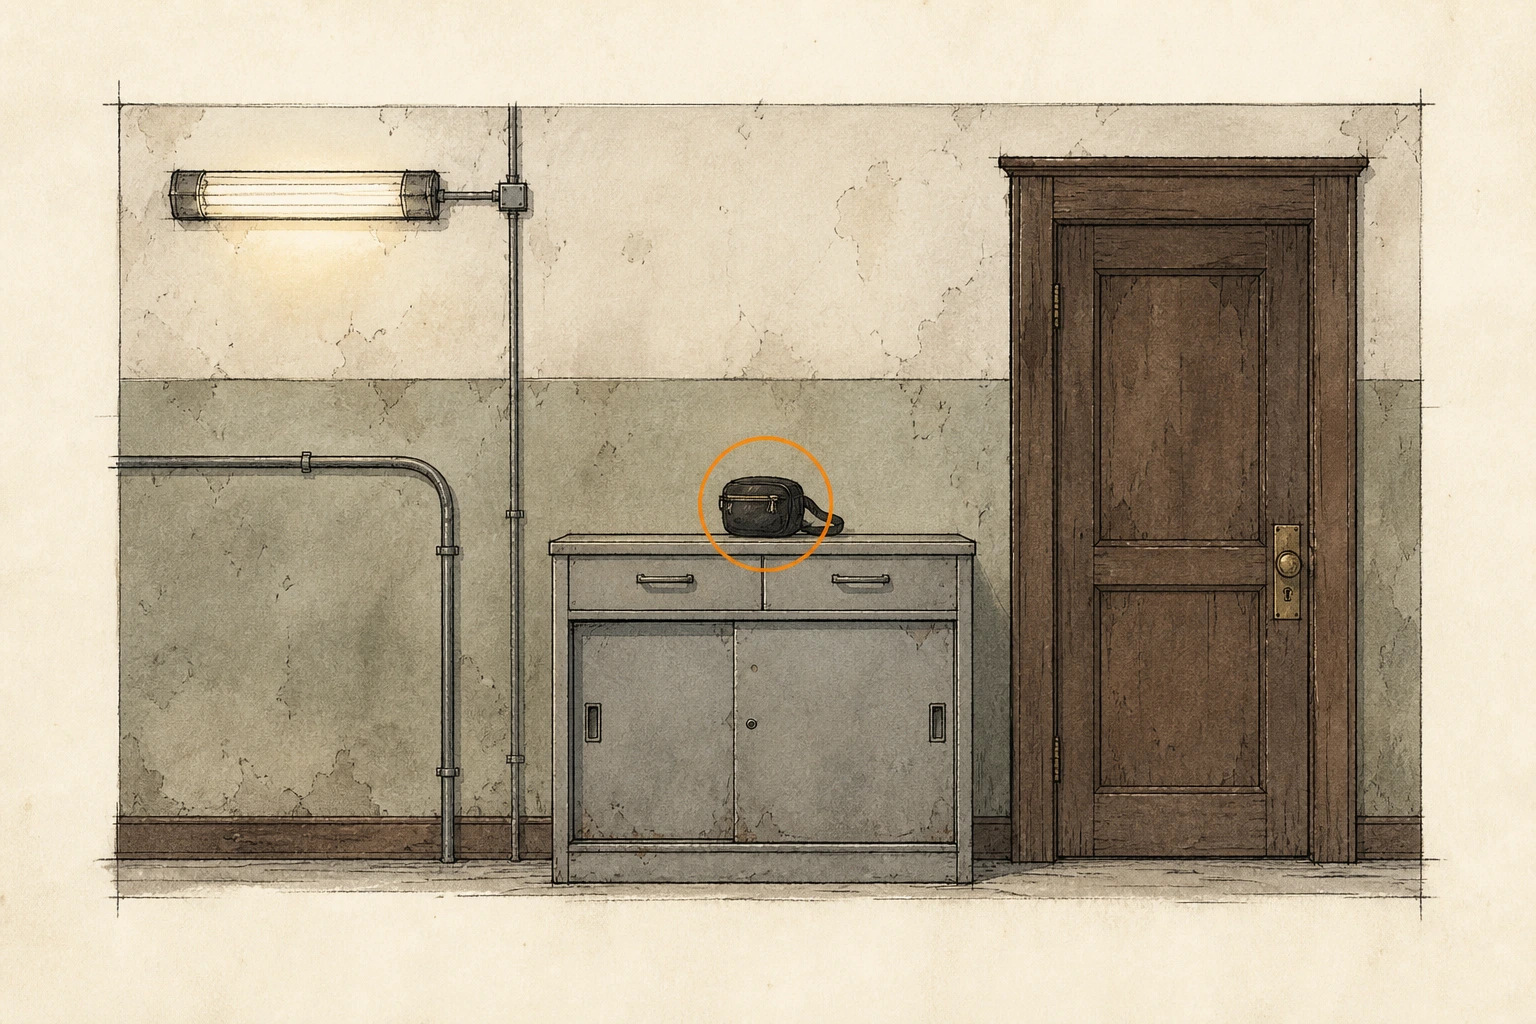
File #22 - Construction Notice (missable)
File
HintExplore beyond the newly opened west-side gate and inspect posted notices.
WhereOpen the Level 1 gate in the corridor south of the Kitchen and read the Construction Notice on the whiteboard beside the Custodian's Office.
Full detailUse the Level 1 wristband on the gate south of the Kitchen, then read the Construction Notice on the whiteboard in the next corridor, beside the Custodian's Office.
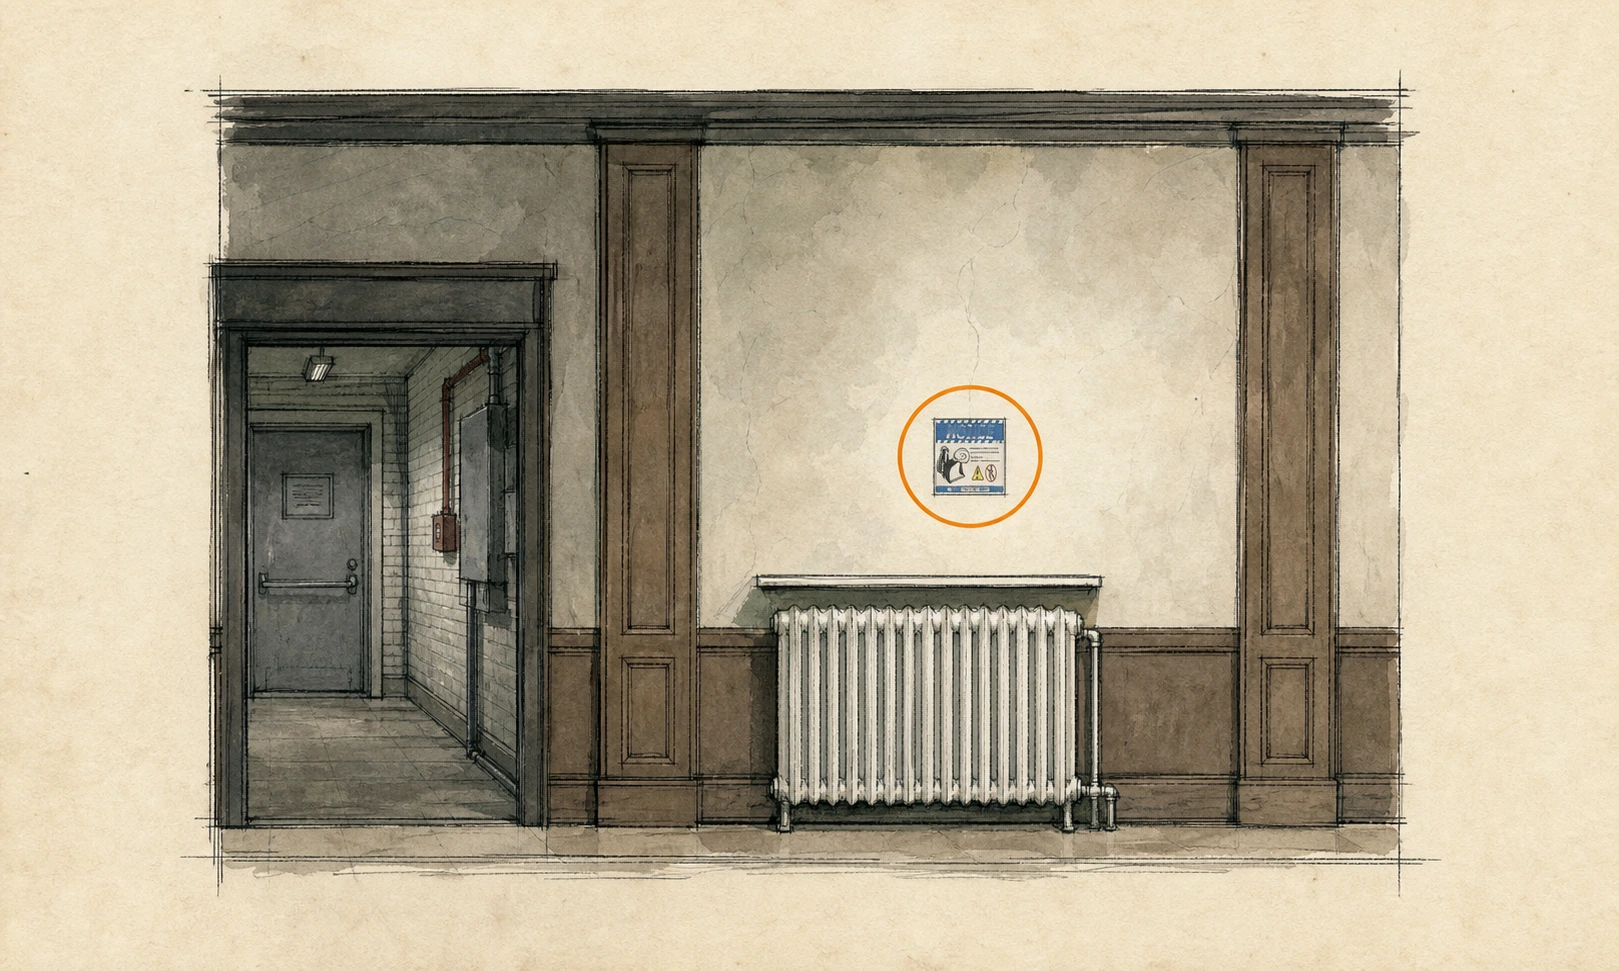
Wrench (missable)
Key item
HintThe utility rooms beyond the west-side gate contain a useful tool.
WhereIn the Custodian's Office, take the Wrench beside the typewriter.
Full detailTake the Wrench beside the Custodian's Office typewriter and keep it for the damaged valve on the Cold Storage door.
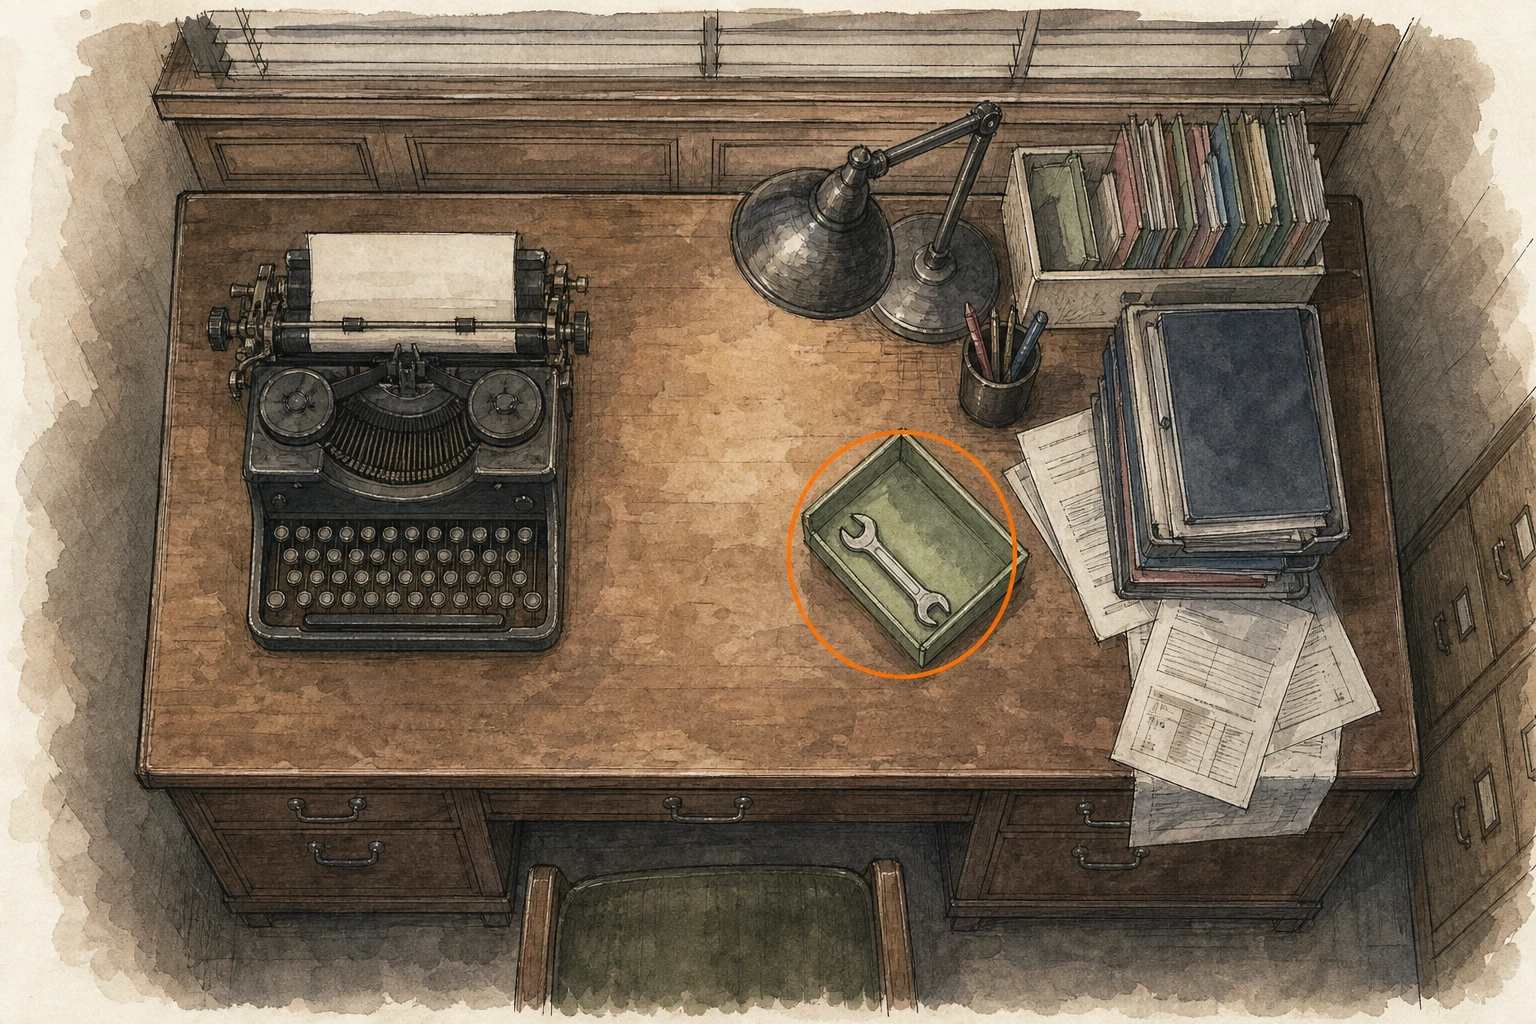
Organ Transport Box (missable)
Key item
HintSearch the vehicle bay thoroughly before heading upstairs.
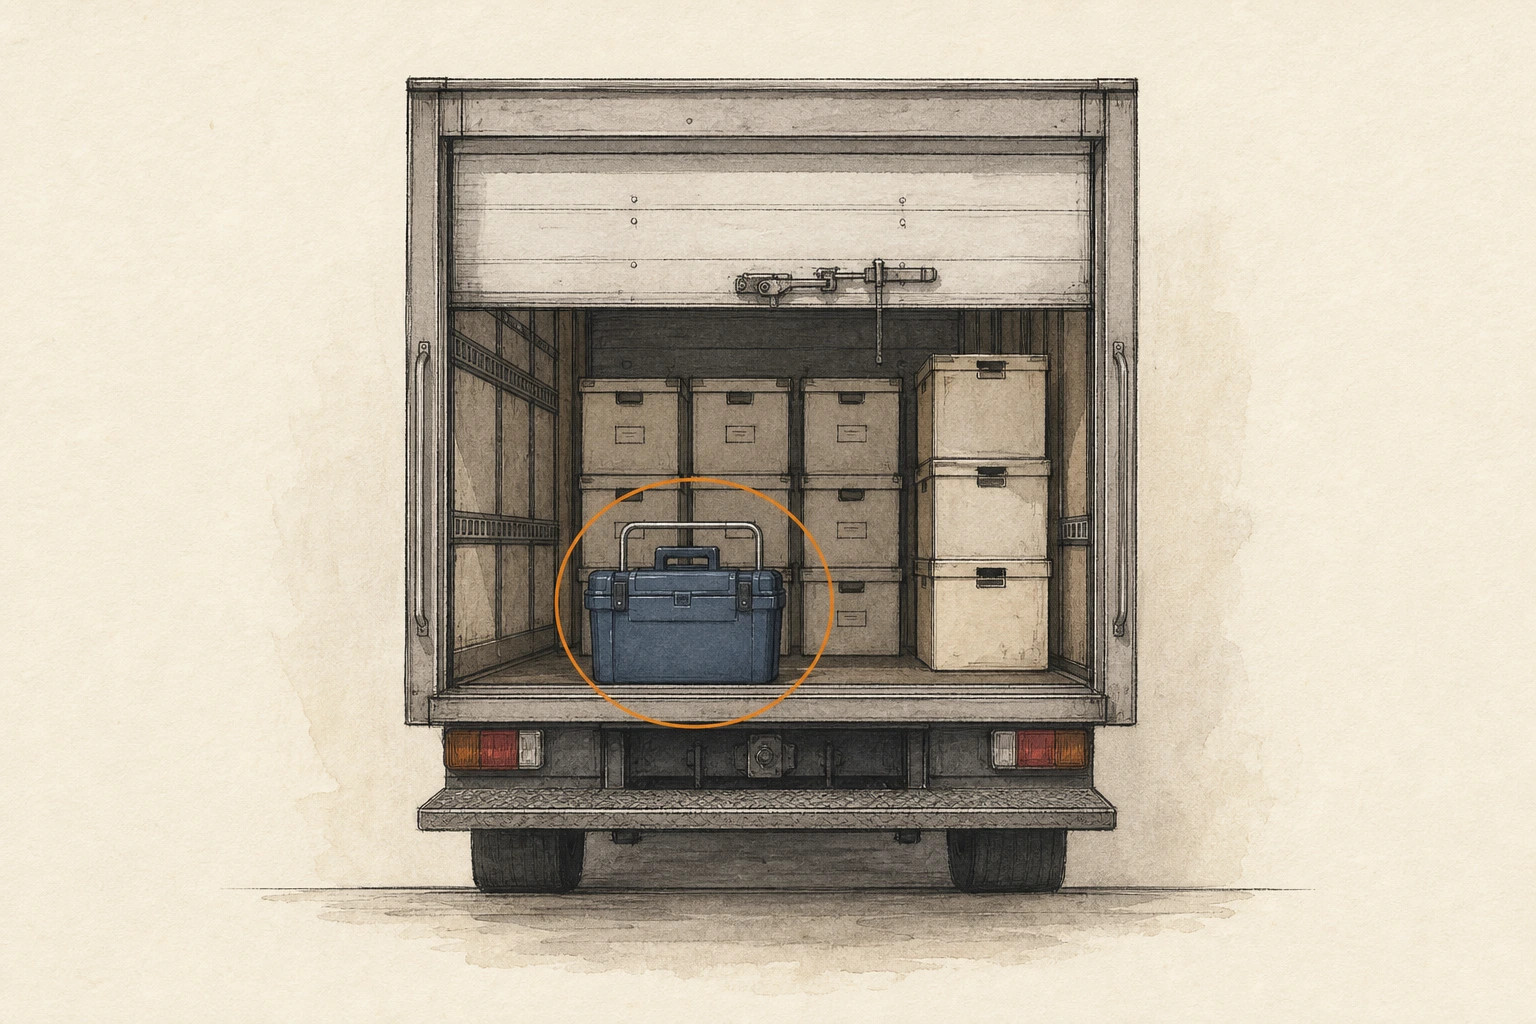
WhereIn the Garage, take the Organ Transport Box from the back of the truck at the far end.
Full detailTake the Organ Transport Box from the back of the truck at the far end of the Garage and keep it for later inventory inspection.
File #23 - Bar & Lounge Safe Code (missable)
File
HintThe offices above the vehicle bay hold another safe-related file.
WhereAfter leaving the Garage, go upstairs to the Office and read the file on the first desk.
Full detailRead the file on the first Office desk above the Garage; it gives Safe #1's Casual combination: Left 10, Right 80, Left 30.
File #24 - Background Check (missable)
File
HintContinue checking desks throughout the offices above the vehicle bay.
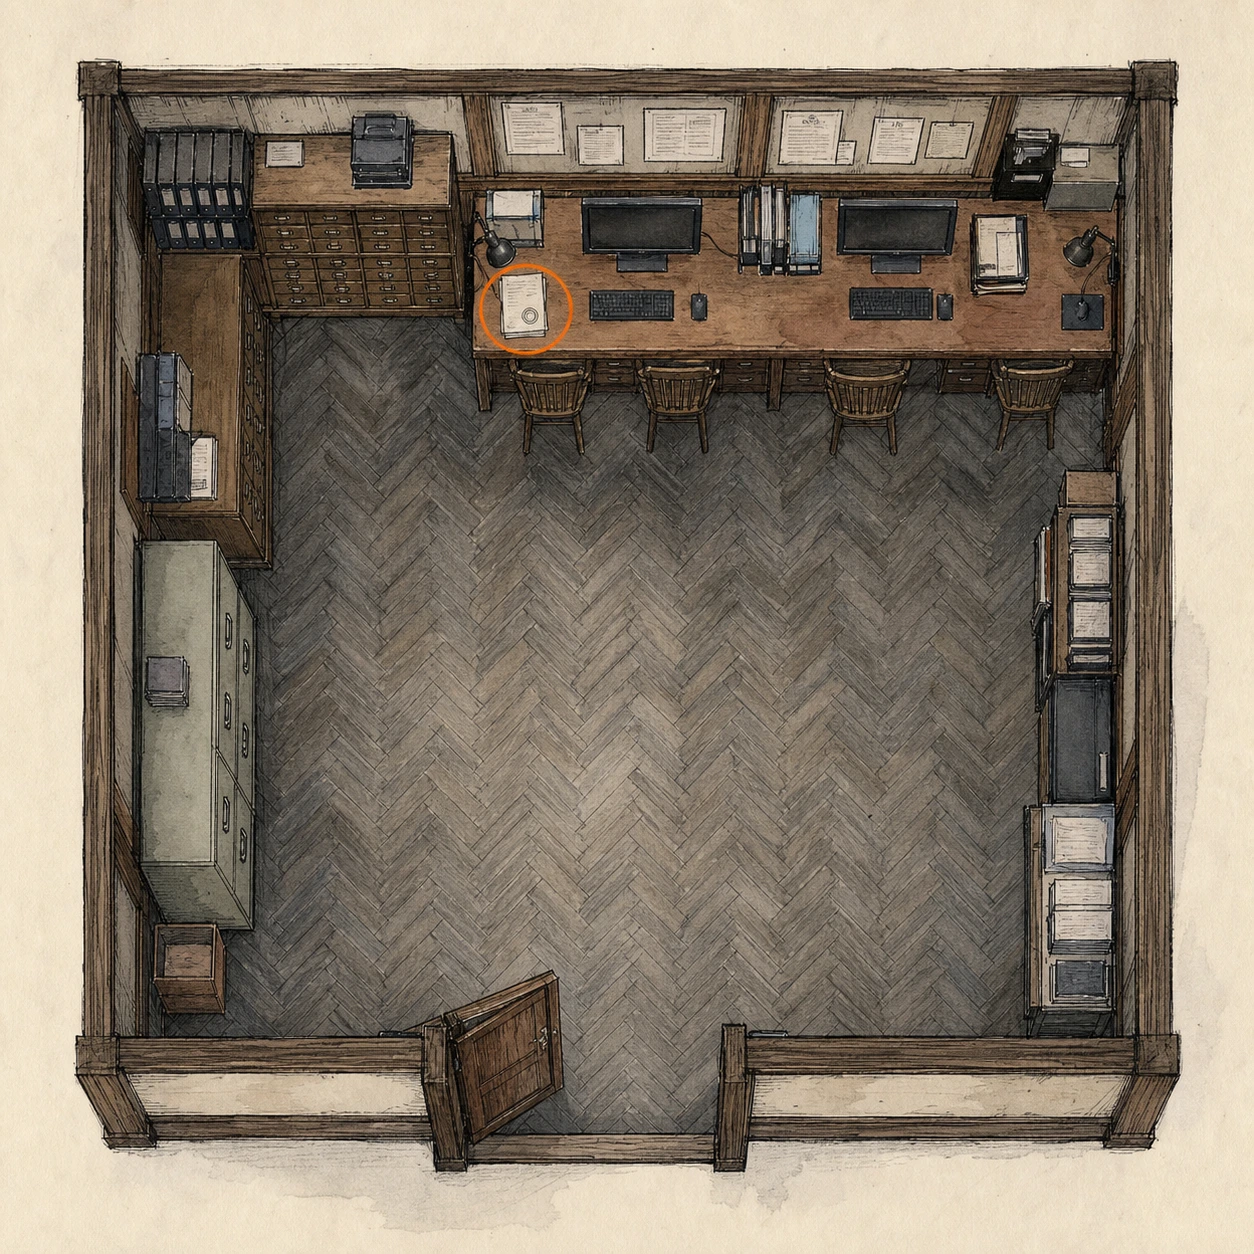
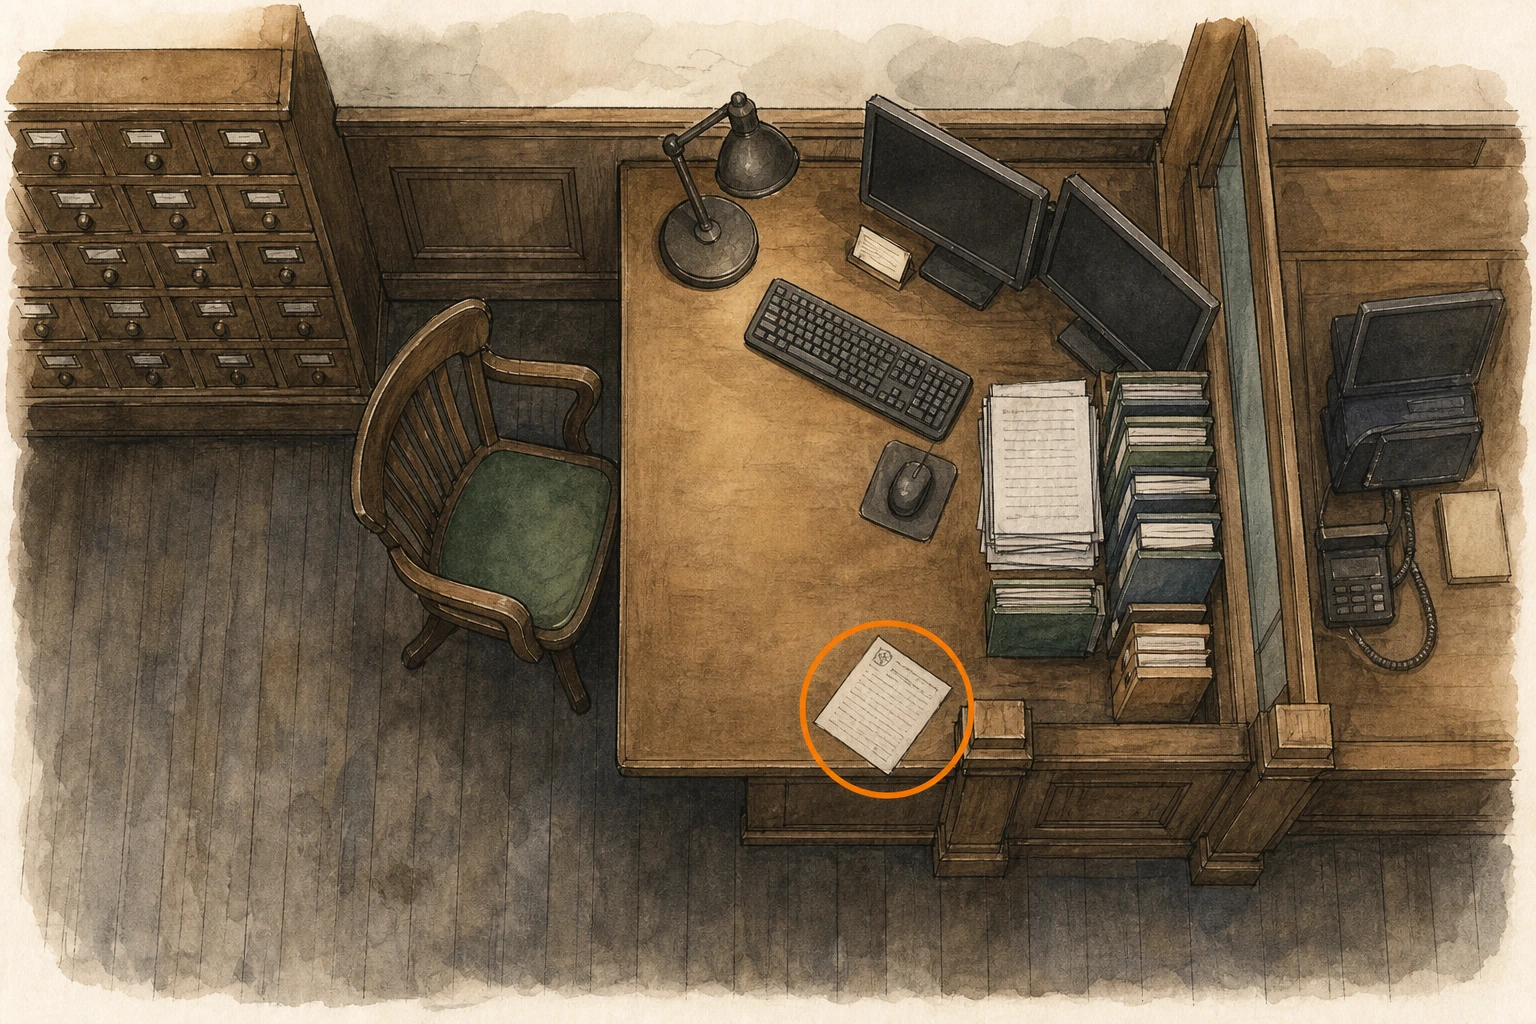
WhereIn the Office above the Garage, read the Background Check on the desk in the back-right corner.
Full detailCircle to the back-right corner of the Office above the Garage and read the Background Check on the desk before entering the adjoining Records Room.
File #25 - Disposal Team Report (missable)
File
HintDo not leave the office suite without sweeping its adjoining storage room.
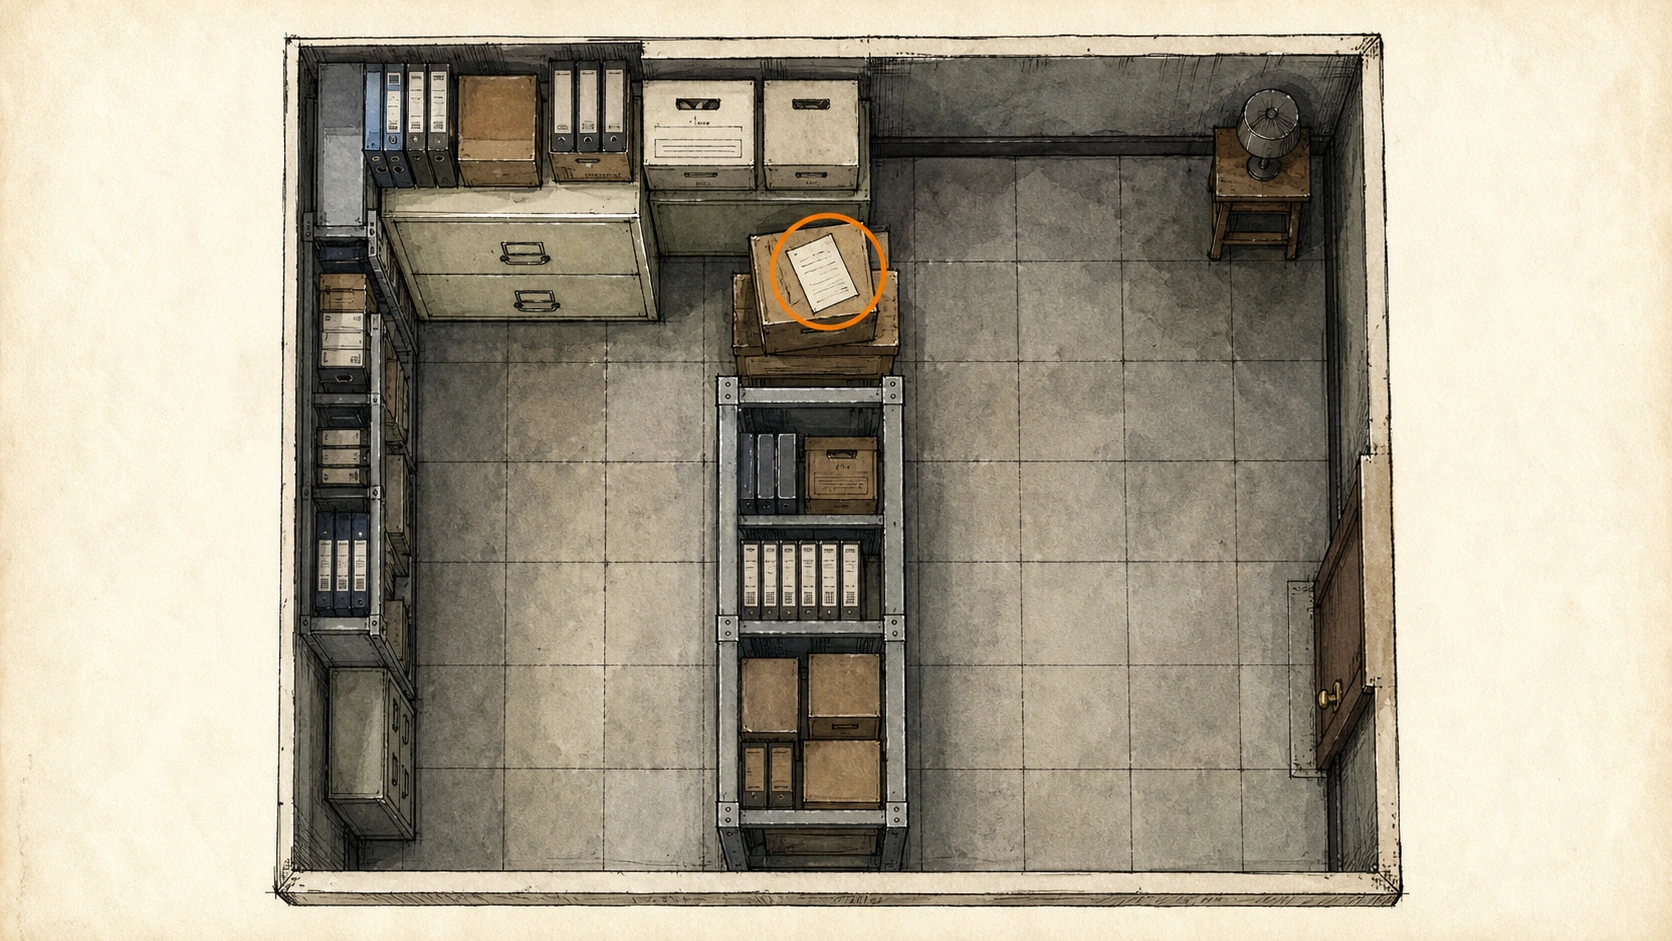
WhereFrom the Office's right side, enter the Records Room and read the report inside the middle aisle's far-end cardboard box.
Full detailIn the Records Room, follow the middle shelf row to its far end and read the report in the cardboard box; the nearby locked closet cannot be opened until a later return.
Mr. Raccoon #4 (missable)
Mr. Raccoon figure
HintA small break room off the office suite hides a figure.
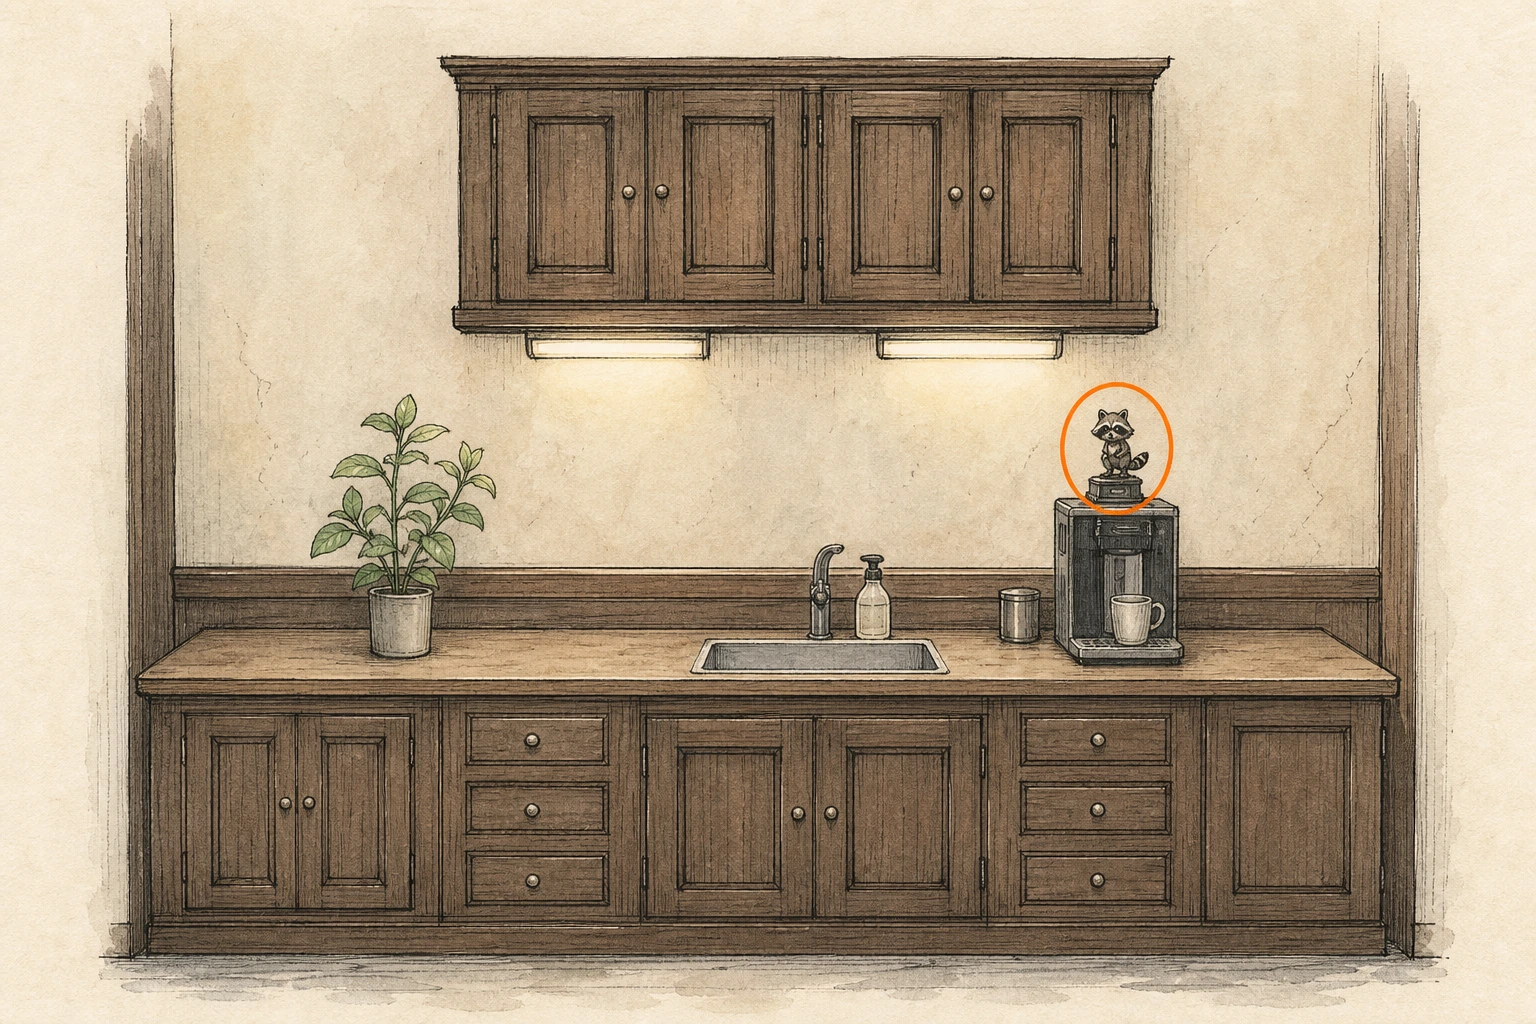
WhereTake the Office's north exit into the Kitchenette and find the figure beside the sink.
Full detailTake the Office's north exit into the Kitchenette, find the figure beside the sink, and strike or shoot it until it breaks.
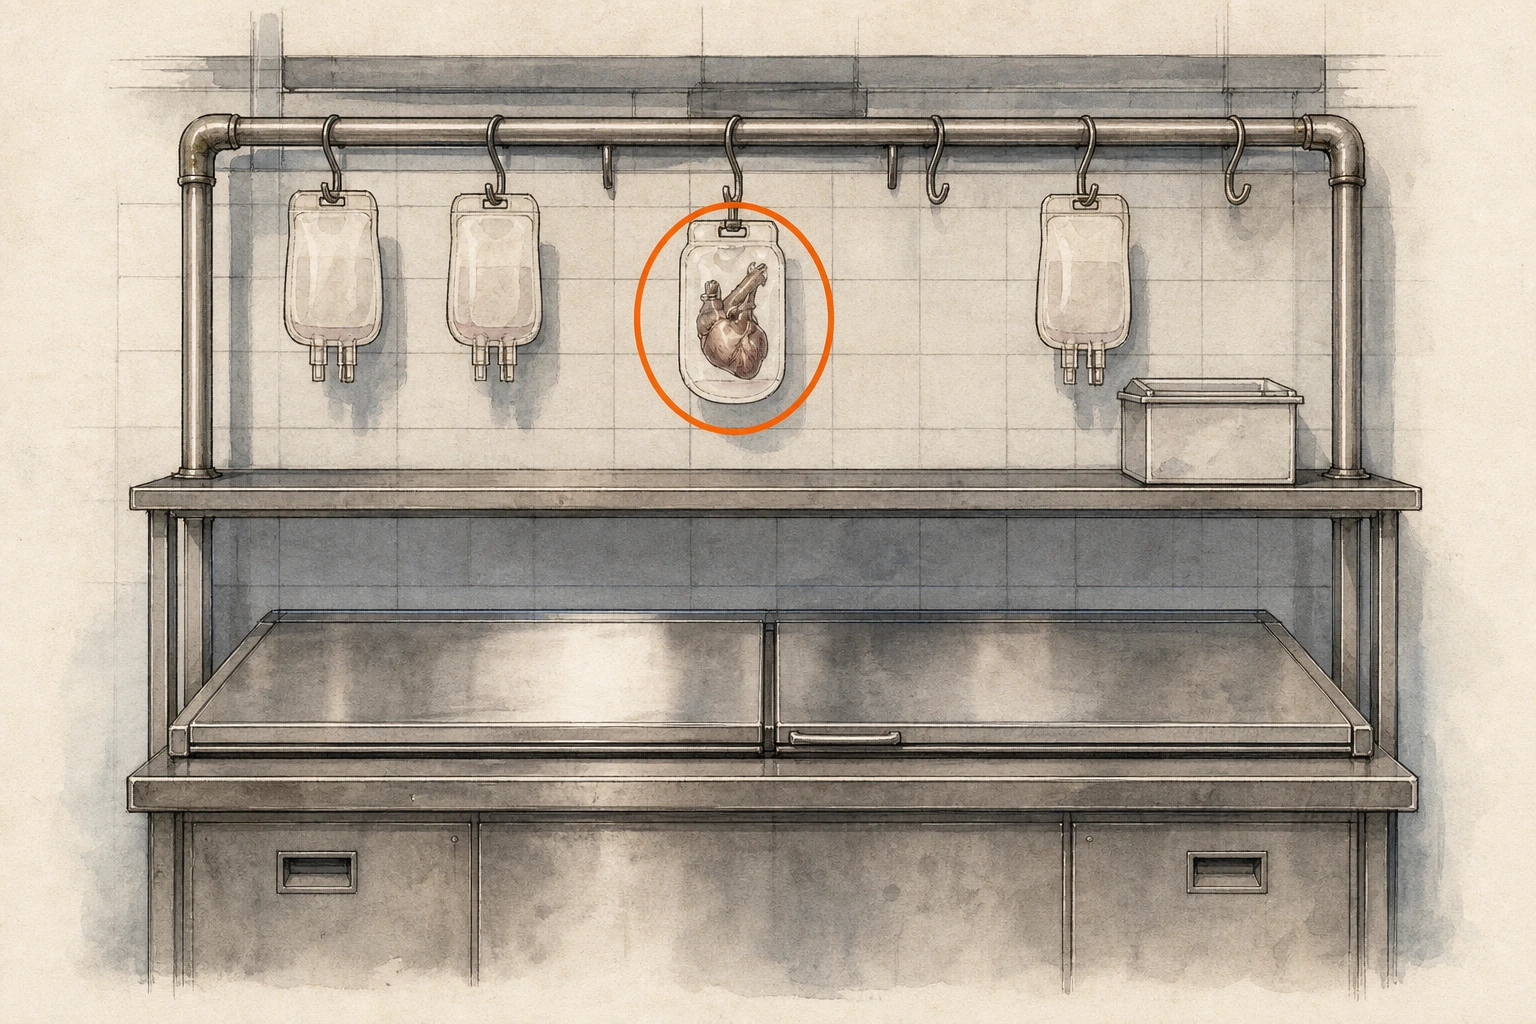
Artificial Heart (missable)
Key item
HintA previously inaccessible cold room in the west wing holds a key item.
WhereUse the Wrench on the Cold Storage door in the northwest corner of West Wing 1F, then take the Artificial Heart straight ahead.
Full detailAt the Cold Storage door in the northwest corner of West Wing 1F, use the Wrench when the valve handle breaks, enter, and take the Artificial Heart directly ahead.
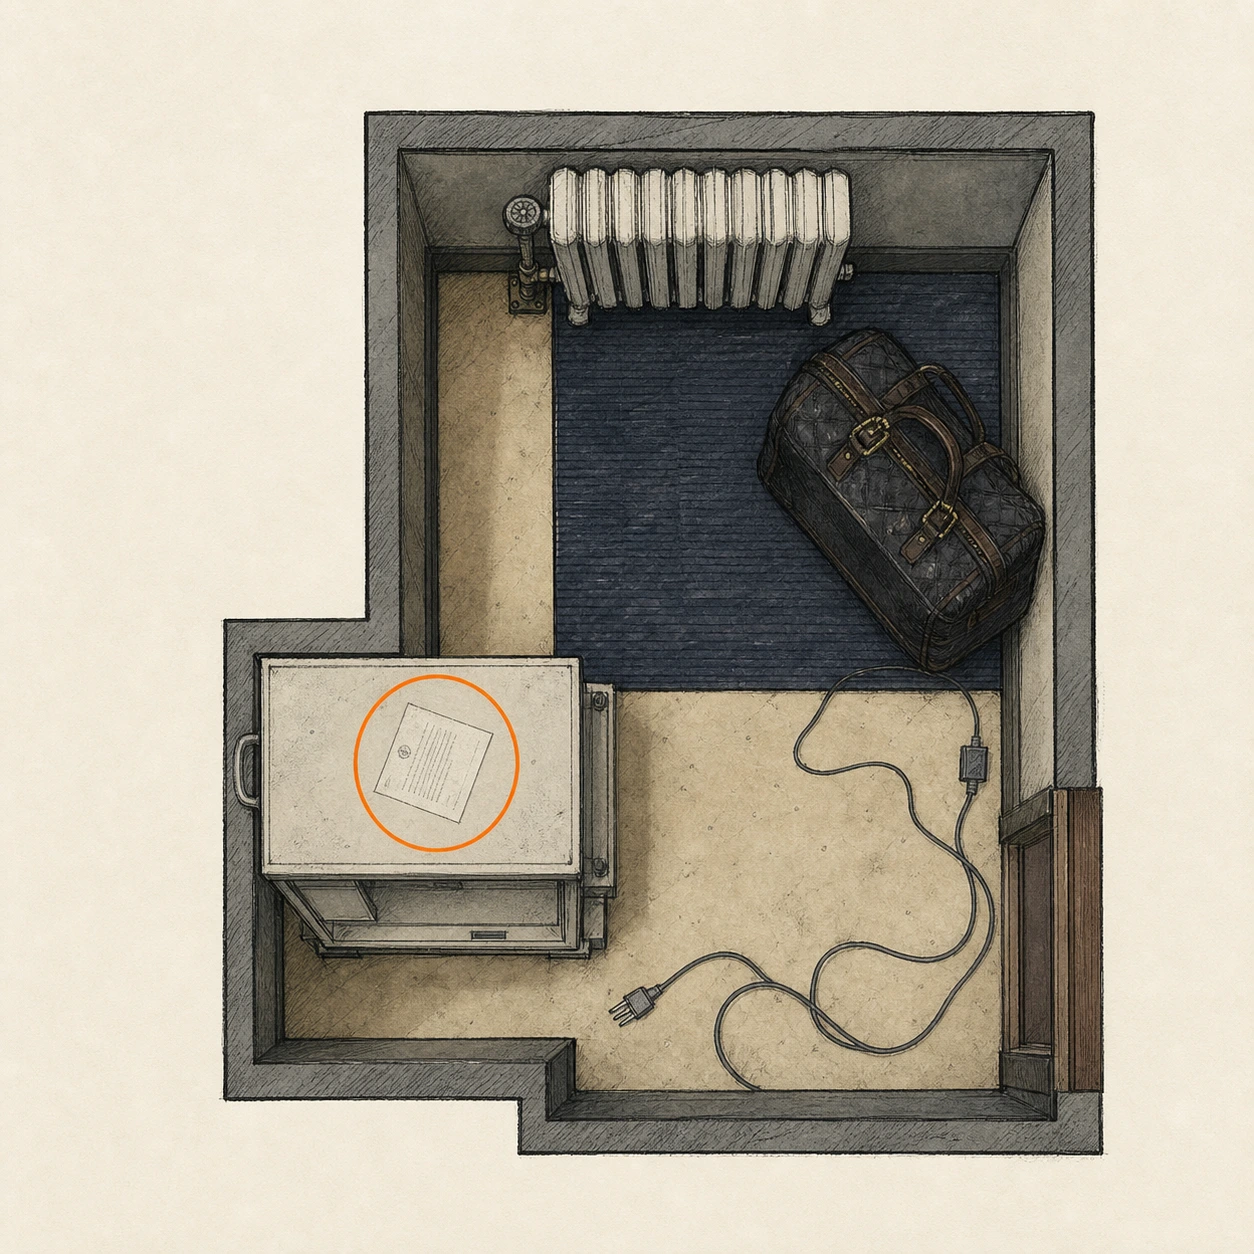
File #26 - Examination Room Safe Code (missable)
File
HintPreviously inaccessible upper east-wing rooms deserve another sweep.
WhereReturn to East Wing 2F and read the safe-code file on the locker in the room beside the Level 1 wristband corridor.
Full detailRead the file on the East Wing 2F locker; Safe #2 uses Right 30, Left 10, Right 50 on Casual or Left 50, Right 30, Left 90 on Insanity.
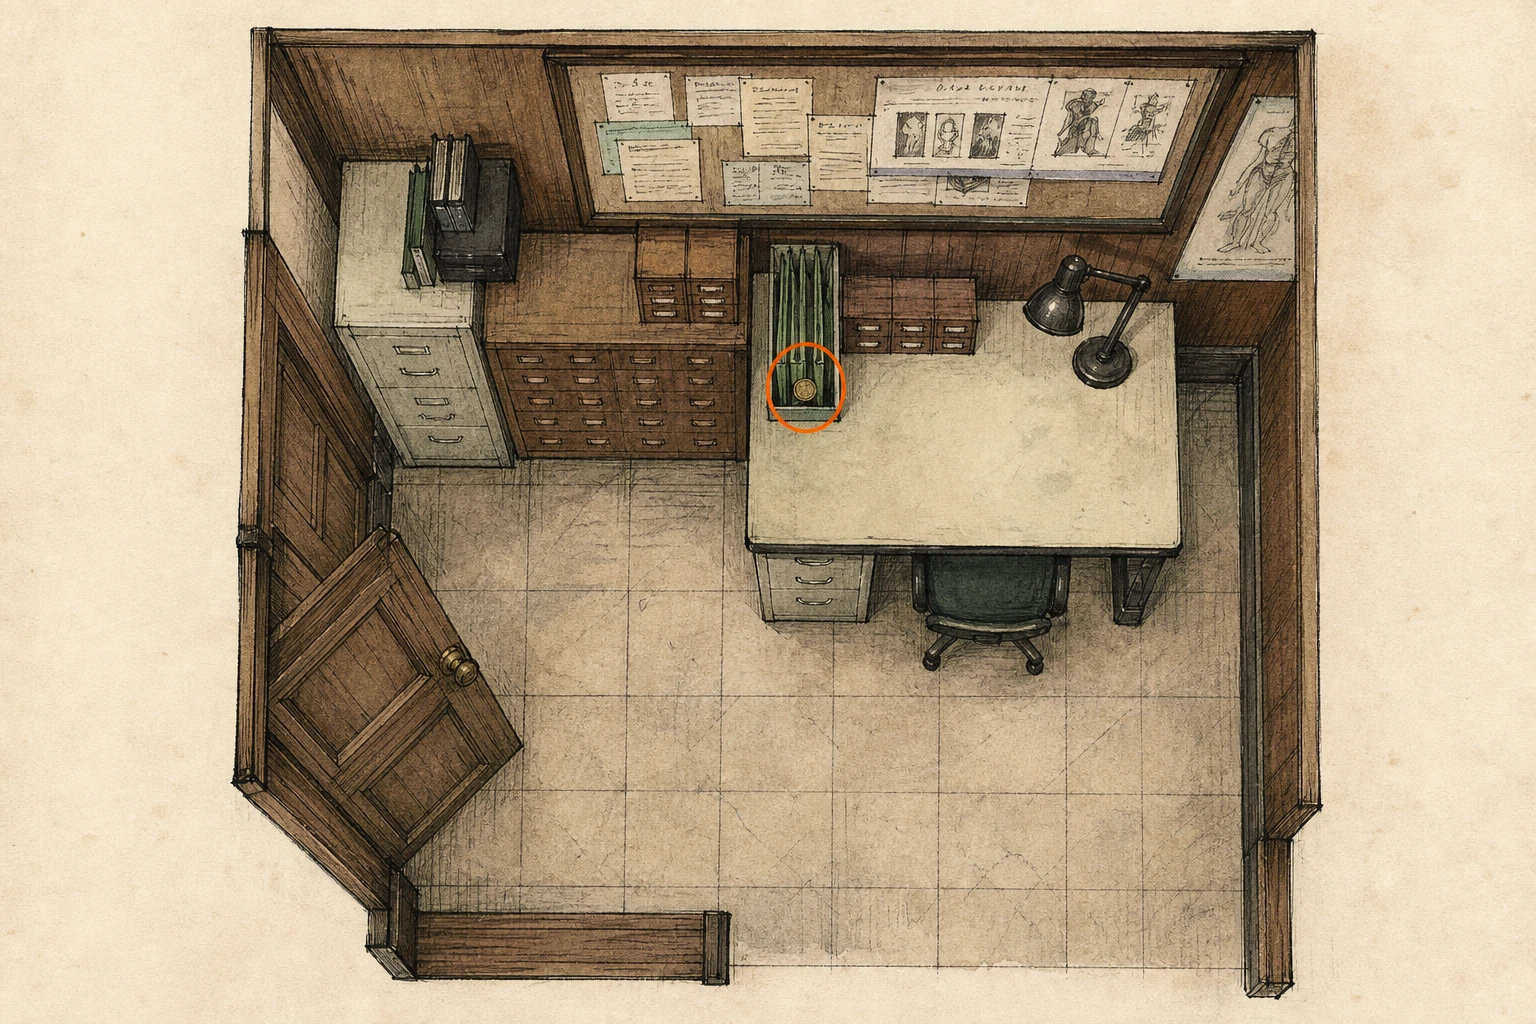
Antique Coin #20 (missable)
Antique Coin
HintSearch the conference area before moving deeper into its side rooms.
WhereEnter the Conference Room beside the previous locker area and take the coin from the white desk just inside.
Full detailEnter the Conference Room beside the previous locker area, deal with or evade the alerted enemies, and take the coin from the white desk just inside.
Antique Coin #21 (missable)
Antique Coin
HintOne enemy in the conference area carries a collectible.
WhereDefeat the singing enemy in the Conference Room and collect the coin it drops.
Full detailClear or evade the other Conference Room threats, defeat the singing enemy, and pick up the Antique Coin from its floor drop.
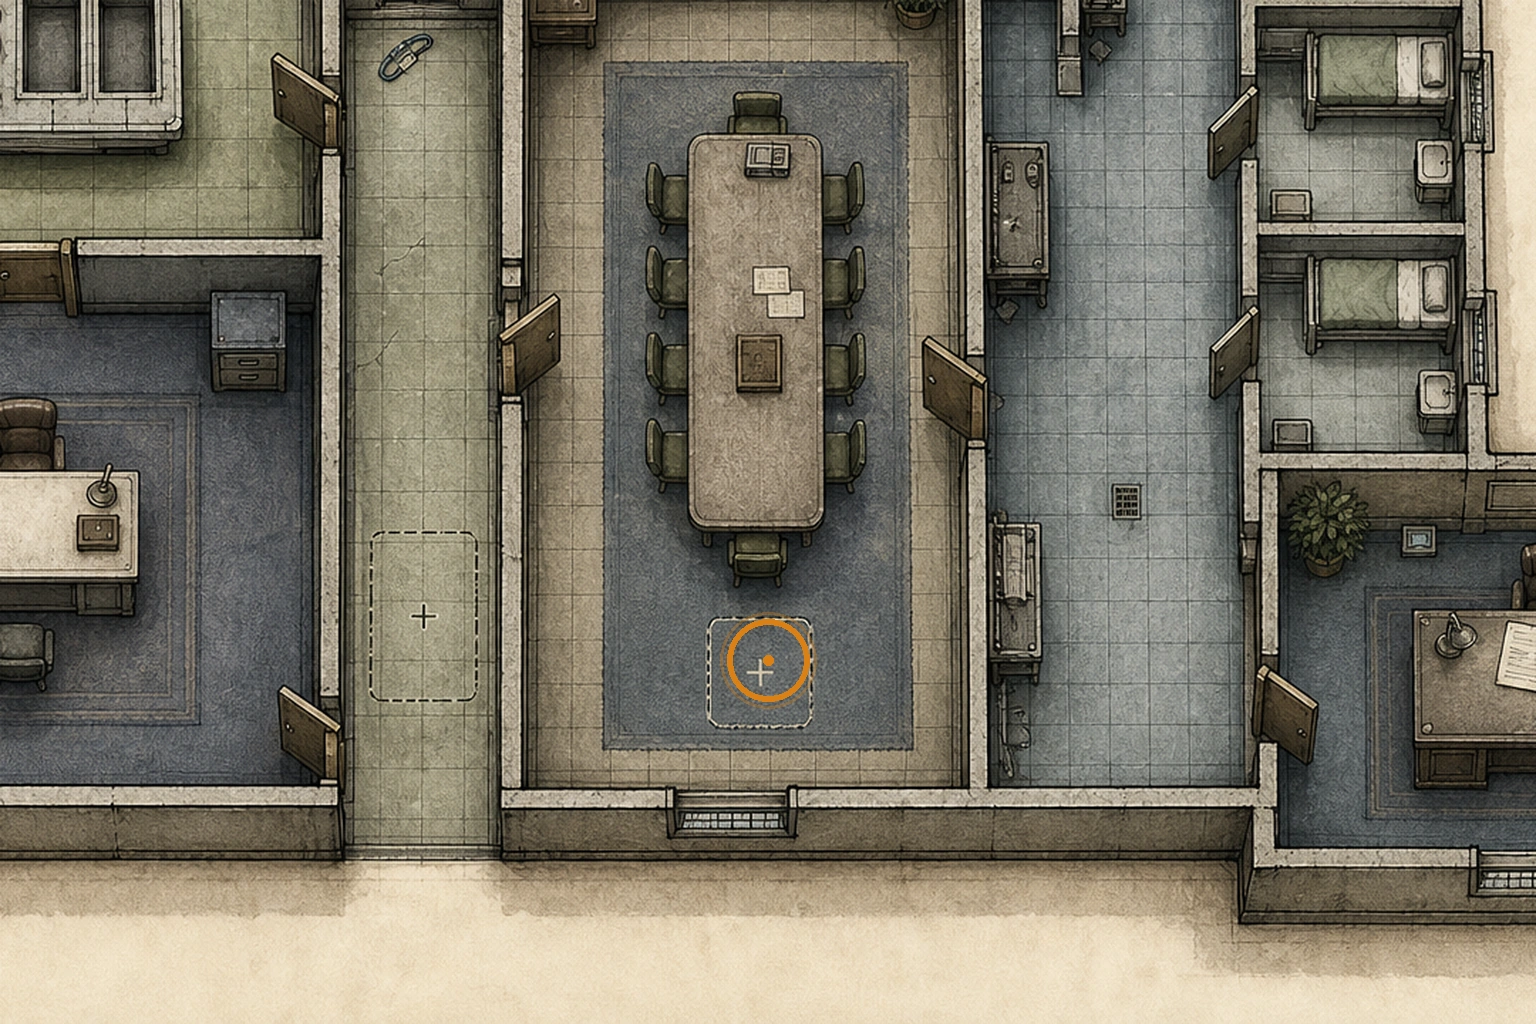
File #27 - Patient Medical Records (missable)
File
HintThe conference area holds a document beyond its main room.
WhereEnter the side room inside the Conference Room and read the Patient Medical Records on the desk.
Full detailEnter the Conference Room's side room and read the Patient Medical Records on the desk; clear or evade the singing enemy that patrols this section.
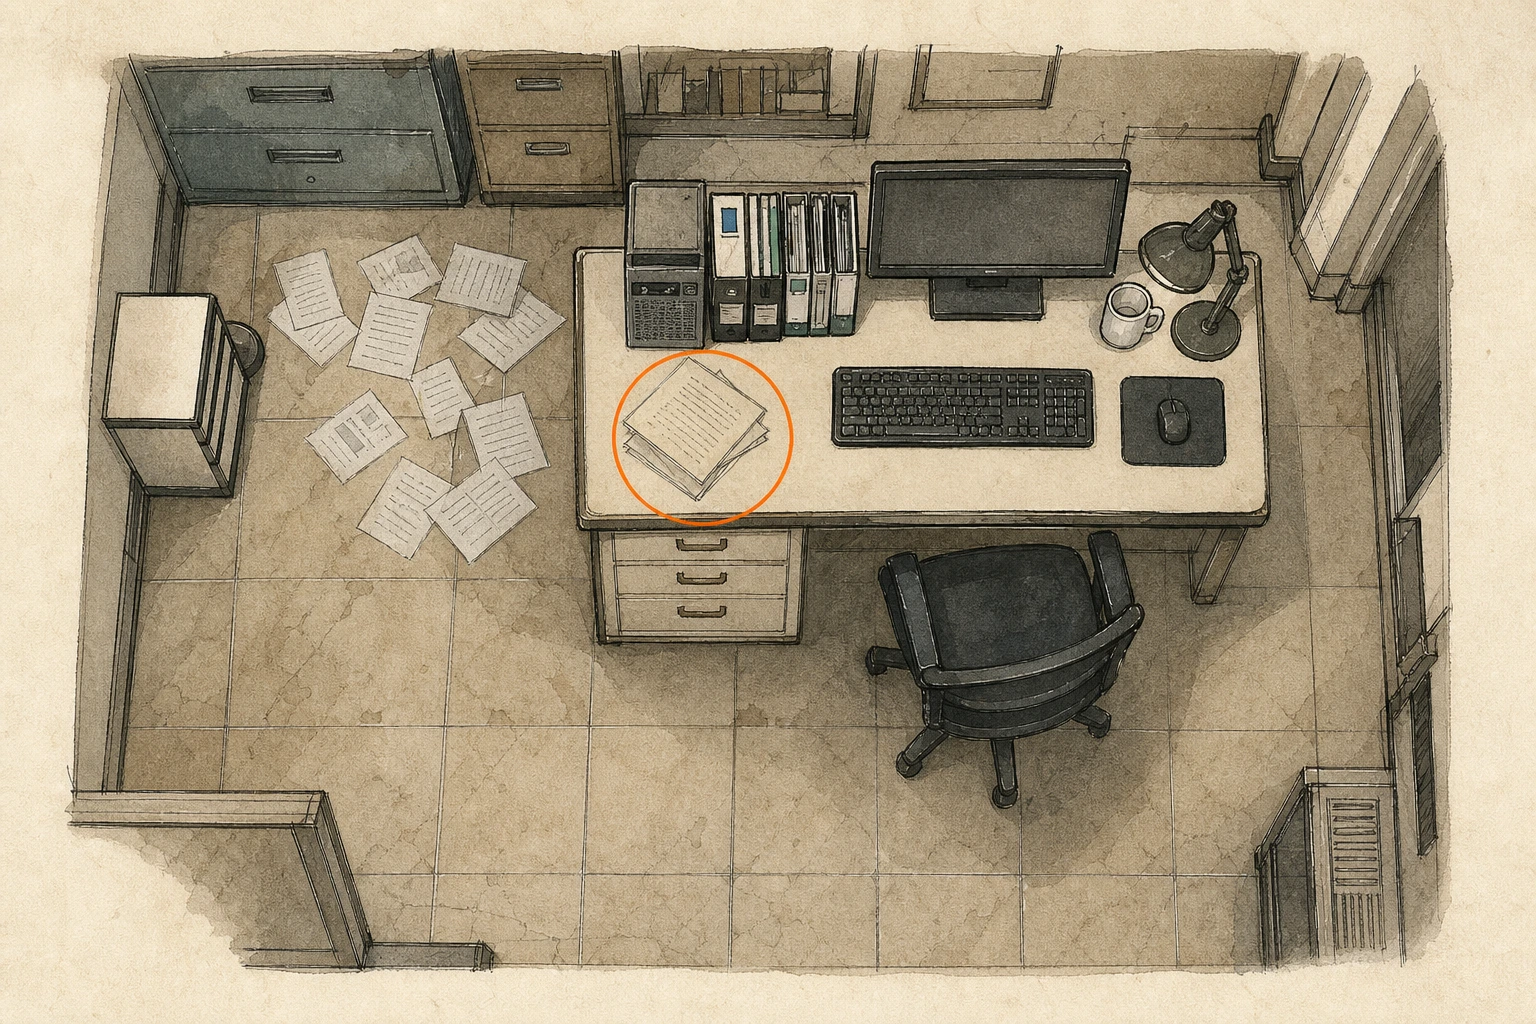
Corrosive (missable)
Key item
HintA useful chemical can be found while clearing the conference area.
WhereIn the Conference Room, take the blue bottle of Corrosive.
Full detailAfter clearing or evading the Conference Room enemies, take the blue Corrosive bottle and keep it for the padlock on the Lead Researcher's Office puzzle box.
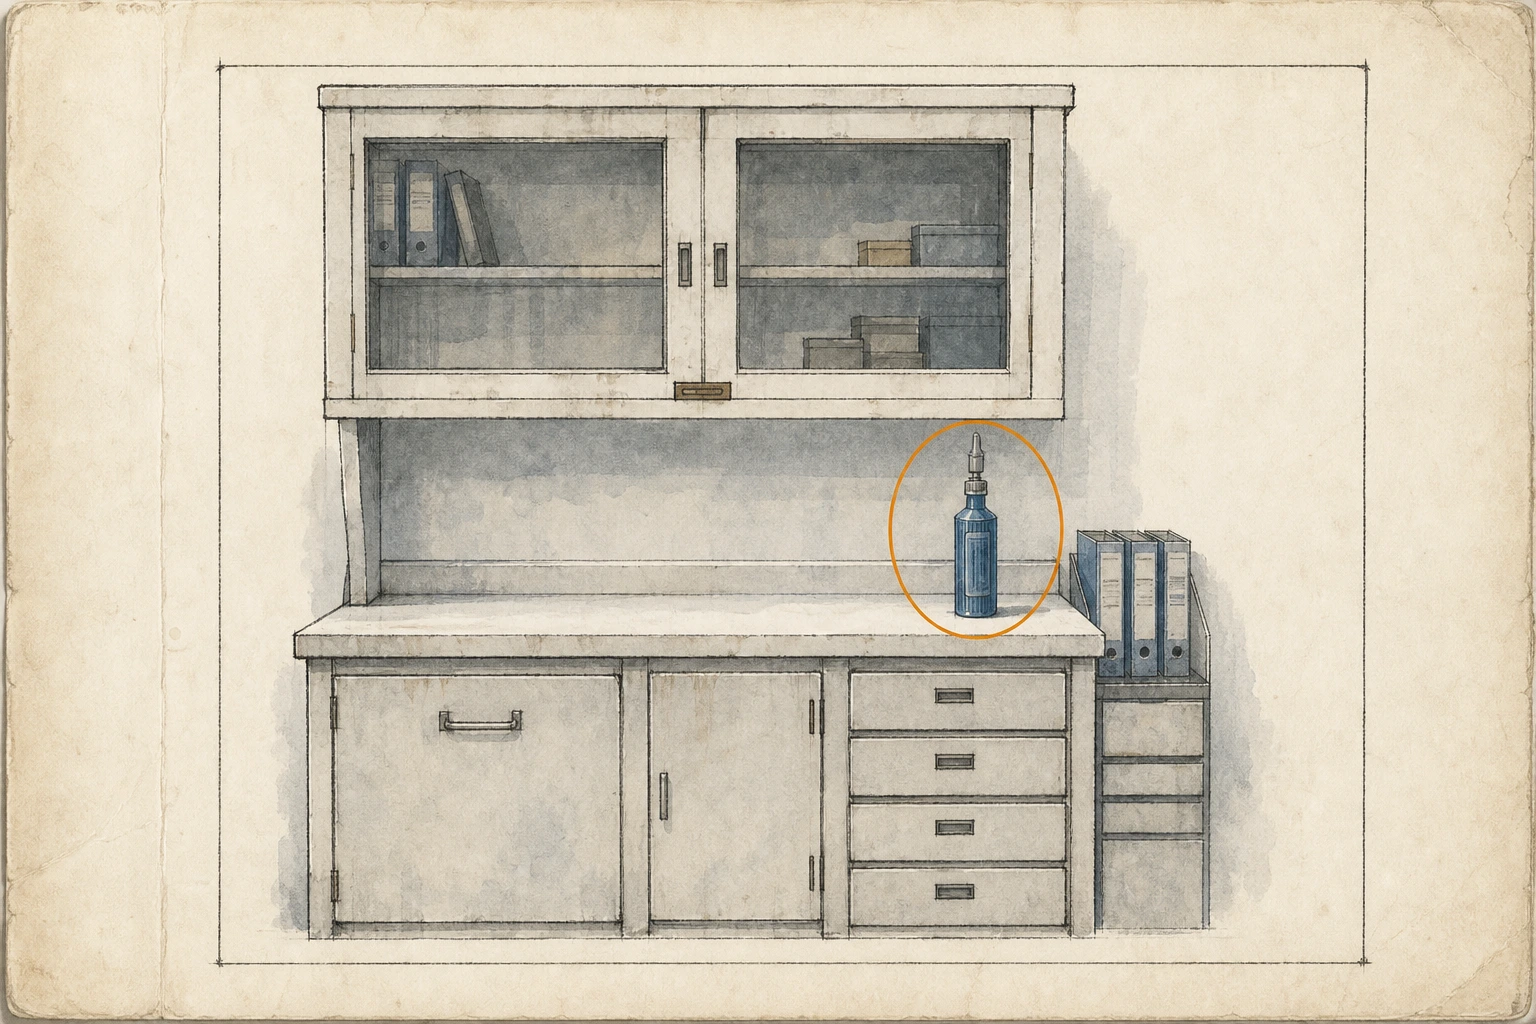
File #28 - Unlocking the Organ Transport Box (missable)
File
HintThe chemical opens a previously sealed puzzle box in the upper office.
WhereReturn to the back room of the Lead Researcher's Office, use Corrosive on the puzzle-box padlock, and take the Leatherbound Notebook inside.
Full detailUse Corrosive on the Lead Researcher's Office puzzle-box padlock, enter Star, Sun, Moon, Sun, then take and examine the Leatherbound Notebook to register Unlocking the Organ Transport Box.
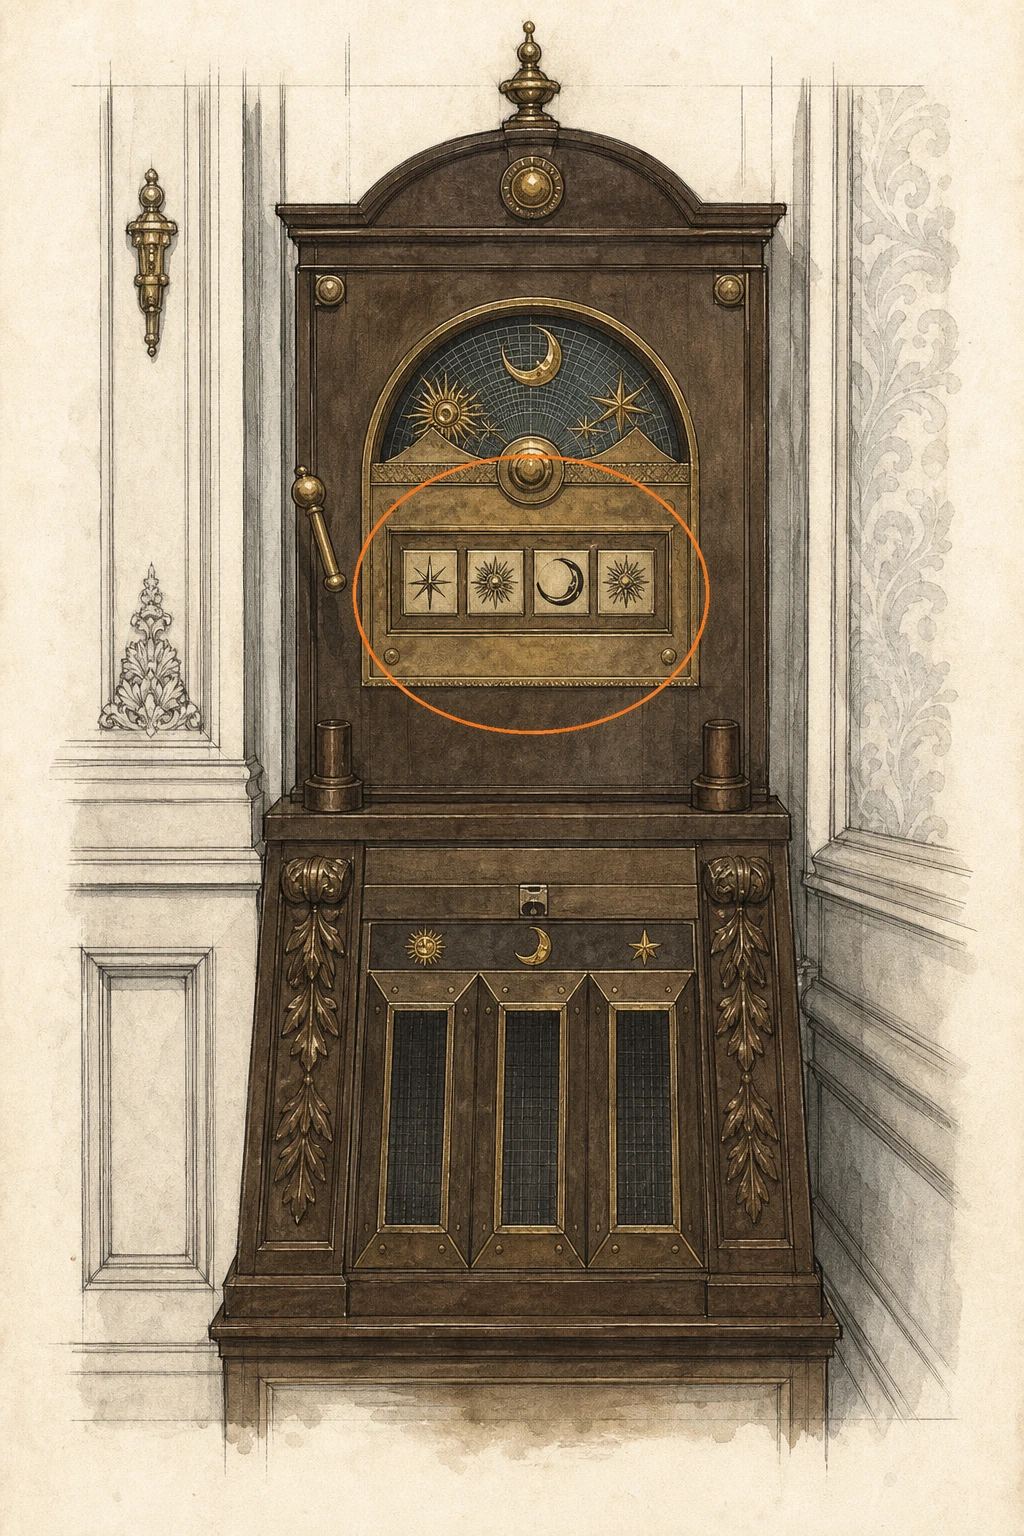
File #29 - Spencer's Research I (missable)
File
HintThe upper-office puzzle box contains more than one written record.
WhereExamine the Leatherbound Notebook inside the Lead Researcher's Office puzzle box to register Spencer's Research I.
Full detailUse Corrosive on the puzzle-box padlock, enter Star, Sun, Moon, Sun, then take and examine the Leatherbound Notebook to register both files stored in it.
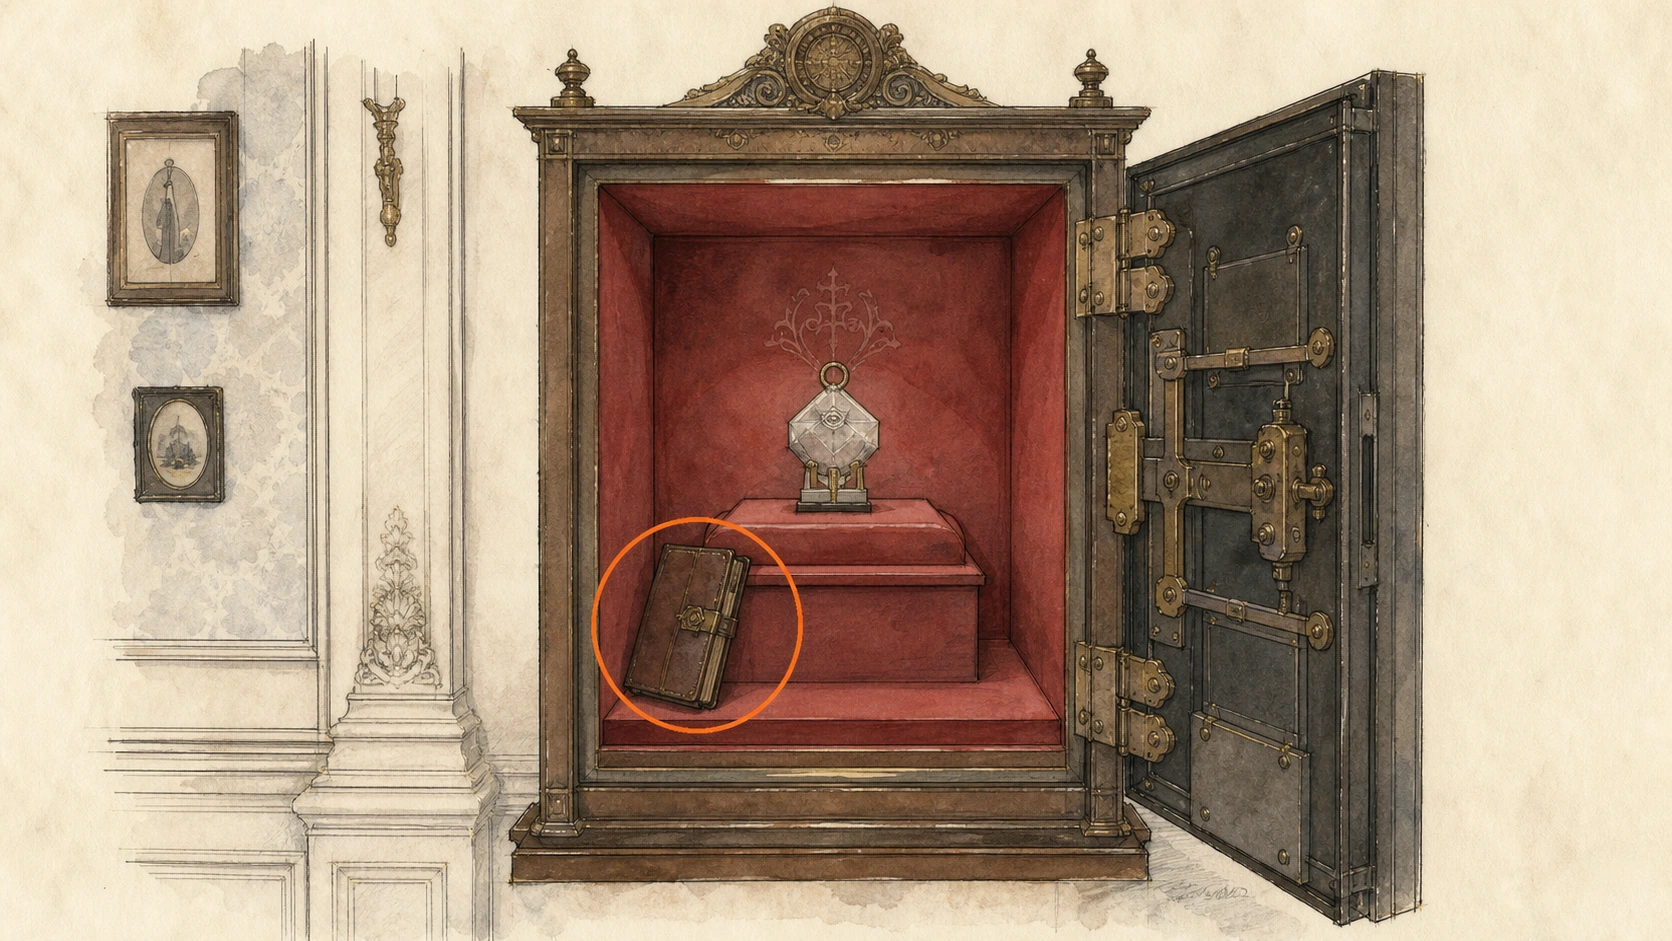
Sun Quartz (missable)
Key item
HintThat same locked puzzle box holds more than documents.
WhereOpen the puzzle box in the Lead Researcher's Office and take the Sun Quartz inside.
Full detailMelt the puzzle-box padlock with Corrosive, enter Star, Sun, Moon, Sun, take the Sun Quartz, and keep it for the matching recess in the Central Hall quartz door.
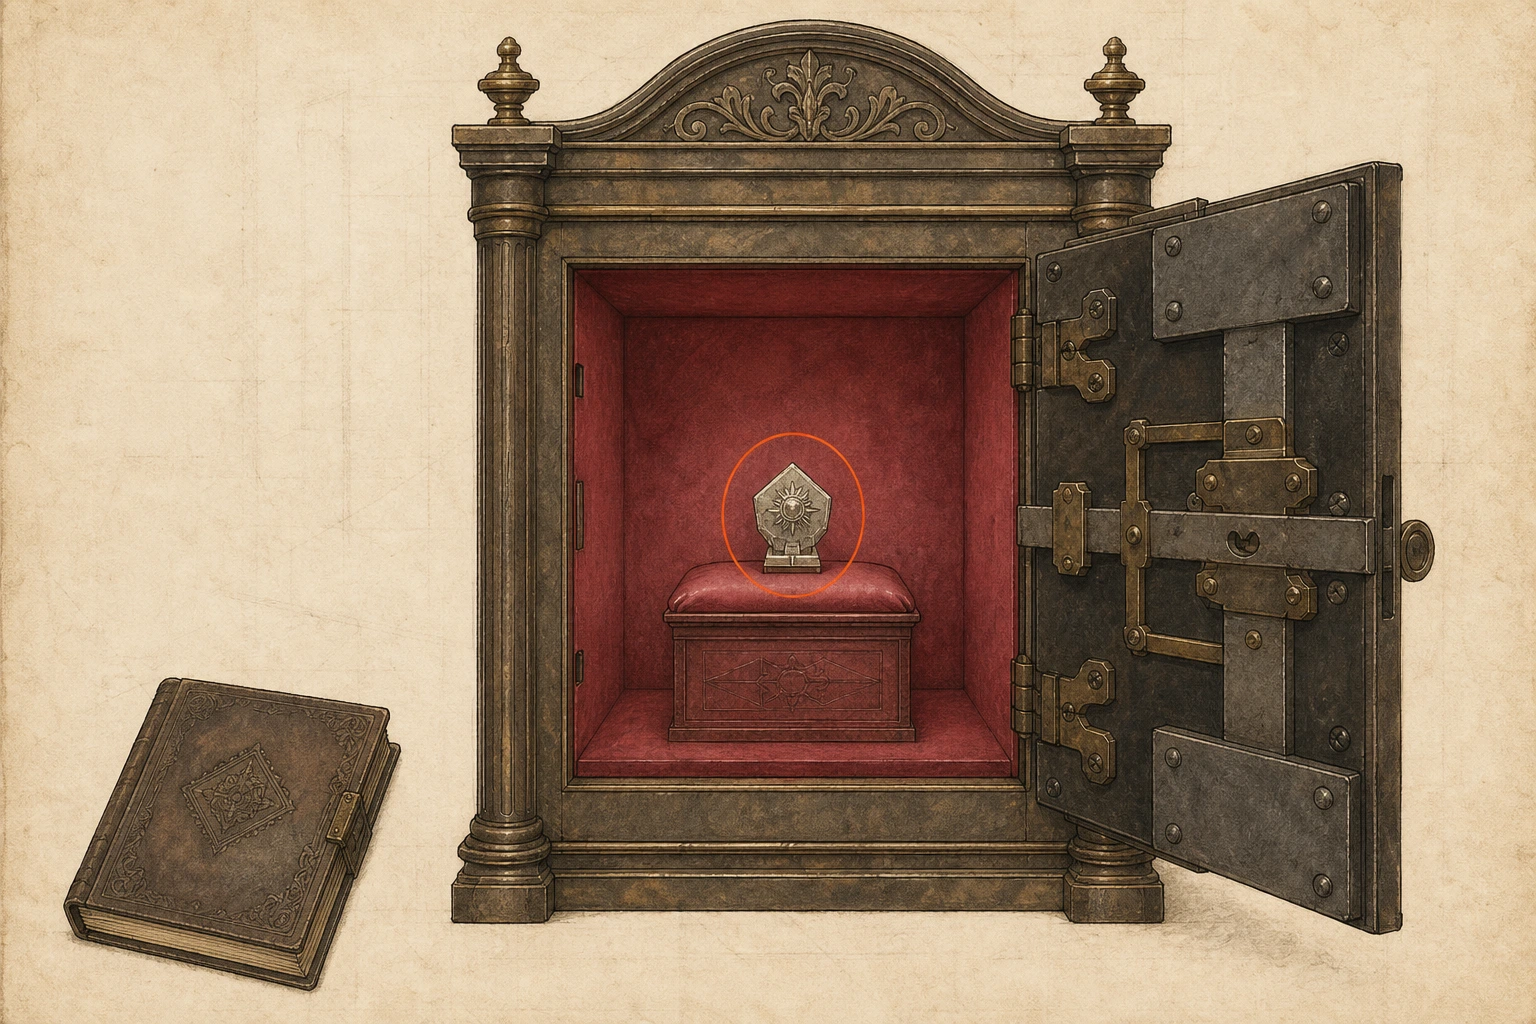
Artificial Lungs (missable)
Key item
HintA boxed organ requires careful inspection from every angle.
WhereInspect the Organ Transport Box in your inventory, rotate it to the back, and open its rear panel.
Full detailInspect the Organ Transport Box in your inventory and open its rear panel, set the control to HAND, move the right slider to the middle level, press Button 5 and then Button 2, return the control to AUTO, and take the Artificial Lungs.
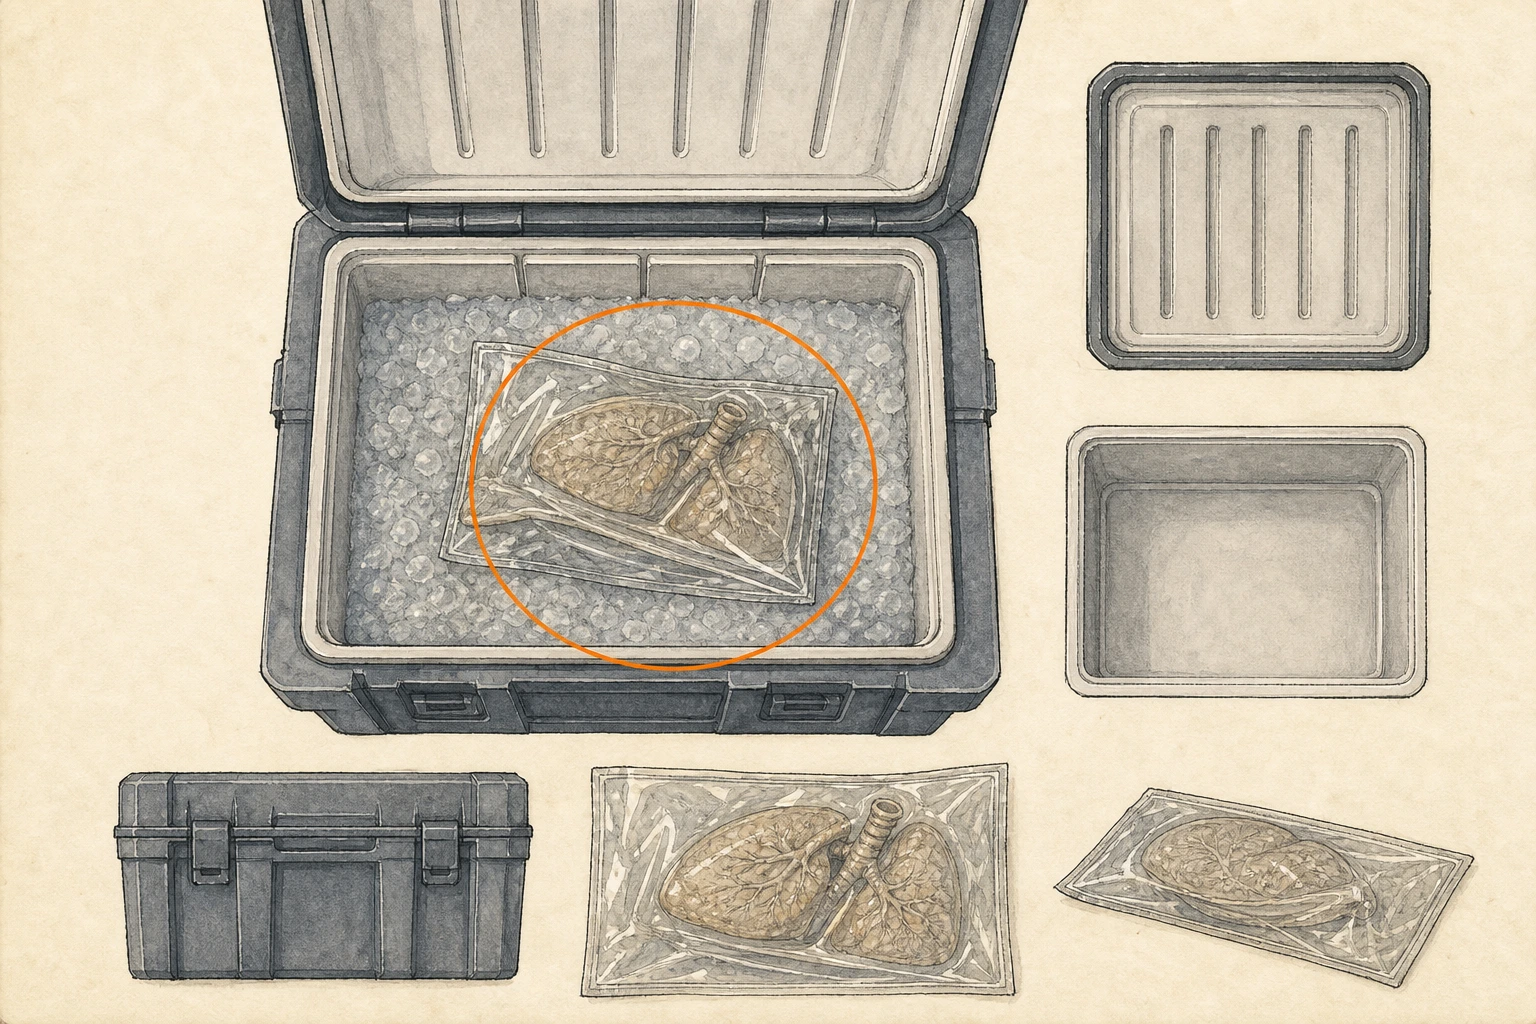
ID Wristband (Level 2) (missable)
Key item
HintReturn to the examination facilities once both artificial organs are ready.
WhereIn the East Wing Examination Room, place the Artificial Heart and Artificial Lungs in the two open slots on the organ table.
Full detailInsert the Artificial Heart and Artificial Lungs into the organ table in the Examination Room, defeat the enemy that activates, and collect the Level 2 wristband it drops.
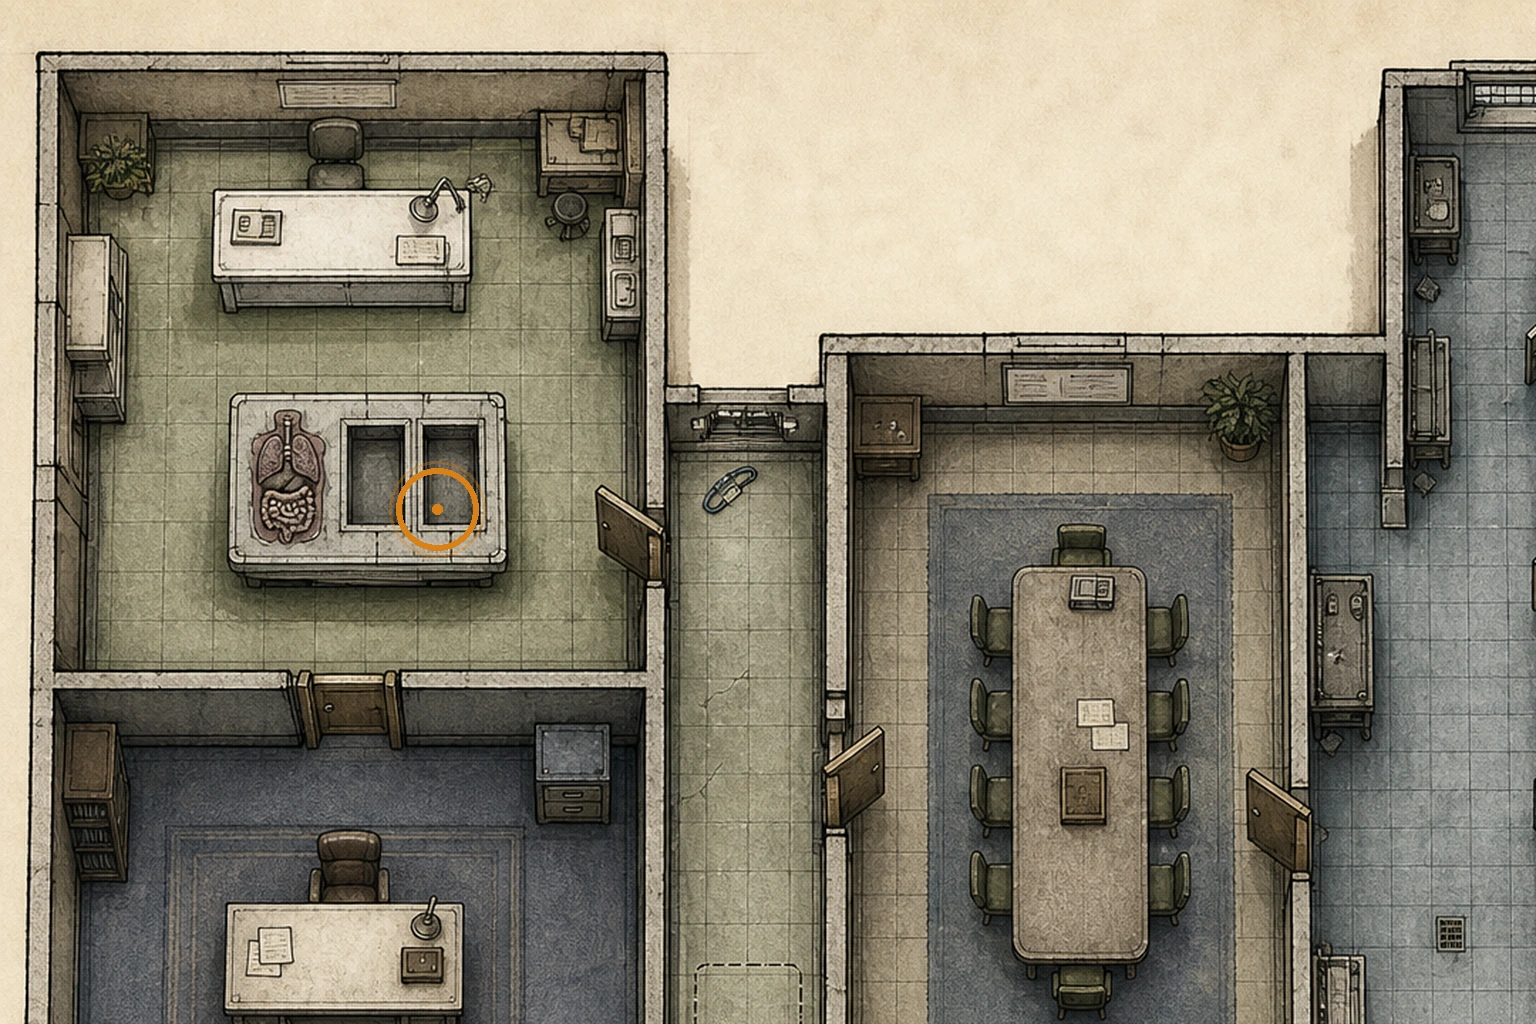
File #30 - Double Mutation (missable)
File
HintThe next wristband tier opens a new east-side section with documents to find.
WhereUse the Level 2 reader between the Blood Lab and Waiting Room, then read Double Mutation from the cardboard box in the first office on the right.
Full detailUse the green Level 2 reader between the Blood Lab and Waiting Room, follow the passage into the Isolation Ward, and read Double Mutation from the cardboard box in the first office on the right.
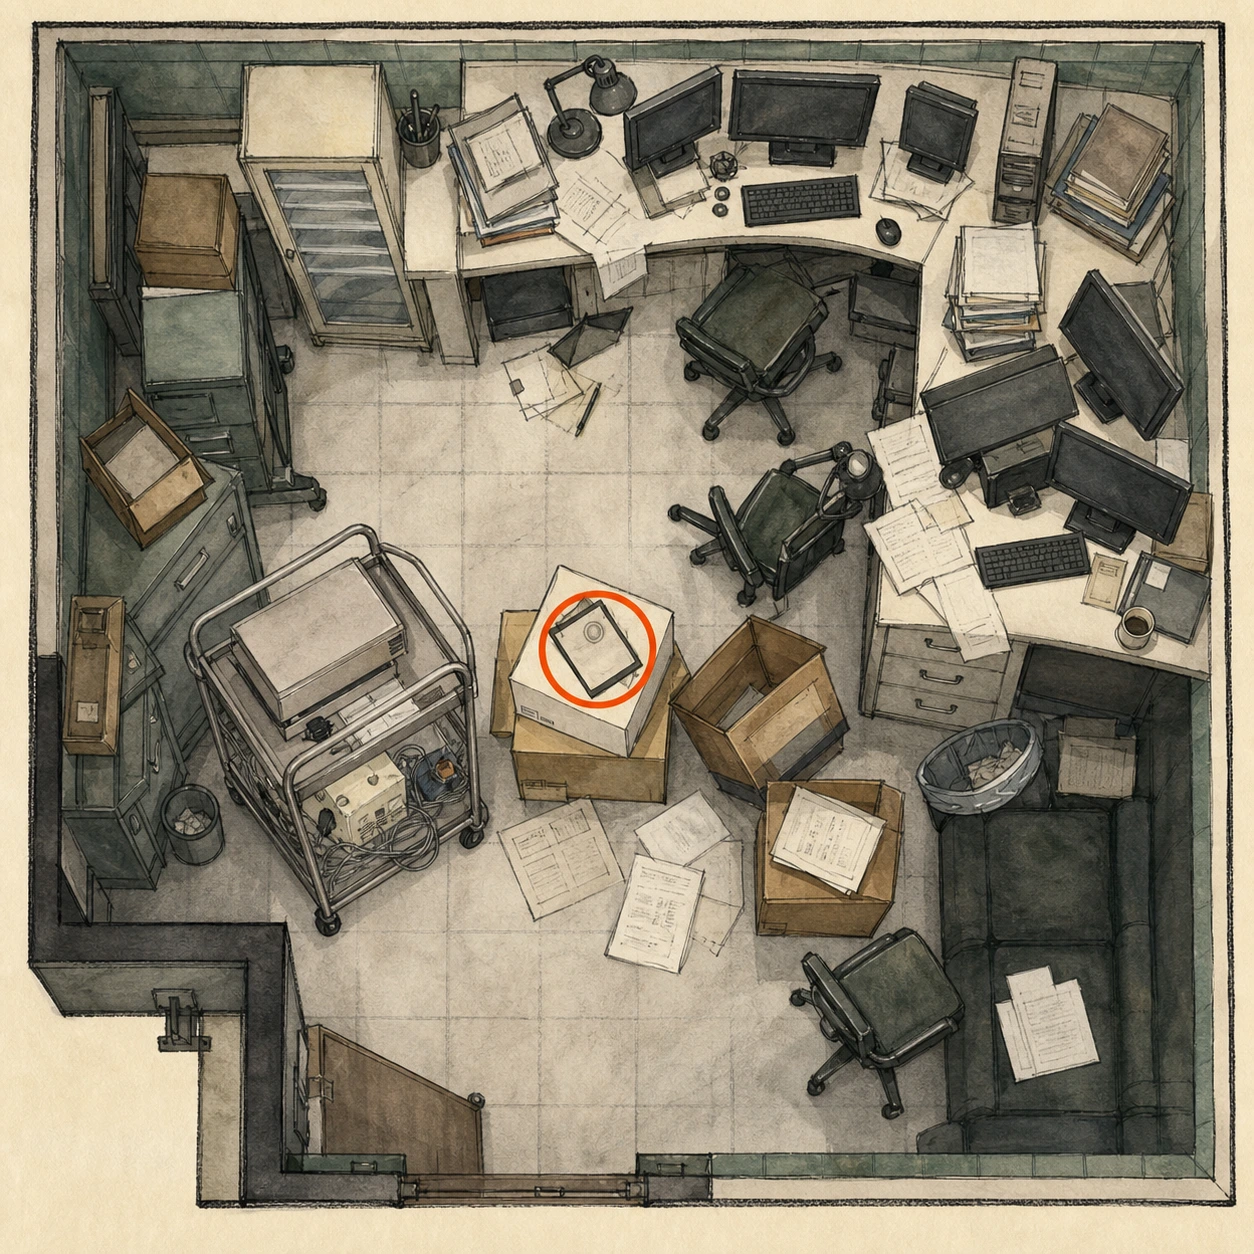
File #31 - Nurse's Log (missable)
File
HintThe newly opened ward's first office contains a second record.
WhereIn the first office on the right inside the Isolation Ward, read the Nurse's Log on the desk.
Full detailIn the first office on the right inside the Isolation Ward, read the Nurse's Log on the desk separately from Double Mutation on the nearby cardboard box.
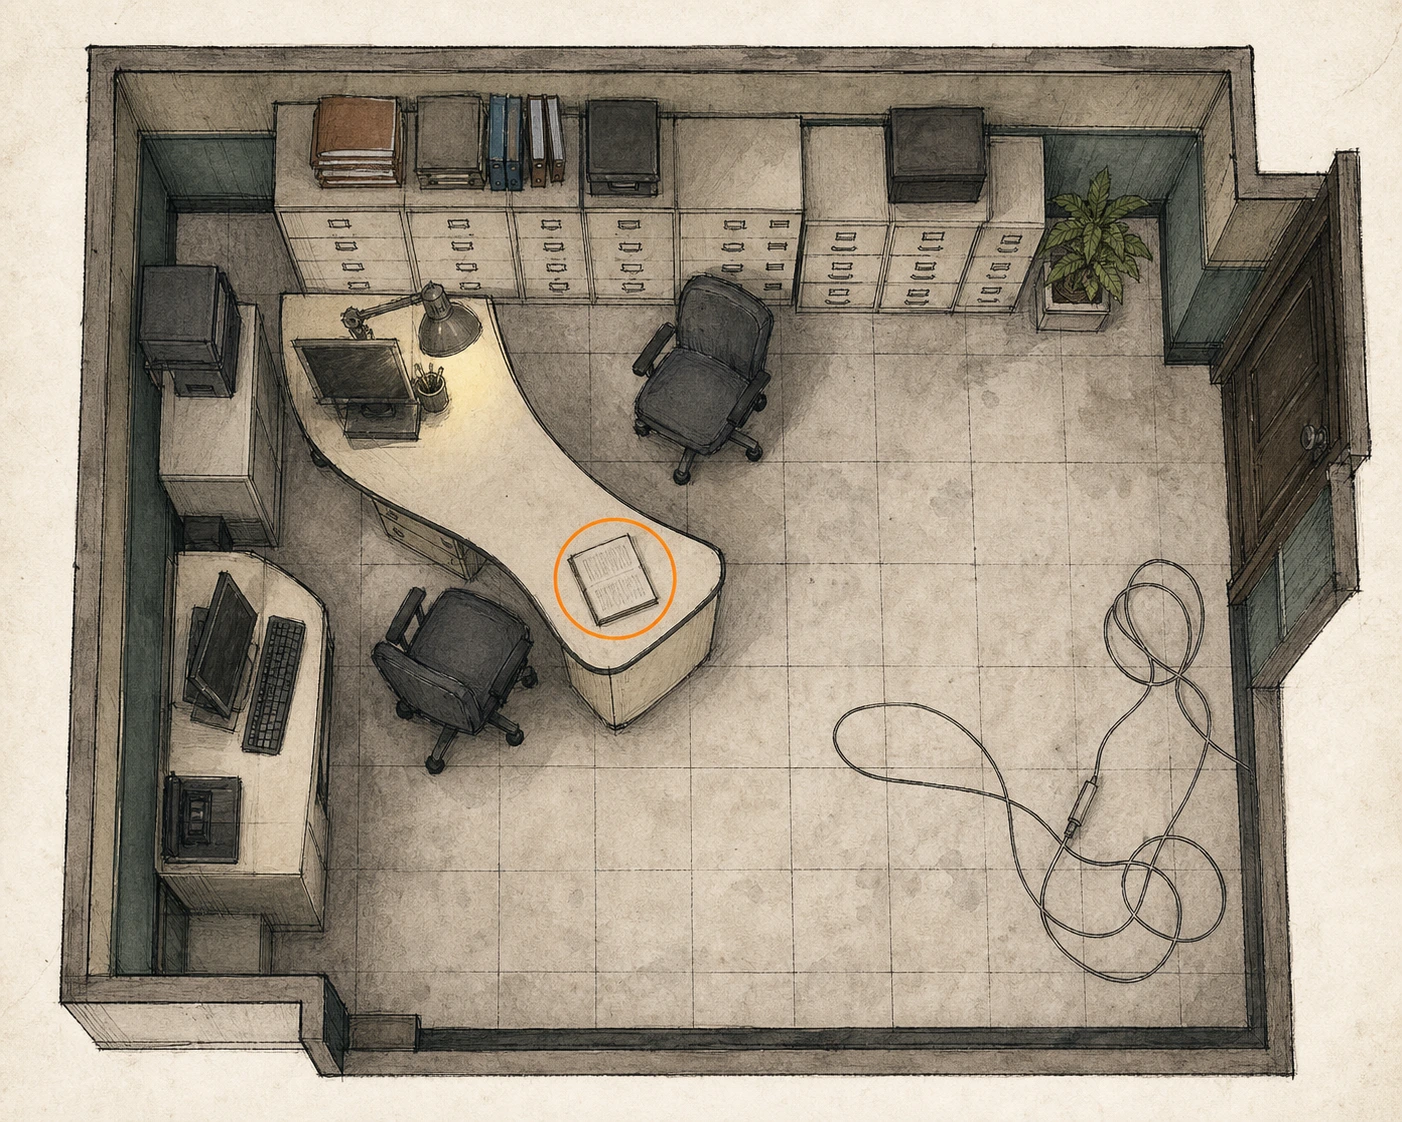
ID Wristband (Level 3) (missable)
Key item
HintSearch the far office of the newly opened ward and inspect its puzzle apparatus.
WhereReach the Isolation Ward's far end, enter the Security Manager's Office, read the table note, and examine the puzzle box for the Level 3 wristband.
Full detailRead the note in the Security Manager's Office and interact with the puzzle box; the Level 3 wristband is granted automatically, but the box itself cannot be opened yet.
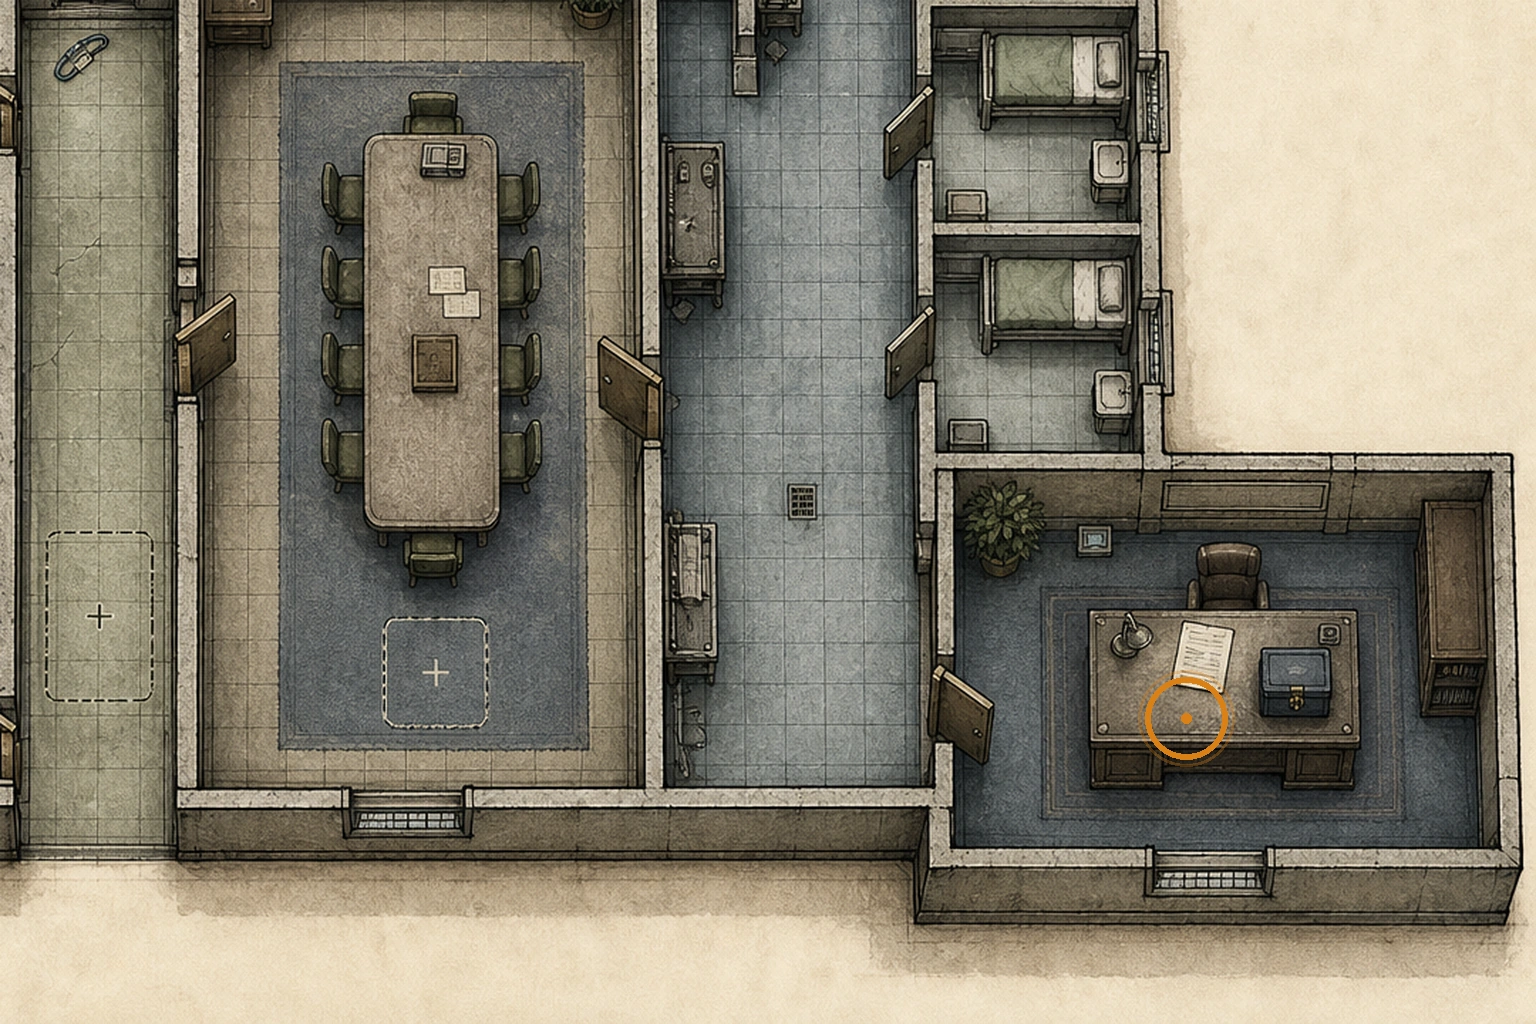
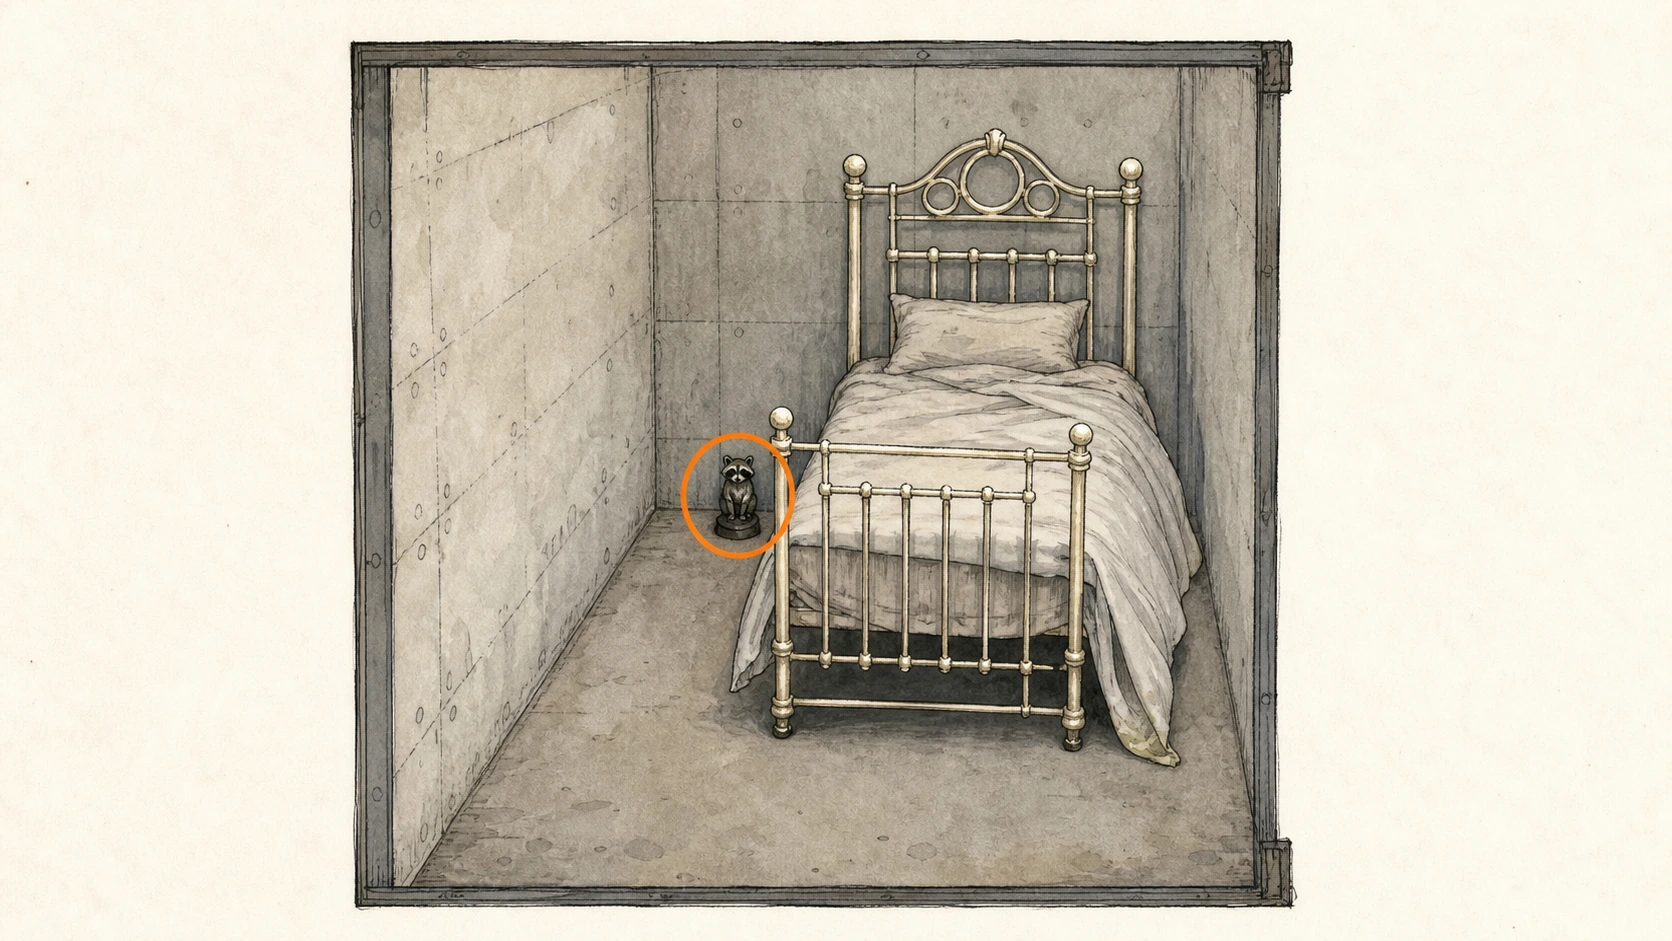
Mr. Raccoon #5 (missable)
Mr. Raccoon figure
HintBefore using the new access tier elsewhere, revisit the medication rooms.
WhereReturn through the Guard Office to the Medication Room cells, unlock the empty left-hand room with the Level 3 wristband, and look behind the bed.
Full detailUnlock the empty left-hand Medication Room cell, look behind the bed, and strike or shoot the Mr. Raccoon until it breaks.
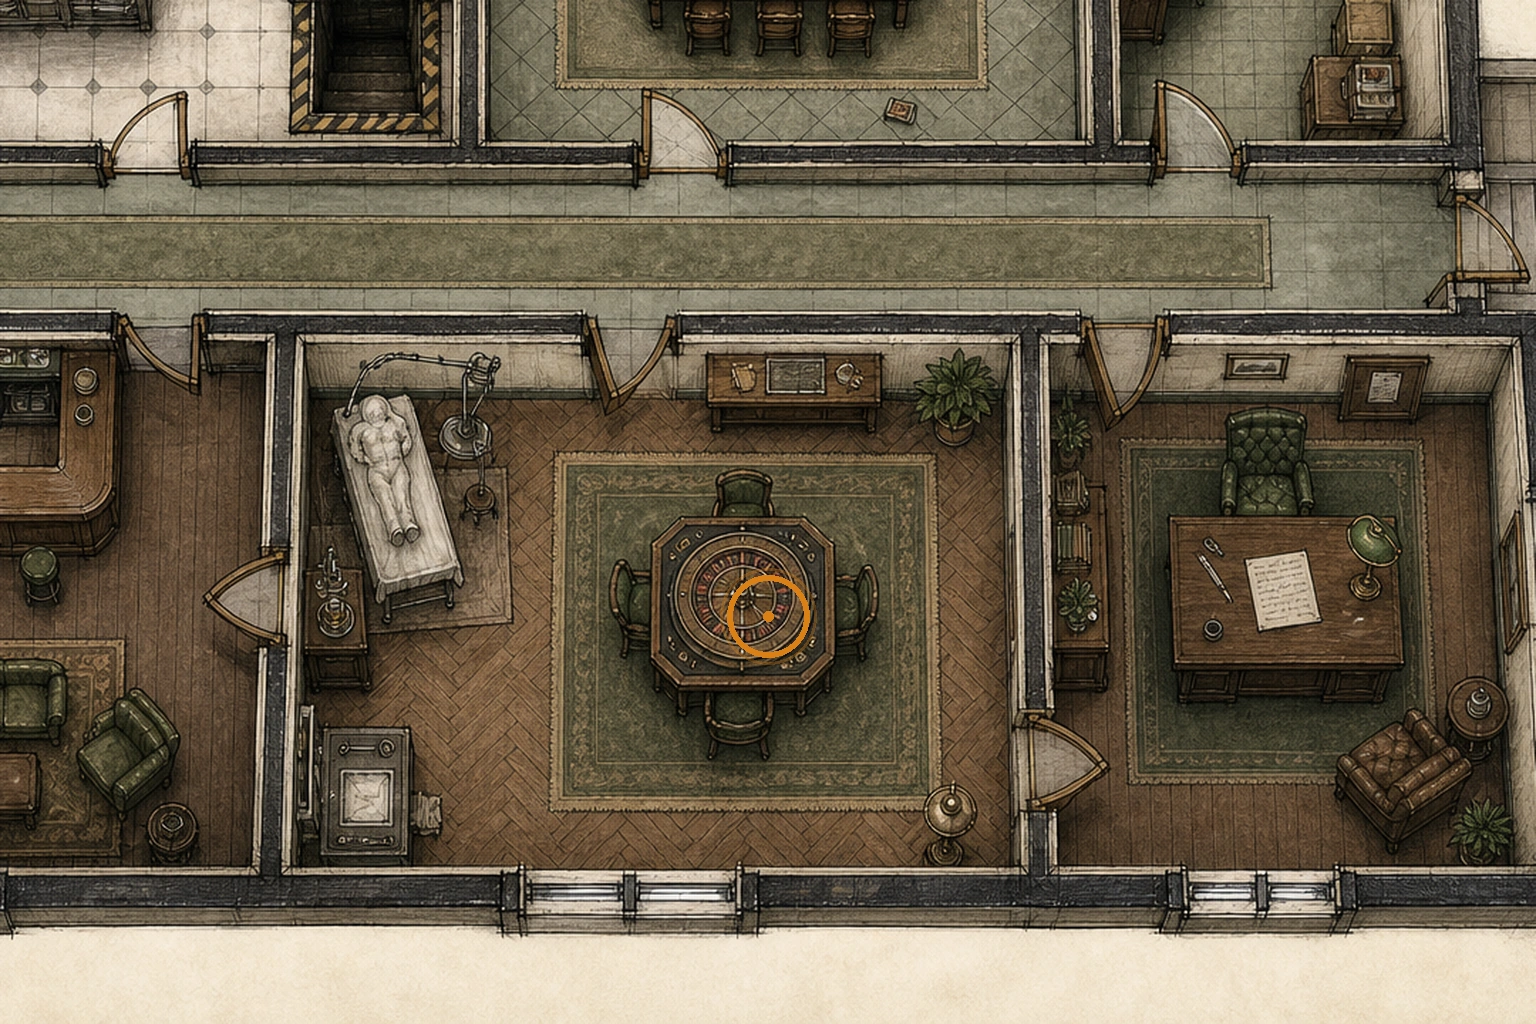
Parlor Roulette-Wheel Reward (missable)
Secret or Easter egg
HintThe Parlor's centerpiece is more than decoration.
WhereAfter entering the Parlor, interact with the roulette setup and shoot the table while it spins.
Full detailOpen the Parlor with the Red Jewel, start the roulette wheel, and shoot the table to influence the result. Repeat until it settles on 1; the wheel then pays out one Antique Coin. The result is random, so reload a nearby save if ammunition becomes a concern.
Care Center - Attic and Office Return
You are here when: Back in the medical building through the attic, upper offices, records room, pantry, and director-office route.
Use the axe/hatchet routes to open blocked closets and collect the office-side pickups before the elevator.
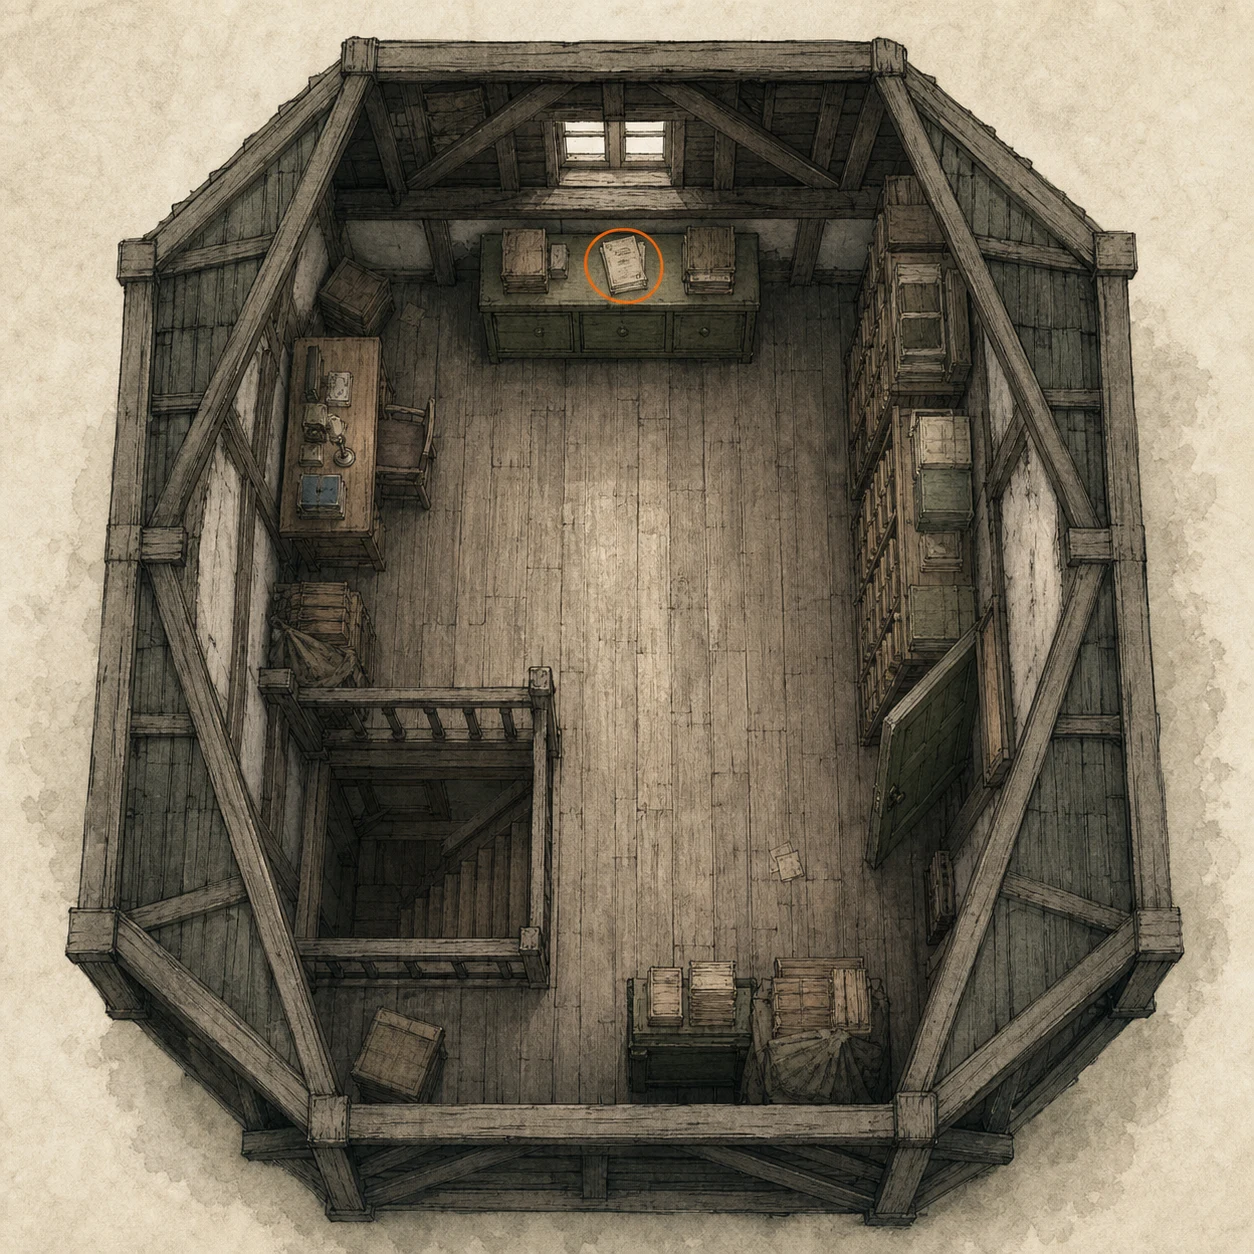
File #32 - Satiety Suppression Medical Records (missable)
File
HintAt the start of the attic return route, sweep the first rooms before moving furniture.
WhereIn the Medical Records Attic, pass through the next door and read the file at the back of the room, opposite the movable cupboard.
Full detailAfter entering the first room of the Medical Records Attic return route, read the file at the back, opposite the cupboard that opens the way forward, before leaving the room.
MSBG 500 (Shotgun) (missable)
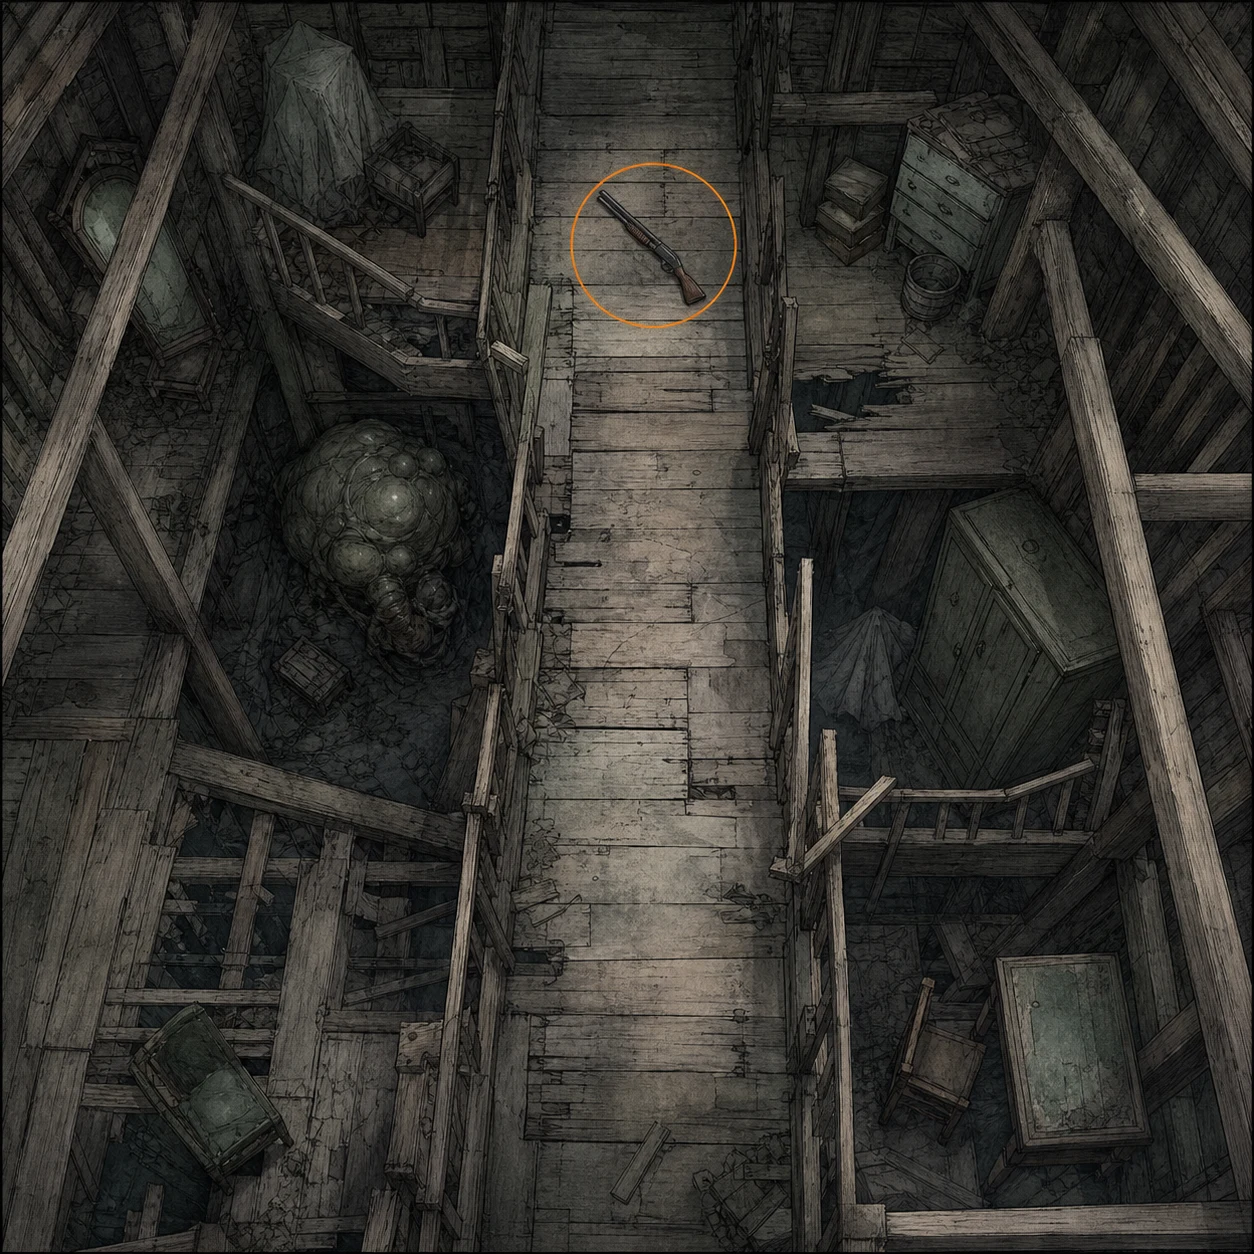
Weapon
HintA useful weapon lies along the main attic route; scan the floor as you advance.
WhereIn the Attic, take the MSBG 500 from the floor on the main path near the large bloated enemy.
Full detailDeal with or evade the large bloated enemy on the main Attic path, then pick up the MSBG 500 from the floor before continuing.
Hand Grenade (missable)
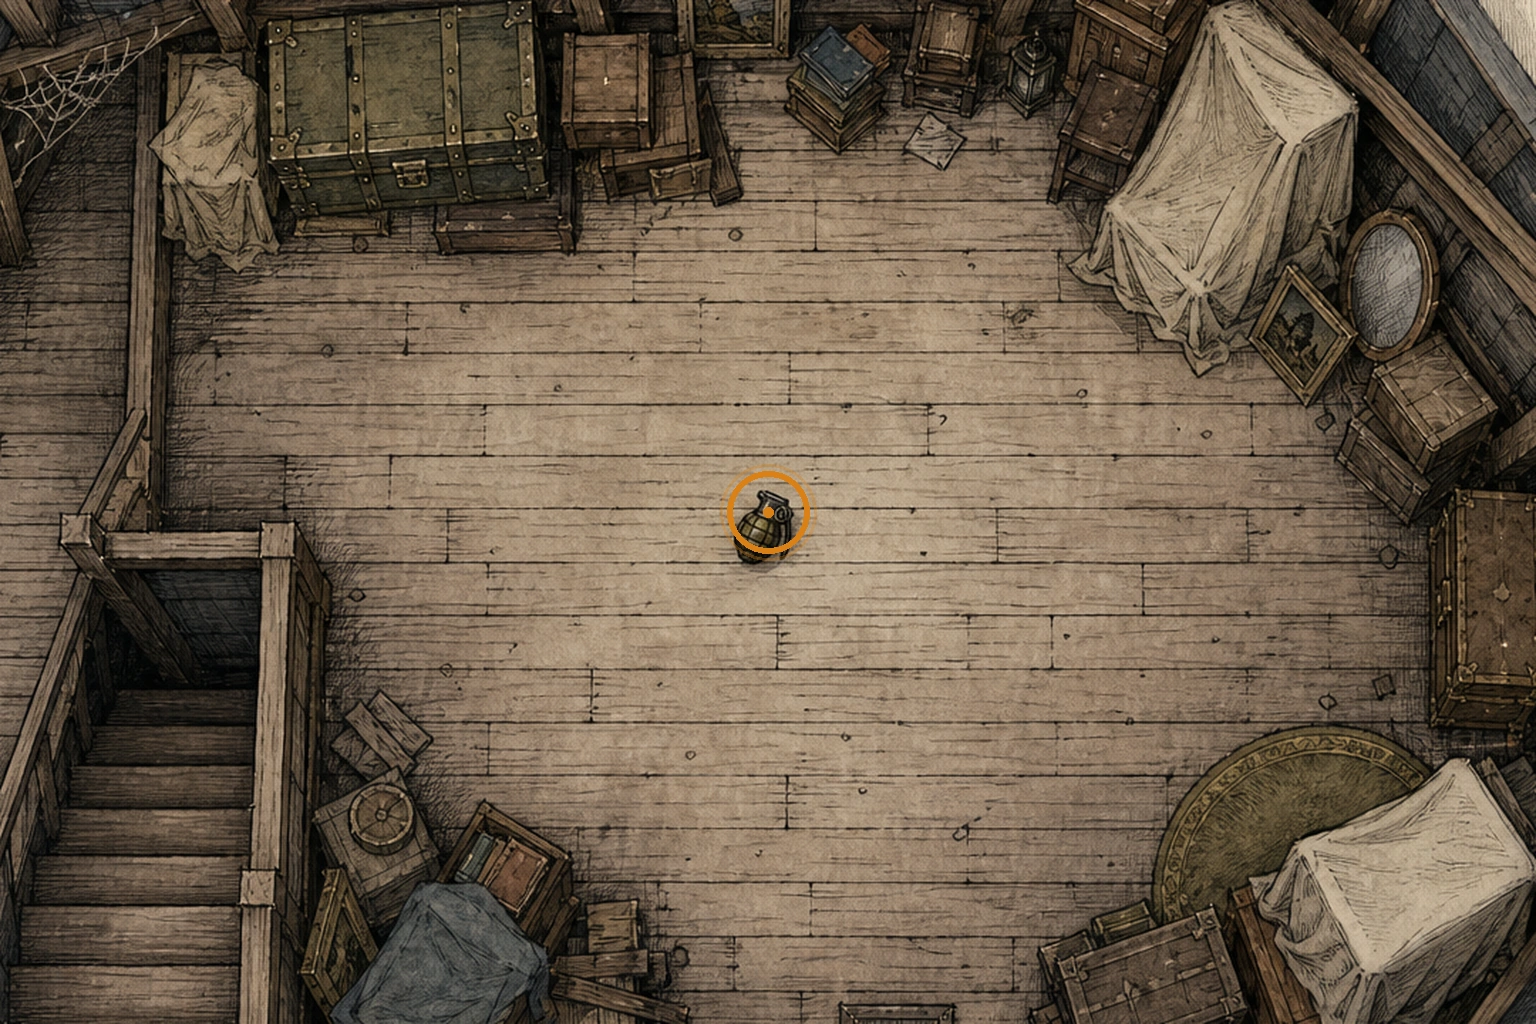
Weapon
HintOne of the attic's larger enemies drops an explosive.
WhereDefeat the large bloated enemy in the Attic and collect the Hand Grenade it drops.
Full detailFully defeat the large bloated enemy on the Attic route, then pick up the Hand Grenade from its floor drop.
File #33 - Basement Safe Code (missable)
File
HintBefore descending from the attic level, break open every fragile closet.
WhereAfter leaving the Attic, use the hatchet on the first closet to the right before going downstairs and read the file inside.
Full detailBreak open the first right-hand closet after the Attic and read the file; Safe #3 uses Right 60, Left 40, Right 80 on Casual or Left 70, Right 50, Left 20 on Insanity.
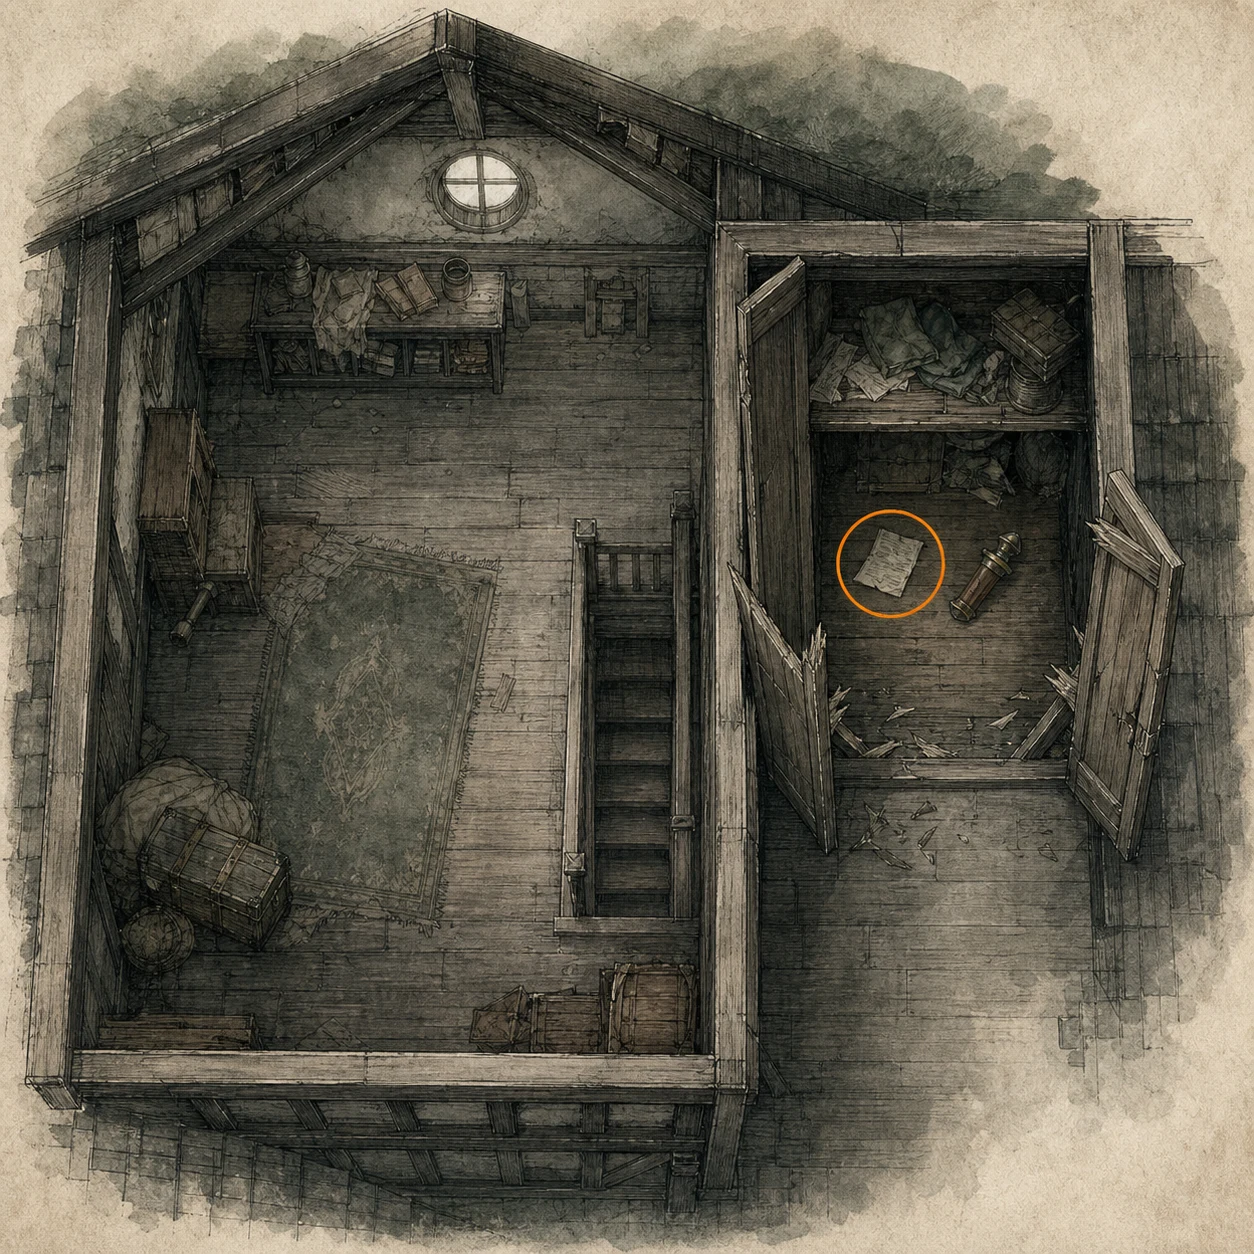
Compensator (missable)
Weapon part
HintOne breakable closet near the attic route contains two separate pickups.
WhereTake the Compensator from the same breakable closet as File #33, just after leaving the Attic.
Full detailUse the hatchet on the first right-hand closet after the Attic, then collect the Compensator separately from the safe-code file inside.
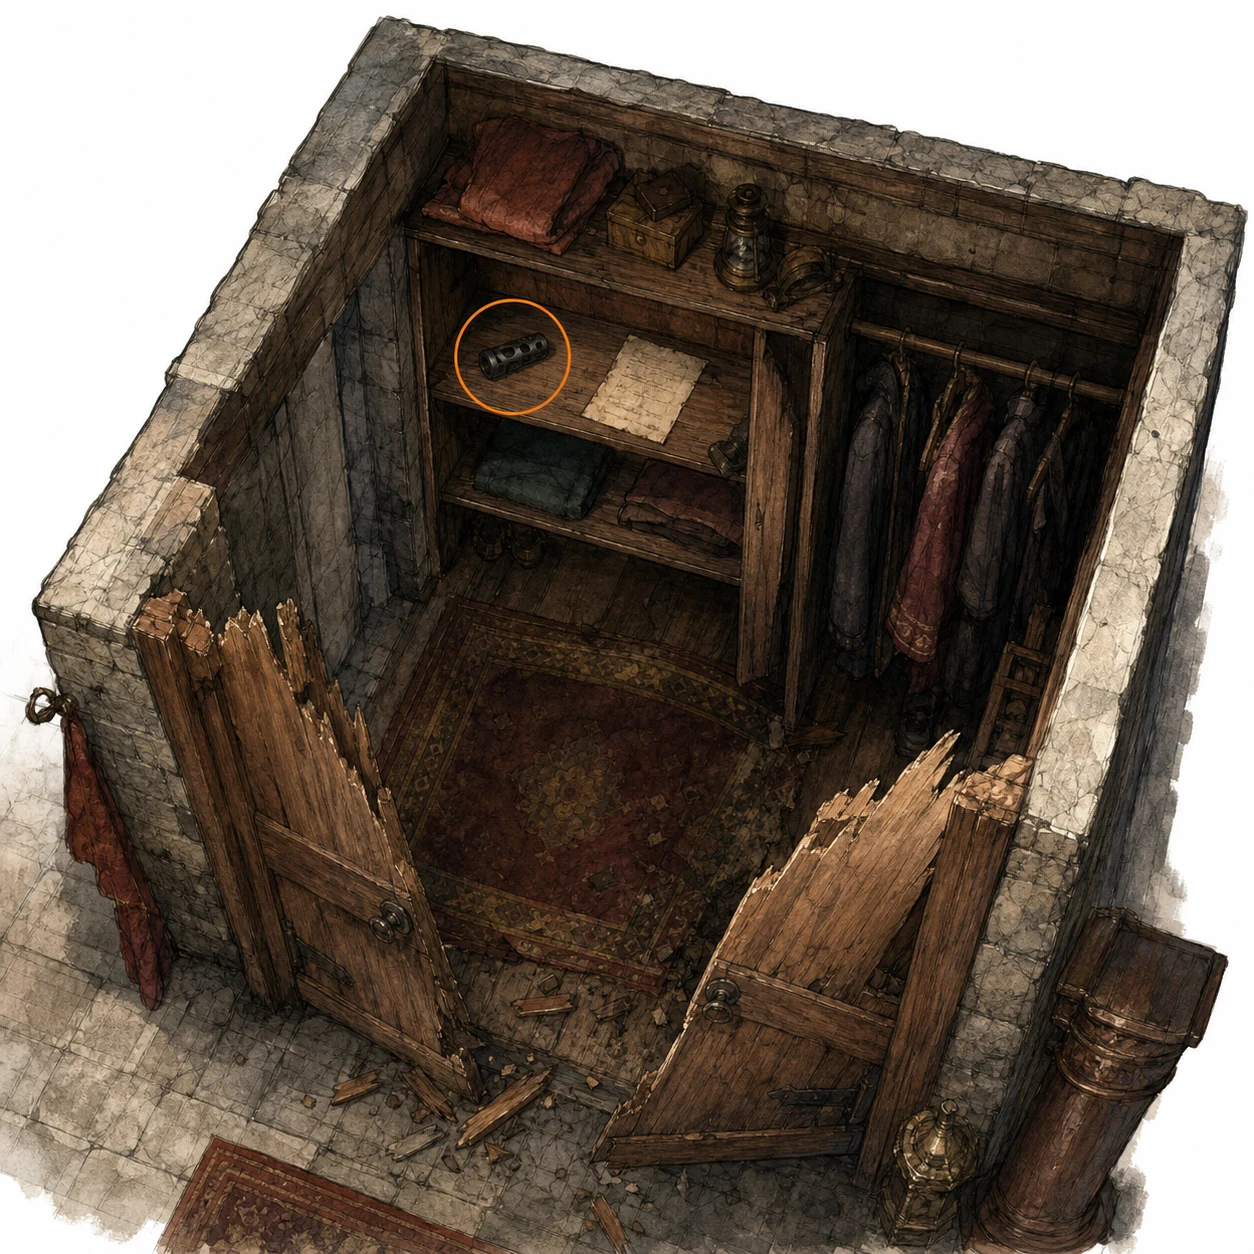
File #34 - Dishwasher's Note (missable)
File
HintMore breakable storage near the west-side offices contains a document.
WhereFrom the Chairman's Office, go left, break open the closet with the hatchet, and read the Dishwasher's Note inside.
Full detailTake the left-hand route from the Chairman's Office, break the closet open with the hatchet, and read the Dishwasher's Note before leaving the west-side offices.
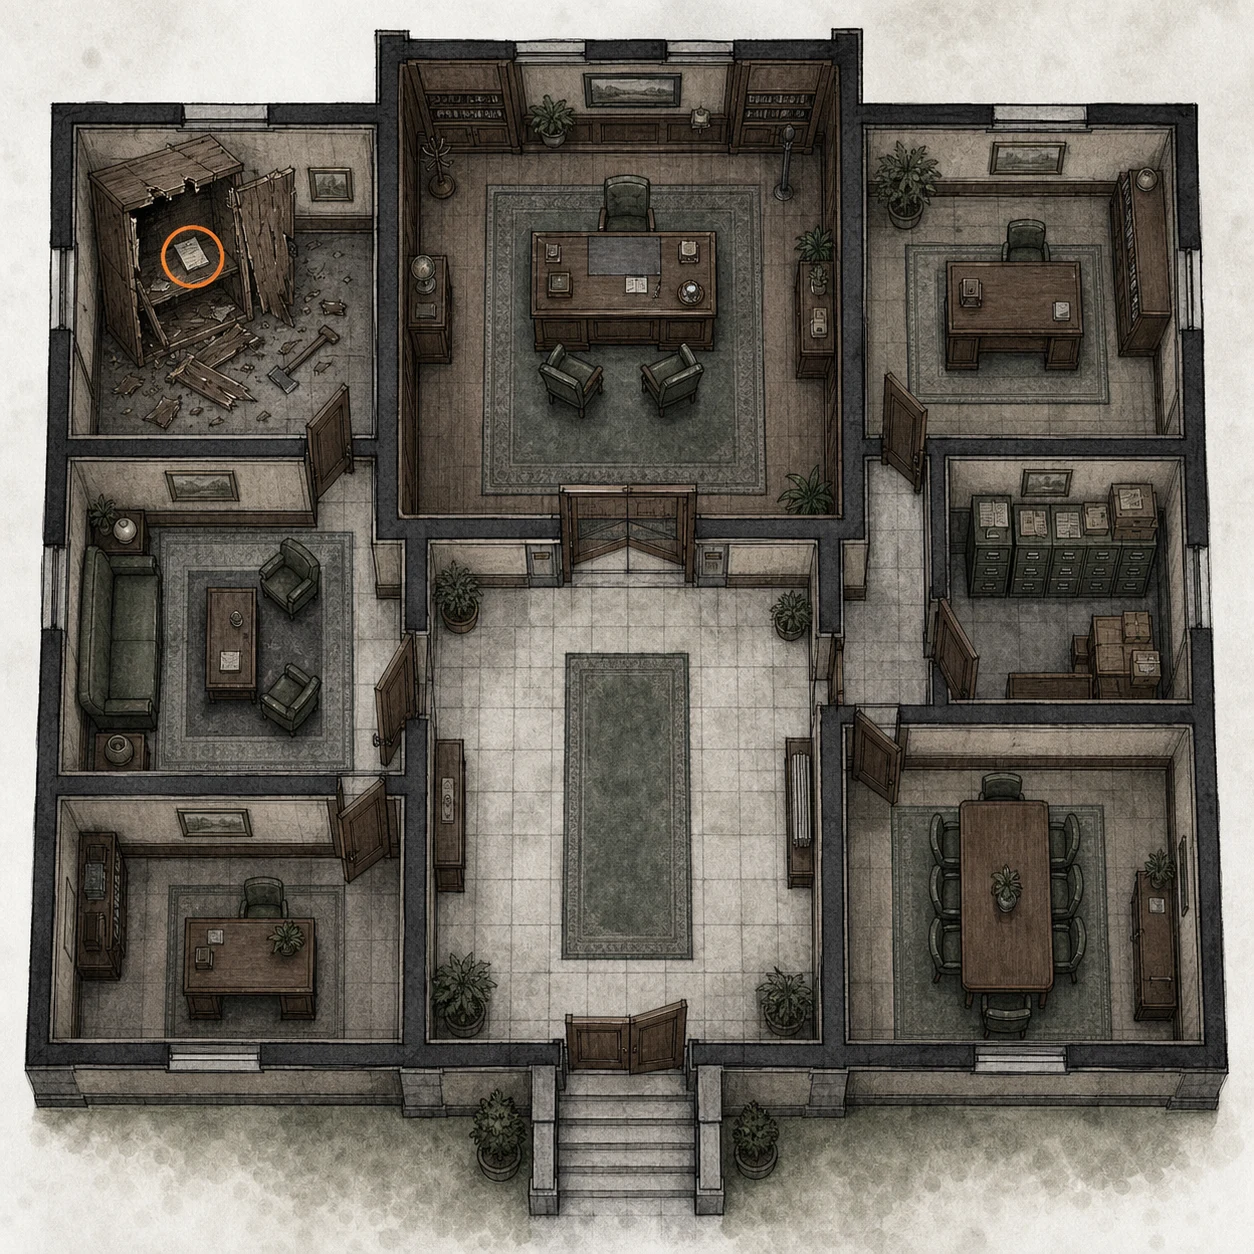
Mr. Raccoon #6 (missable)
Mr. Raccoon figure
HintRevisit the records storage with a tool capable of breaking its closet.
WhereIn the Records Room, break open the locked closet with the hatchet to reveal the figure.
Full detailReturn to the Records Room, use the hatchet to break open the previously inaccessible closet, and strike or shoot the Mr. Raccoon inside until it breaks.
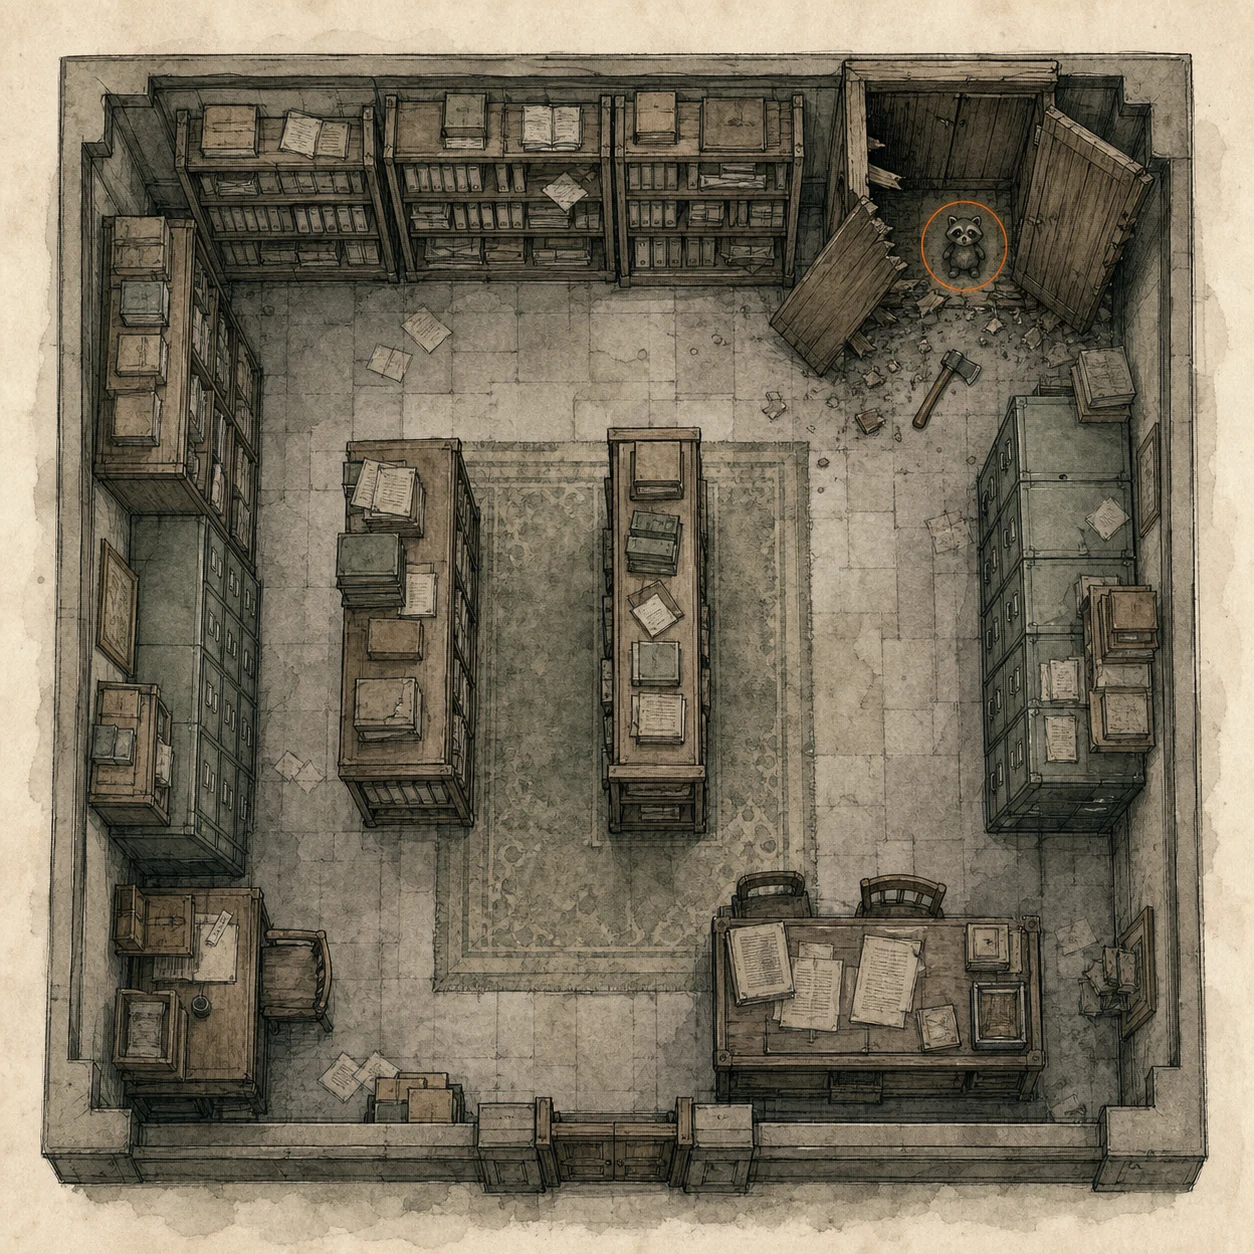
Connoisseur Charm (missable)
Charm
HintA pantry reward may still be available during this return sweep.
WhereOpen the Pantry off the Kitchen and take the Connoisseur Charm from the closet inside.
Full detailIf the Pantry is still locked, defeat the large Kitchen enemy and collect the Pantry Key; open the Pantry, then take the Connoisseur Charm from its closet.
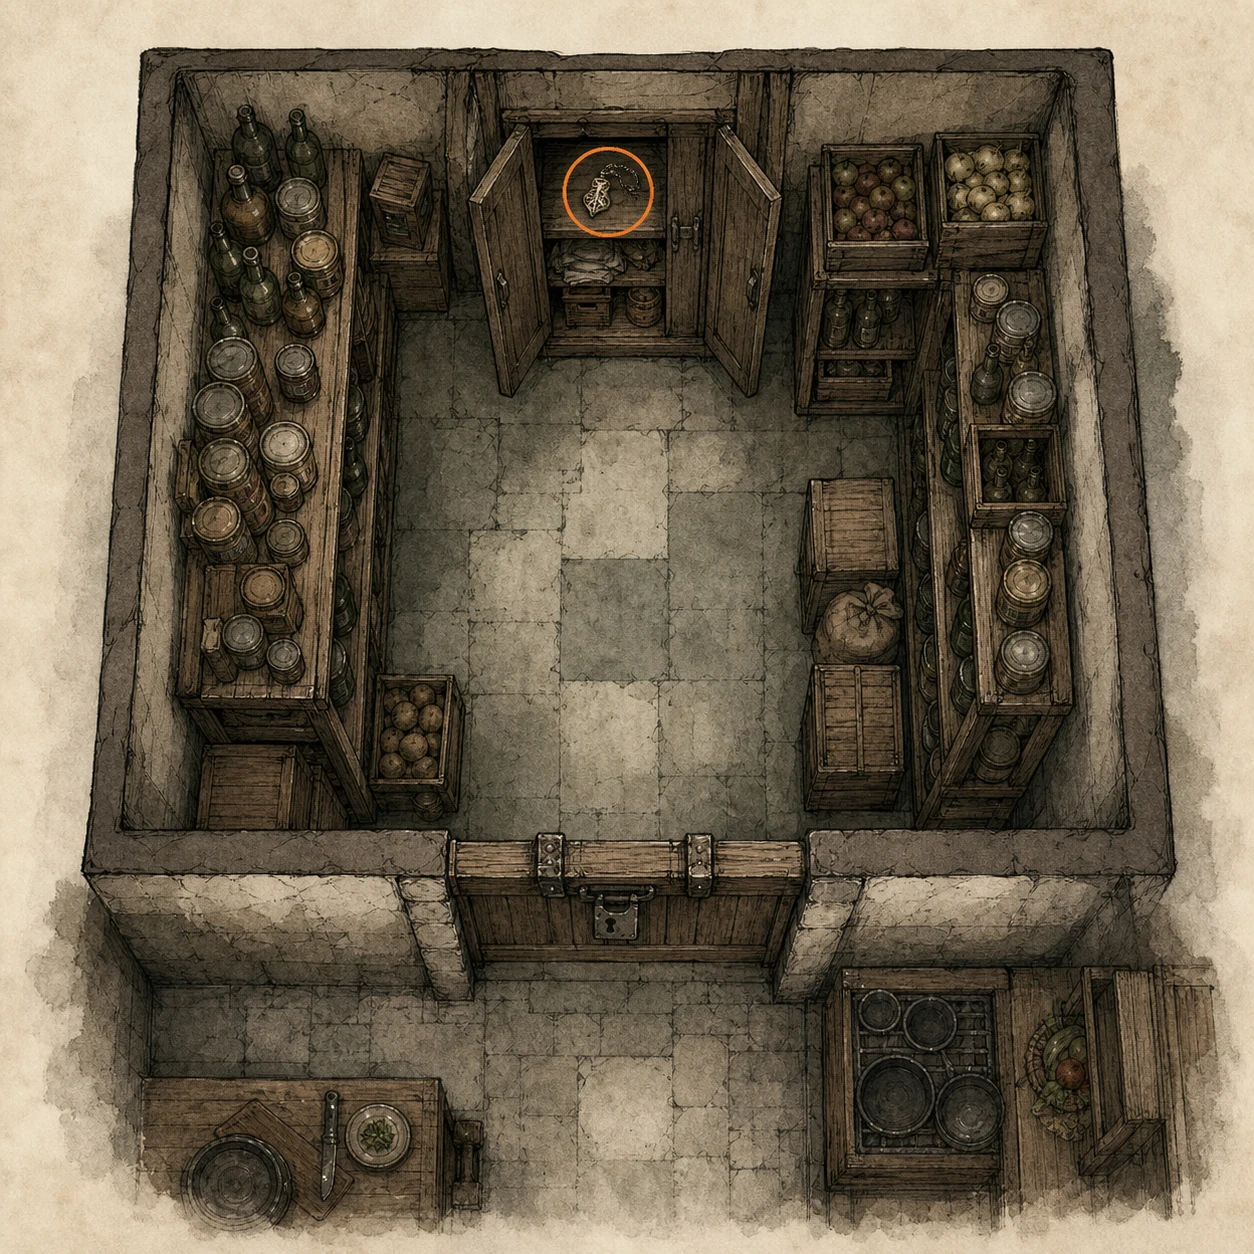
Care Center Basement
You are here when: A concrete lower level with dark tunnels, holding cells, a CCTV safe room, workshop, furnace room, bunkroom, boiler rooms, and processing machinery.
Puzzle-heavy lower level. Keep a backup before powering the main holding-cell mechanism.
File #37 - Staff Member's Last Words (missable)
File
HintSearch the first stretch of the lower-level tunnel before moving on.
WhereA few steps into the opening basement tunnel, read the file lying beside the body.
Full detailMove forward only a few steps from the basement starting point and read Staff Member's Last Words beside the body before entering the next room.
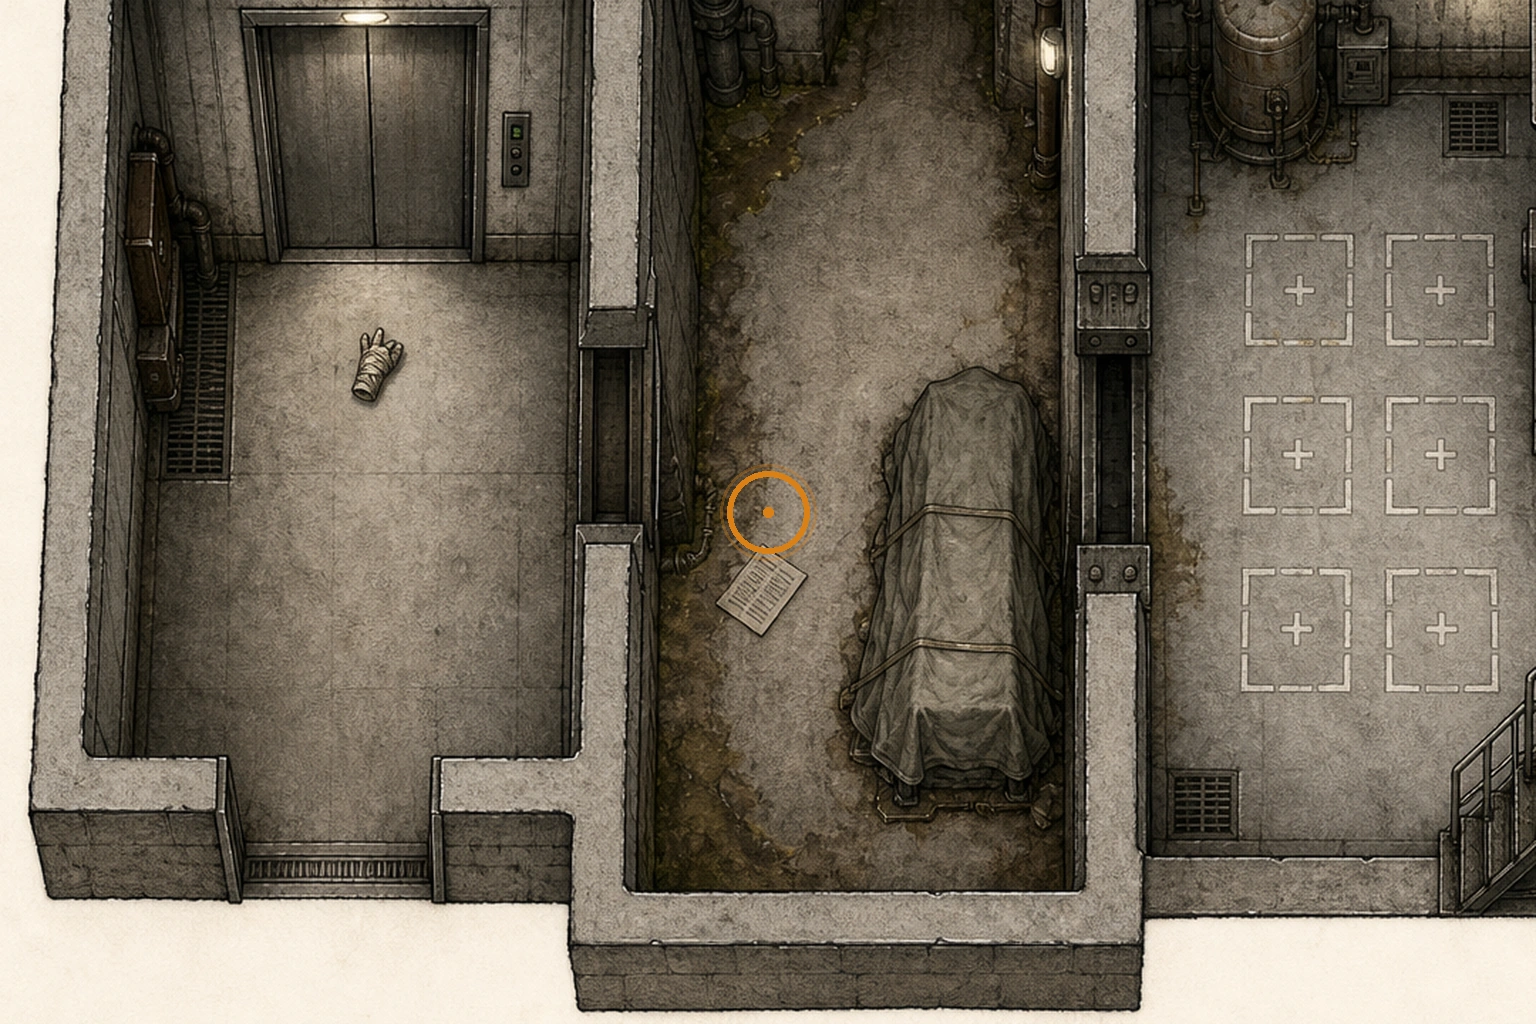
File #38 - Operation to Eliminate "The Girl" (missable)
File
HintThe first security room contains more than surveillance equipment.
WhereIn the basement Security Room, read the file among the CCTV equipment.
Full detailEnter the CCTV-filled Security Room and read Operation to Eliminate "The Girl" before continuing into the holding-cell corridor.
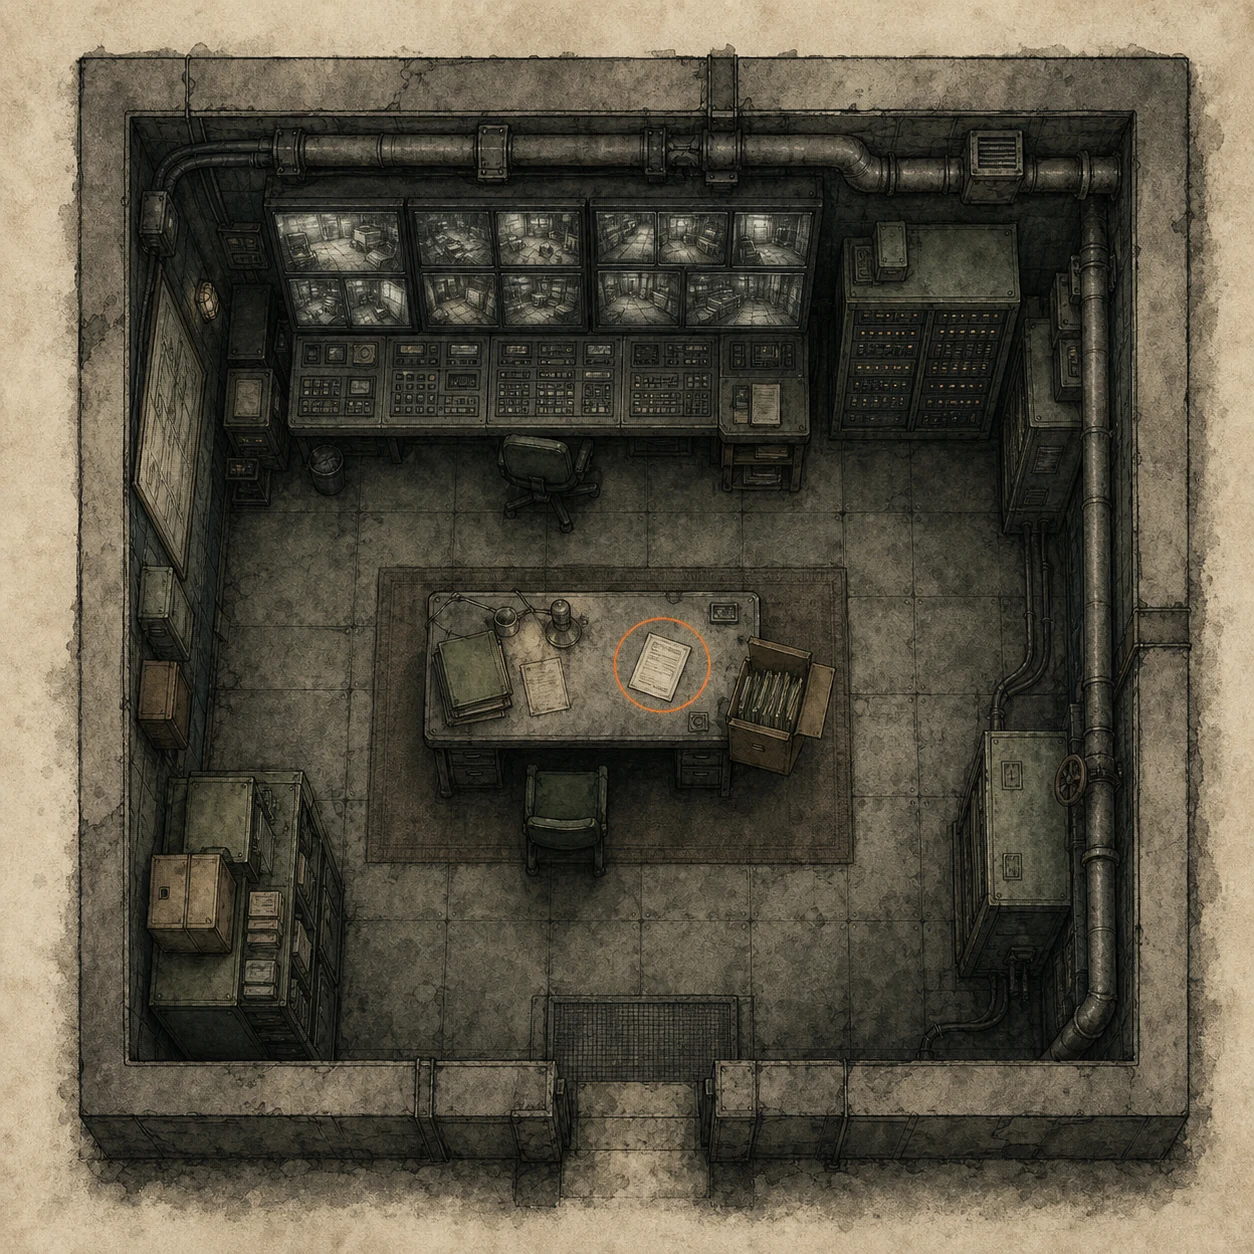
File #39 - Unlocking the Cells (missable)
File
HintRead posted instructions before operating anything in the holding-cell area.
WhereAt the end of the Holding Cells corridor, read the file mounted above the lever.
Full detailRead Unlocking the Cells above the lever at the end of the Holding Cells corridor before operating the mechanism below it.
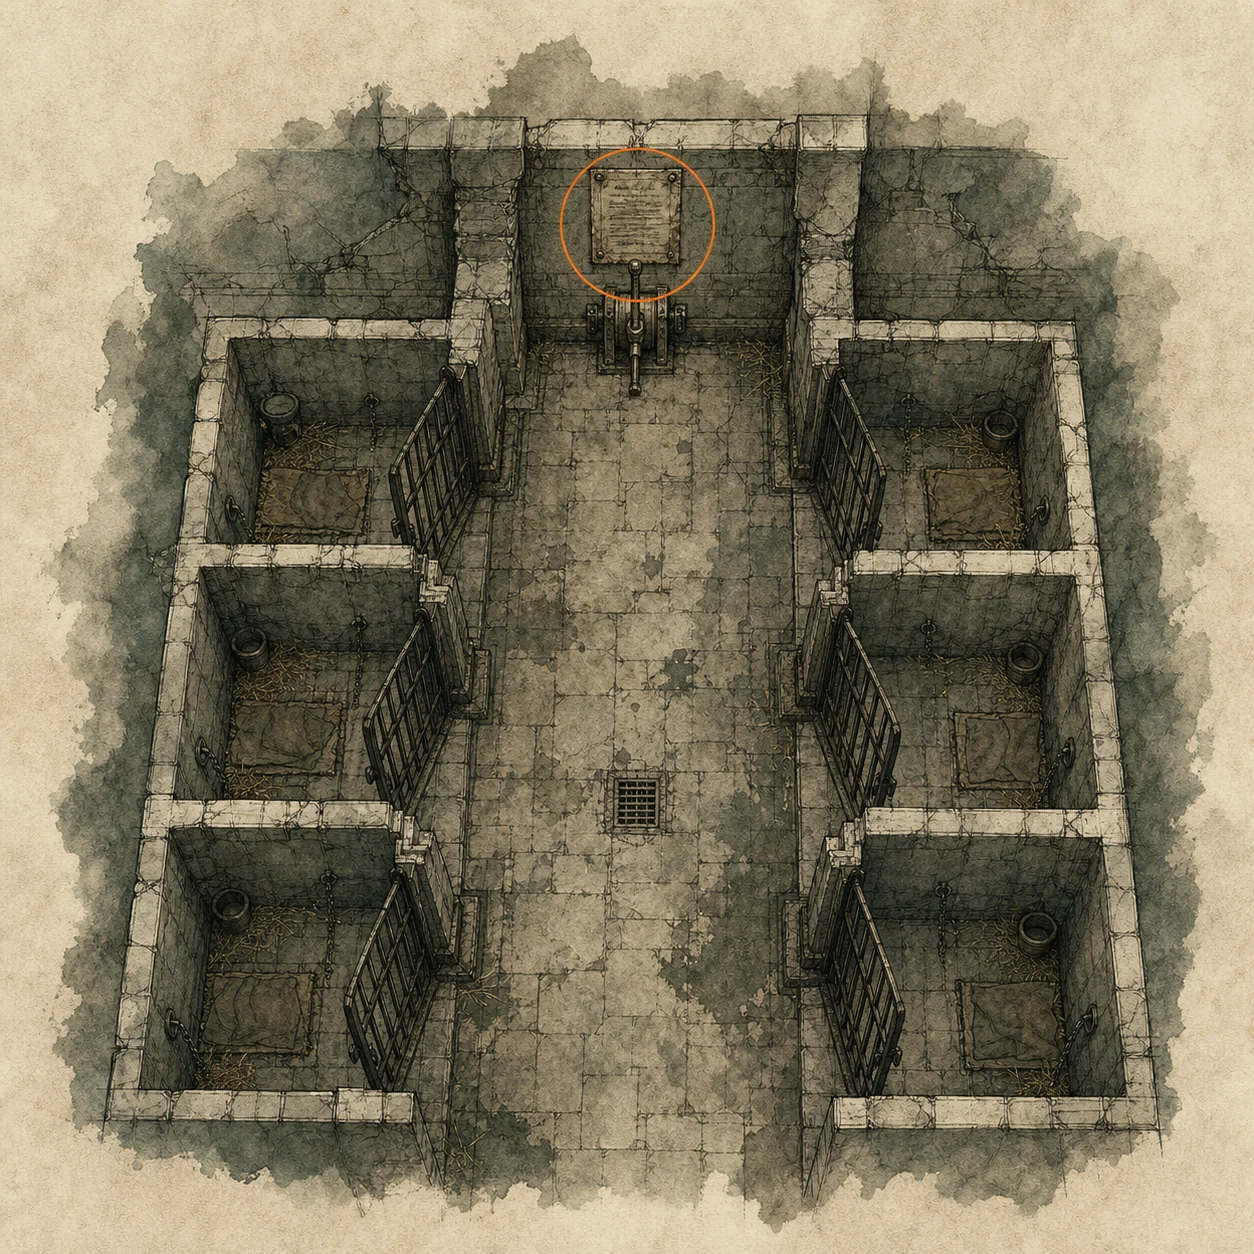
Joint Plug #1 (missable)
Key item
HintThe holding-cell area provides the first movable power component.
WhereAt the end of the Holding Cells corridor, take Joint Plug #1 from the mechanism beside the lever.
Full detailTake Joint Plug #1 from the holding-cell mechanism beside the lever and carry it to the powered doors around the basement as needed.
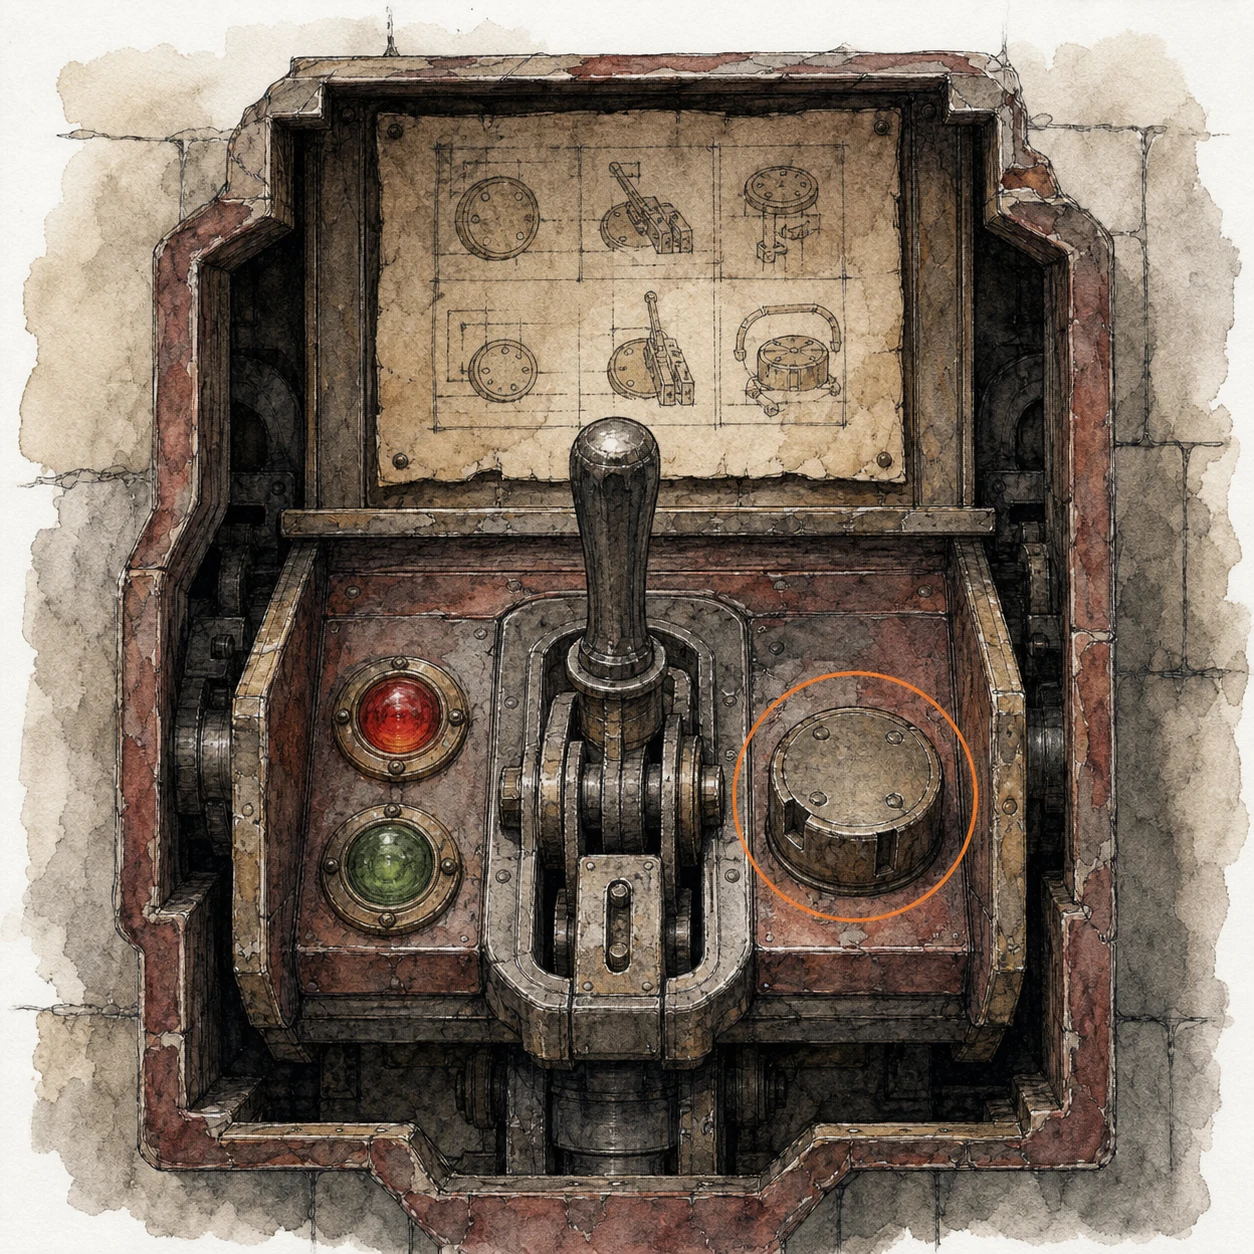
Mr. Raccoon #7 (missable)
Mr. Raccoon figure
HintUse the movable power system to explore every side room off the cell corridor.
WhereFit Joint Plug #1 into the socket on the Holding Cells corridor's far side, enter the Workshop, and check its workbench.
Full detailUse Joint Plug #1 to open the Workshop on the Holding Cells corridor's far side, then break the Mr. Raccoon sitting on the workbench.
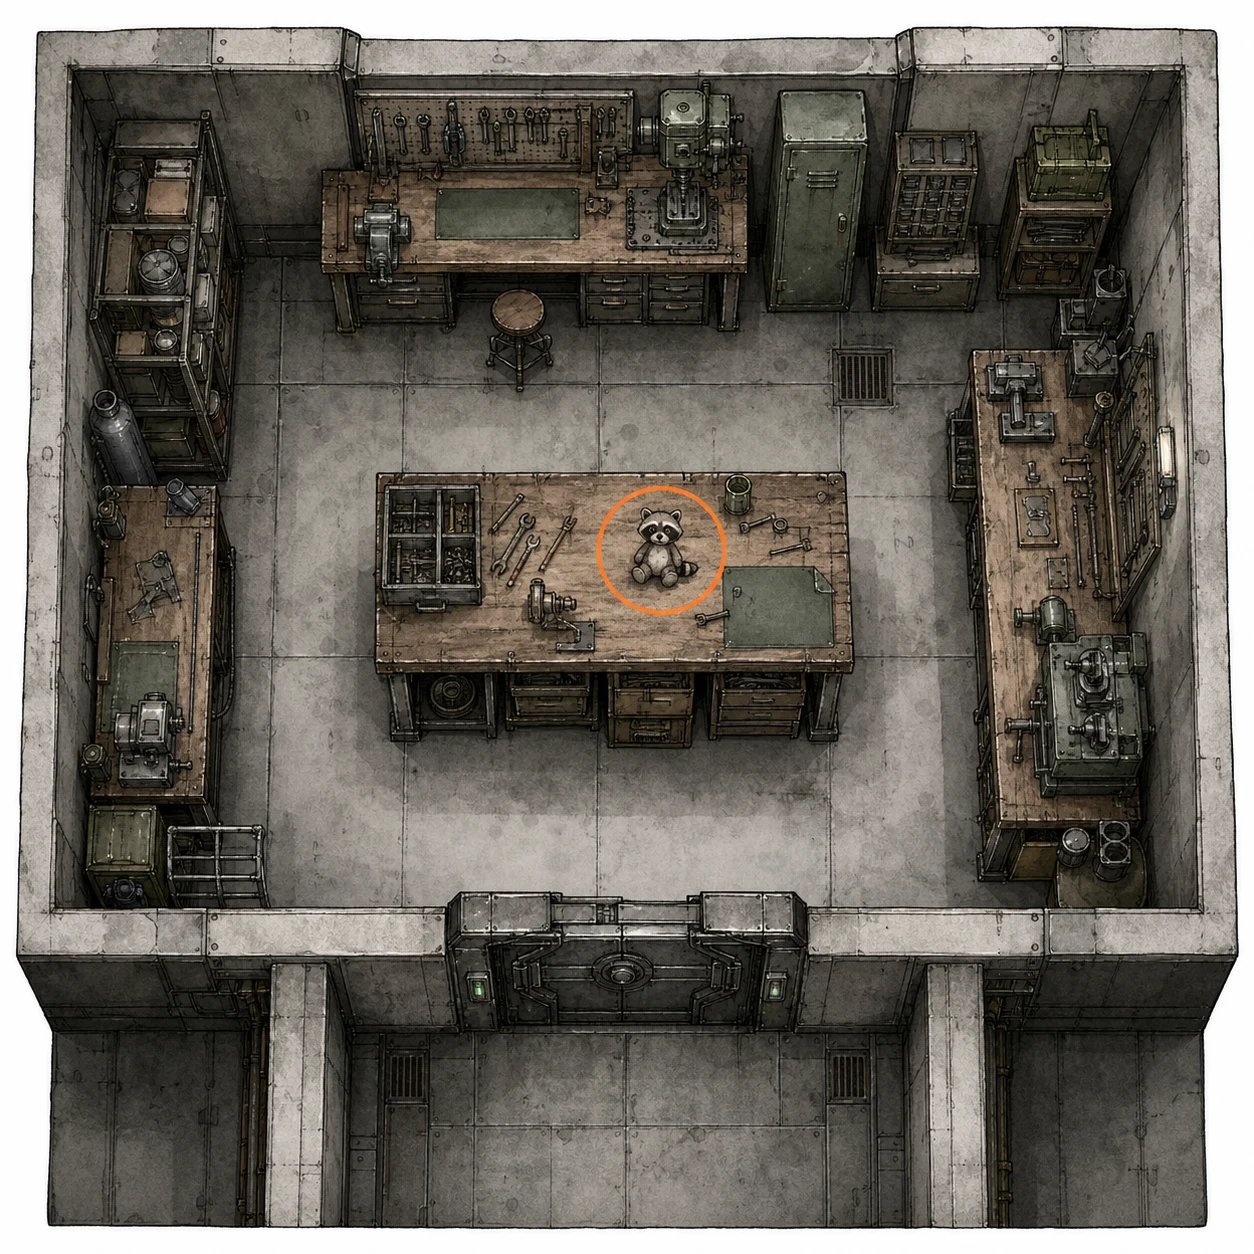
File #40 - Technician's Note (missable)
File
HintSearch the workshop surfaces before moving its power plug elsewhere.
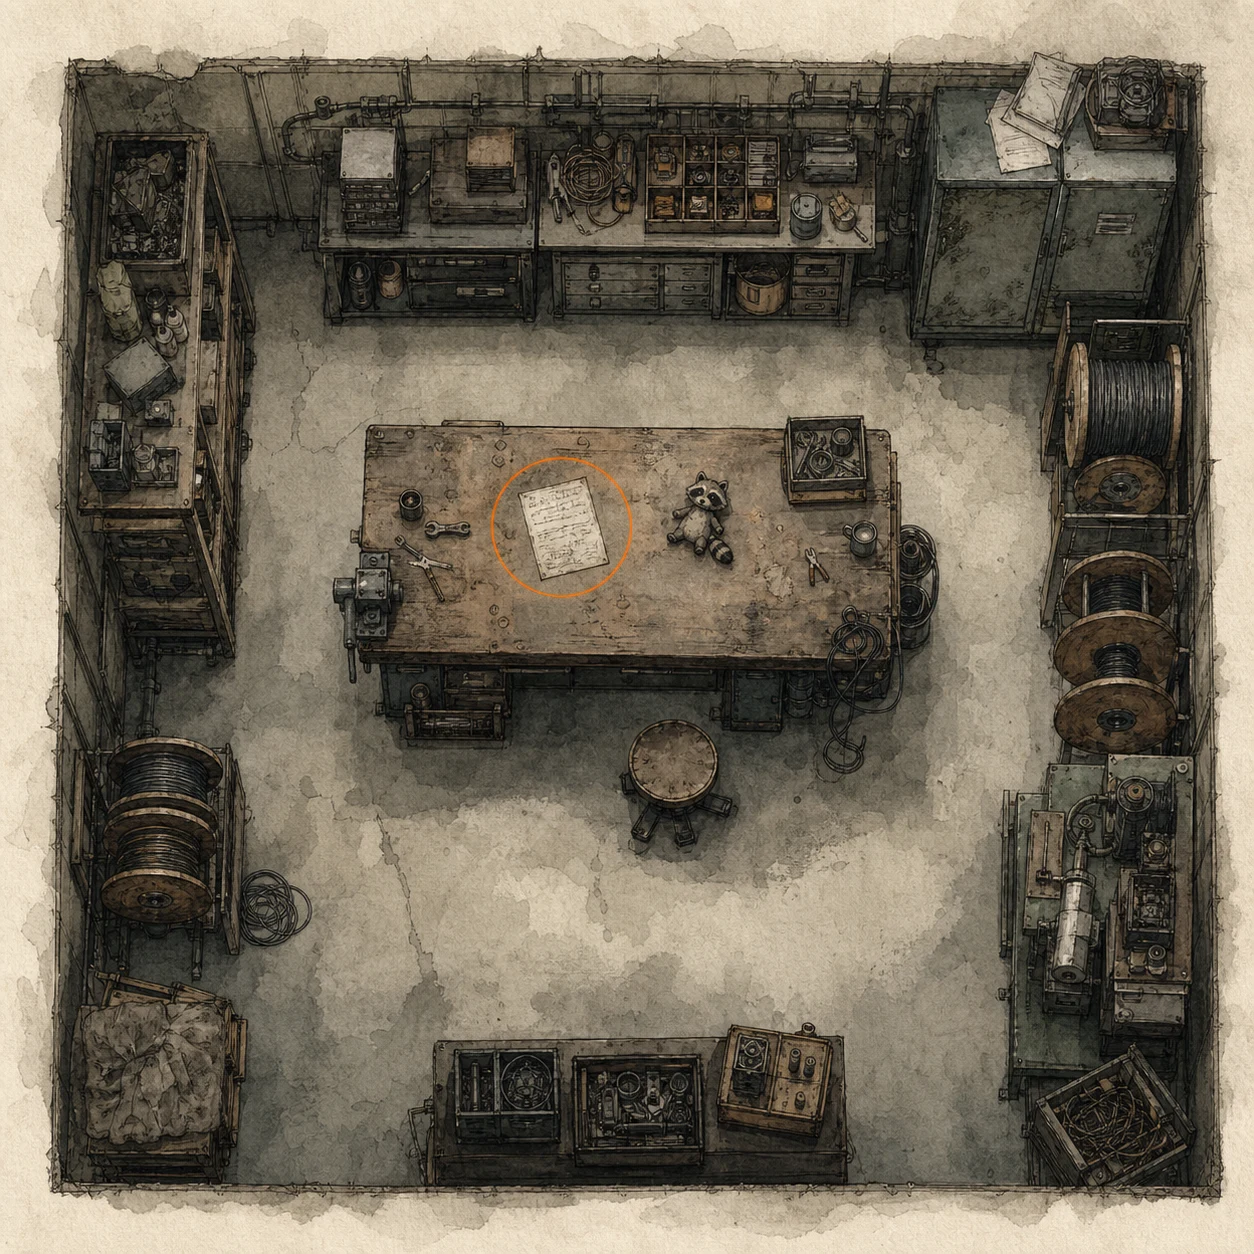
WhereIn the Workshop, read the Technician's Note on the workbench beside the Mr. Raccoon.
Full detailRead the Technician's Note on the Workshop workbench and destroy the adjacent Mr. Raccoon as a separate interaction before removing the plug from the door.
Safe #3 (missable)
Safe
HintReposition the first power plug to open more of the basement, then check its side offices.
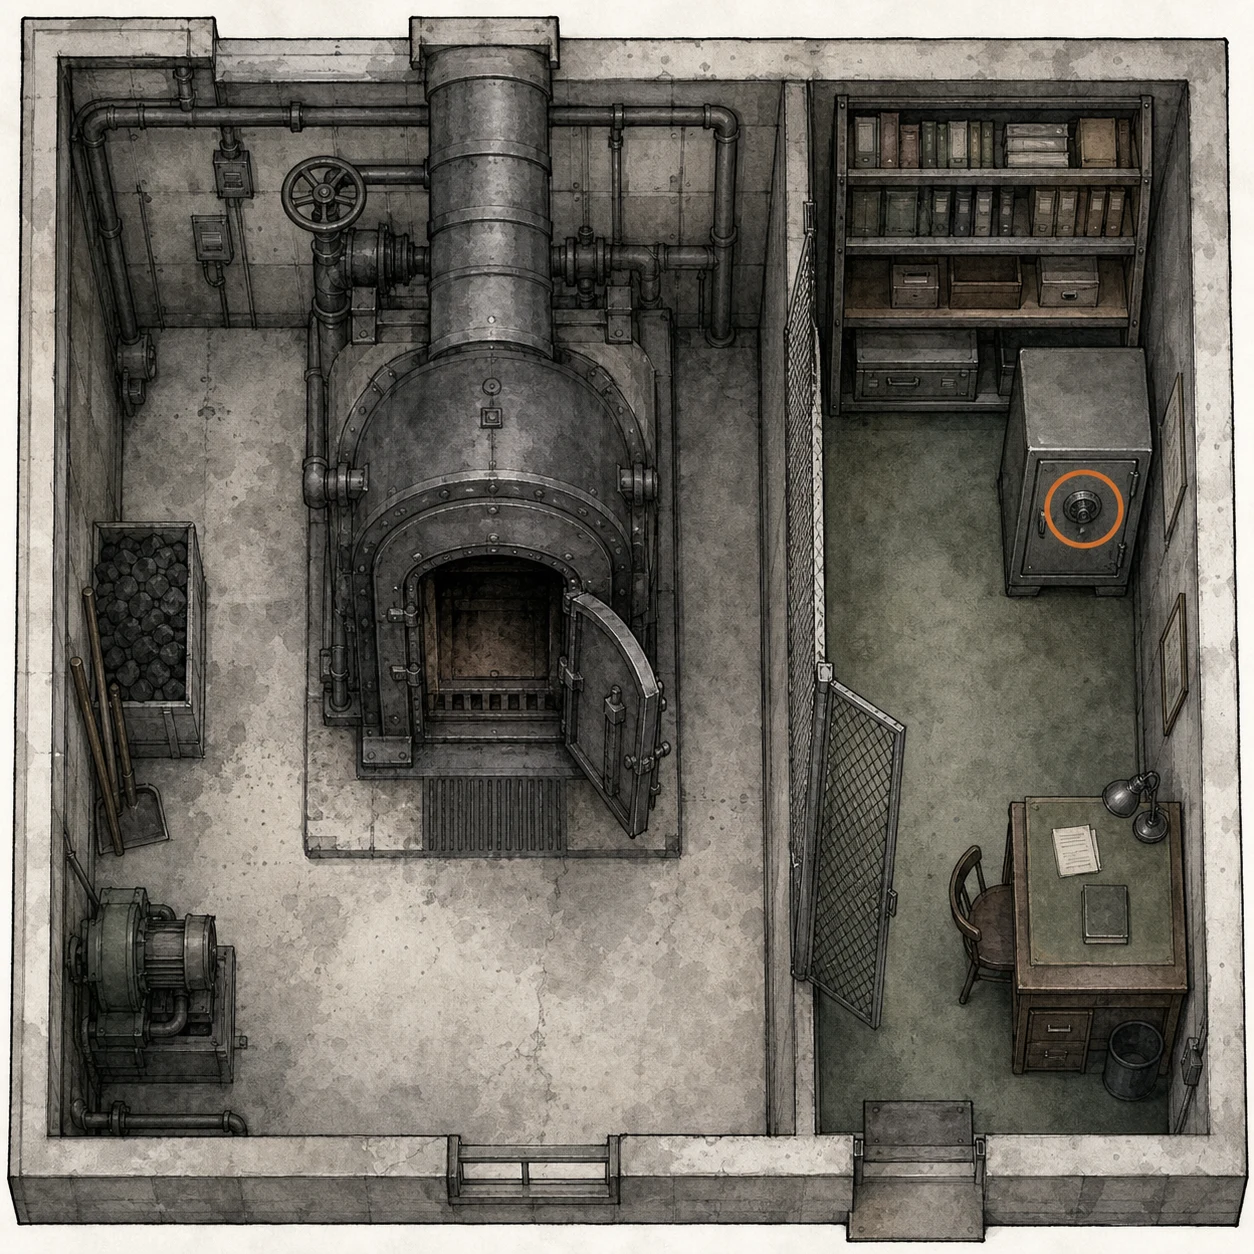
WhereMove the Joint Plug from the Workshop door to the central Furnace door, then find Safe #3 in the right-hand side office beyond.
Full detailMove the Workshop Joint Plug to the central Furnace door, enter the right-hand side office beyond it, and open Safe #3 with Right 60, Left 40, Right 80 on Casual or Left 70, Right 50, Left 20 on Insanity; the code file is not required, and the safe contains the Raccoon Roundup Map.
File #41 - Security Guard's Report (missable)
File
HintThe furnace-side office contains another record near its secured storage.
WhereIn the Furnace side office, read the Security Guard's Report near Safe #3.
Full detailAfter opening the central Furnace route, enter the right-hand side office and read the Security Guard's Report separately from the map inside Safe #3.
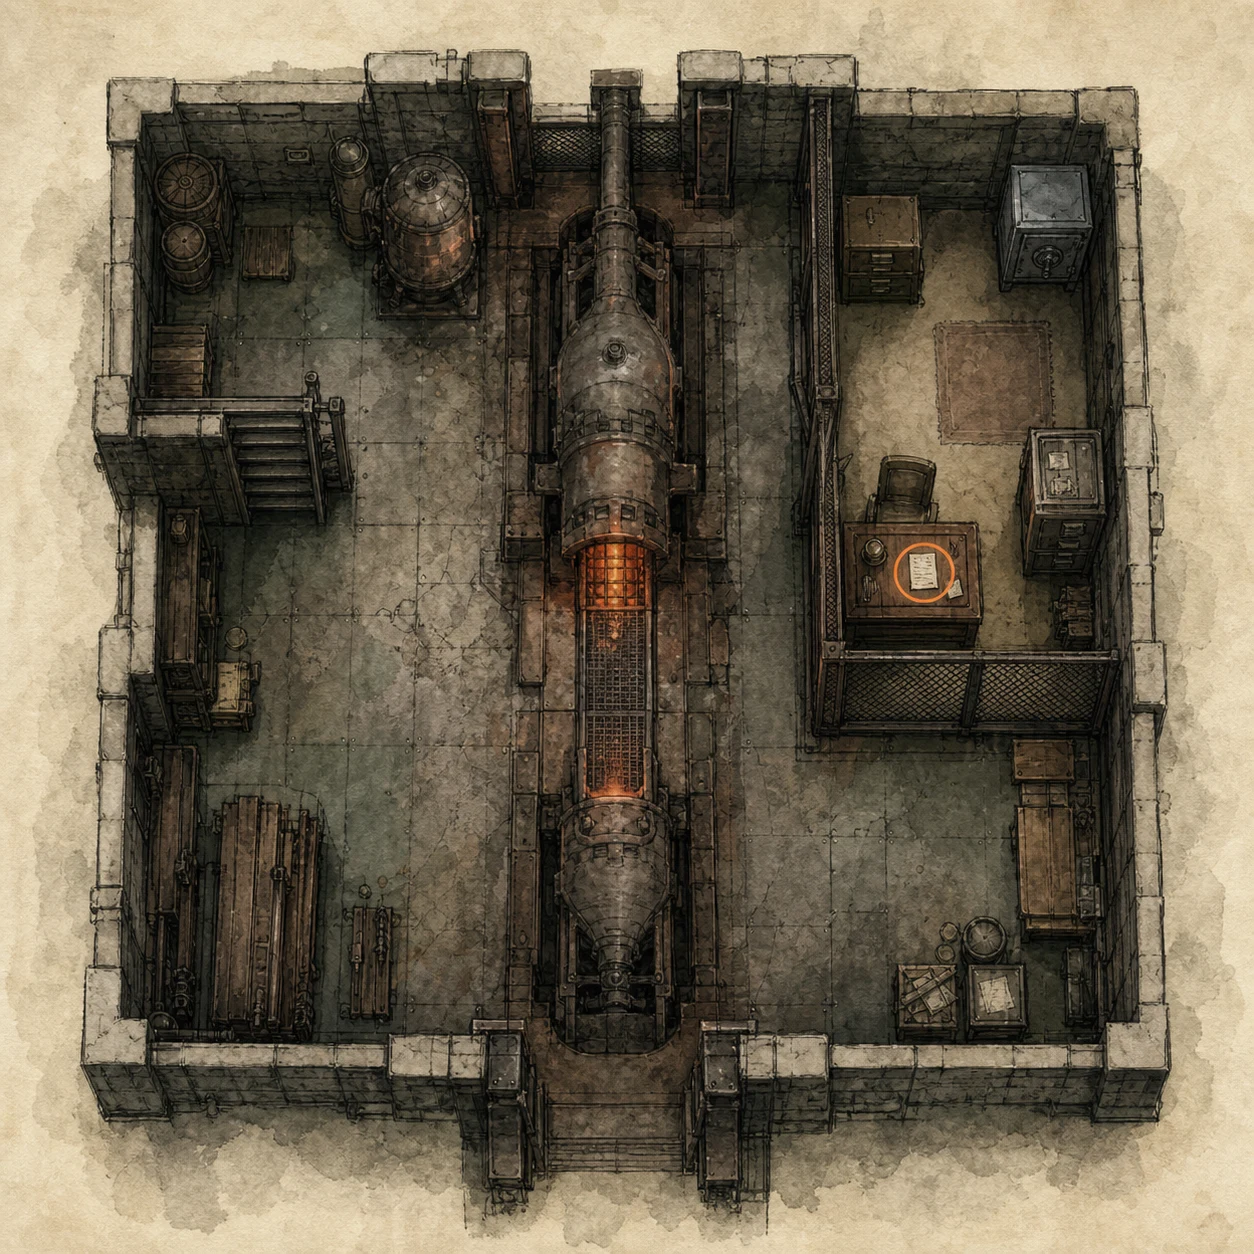
Joint Plug #2 (missable)
Key item
HintDo not leave the furnace area without checking around its machinery.
WhereIn the Furnace room, take Joint Plug #2 beside the forklift.
Full detailTake Joint Plug #2 beside the Furnace-room forklift and keep it with the other movable plugs for the Collection Pool and later mechanisms.
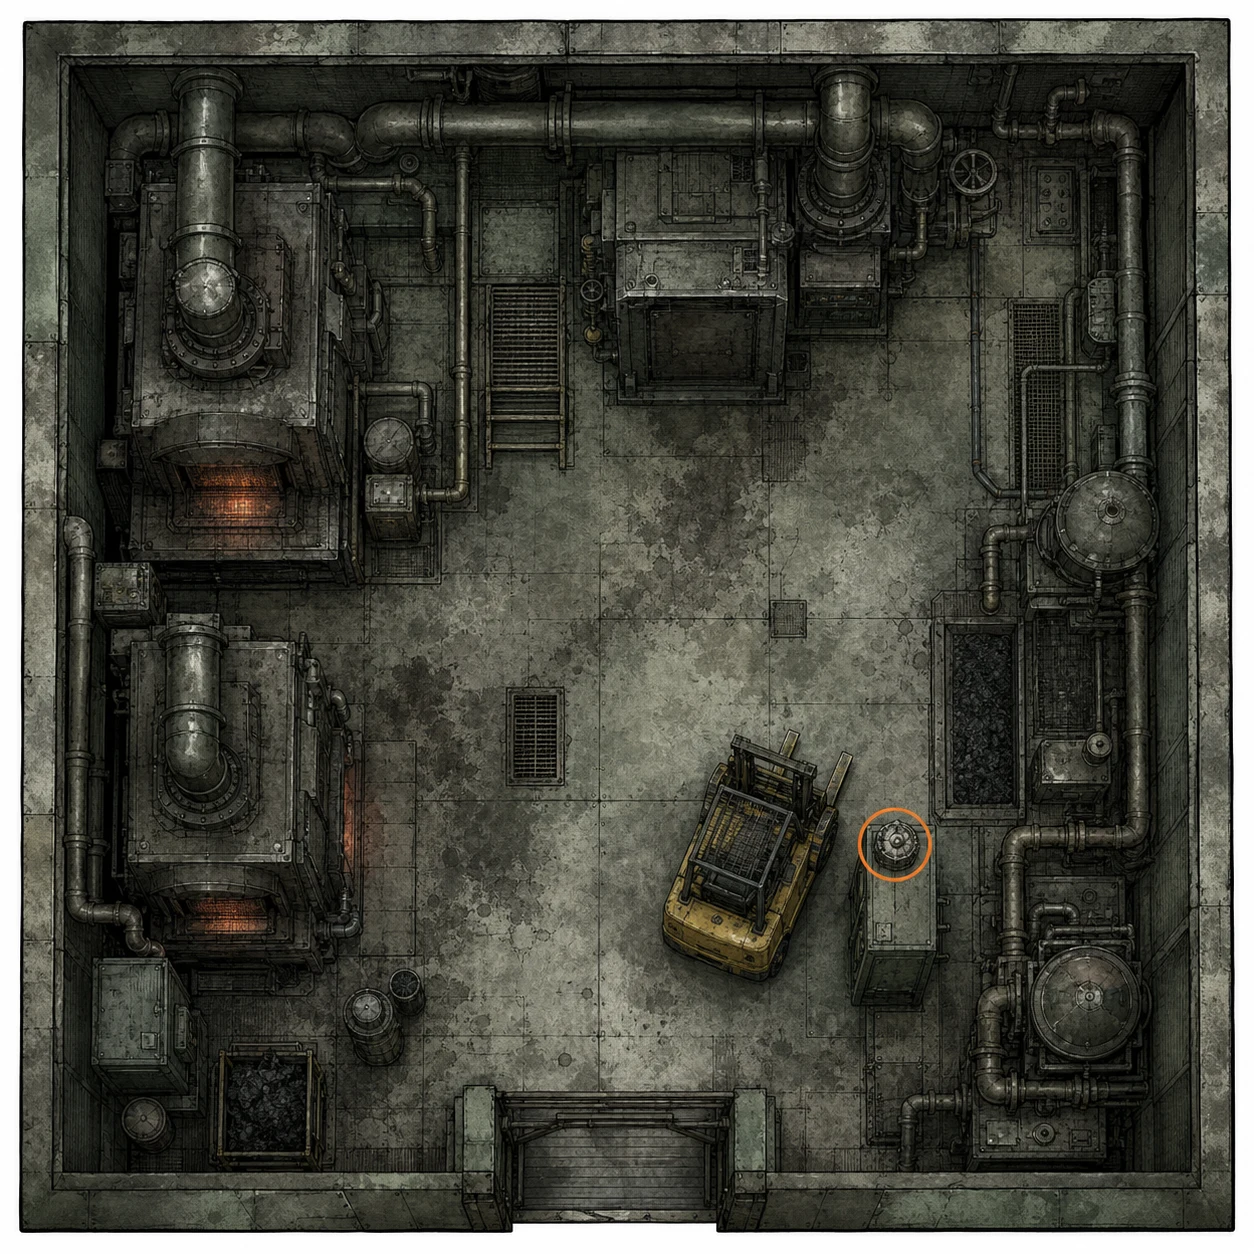
Mr. Raccoon #8 (missable)
Mr. Raccoon figure
HintPowering the rooms near the security area opens a bunkroom worth sweeping.
WhereUse a Joint Plug in the socket outside the Boiler Room, along the corridor right of Security; enter the adjacent Bunkroom and check its television.
Full detailPower the Boiler Room socket in the corridor right of the Security Room, enter the Bunkroom immediately to the right, and strike or shoot the Mr. Raccoon on the television until it breaks.
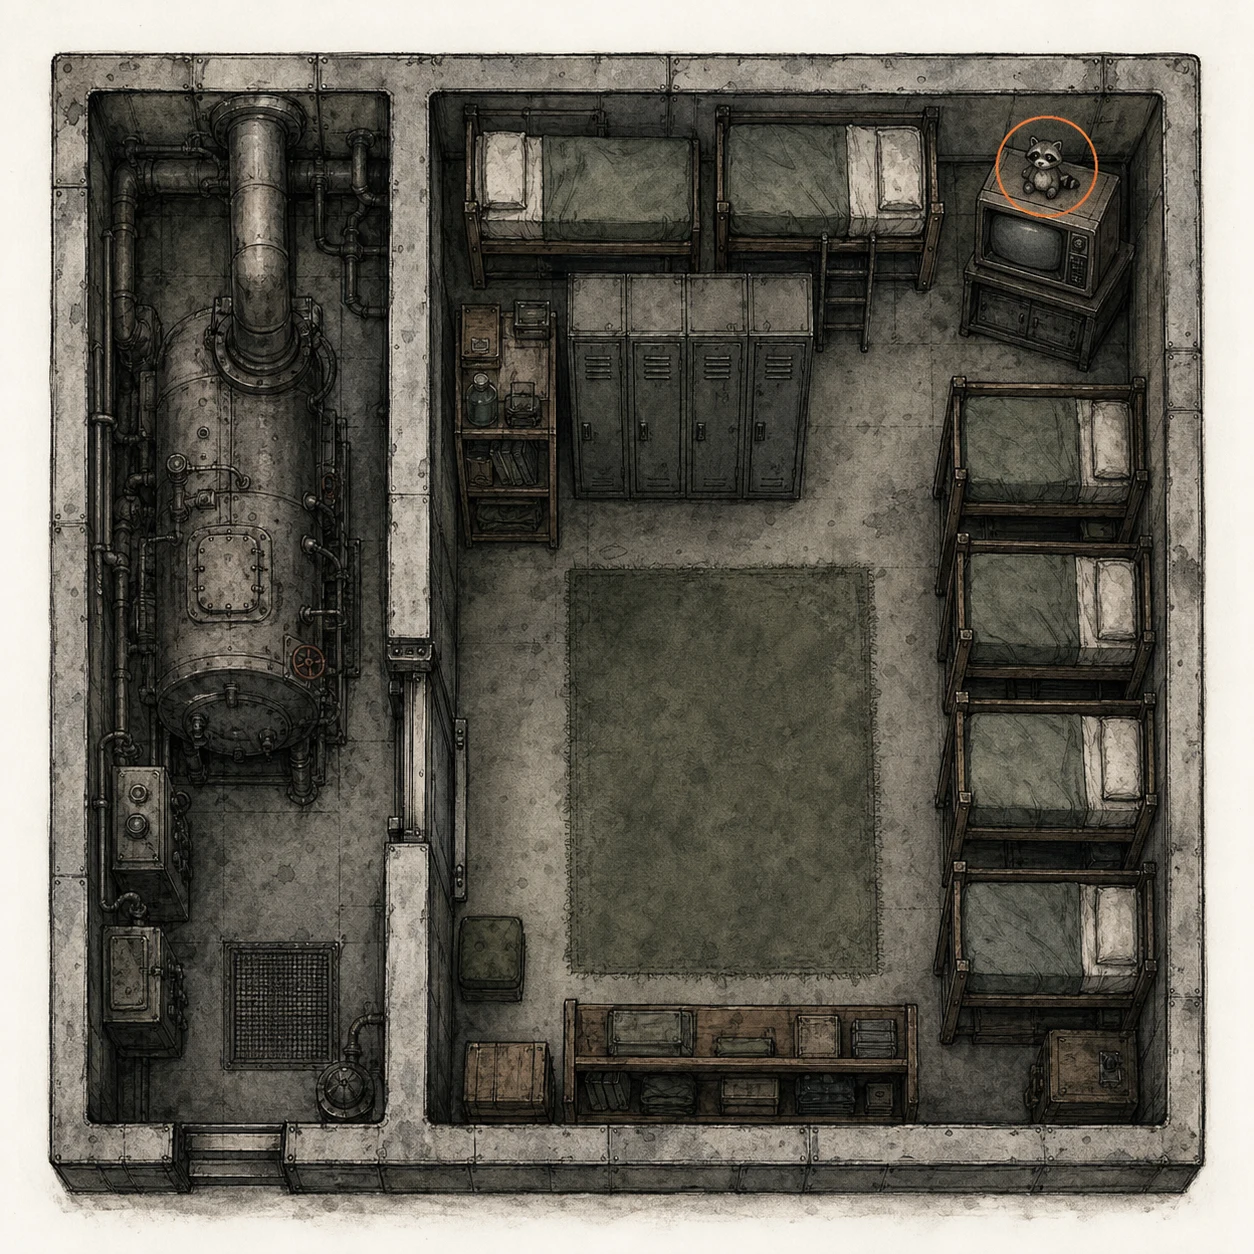
Molotov Cocktail (missable)
Crafting recipe
HintThe powered bunkroom contains another useful pickup among its furnishings.
WhereIn the middle of the Bunkroom, open the box on the table to obtain the Molotov Cocktail recipe.
Full detailAfter powering the Bunkroom route, open the box on the table in the center of the room to learn the Molotov Cocktail recipe; it does not register as a file.
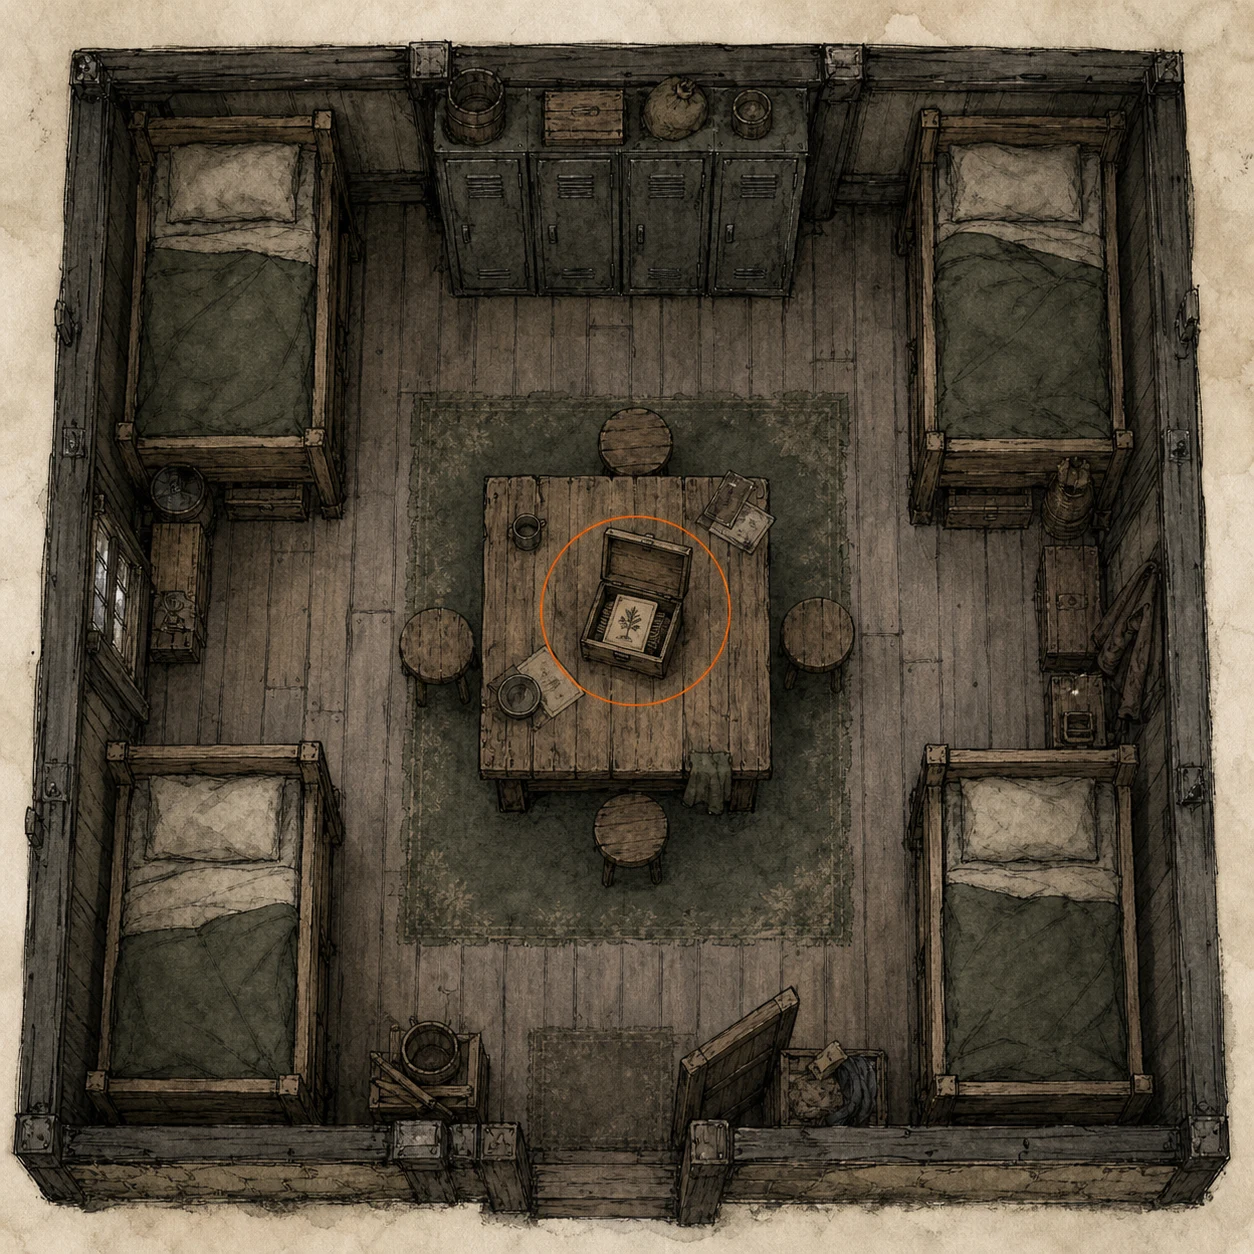
Square Socket Wrench (missable)
Key item
HintA later plug route returns you to the dark tunnel and a flooded utility room.
WhereUse a Joint Plug to open the Boiler Room at the northeast end of the starting tunnel, push the crate, pass through the fence, and take the wrench at the back.
Full detailFirst remove the Joint Plug from the socket beside the Bunkroom so the water is not electrified; carry it to the northeast end of the starting tunnel, open the Boiler Room, push the crate, pass through the fence, and take the Square Socket Wrench for the Collection Pool console.
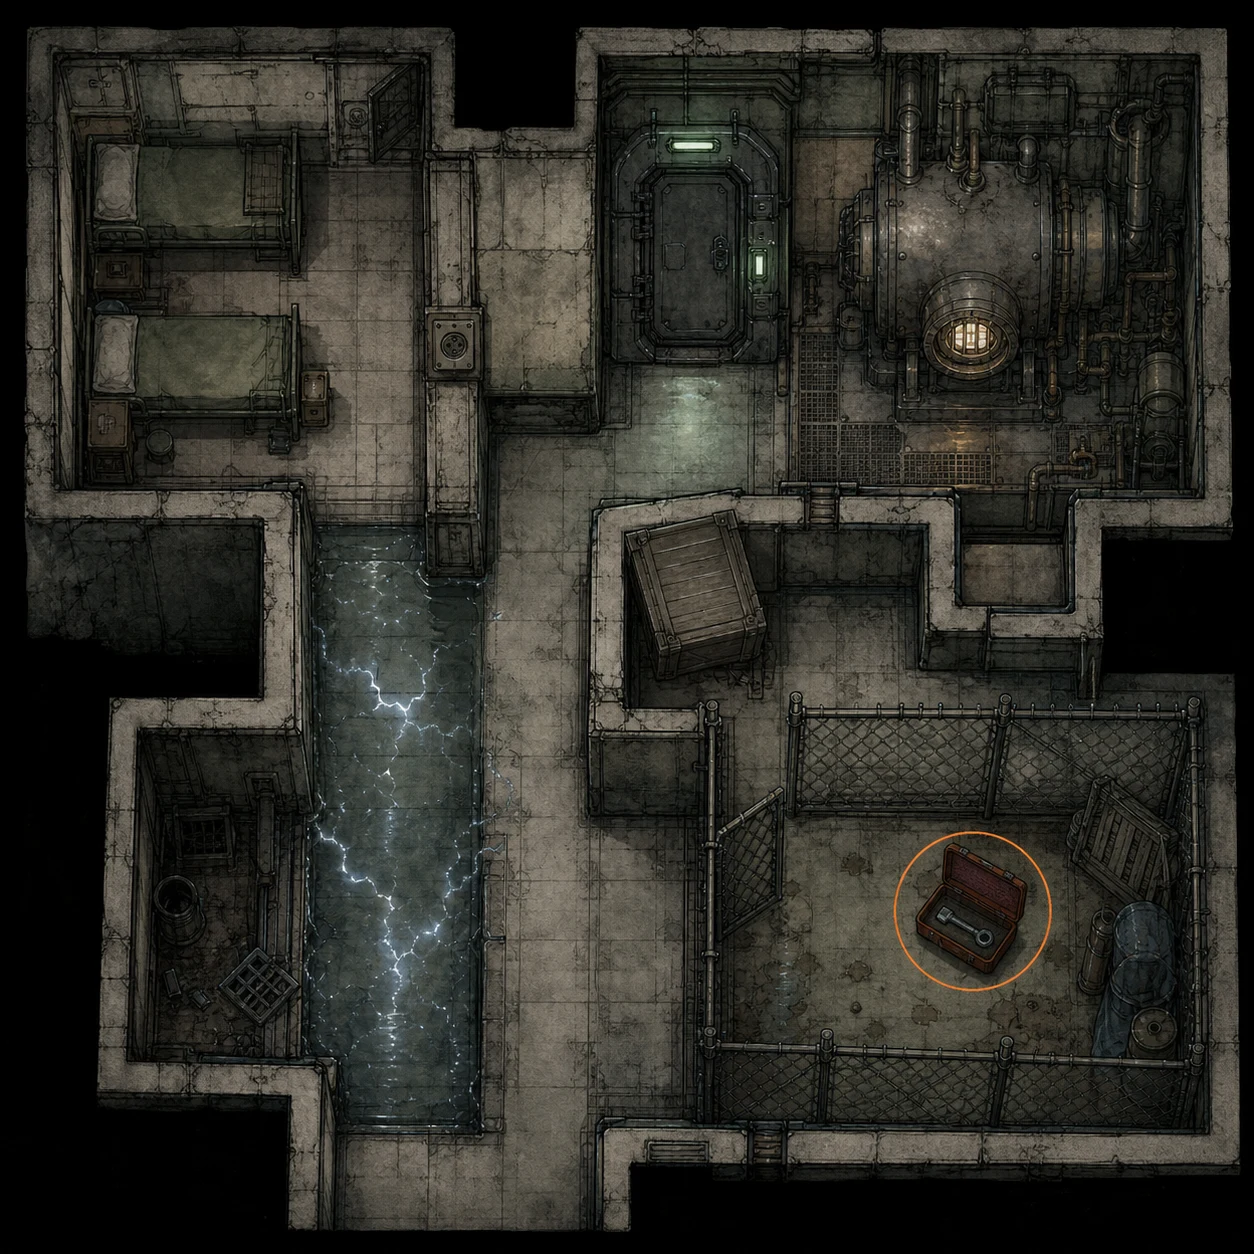
Forklift Key (missable)
Key item
HintThe collection pool's controls lead toward a vehicle-related key.
WhereAt the Collection Pool in the south, use the Square Socket Wrench on the console, insert two Joint Plugs to open Processing, and take the Forklift Key from the floor beside the forklift at the far end.
Full detailUse the Square Socket Wrench on the Collection Pool console, insert two Joint Plugs to power the Processing door, follow the route to its far end, and pick up the Forklift Key from the floor beside the forklift.
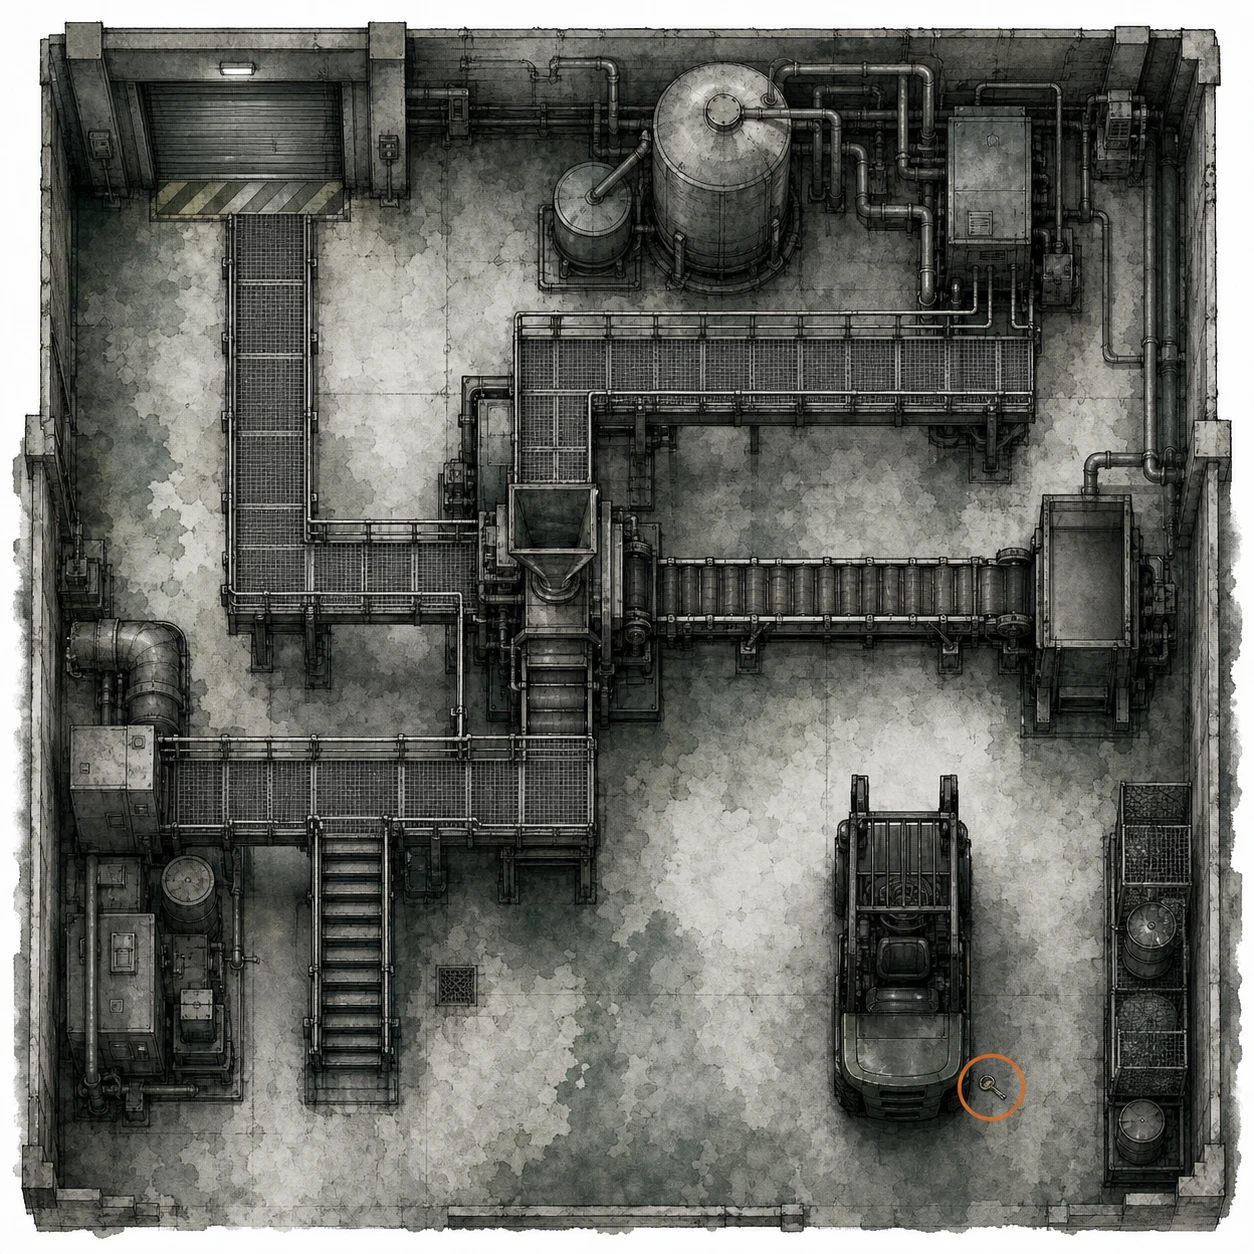
Hip Pouch + Care Center Basement Floor Plan (missable)
Hip Pouch (inventory upgrade)
HintKeep the processing route powered and search beyond its vehicle obstruction.
WhereUse the Forklift Key on the Processing forklift and pass through the door beyond it to find the Hip Pouch and basement map.
Full detailLeave the Joint Plug in the Processing console so the door stays open, use the Forklift Key on the forklift, pass through the opened route, and collect both the Hip Pouch and Care Center Basement Floor Plan.
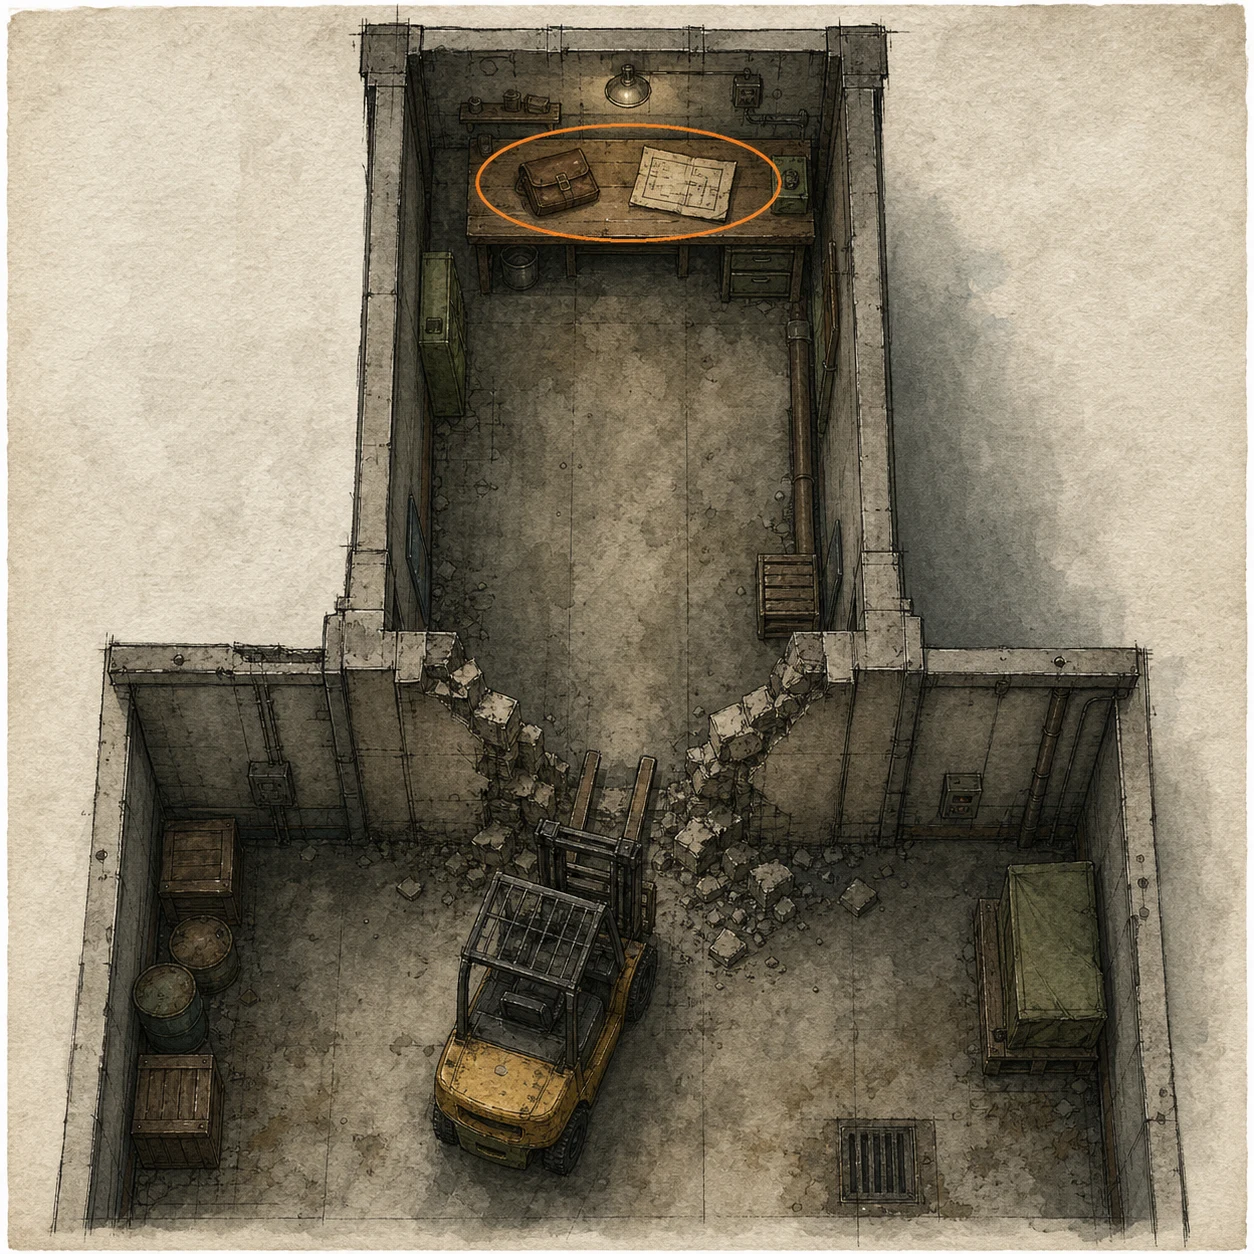
Joint Plug #3 (missable)
Key item
HintThe final movable plug requires completing the machinery route carefully.
WhereUse the Forklift Key on the forklift behind the Furnace door, insert a plug beside it, and follow the machinery route to Joint Plug #3.
Full detailLeave the Processing plug in its console and bring the two Collection Pool plugs to the Furnace forklift; use the key, insert a plug, follow the hanging bags without flipping the switch, push the cart to create a shortcut, return and flip the switch, use the shortcut to reach the far wheel, drain the water, and retrieve Joint Plug #3.
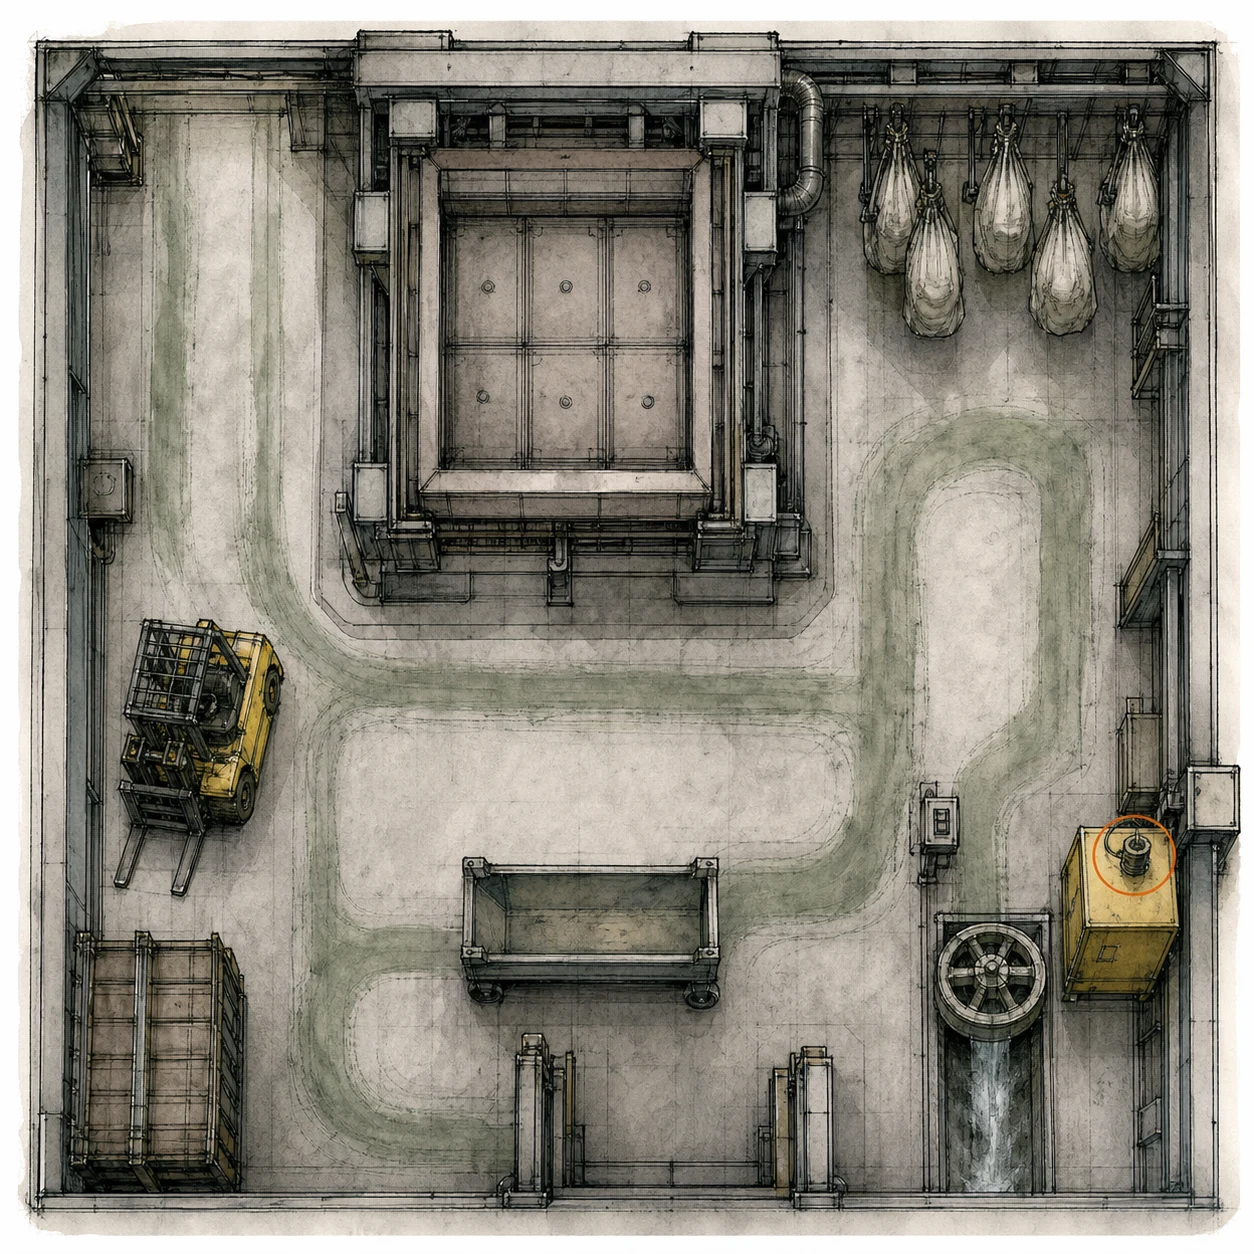
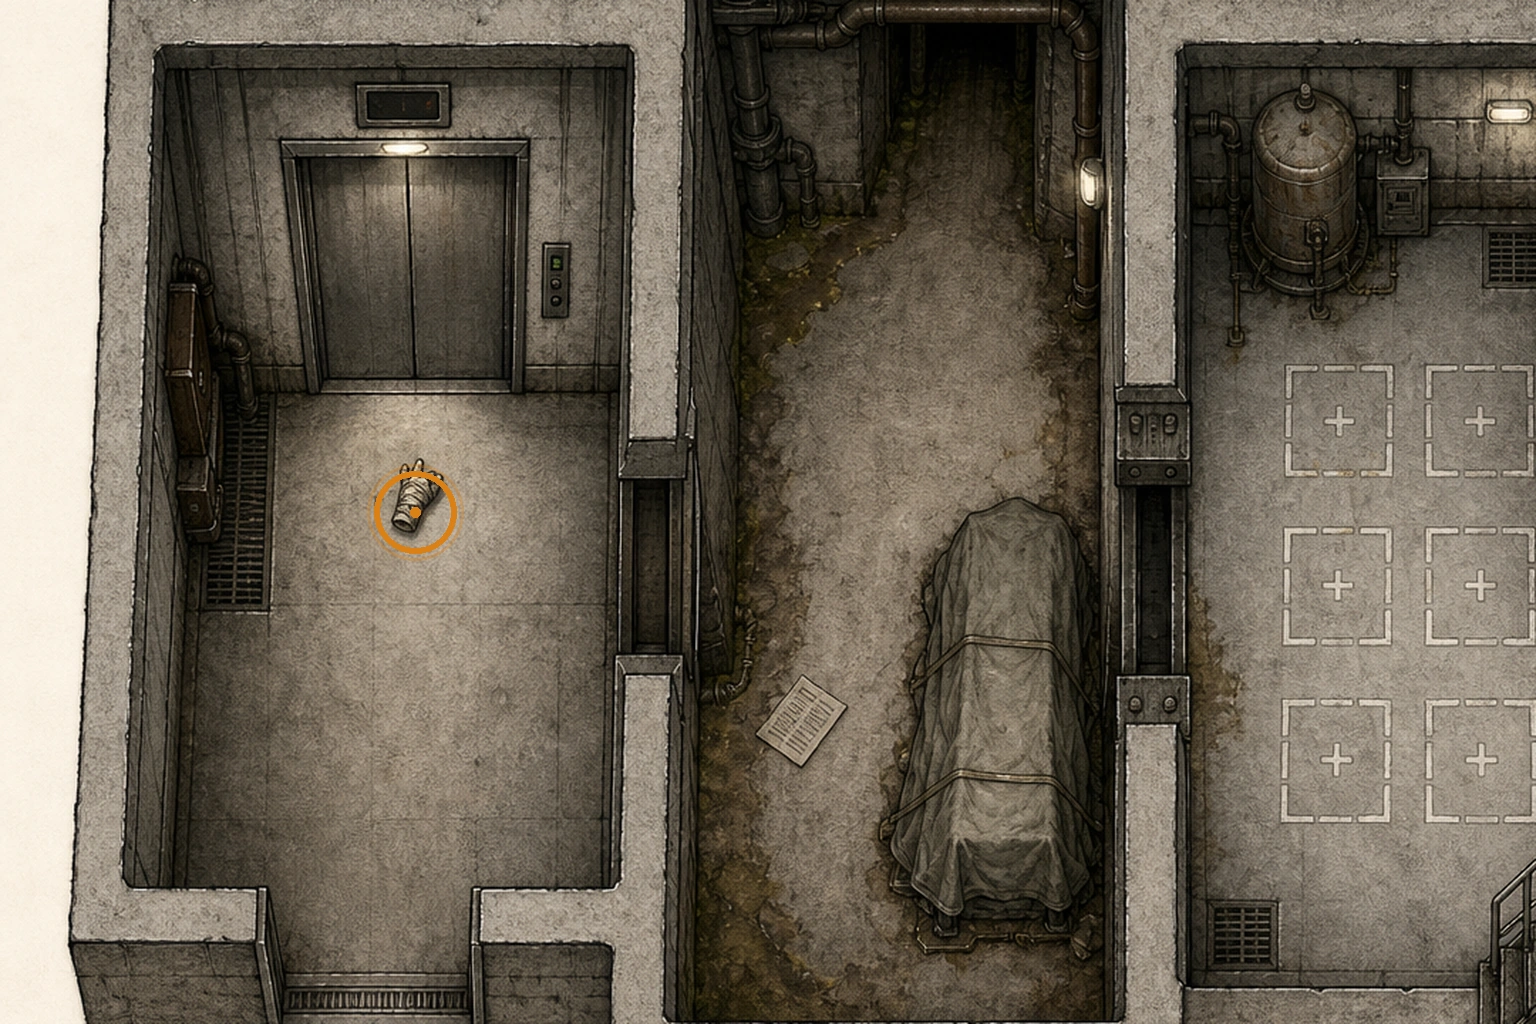
Severed Hand (missable)
Secret key item
HintThe end of the basement route contains an optional object tied to a later secret.
WhereAfter the elevator ride, pick up the Severed Hand from the floor in front of the elevator door.
Full detailBring the Severed Hand back to the Blood Lab Analyzer before leaving the main building. A completed analysis shows an amino-acid sequence whose initials read GLITCH and prepares the optional multi-run secret.
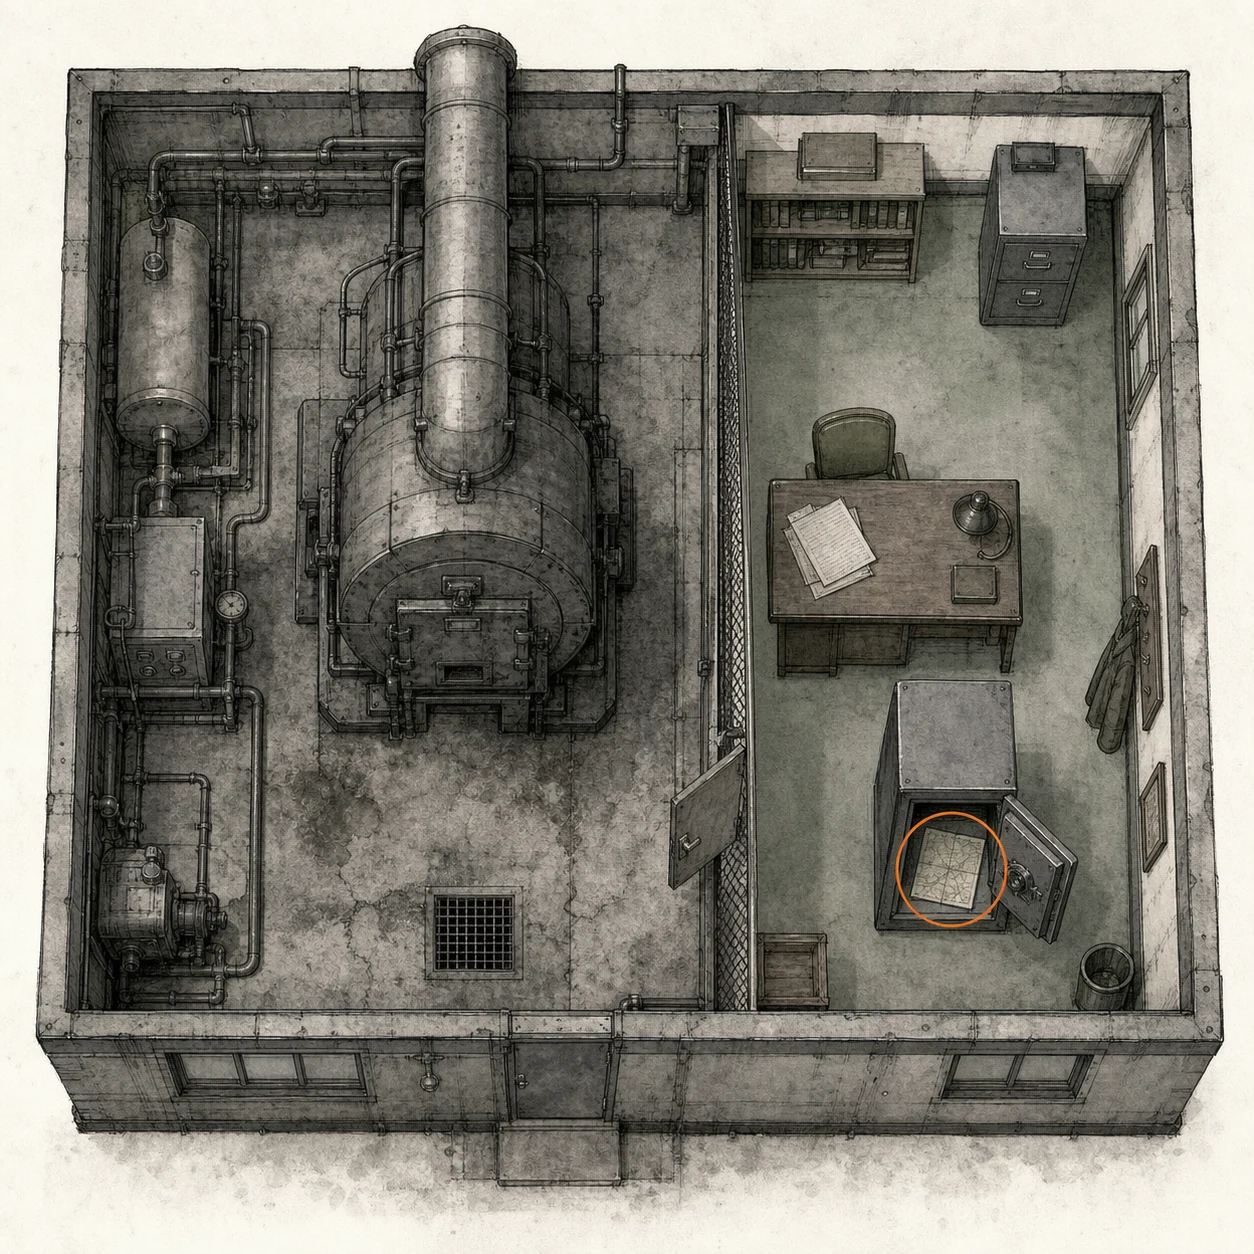
Raccoon Roundup Map (Rhodes Hill) (missable)
Map
HintOne basement safe contains a map that marks figures in the wider region.
WhereOpen Safe #3 in the Furnace side office and take the Raccoon Roundup Map inside.
Full detailIn the Furnace side office, open Safe #3 with Right 60, Left 40, Right 80 on Casual or Left 70, Right 50, Left 20 on Insanity, then take the map that marks the region's Mr. Raccoon figures.
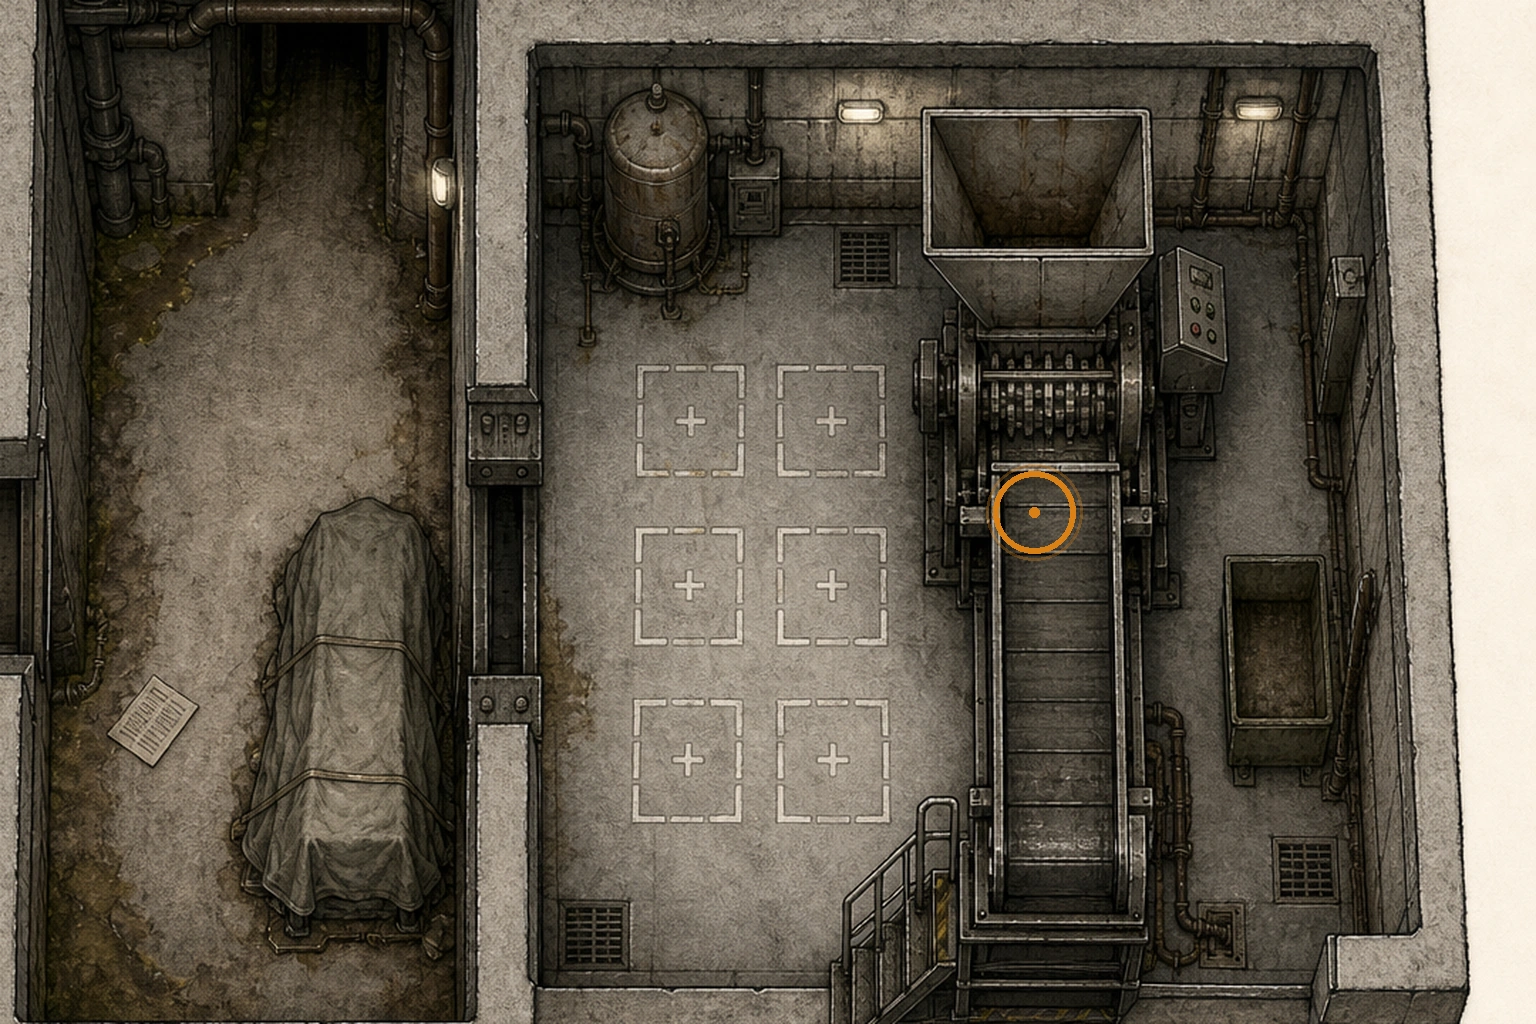
Processing Grinder Setup (missable)
Secret setup step
HintA hidden later reward depends on patience and on how the Processing machinery handles every moving body.
WhereIn Processing, wait before stopping the machinery, then let it dispose of every reanimated body without killing one yourself.
Full detailBefore turning the Processing wheel, wait at least 15 real minutes so every suspended body drops. Start the grinder, use leg shots or shoves only to feed every reanimated body into it, and kill none yourself. Drain the pool afterward; the stronger 'ton of blood' message confirms the setup registered.
Care Center - Main Hall Return
You are here when: Back in the medical building main hall with three quartz slots at the large door and earlier rooms still nearby.
Last main-building cleanup pass before using the large door.
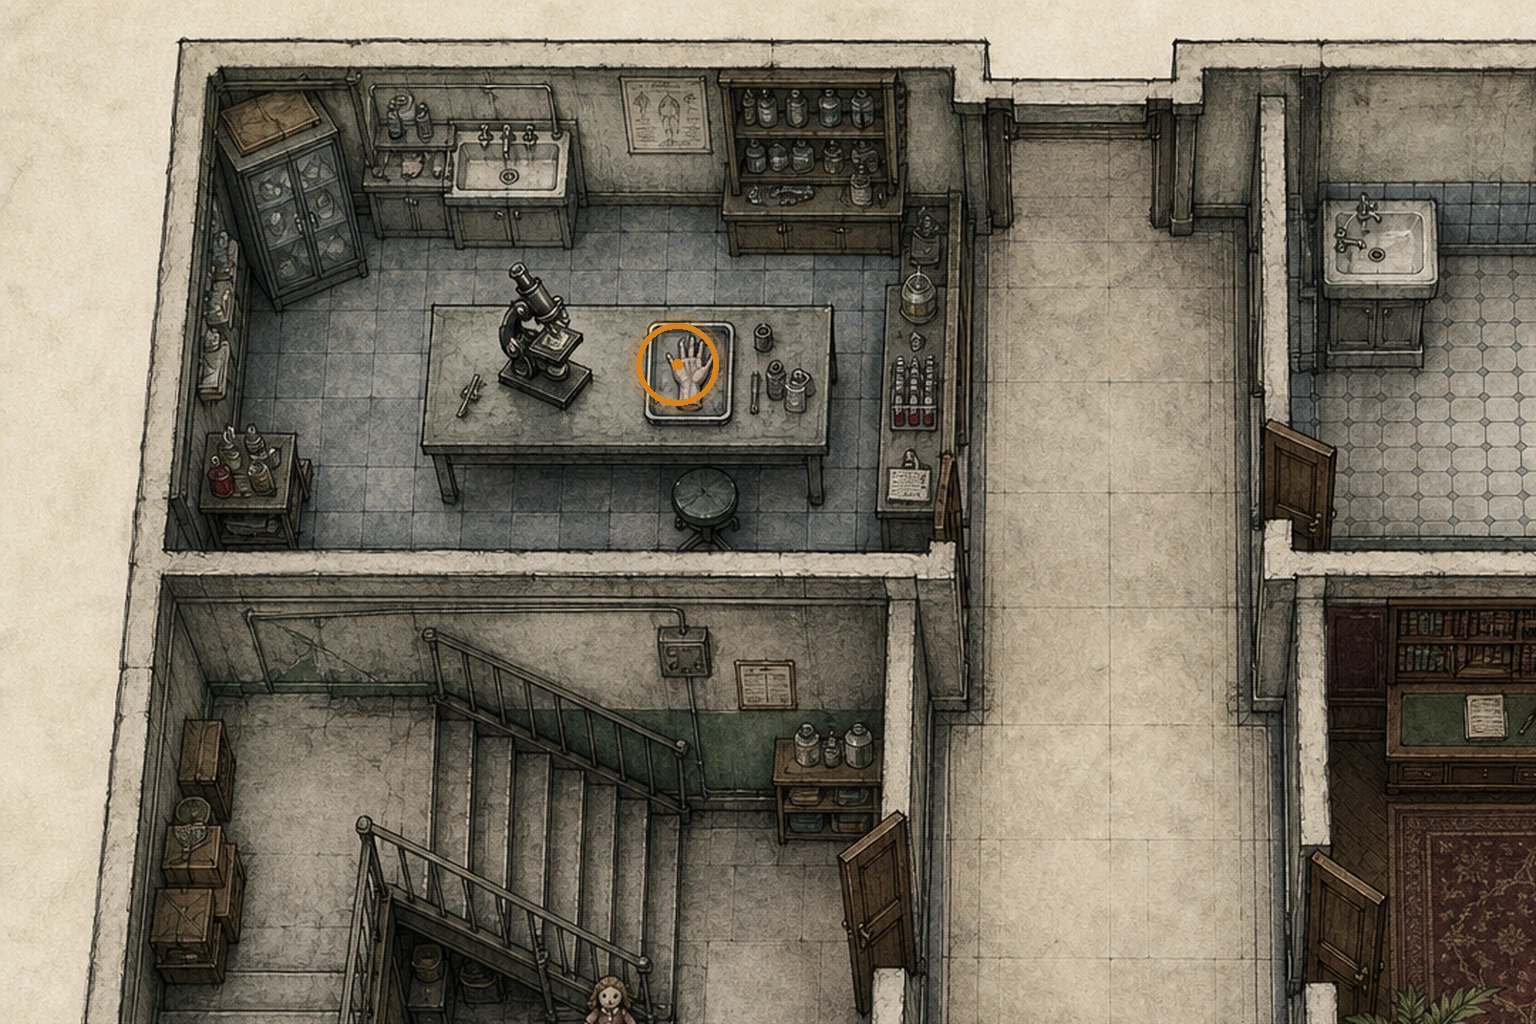
Analyze the Secret Hand Item (missable)
Secret setup step
HintAn optional object from the basement can be analyzed before leaving the main building.
WhereTake the hand-shaped item to the Blood Lab microscope and complete its 3D-model analysis before opening the large courtyard door.
Full detailReturn the hand-shaped item to the Blood Lab microscope and complete the 3D-model analysis before using the three Quartz pieces on the large door; opening that door closes the main building.
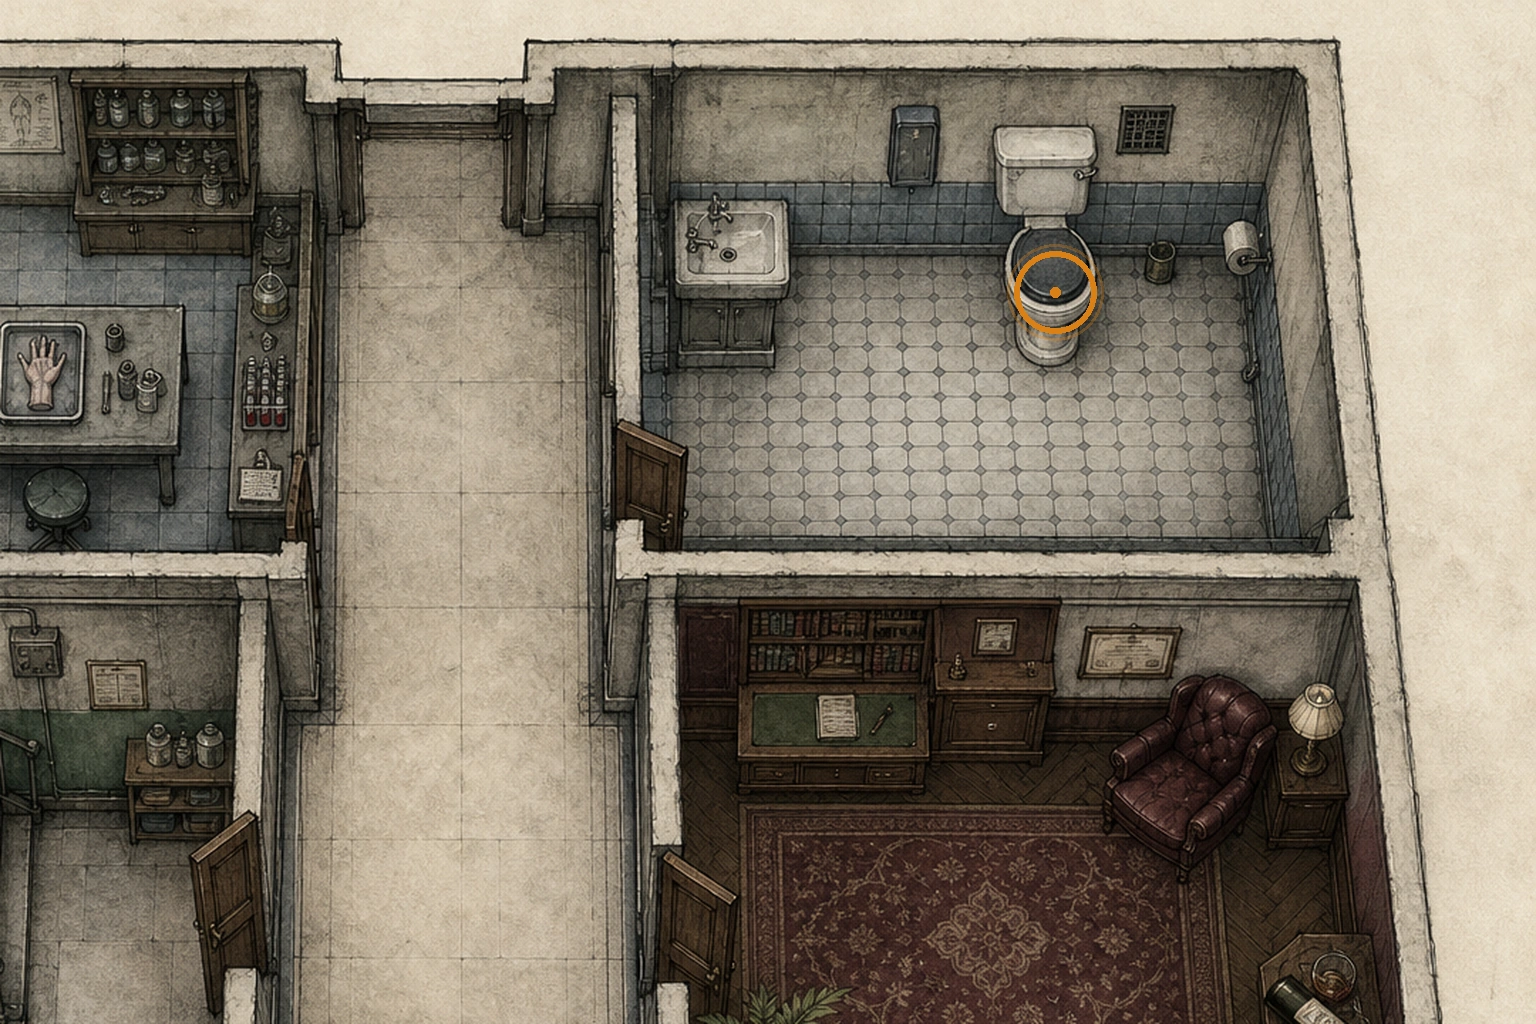
Restroom Flush Setup (missable)
Secret setup step
HintA strange optional setup step remains on the first floor before departure.
WhereAfter analyzing the hand-shaped item, interact with the first-floor restroom toilet eight times before opening the large courtyard door.
Full detailComplete the microscope analysis first, then use the interactable first-floor restroom toilet exactly eight times before opening the large door; you cannot return after passing through it.
Care Center Courtyard and Research Wing
You are here when: The open courtyard beyond the large door, connected to a VIP suite, reception desk, testing rooms, and a private lab.
Courtyard and research-wing route. Treat the key pickup near the computer as the last action.
Antique Coin #22 (missable)
Antique Coin
HintThe first courtyard space contains one last coin; sweep its furnishings.
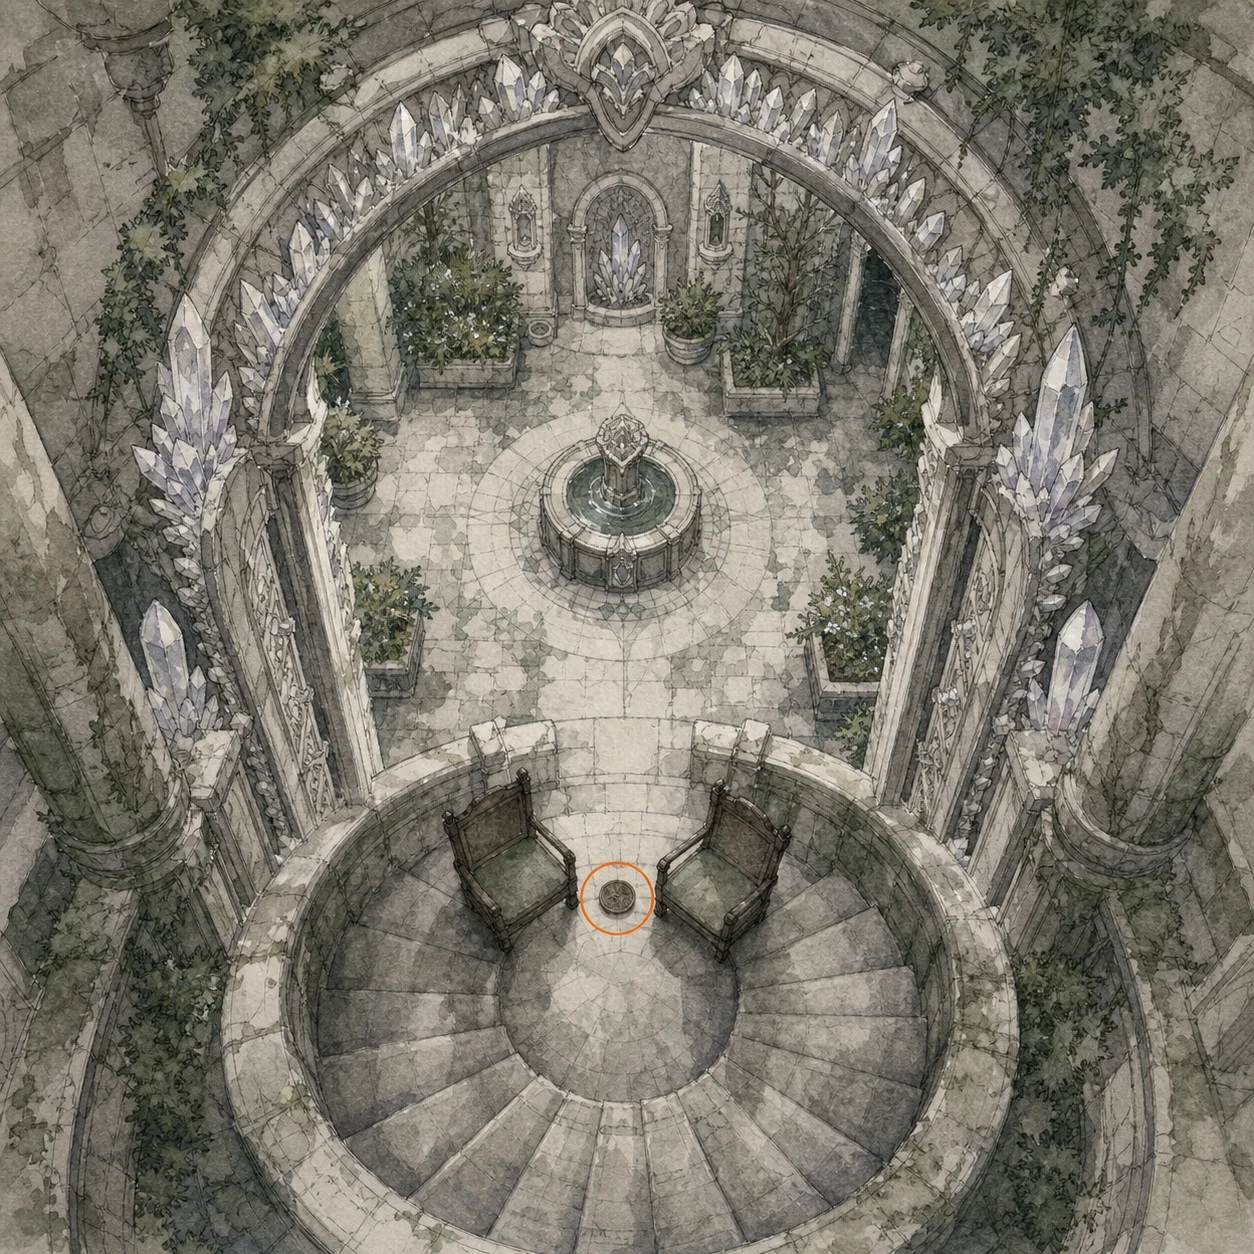
WhereAfter opening the Central Hall quartz door, descend the round staircase, turn around, and take the coin from a chair between the stairways.
Full detailDescend the round staircase beyond the quartz door, turn back toward the stairs, and collect the coin from the chair between them before activating the suite mechanism that closes the courtyard.
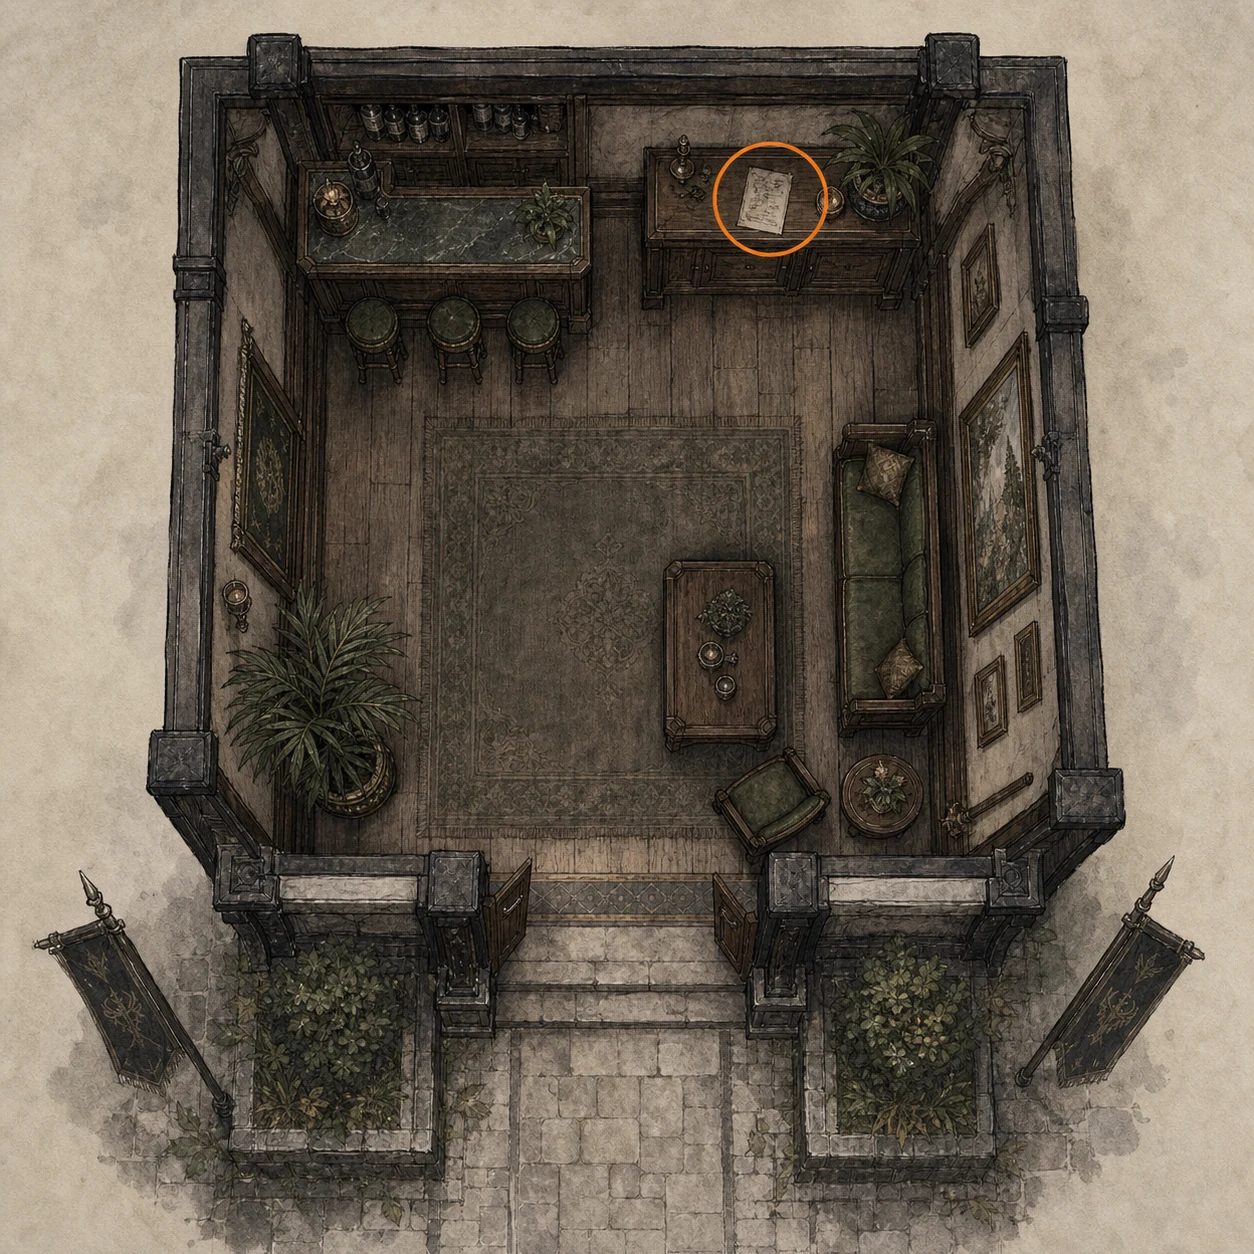
File #42 - Visitor Record (missable)
File
HintThe first building beyond the courtyard contains a record.
WhereEnter the VIP Suite building beyond the courtyard and read the Visitor Record on the wooden cupboard in the first room.
Full detailFrom the courtyard, enter the VIP Suite building and read the Visitor Record on the first room's wooden cupboard before moving deeper into the suite.
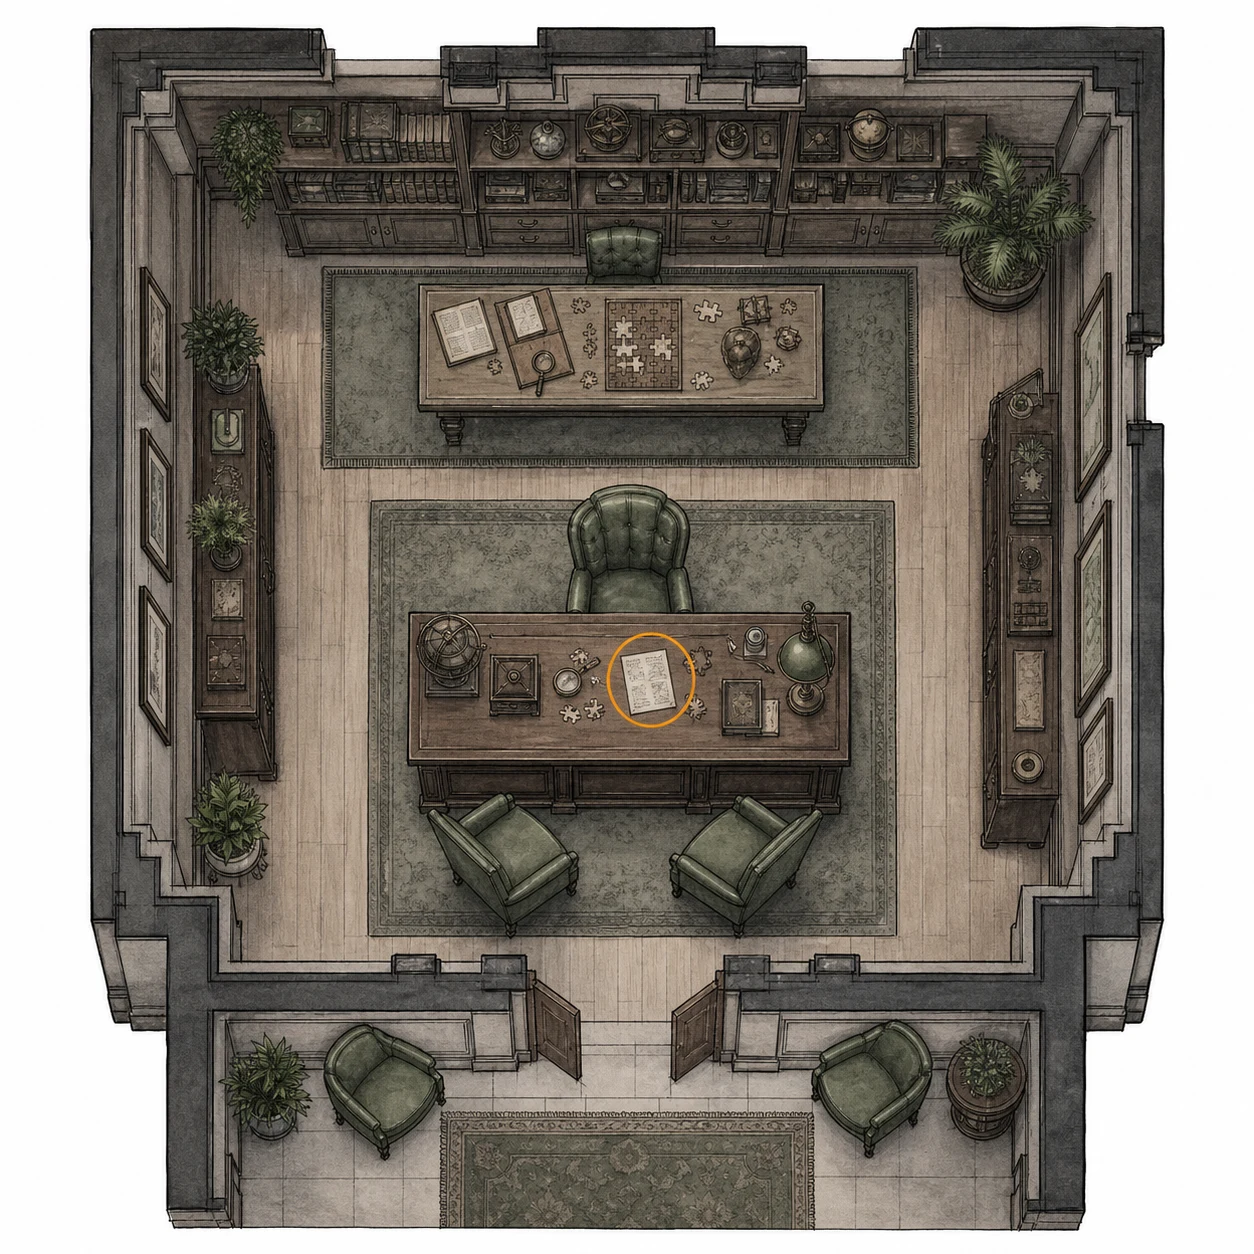
File #43 - Note Regarding Research Results (missable)
File
HintContinue searching the VIP rooms beyond the courtyard; more paperwork is nearby.
WhereIn the next room of the VIP Suite, read the Note Regarding Research Results on the main desk.
Full detailContinue into the next VIP Suite room and read the Note Regarding Research Results on the main desk before handling the nearby puzzle objects.
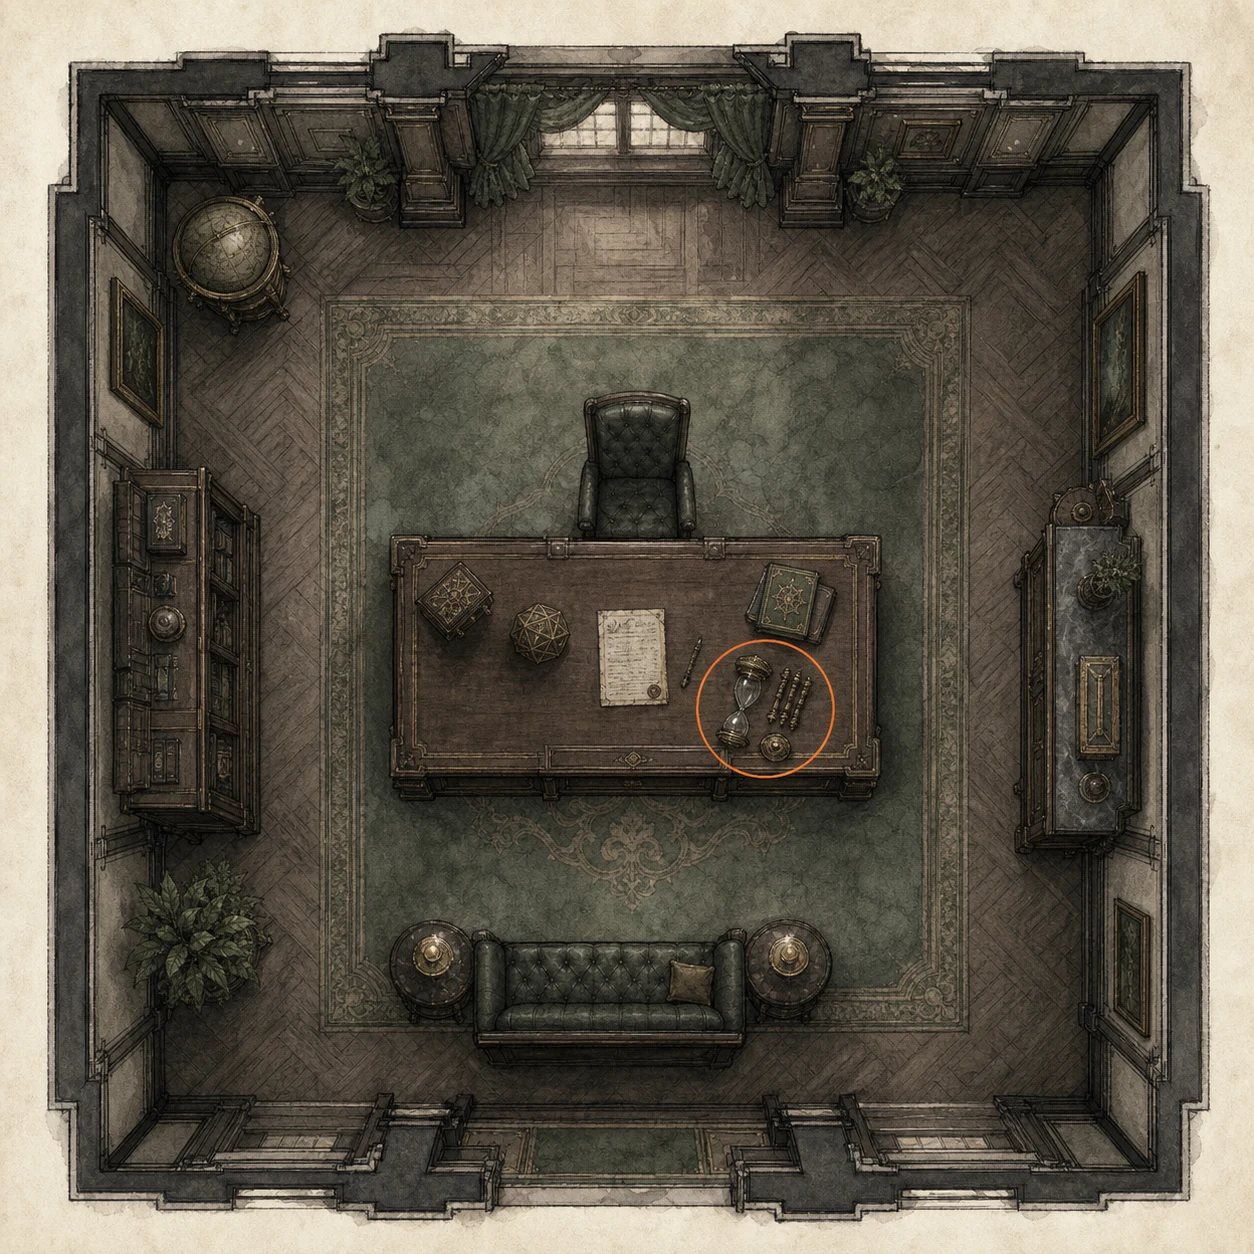
Hourglass (missable)
Key item
HintAn ornamental object on the VIP route can be dismantled and examined.
WhereOn the main desk in the VIP Suite, pick up and inspect the Hourglass.
Full detailTake the Hourglass from the main VIP Suite desk, inspect both sides to loosen its screws and remove the glass, let the sand run out, then rotate it to reveal "U = 380,000"; this value is not used for the suite's actual puzzle.
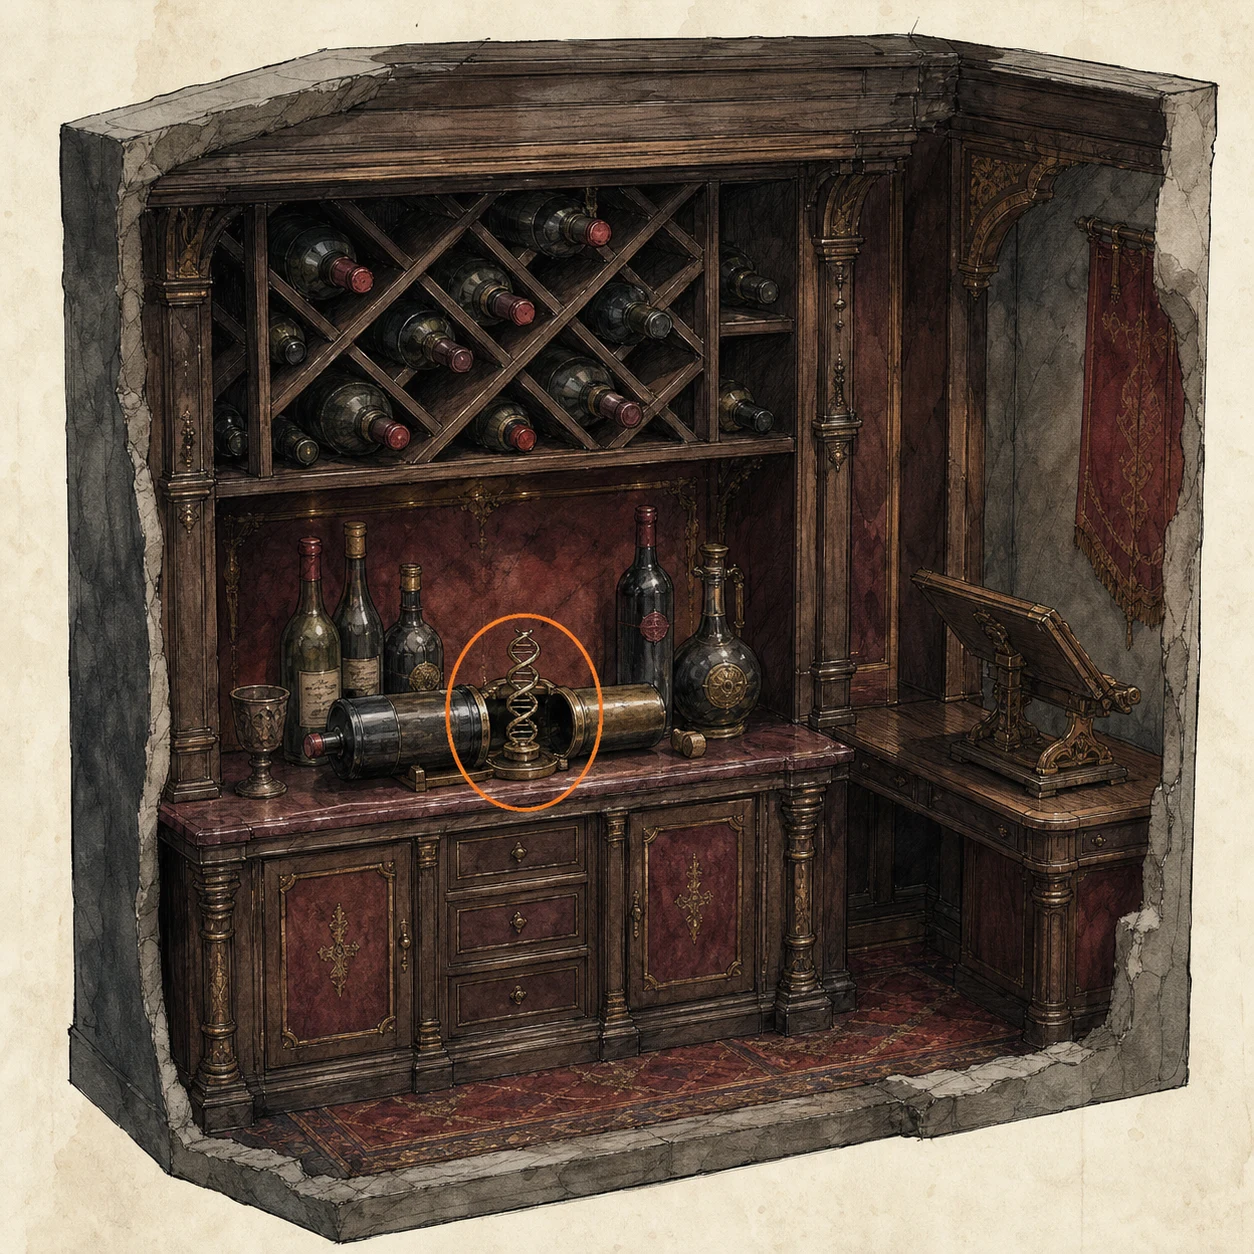
Double Helix Model (missable)
Key item
HintAnother ordinary-looking object in the VIP Suite hides a usable model.
WhereIn the VIP Suite, inspect and rotate the wine bottle to reveal the hidden Double Helix Model.
Full detailRotate the wine bottle until the hidden Double Helix Model can be removed, then insert the model into the lectern on the desk to activate the elevator.
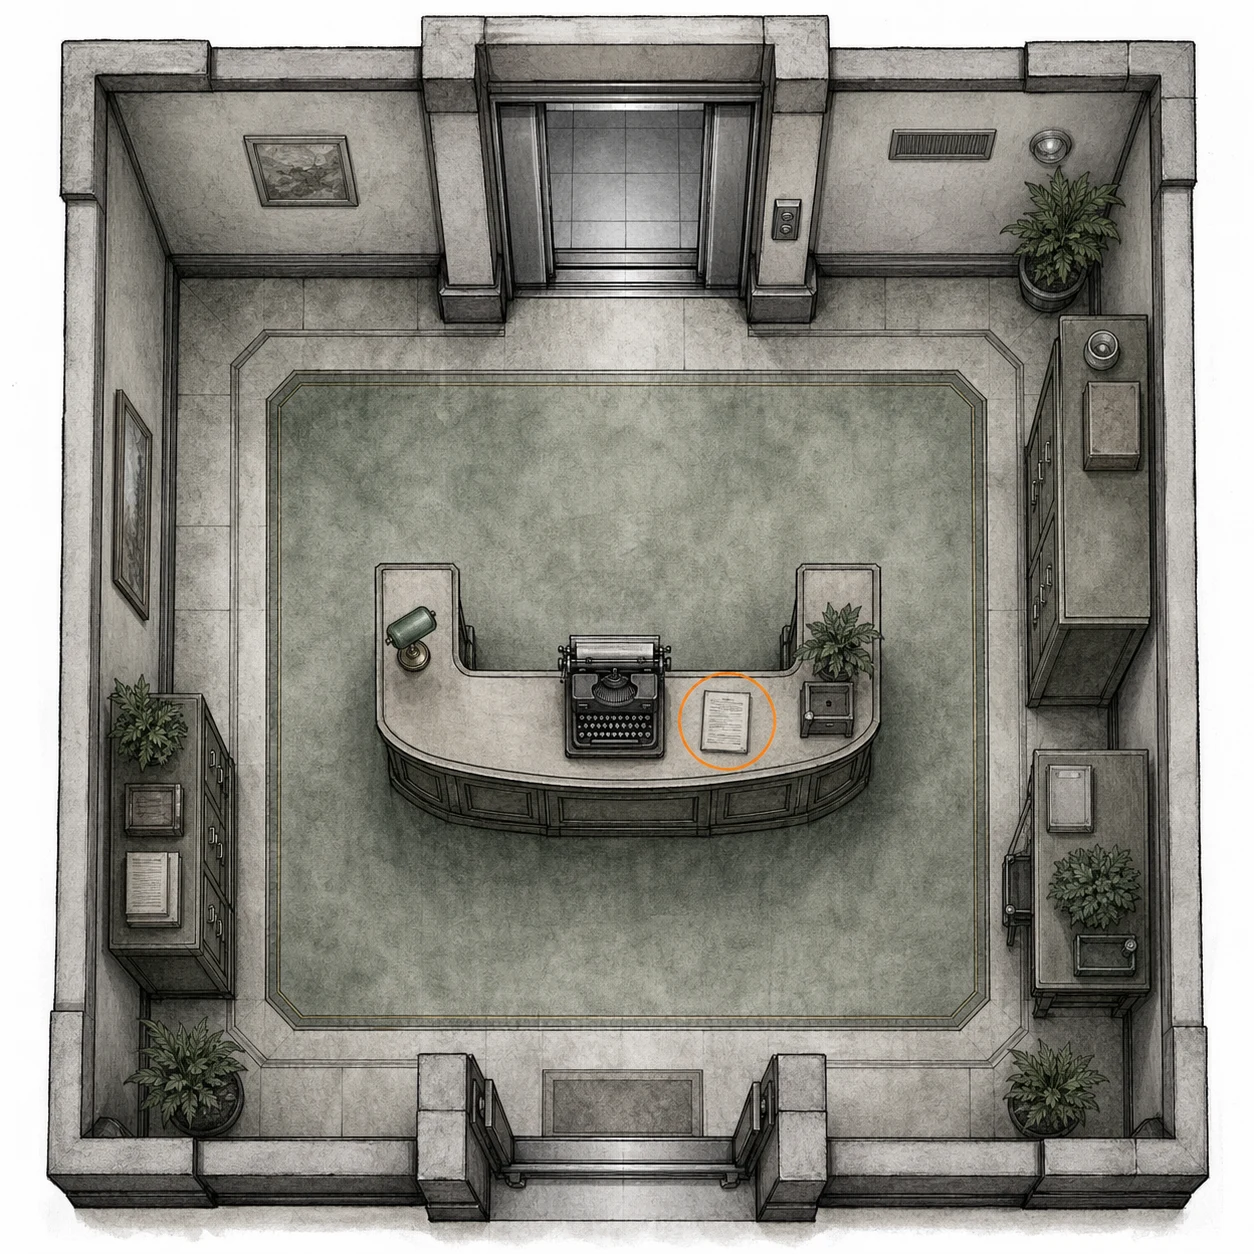
File #44 - Spencer's Research II (missable)
File
HintAfter operating the VIP Suite mechanism, sweep the next reception area.
WhereAfter activating the elevator with the Double Helix Model, read Spencer's Research II on the Reception desk beside the typewriter.
Full detailUse the Double Helix Model on the VIP Suite lectern, take the elevator to Reception, and read Spencer's Research II on the desk beside the typewriter.
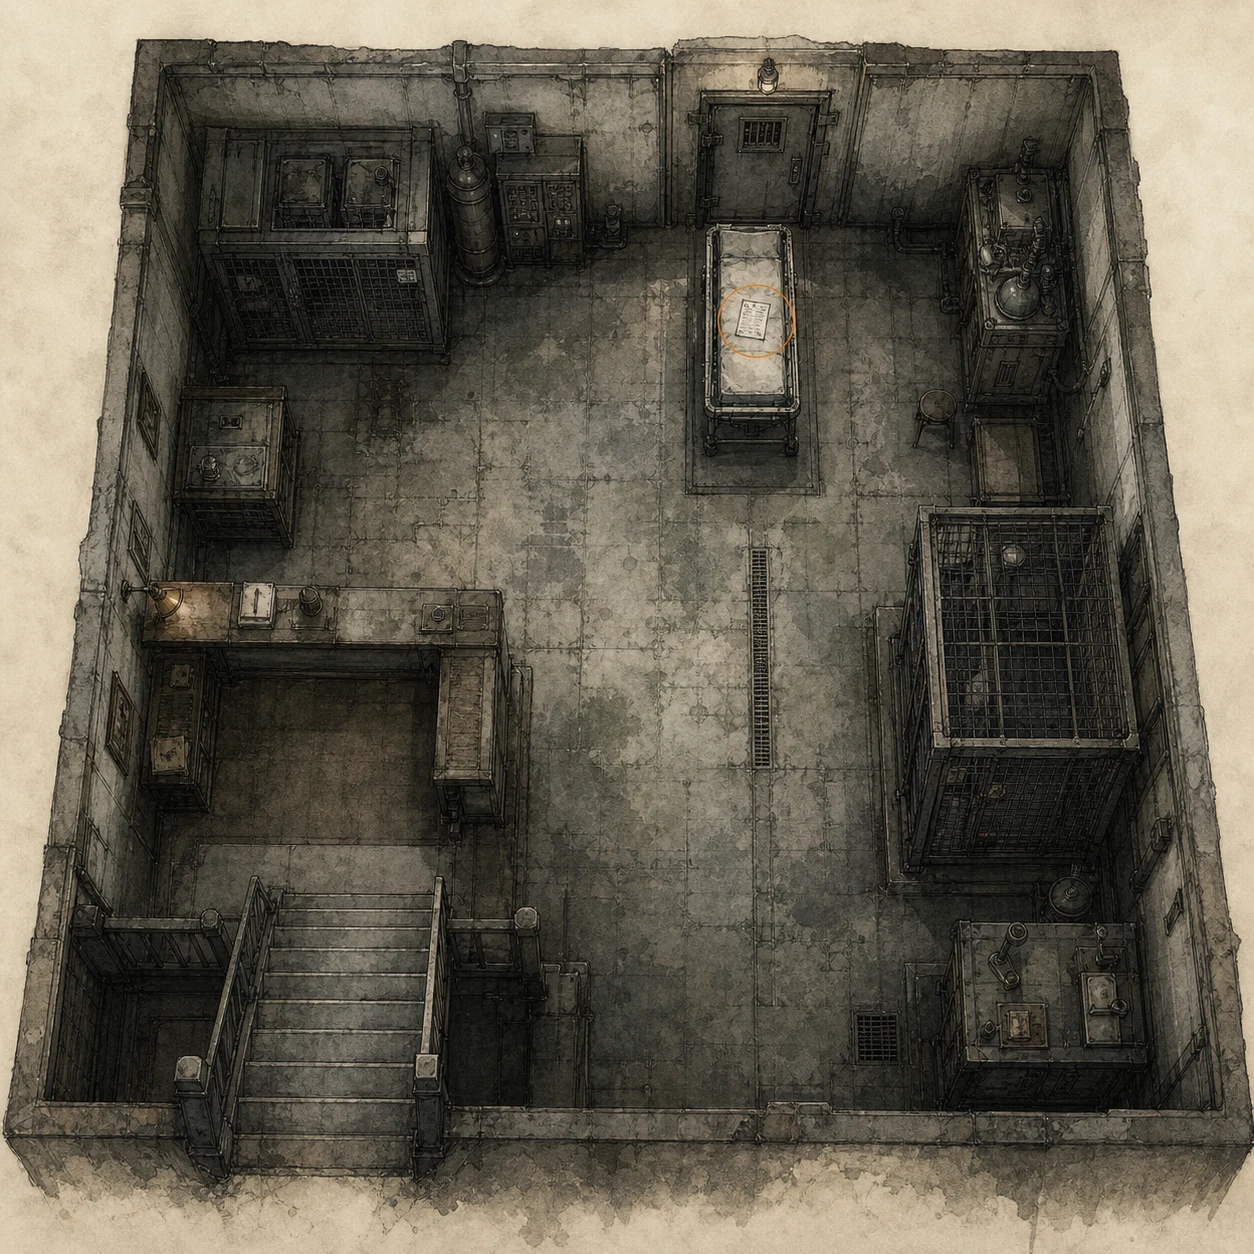
File #45 - Subject 170 Record (missable)
File
HintThe lower testing route contains a record before its exit.
WhereFrom the Reception typewriter, go downstairs through Collection & Testing and read the Subject 170 Record on a stretcher near the exit.
Full detailGo downstairs from the Reception typewriter, follow Collection & Testing toward its exit, and read the Subject 170 Record from the stretcher before leaving the room.
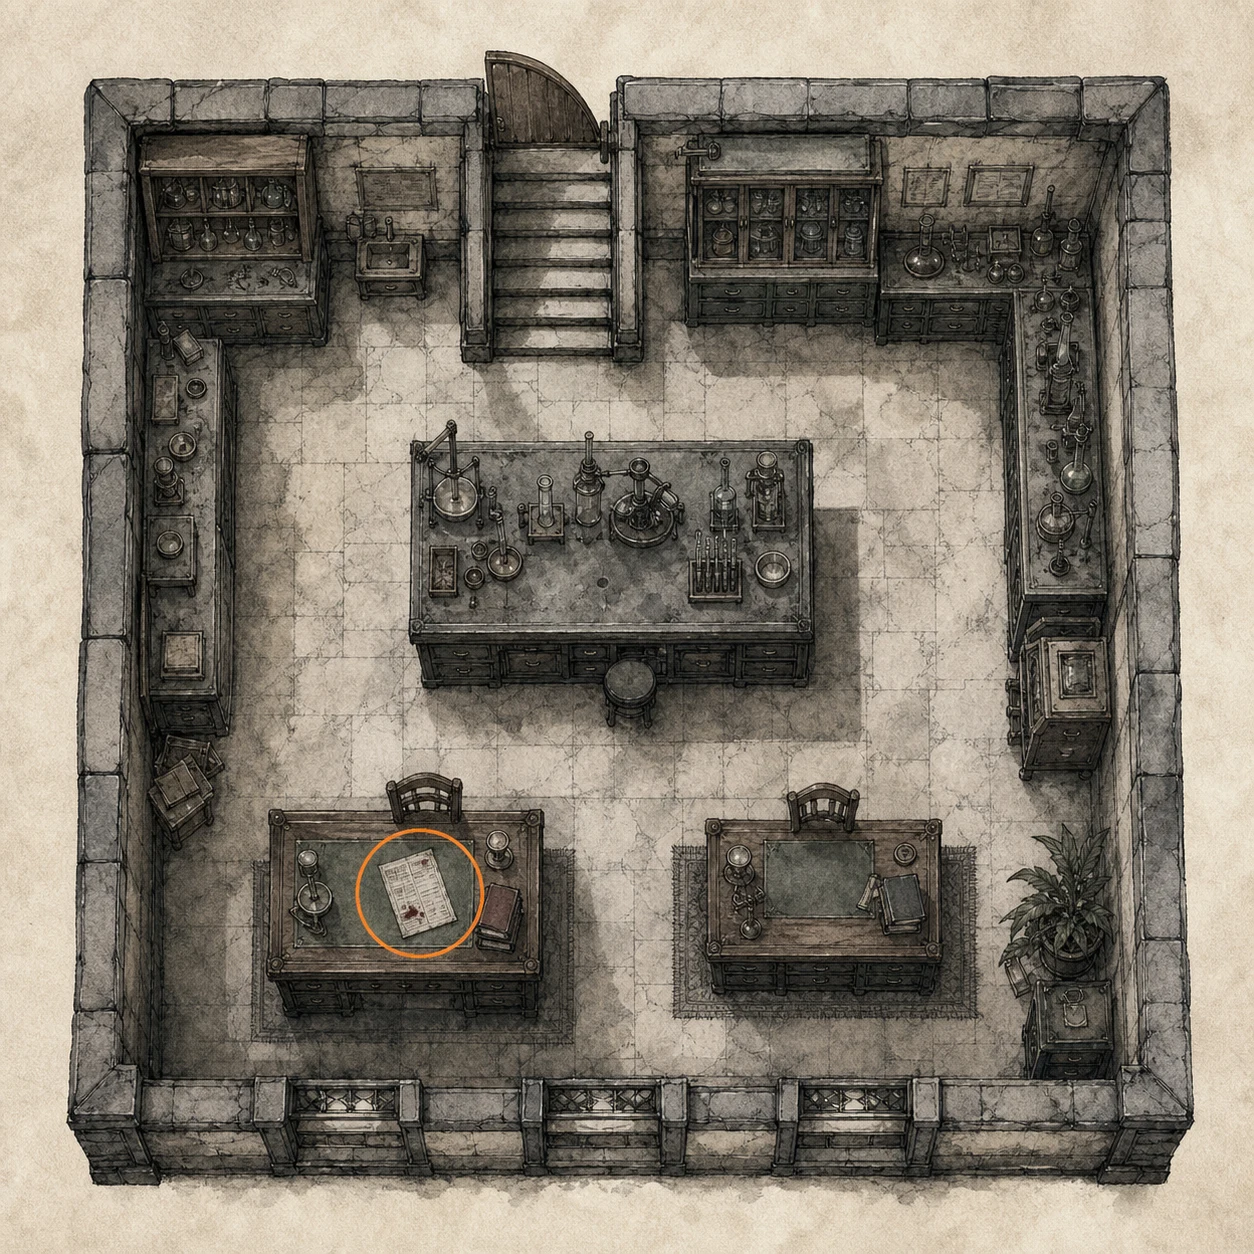
File #46 - Grace Ashcroft Blood Analysis Report (missable)
File
HintLate in the research-wing sweep, check the upstairs work areas before moving on.
WhereIn the Private Lab, go upstairs from the previous file, pass through the next door, and read the report on the desk.
Full detailFrom the previous file, climb the stairs and enter through the next door, then interact with the report on the desk and make sure it registers before leaving the Private Lab.
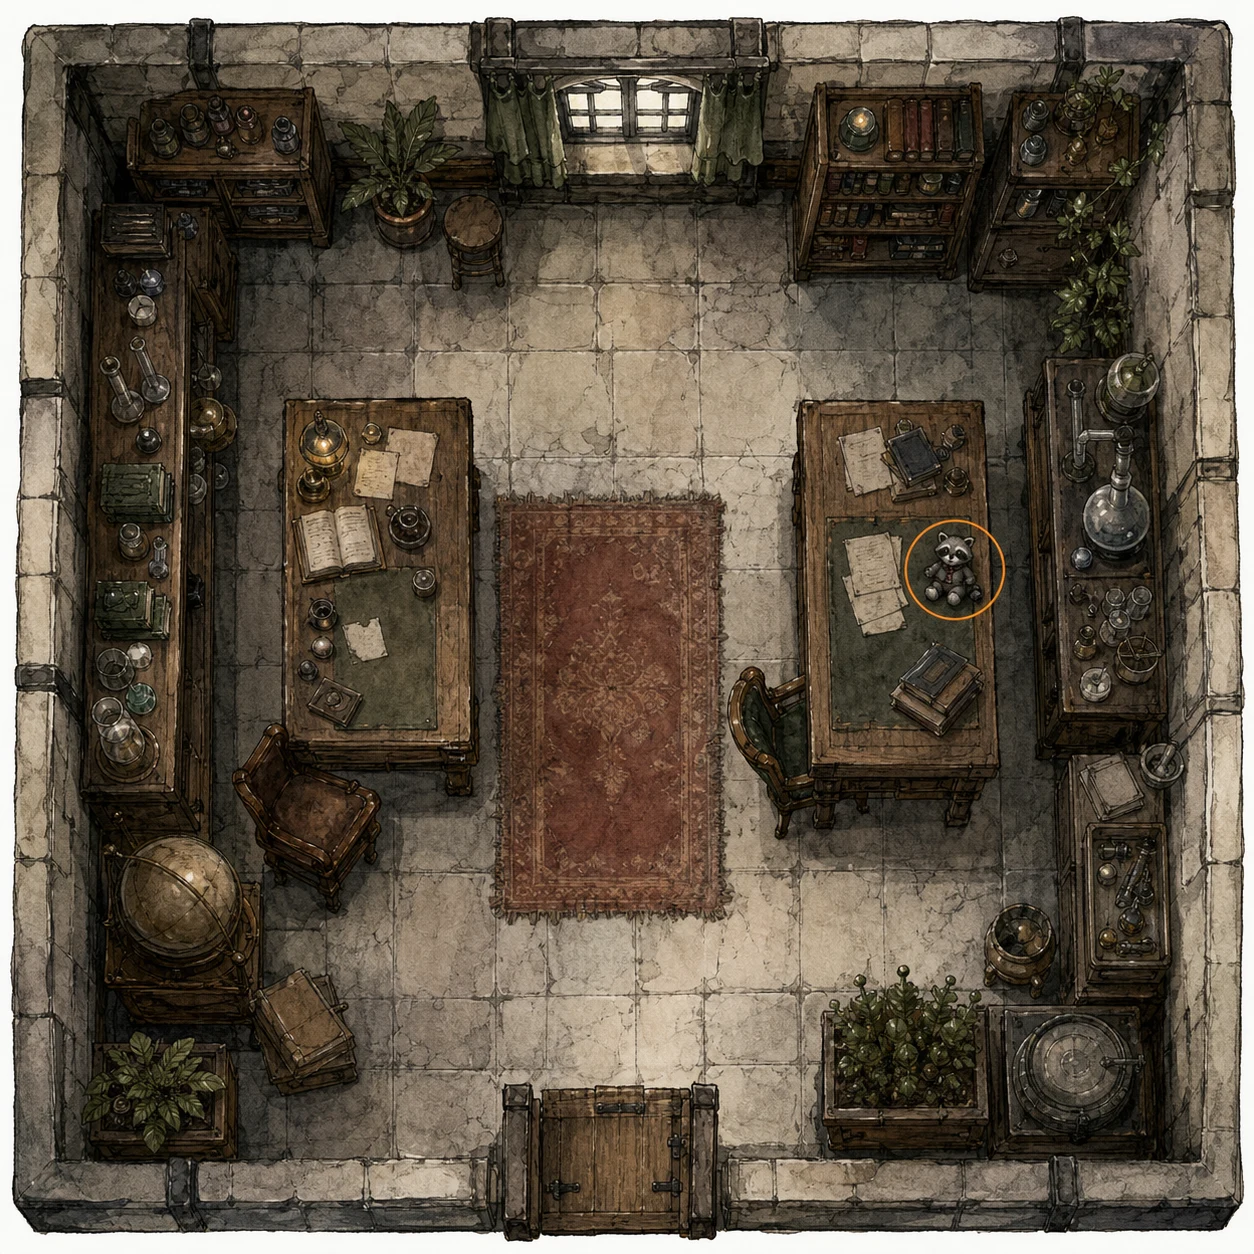
Mr. Raccoon #9 (missable)
Mr. Raccoon figure
HintThe research wing has another breakable figure near its workstations; listen and scan carefully.
WhereIn the Private Lab, find the figure on a different desk from File #46.
Full detailWhile still in the Private Lab, check the other desk, then shoot or strike the Mr. Raccoon until it breaks and registers.
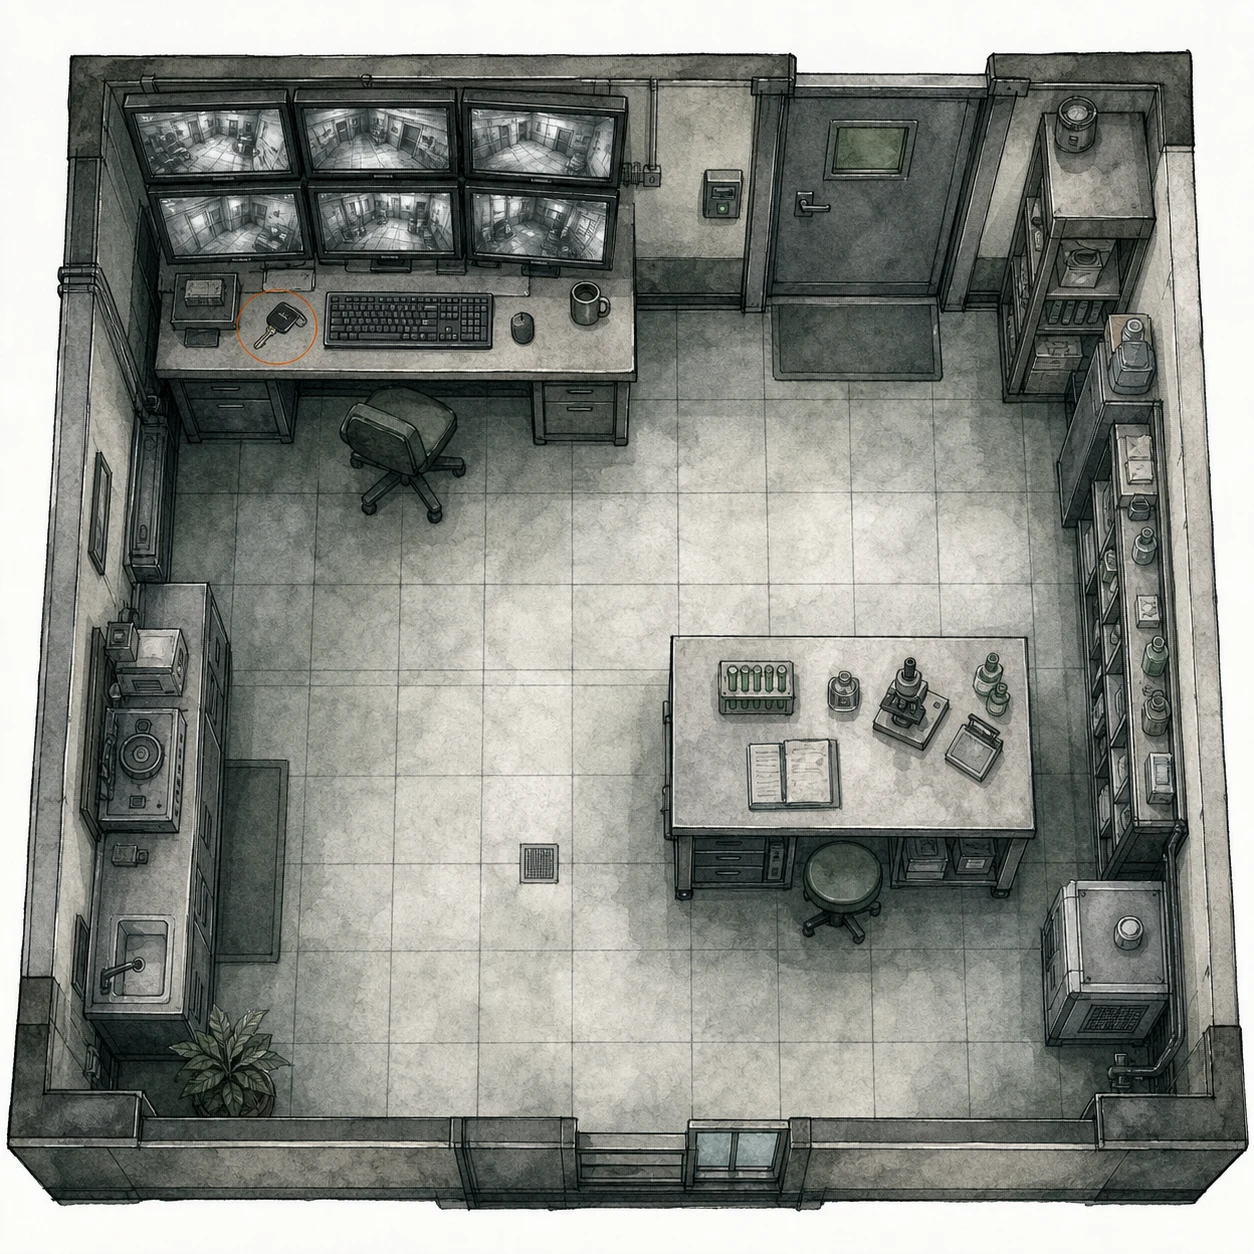
Helicopter Key (missable)
Key item
HintBefore leaving the research wing, check its equipment stations for a useful key.
WhereIn the Private Lab, take the Helicopter Key from the CCTV desk.
Full detailAfter entering the Private Lab, move to the CCTV desk and collect the Helicopter Key directly from its surface before leaving the room.
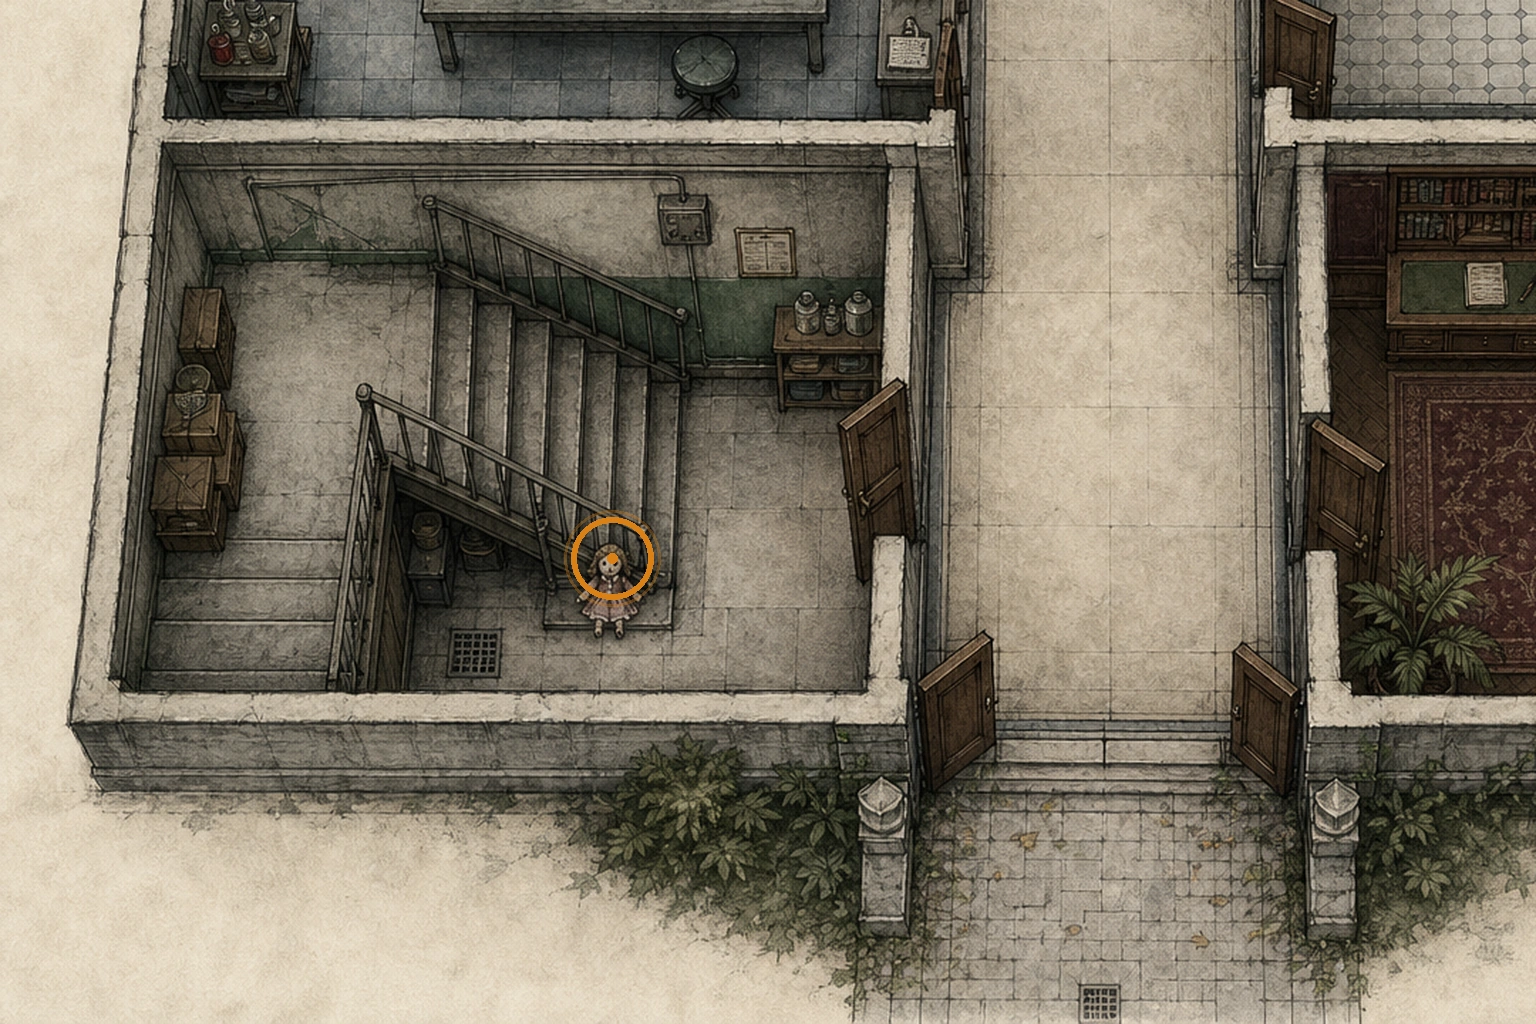
Marie's Doll (missable)
Secret key item
HintEarlier optional setup can make a secret item available during a later return through the research wing.
WhereIf you completed the basement machinery and main-building setup, take the doll from the bottom of the stairs in Collection & Testing during the return through the research wing.
Full detailThe doll appears at the bottom of the Collection & Testing stairs only if both the basement machinery and main-building setup were completed; pick it up during the return route and store it in the item box before finishing the run.
Chateau Wine-Label Reference (missable)
Secret or Easter egg
HintInspect the VIP Suite's bottle before using what it conceals.
WhereRotate the wine bottle in the VIP Suite and read its label.
Full detailExamine every side of the VIP Suite bottle before removing the concealed model. Its Chateau Dimitrescu label refers to the village estate from an earlier game.
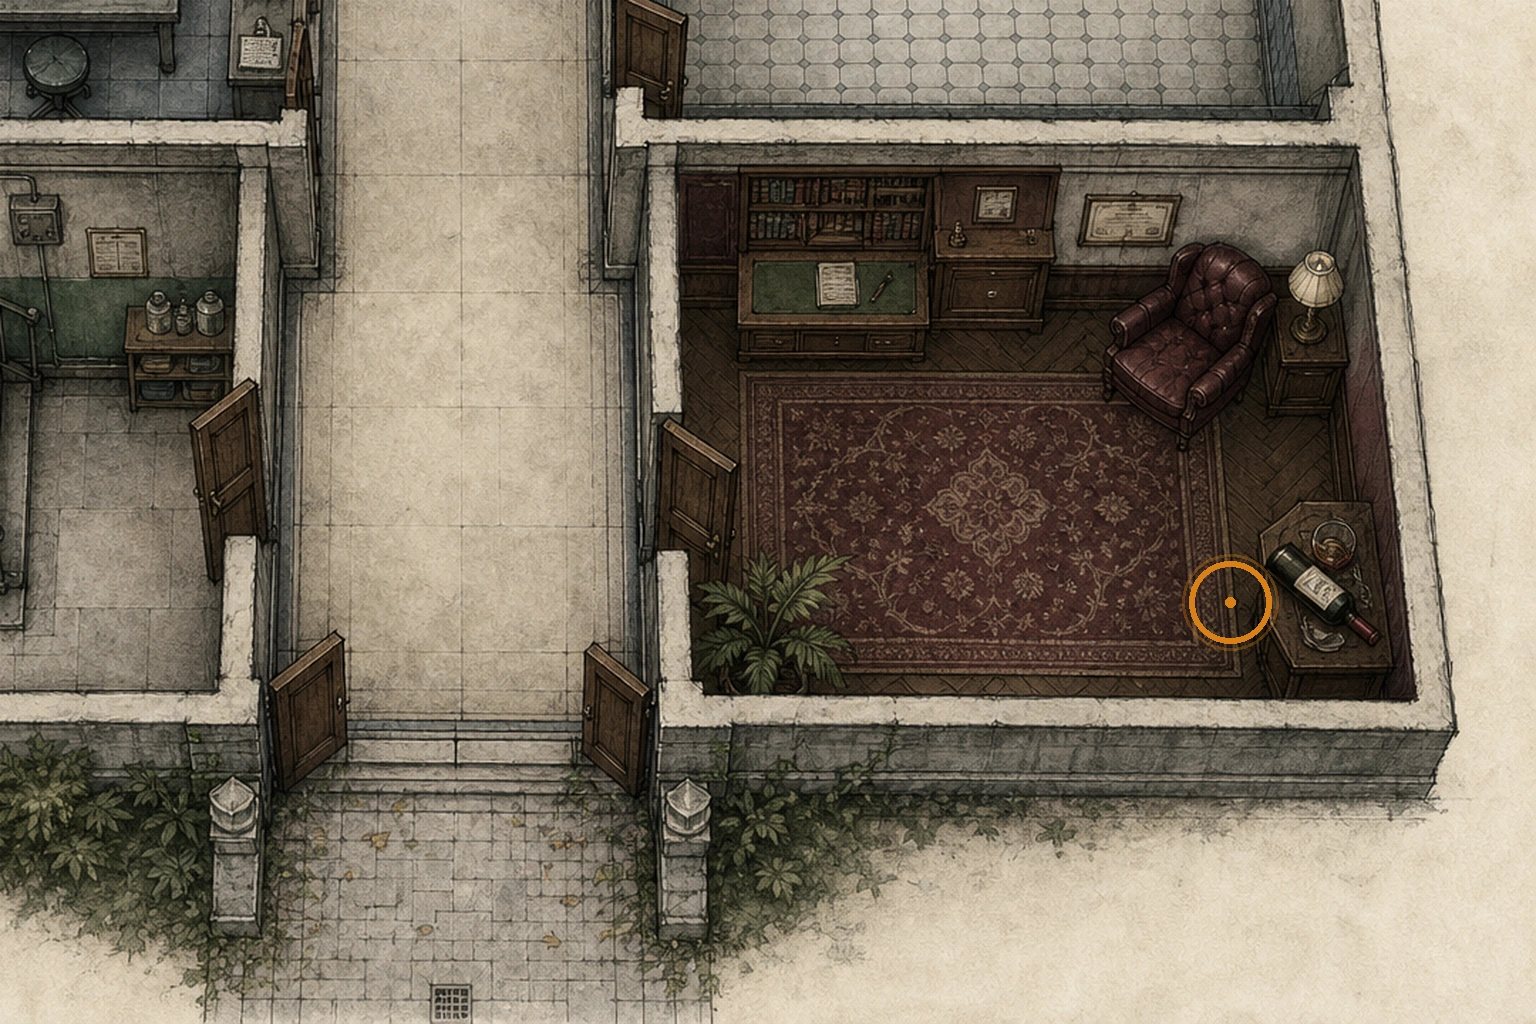
Care Center Rooftop and Church
You are here when: A rooftop path with a distant garden view, followed by a church interior.
Short no-manual-save section. Use the prior backup if the visible/distant pickup is missed.
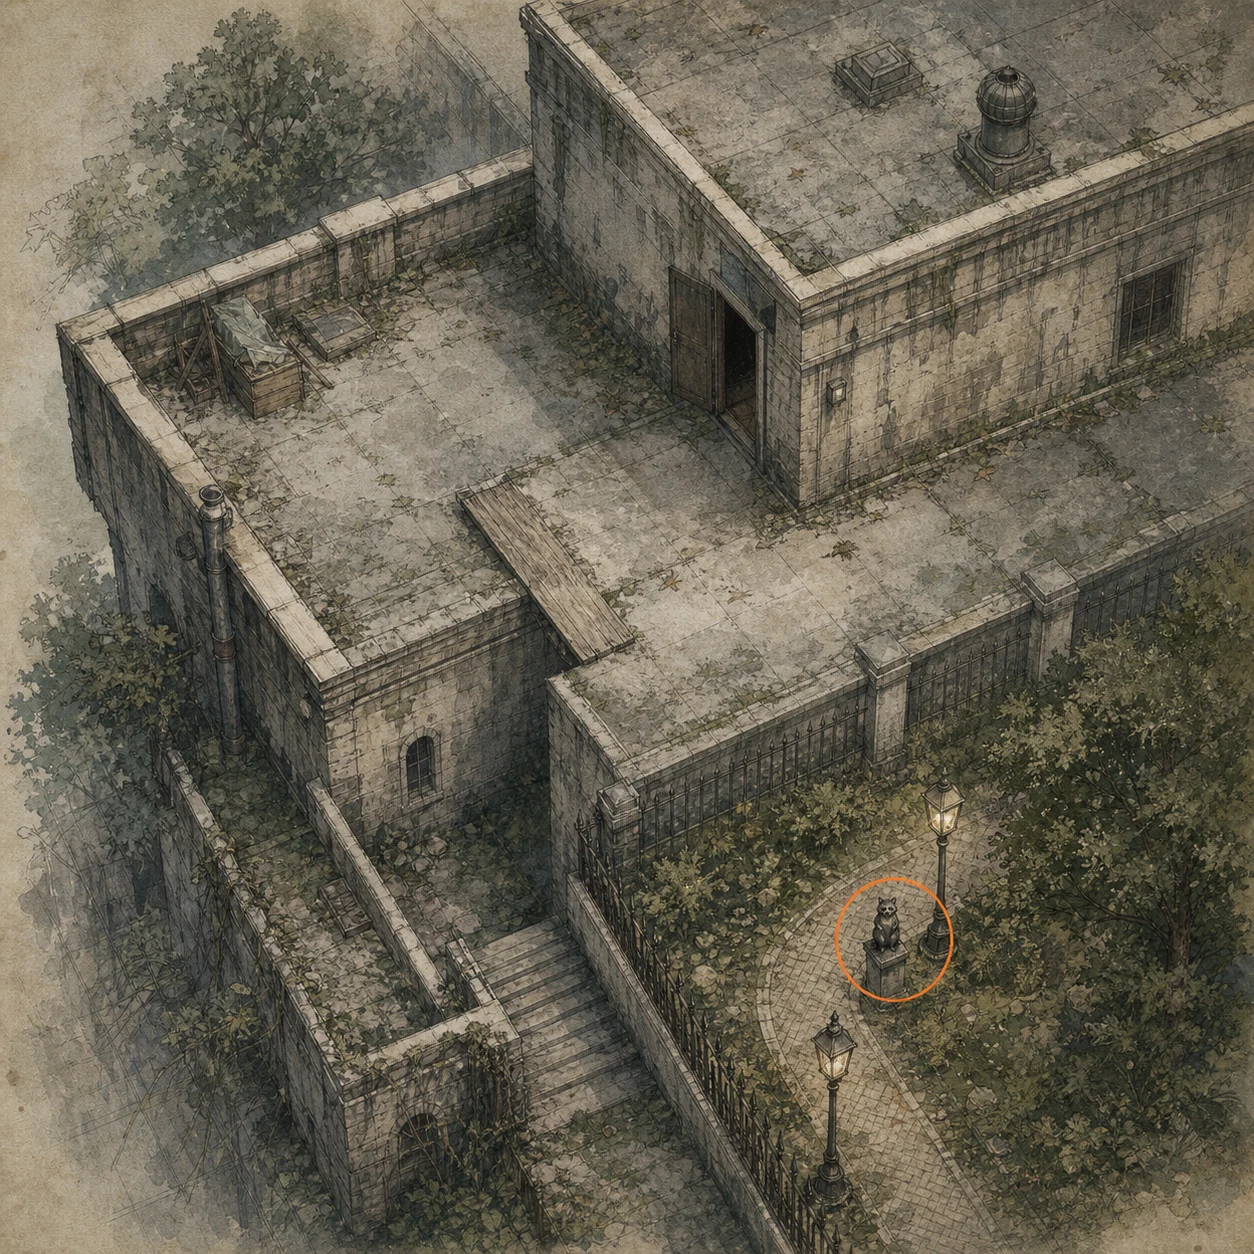
Mr. Raccoon #10 (missable)
Mr. Raccoon figure
HintBefore entering the next rooftop doorway, scan the distant garden fixtures from high ground.
WhereAt the rooftop staircase before the wooden door, face the garden and look through the gap between the stairs and metal fence toward the pedestal beneath the second lit lamp.
Full detailClimb through the opening at the start of the rooftop, cross the roof, drop down on the left, and climb to the top of the staircase without using the wooden door; turn left, aim slightly downward through the gap between the staircase and metal fence, and use the scoped Classic 70 to shoot the Mr. Raccoon on the pedestal beneath the second garden light.
Water Treatment Plant
You are here when: An industrial plant with a storage bay, filing room, control room, lower power switches, and a roof-hatch control panel.
Industrial utility section. Clear the safe room and filing shelves before powering through the hatch objective.
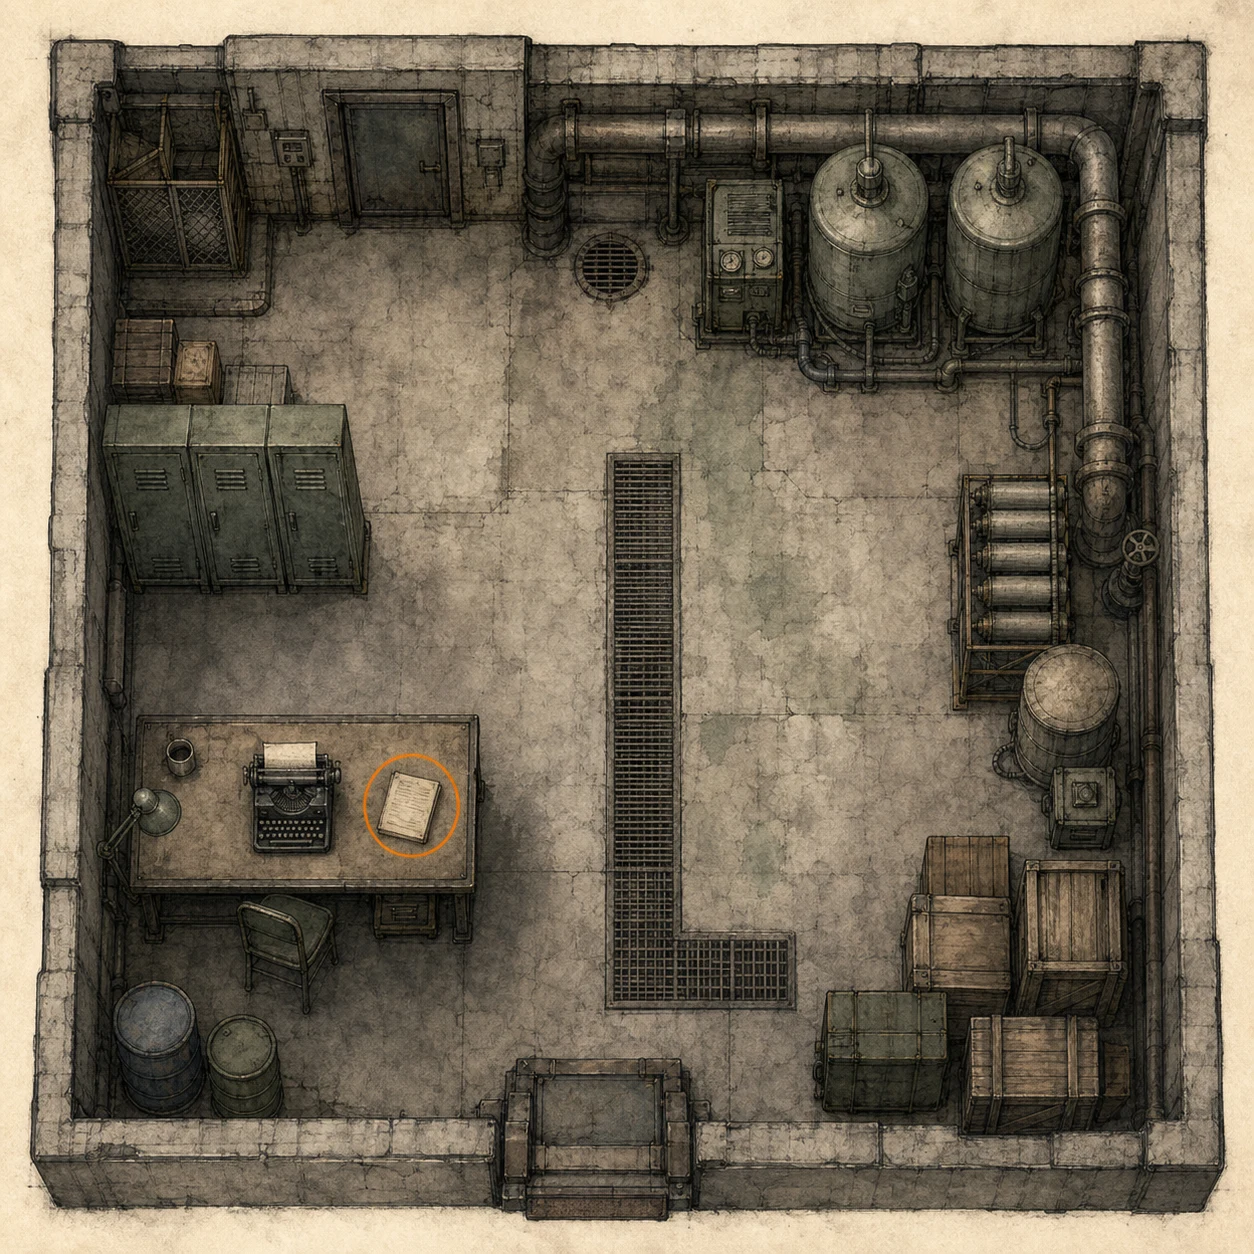
File #47 - Roof Hatch Manual (missable)
File
HintEarly in this facility, pause in the first safe room and search it thoroughly.
WhereIn the Storage Bay safe room, read the Roof Hatch Manual beside the typewriter.
Full detailFollow the opening route into the Storage Bay until you reach the typewriter safe room, then interact with the Roof Hatch Manual beside the typewriter and make sure the file registers before leaving.
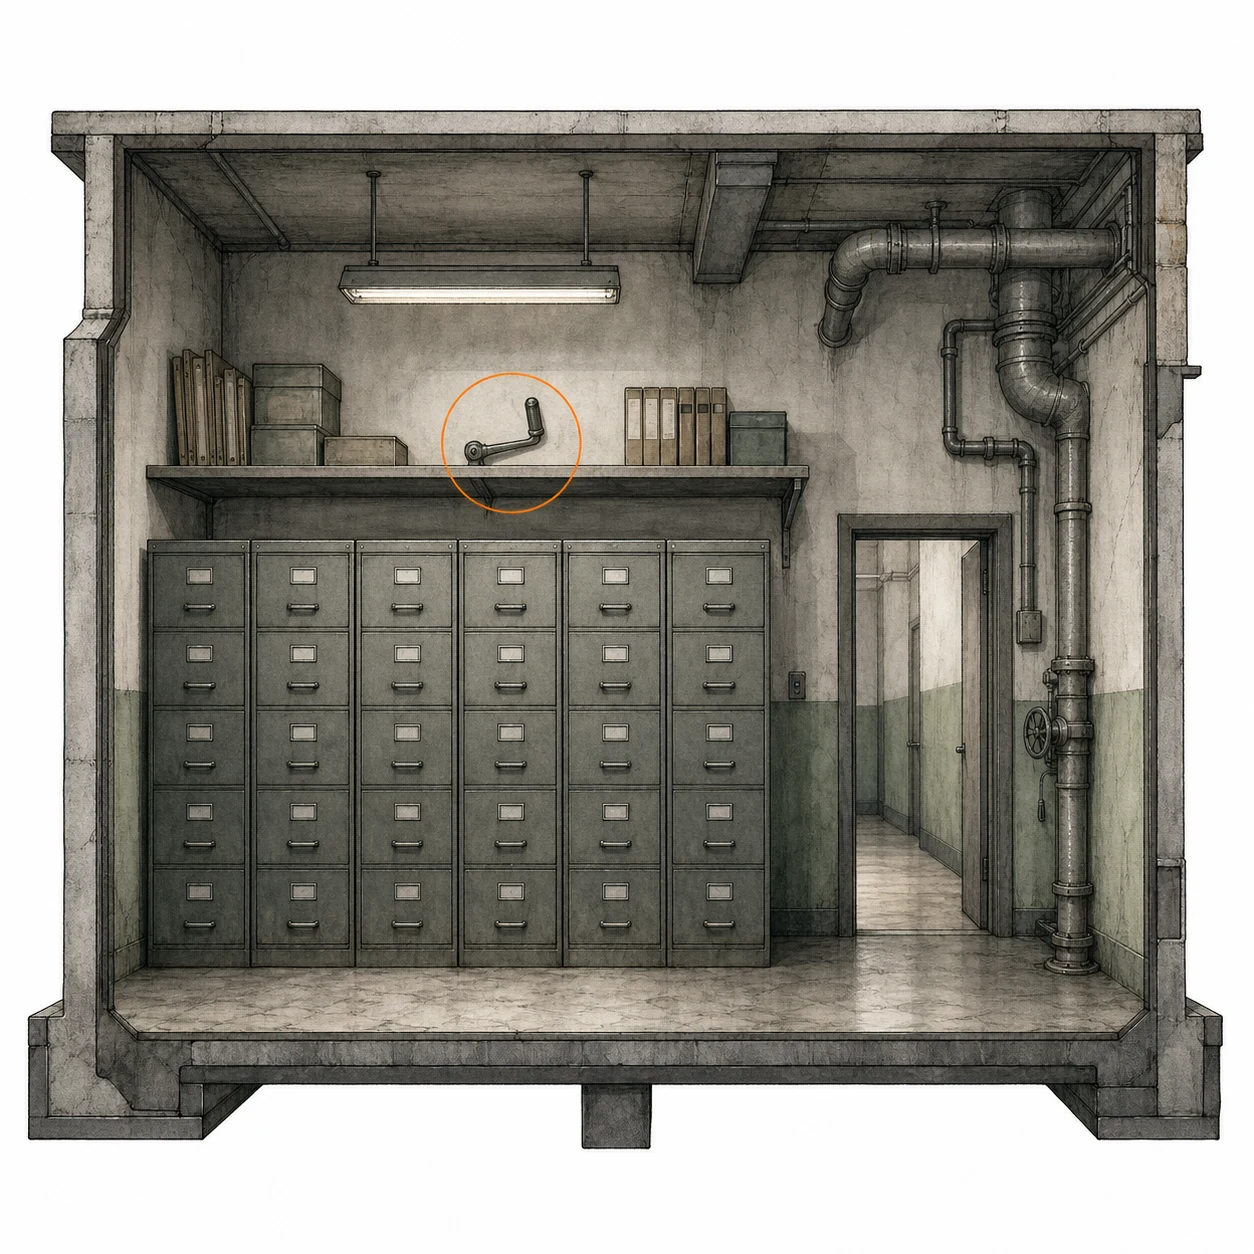
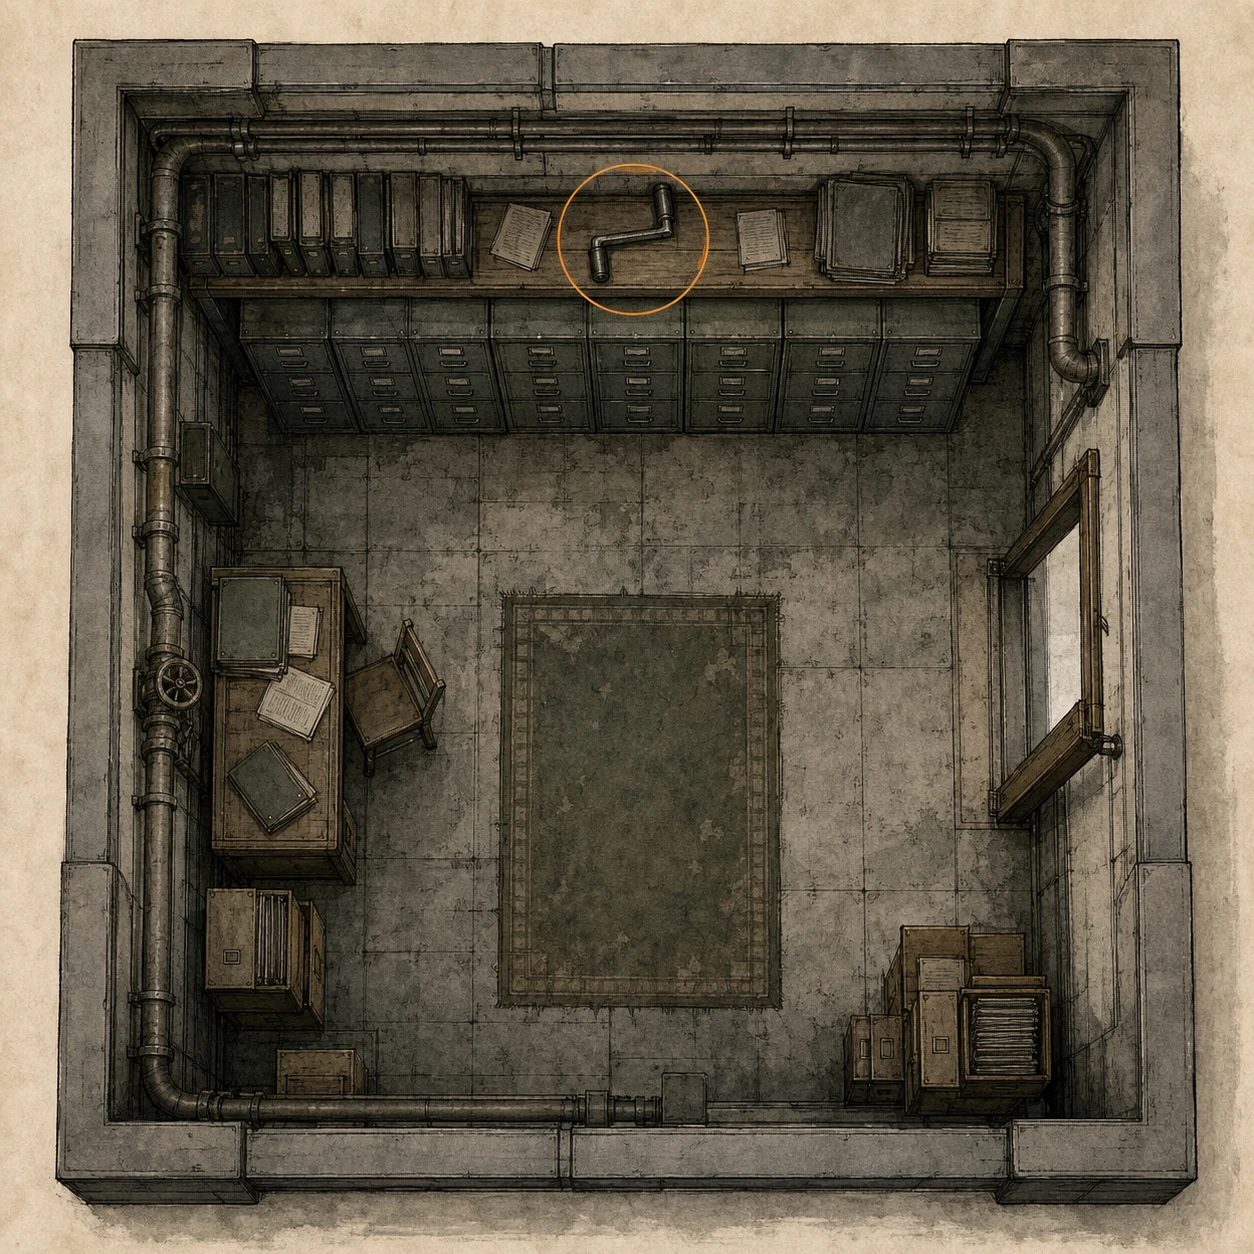
Crank Lever (missable)
Key item
HintA power-restoration tool is tucked into one of the facility's storage rooms.
WhereIn the Filing Room, take the Crank Lever from the shelf.
Full detailCollect the Crank Lever from the Filing Room shelf, keep it in your inventory, and insert it into the mechanism in the Control Room to restore power.
Crank Lever (missable)
Key item
HintA power-restoration tool is tucked into one of the facility's storage rooms.
WhereIn the Filing Room, take the Crank Lever from the shelf.
Full detailCollect the Crank Lever from the Filing Room shelf, keep it in your inventory, and insert it into the mechanism in the Control Room to restore power.
East Raccoon City
You are here when: An open city district with a hotel revolving door, central camp, logistics warehouse, apartments, gas station, parking garage, sewage route, station path, and rooftop tower route.
Large outdoor city route with supply-box purchases, containers, letters if installed, and several distant figures.
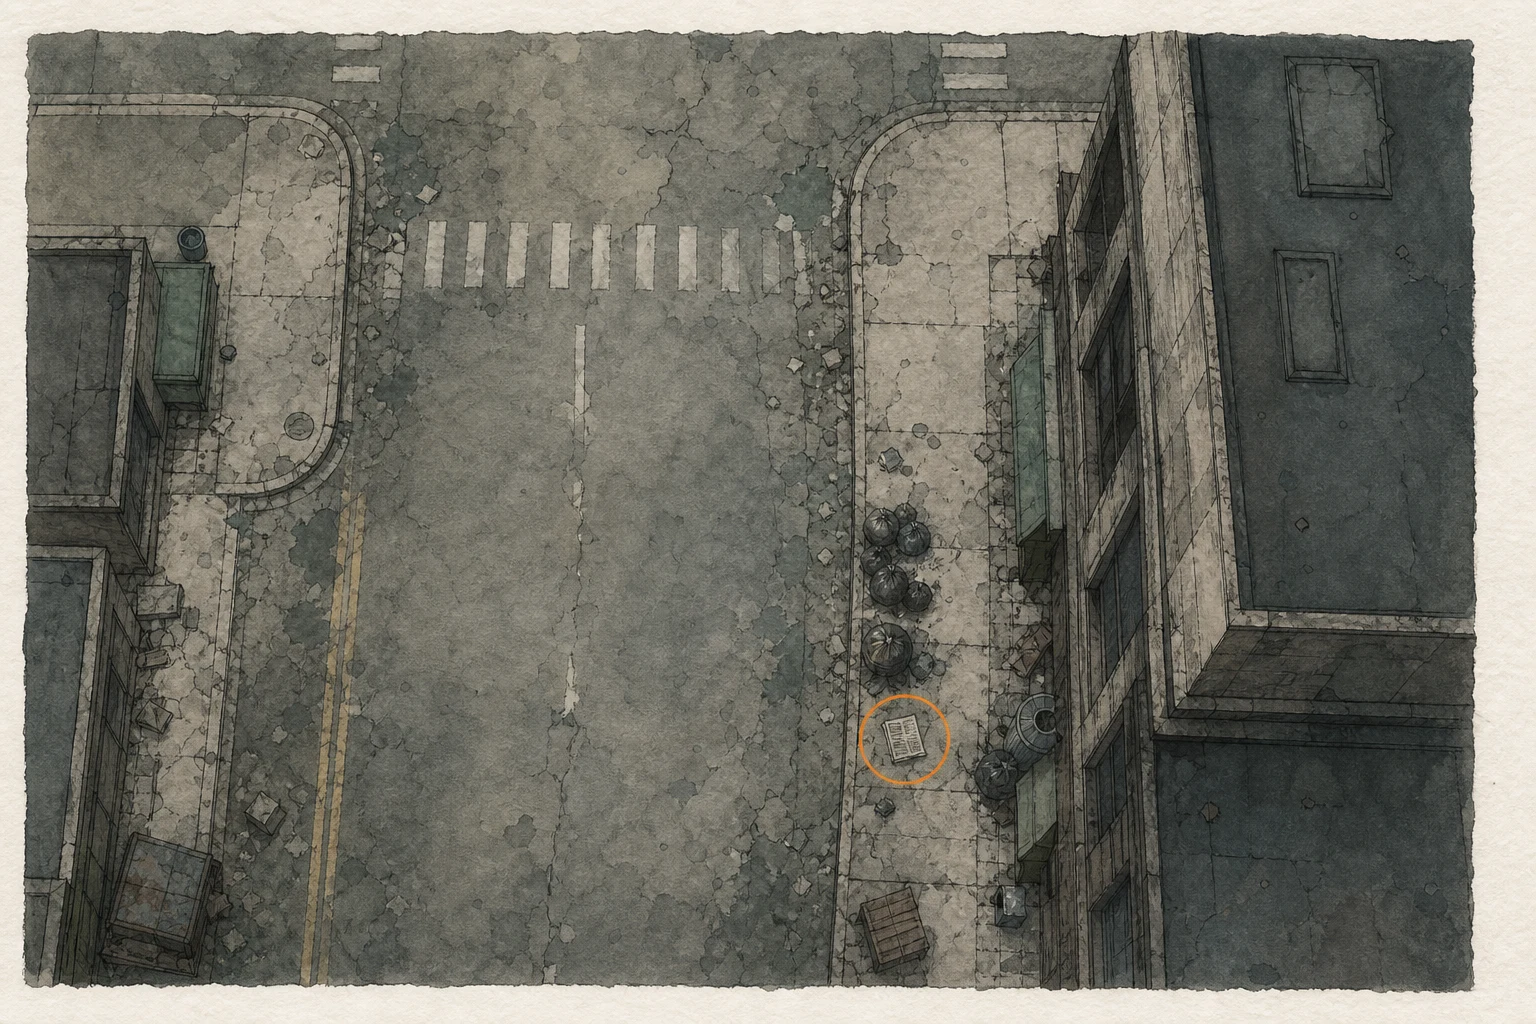
File #49 - Raccoon City Incident Newspaper (missable)
File
HintNear the opening street, inspect ground-level clutter before reaching the main junction.
WhereFrom the area's starting point, walk forward a few steps and take the newspaper from the ground on the right beside the trash bags.
Full detailBefore continuing to the first intersection, move only a few steps forward, look down beside the trash bags on the right, and interact with the newspaper so it registers as a file.
Mr. Raccoon #11 (missable)
Mr. Raccoon figure
HintAn accessible business in the early commercial block contains a hidden figure.
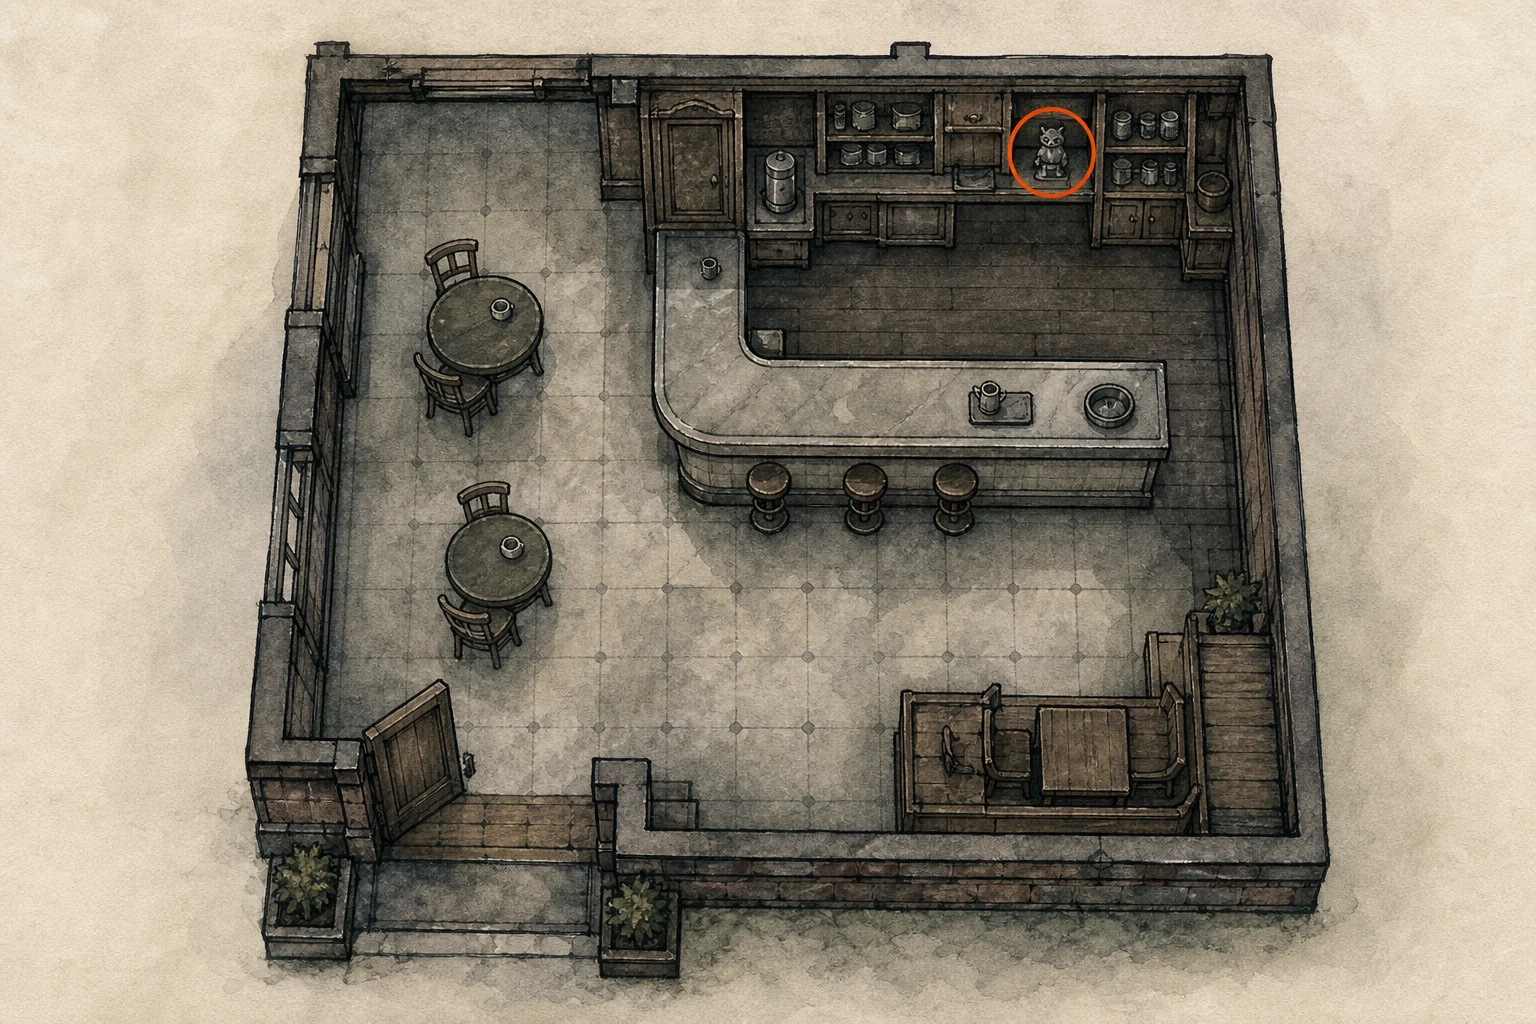
WhereAt the first intersection, turn right, enter Cafe Oasis on the left before The Applegate Hotel, and look behind the counter.
Full detailFrom the area's start, continue to the first intersection, turn right, and enter the first open business on the left, Cafe Oasis; go behind the counter and shoot or strike the Mr. Raccoon until it breaks.
File #50 - Orders for the Engineer Corps
File
HintWhen you reach the camp, search its work areas before moving beyond it.
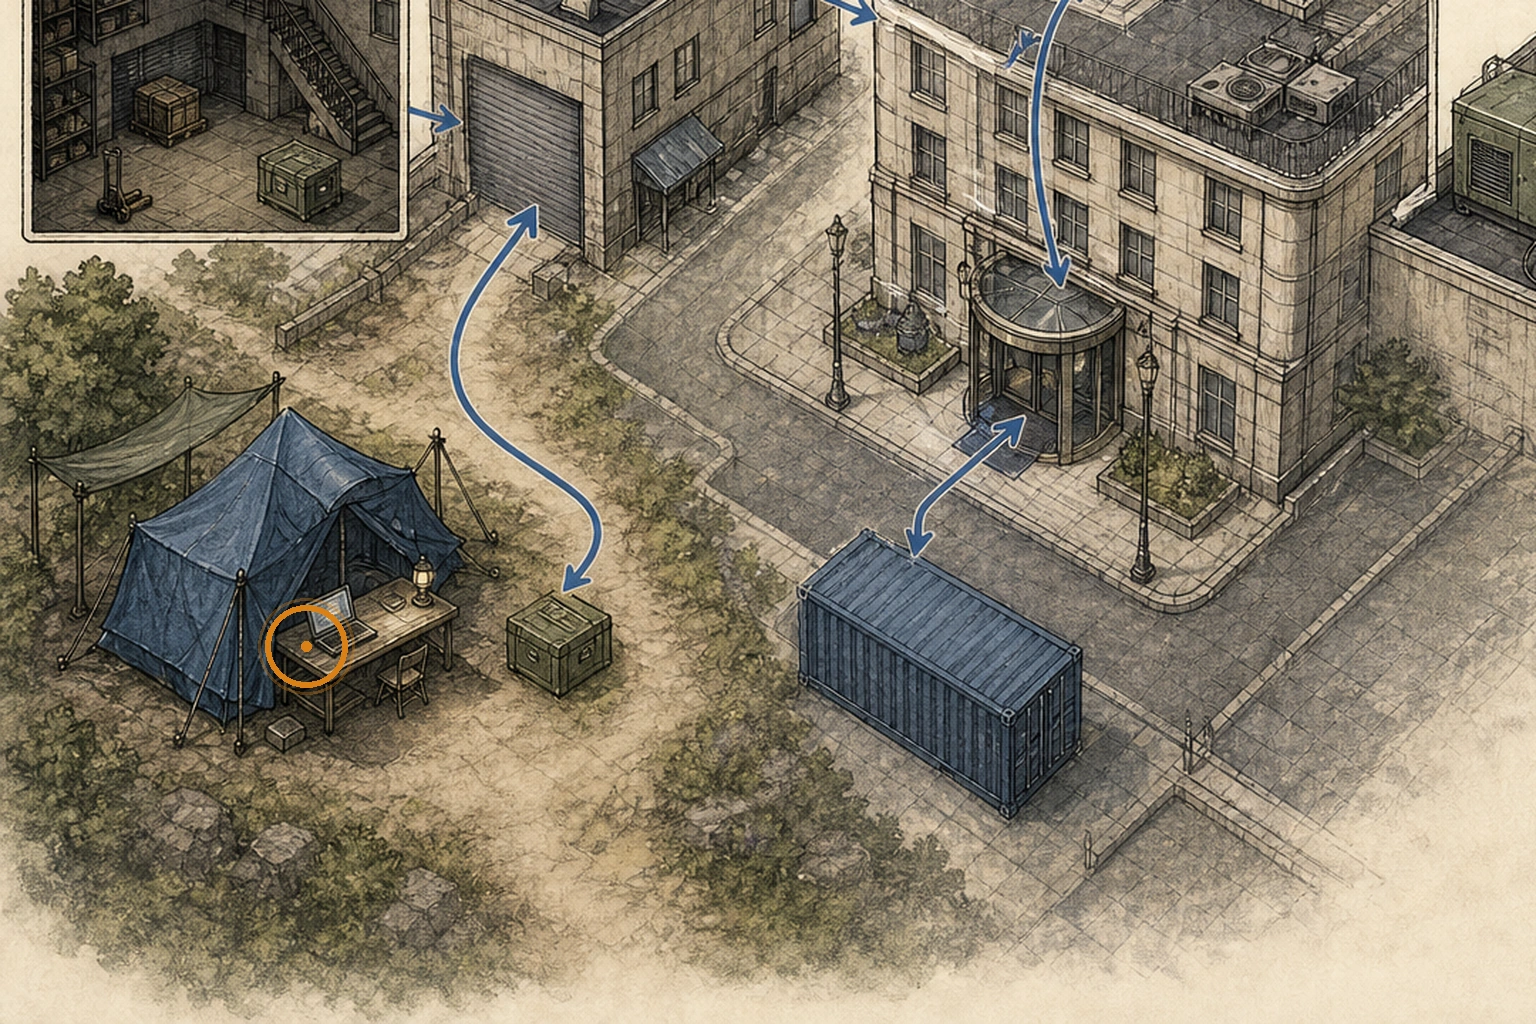
WhereUse The Applegate Hotel's revolving-door route to reach Central Camp, then read the file inside the blue tent beside the save laptop.
Full detailFollow the route through The Applegate Hotel into Central Camp, restore power with the camp generator, and enter the blue tent containing the save laptop; read the Orders for the Engineer Corps there before leaving.
Tactical Tracker (missable)
Key item
HintRestoring the camp's utilities makes a new progression system available nearby.
WhereAfter activating the Central Camp generator, take the Tactical Tracker from the Supply Box beside the save laptop.
Full detailRestore power with the Central Camp generator, then interact with the Supply Box beside the save laptop and collect the Tactical Tracker; once obtained, defeated enemies award credits that can be spent at Supply Boxes.
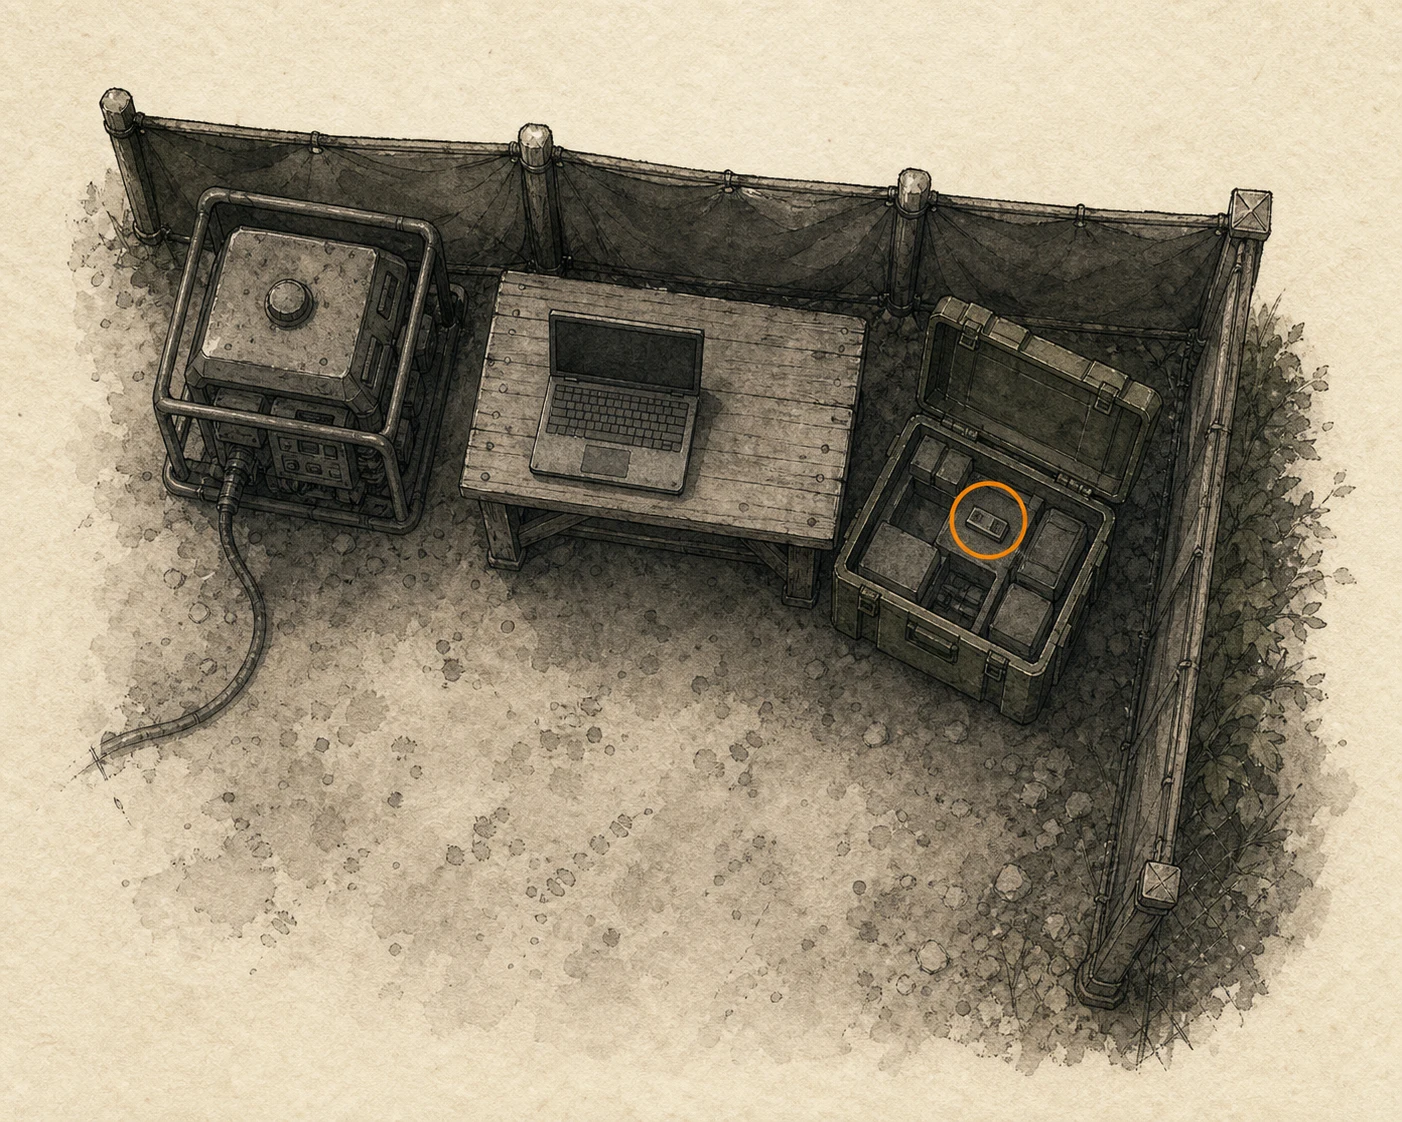
Silencer 9
Weapon
HintOnce the camp equipment is online, review the available supply inventory before spending your credits.
WhereAfter obtaining the Tactical Tracker, purchase the Silencer 9 from any Supply Box.
Full detailObtain the Tactical Tracker, defeat enemies to earn credits, and spend those credits on the Silencer 9 at a Supply Box; if you want to conserve ammunition while earning credits, the combat axe can be resharpened and reused indefinitely.
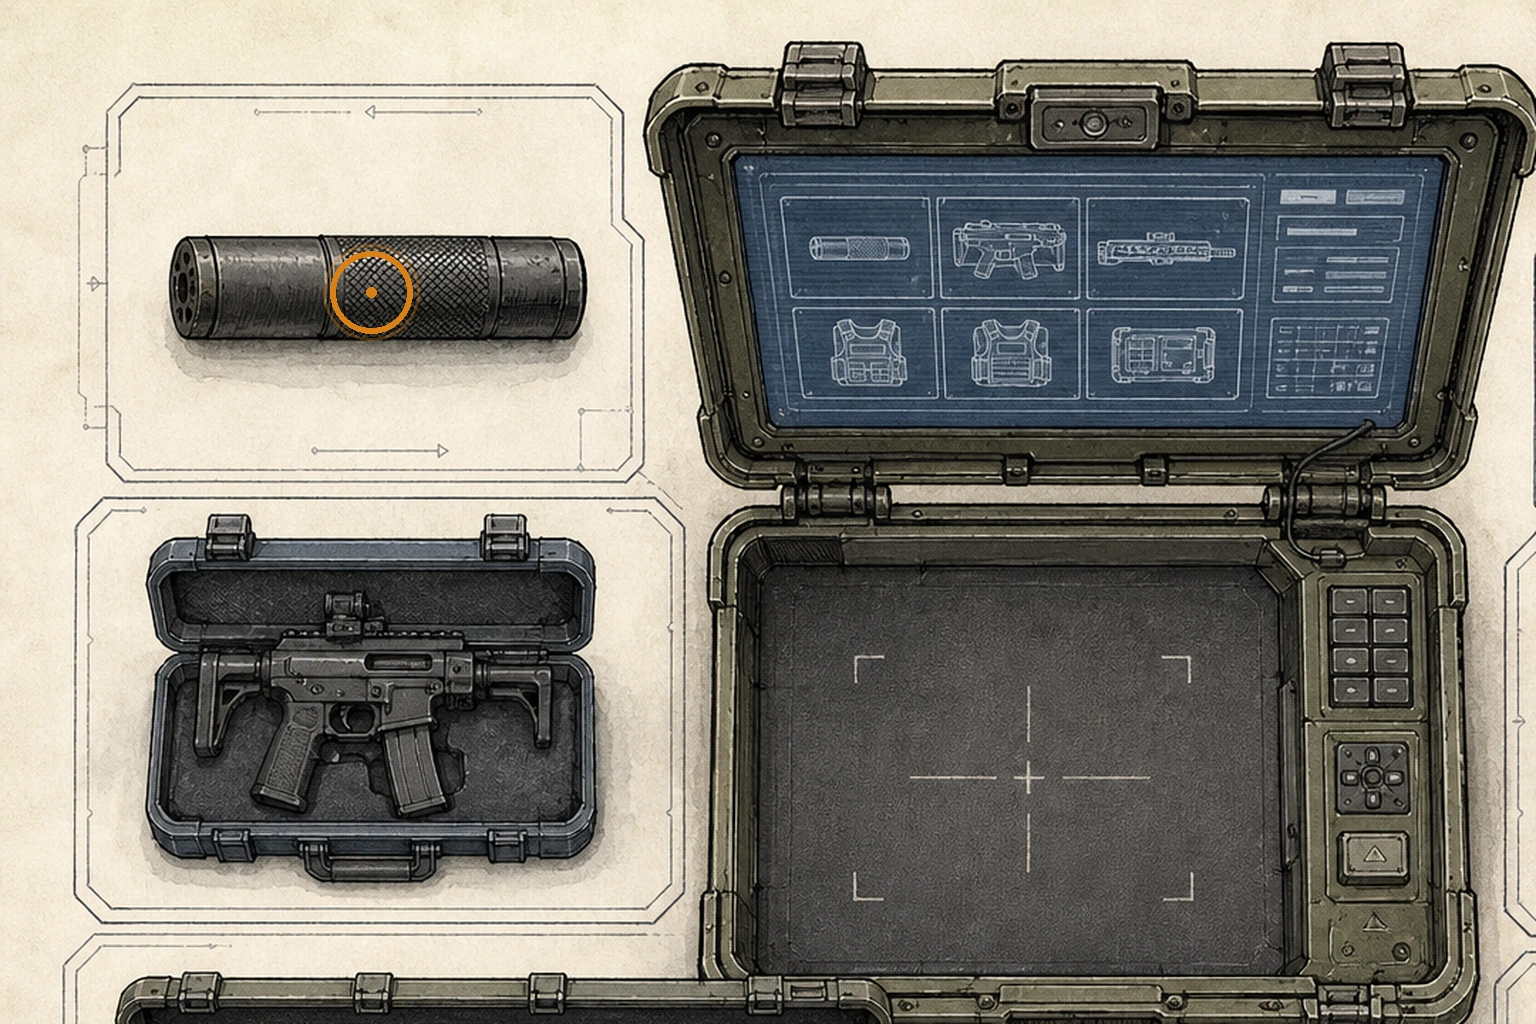
990-TAC
Weapon
HintOnce the camp equipment is online, review the available supply inventory before spending your credits.
WhereAfter obtaining the Tactical Tracker, purchase the 990-TAC from any Supply Box.
Full detailObtain the Tactical Tracker, defeat enemies to earn credits, and spend those credits on the 990-TAC at a Supply Box; the combat axe can be resharpened and reused indefinitely if you want to conserve ammunition while earning credits.
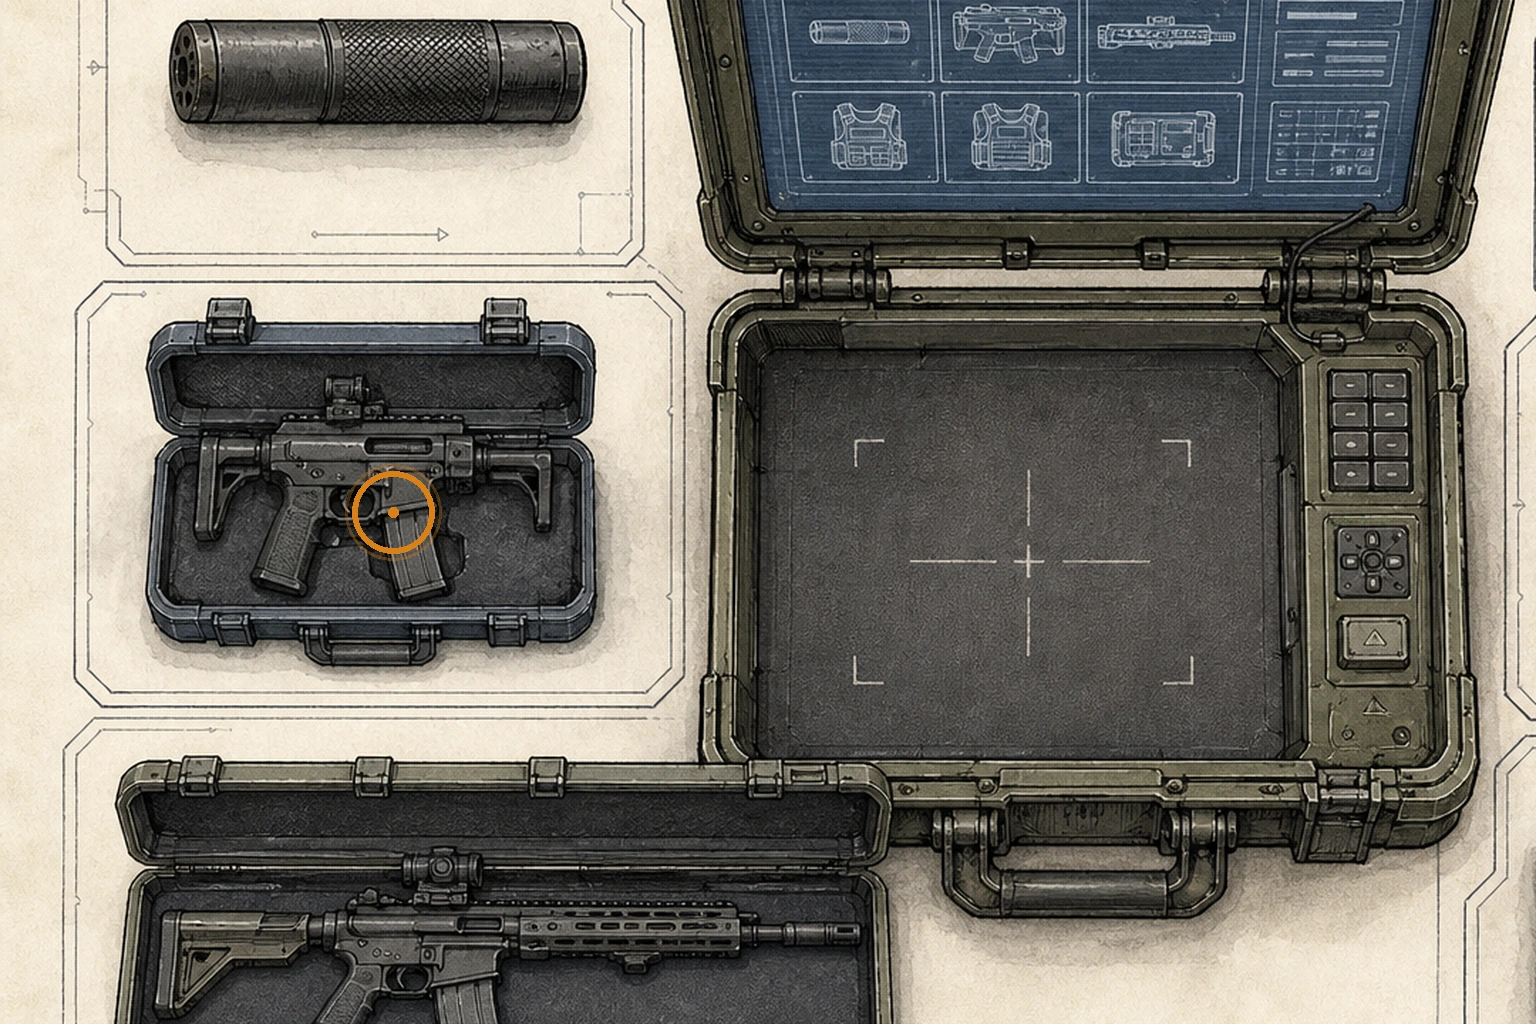
Stiri REVO3 A1
Weapon
HintOnce the camp equipment is online, review the available supply inventory before spending your credits.
WhereAfter obtaining the Tactical Tracker, purchase the Stiri REVO3 A1 from any Supply Box.
Full detailObtain the Tactical Tracker, defeat enemies to earn credits, and spend those credits on the Stiri REVO3 A1 at a Supply Box; the combat axe can be resharpened and reused indefinitely if you want to conserve ammunition while earning credits.
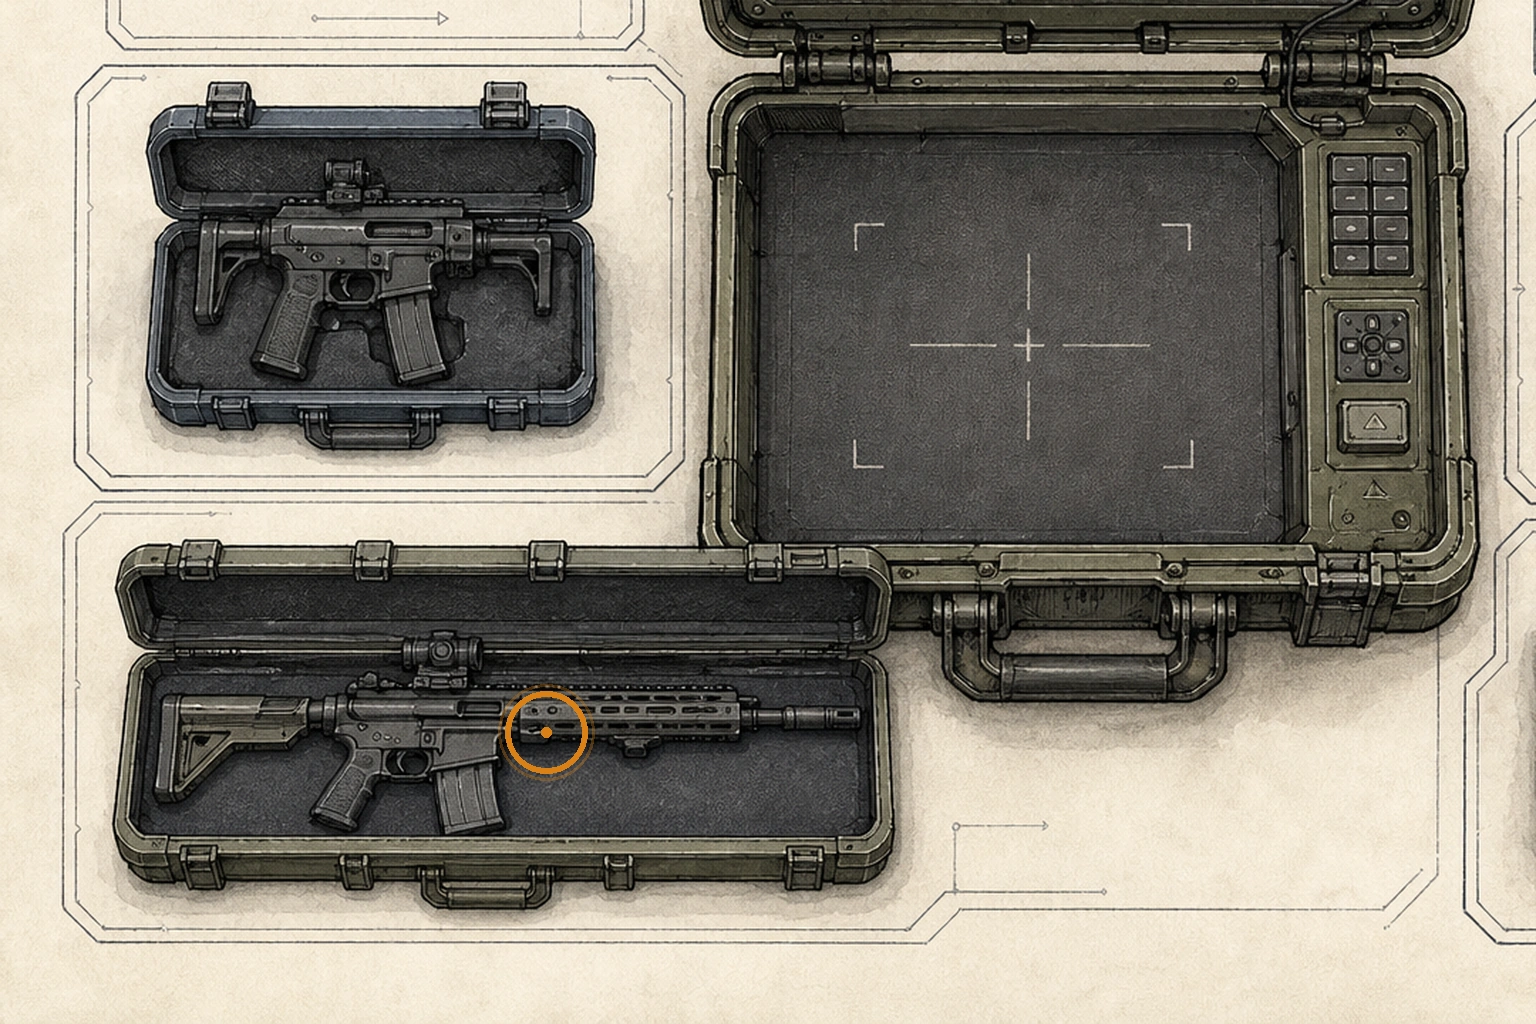
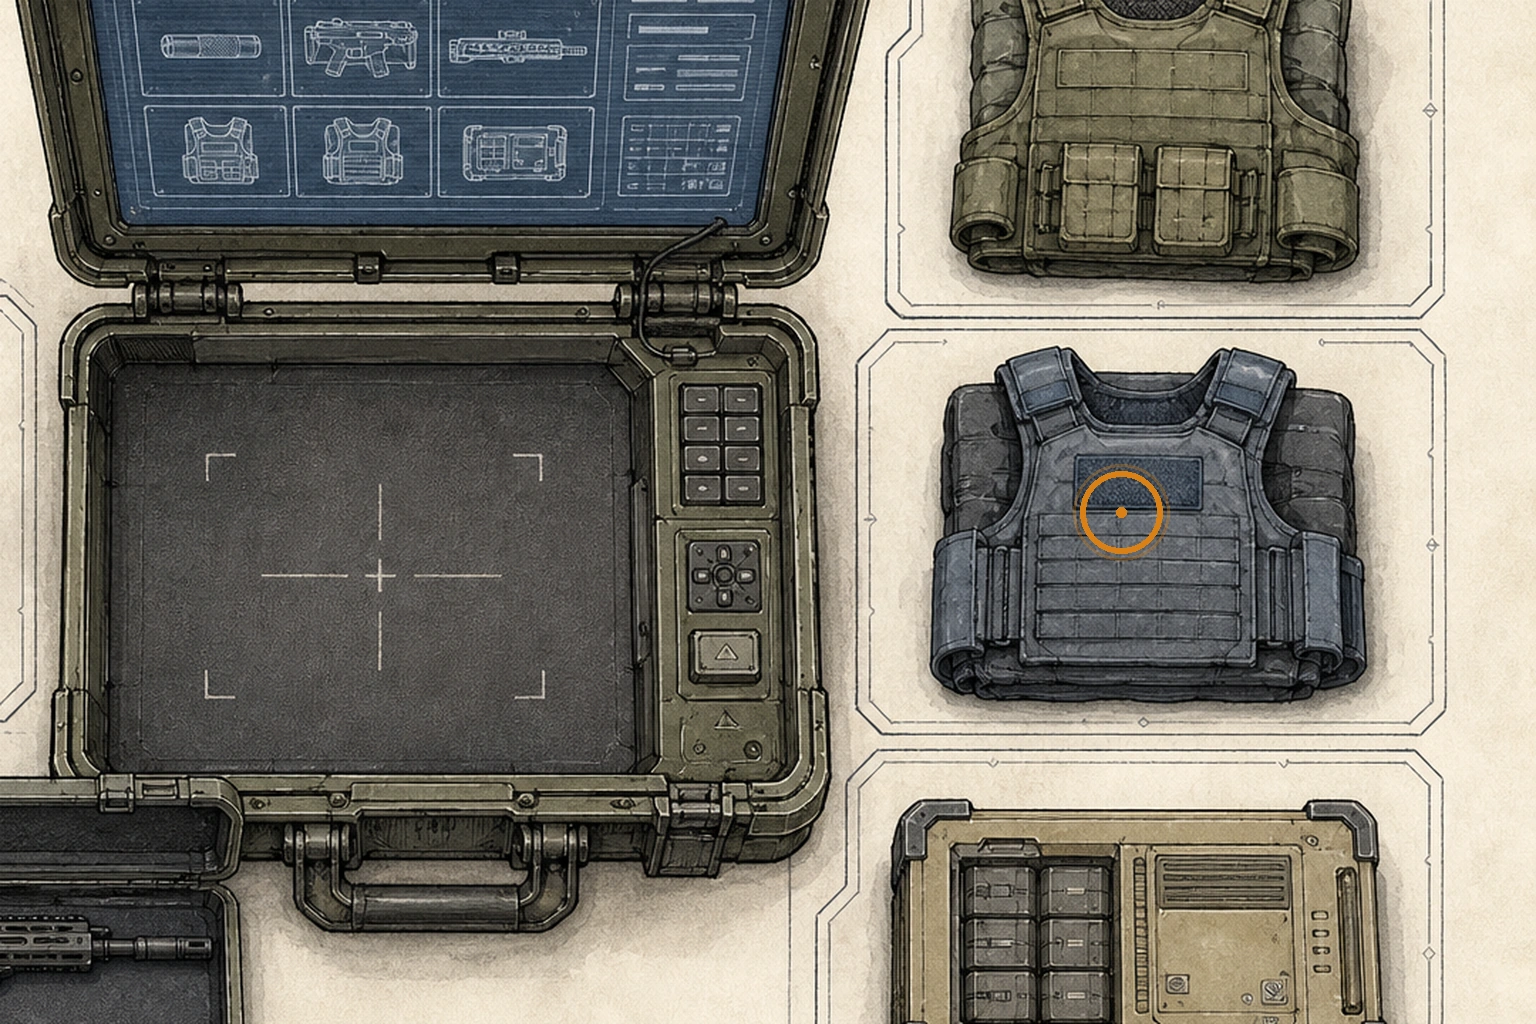
Body Armor Lv. 1
Upgrade
HintOnce the camp equipment is online, review its defensive upgrades before spending your credits.
WhereAfter obtaining the Tactical Tracker, purchase Body Armor Lv. 1 from any Supply Box.
Full detailObtain the Tactical Tracker, earn credits by defeating enemies, and purchase Body Armor Lv. 1 from a Supply Box; buying it also makes Body Armor Lv. 2 available for purchase.
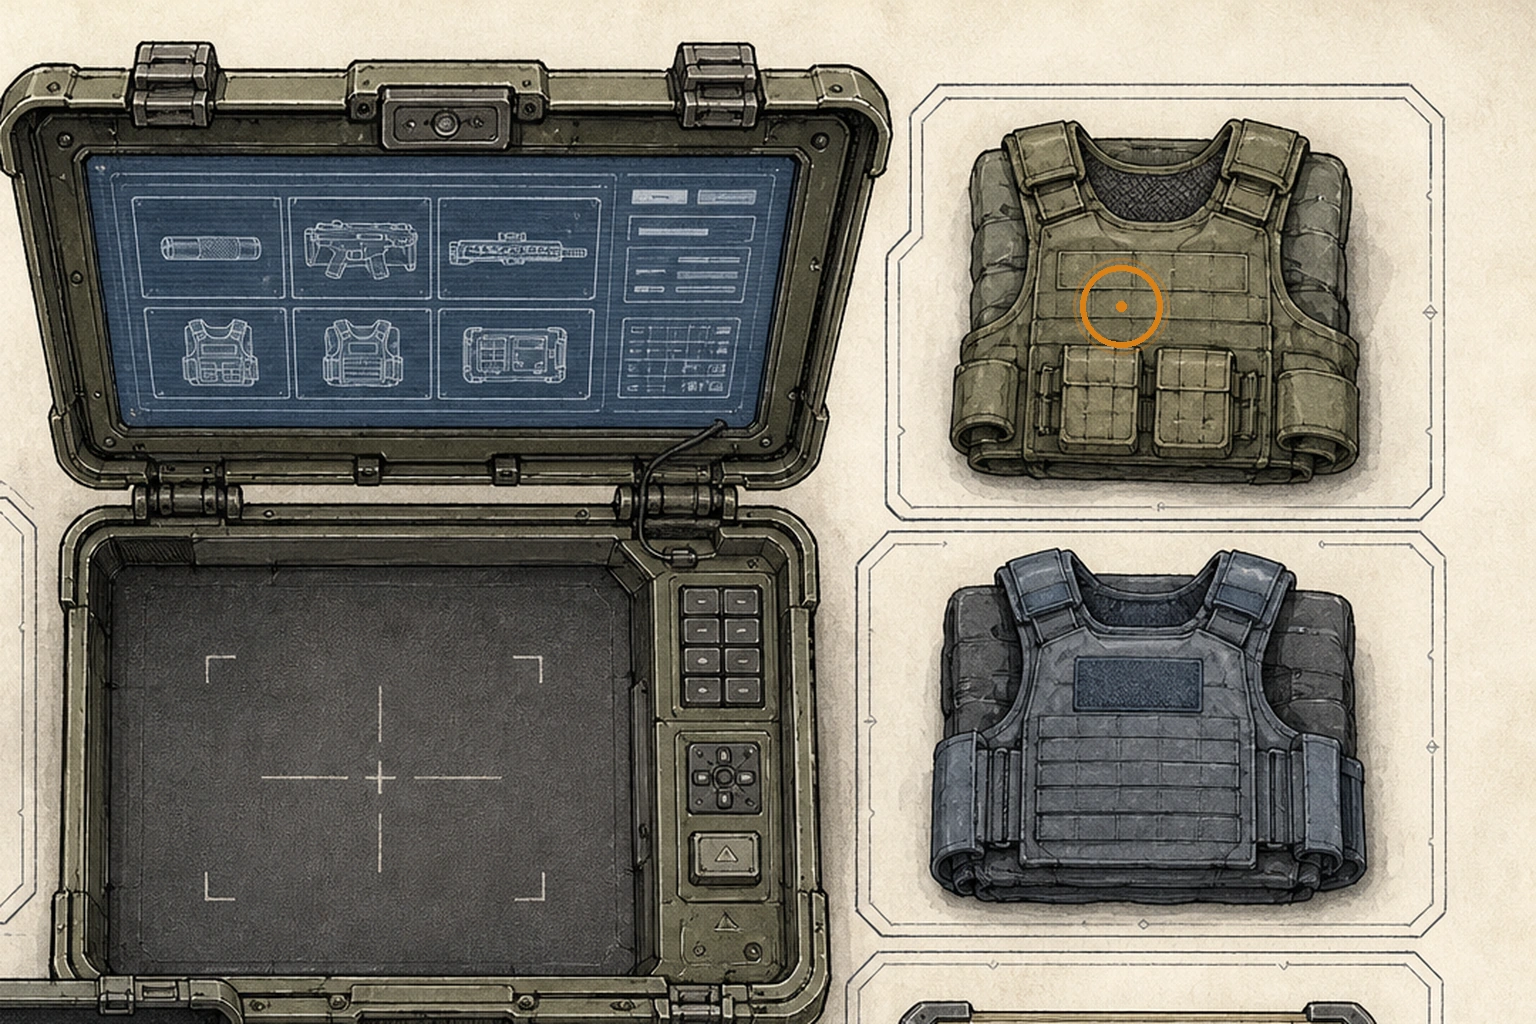
Body Armor Lv. 2
Upgrade
HintA second defensive upgrade becomes available after buying the first.
WherePurchase Body Armor Lv. 1 from a Supply Box, then purchase Body Armor Lv. 2 when it appears in the inventory.
Full detailAfter obtaining the Tactical Tracker, earn enough credits to buy Body Armor Lv. 1 first; return to a Supply Box after that purchase and spend additional credits on Body Armor Lv. 2.
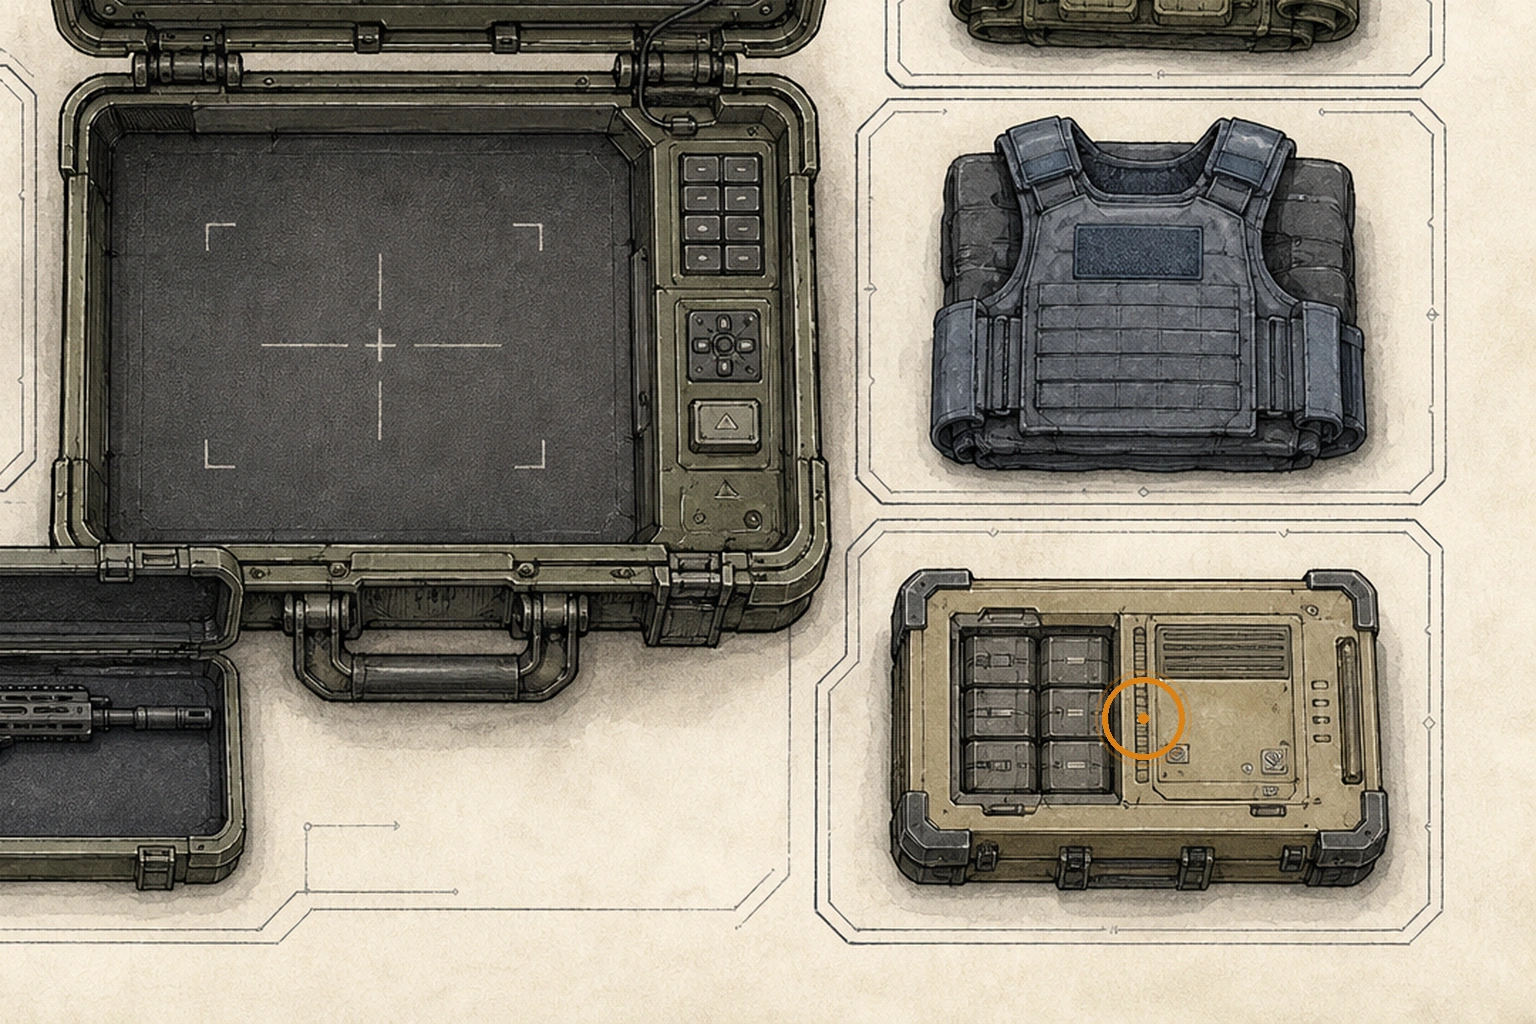
Case Upgrade (8x13)
Case upgrade
HintOnce the camp equipment is online, check its capacity upgrades before spending your credits.
WhereAfter obtaining the Tactical Tracker, purchase the Case Upgrade (8x13) from any Supply Box.
Full detailObtain the Tactical Tracker, defeat enemies to earn credits, and purchase the Case Upgrade from a Supply Box to expand the case to 8x13.
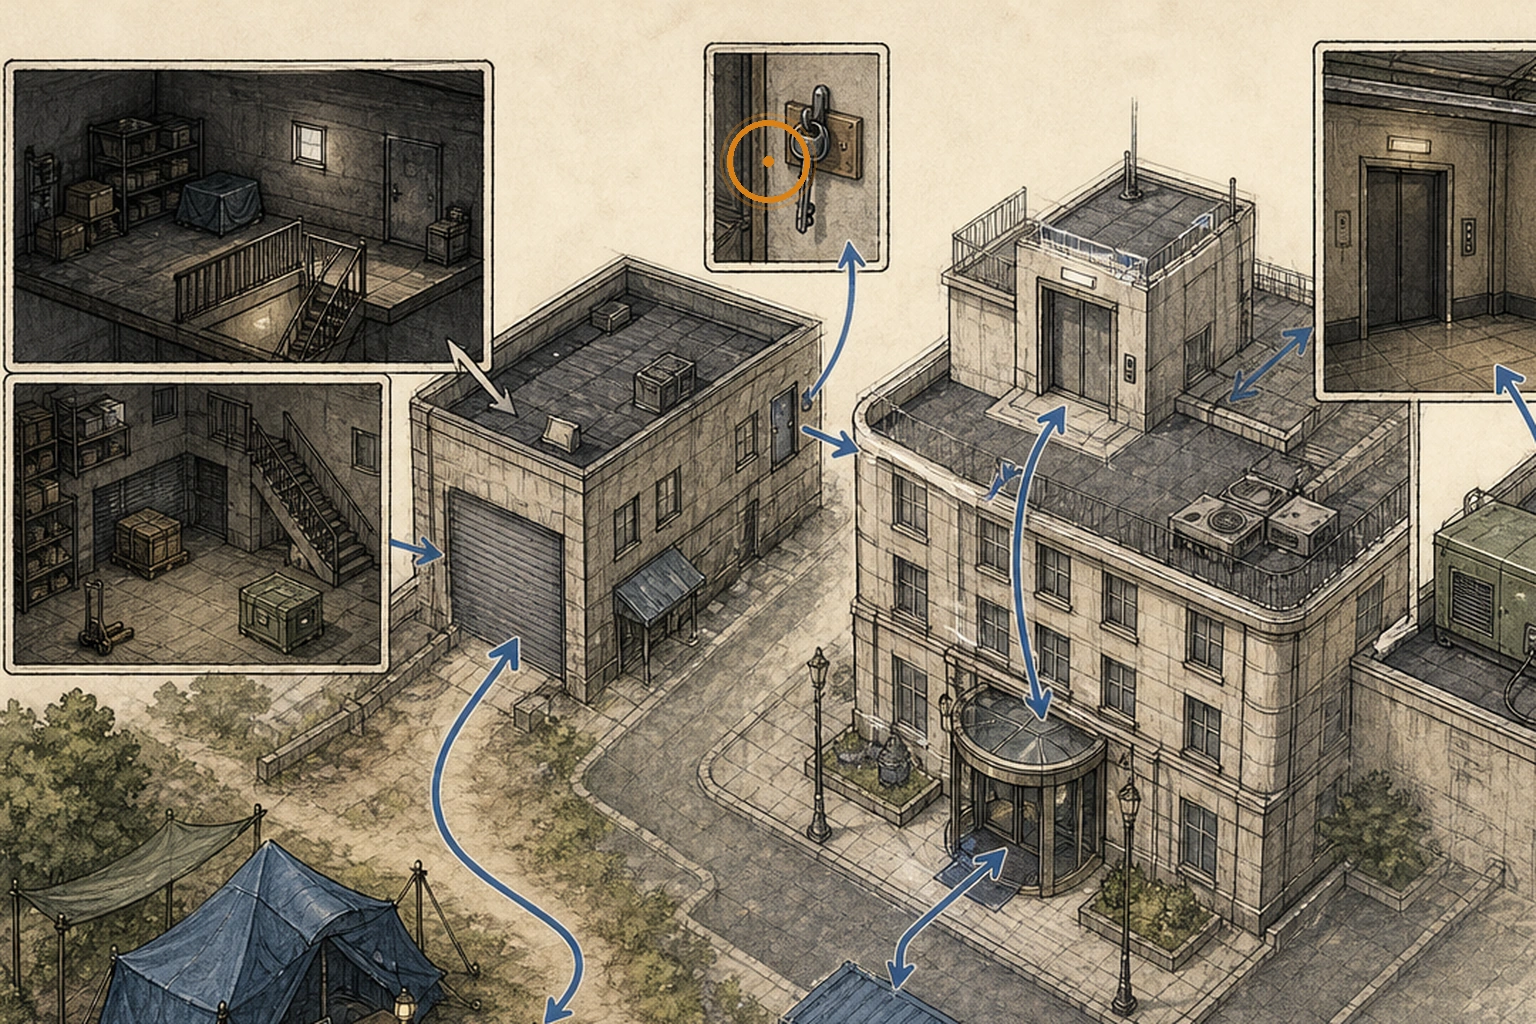
Cedarbrook Apartments Key (missable)
Key item
HintAs you climb through the warehouse beyond the camp, inspect its dark upper rooms.
WhereRaise the rear Central Camp shutter, cross the Logistics Warehouse, and take the Cedarbrook Apartments Key from the wall beside the door in the dark second-floor room.
Full detailPress the red wall button at the back of Central Camp to raise the shutter, enter the Logistics Warehouse, and shoot down the hanging crates to create a route upward; upon reaching the dark room on the second floor, collect the key hanging on the wall beside the door.
Distributor (missable)
Key item
HintBefore leaving the warehouse roof, check its colored equipment containers.
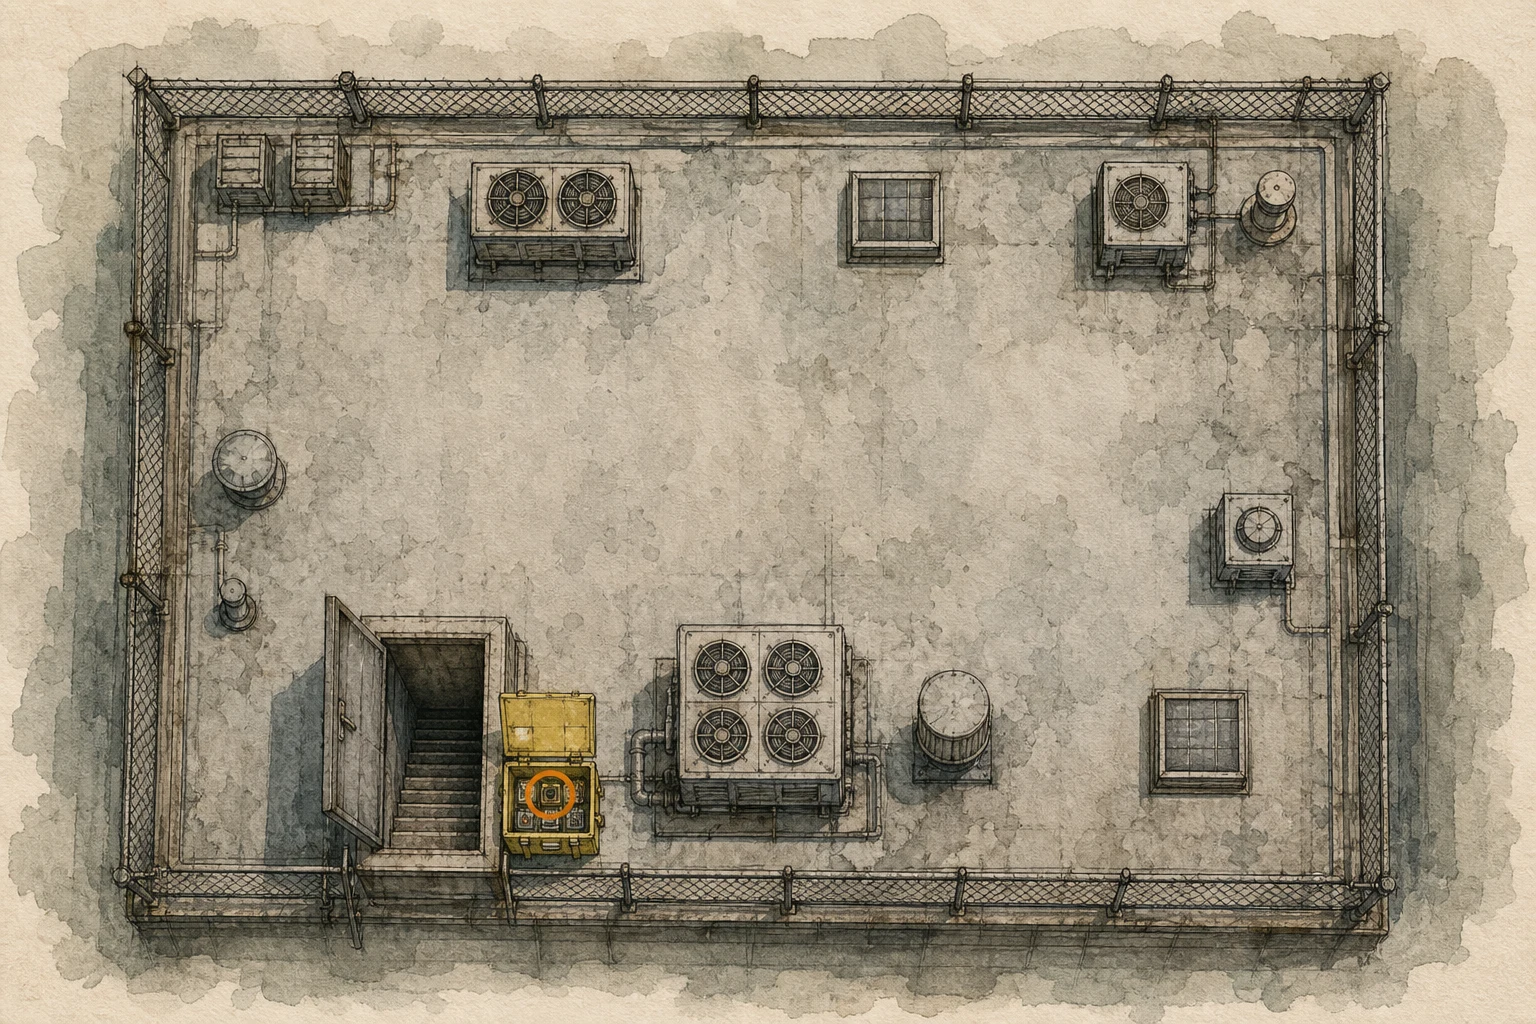
WhereOn the Logistics Warehouse roof, turn left and take the Distributor from the yellow box.
Full detailClimb onto the Logistics Warehouse roof, turn left immediately, open the yellow box, and collect the Distributor; keep it for combination with a later receiver component.
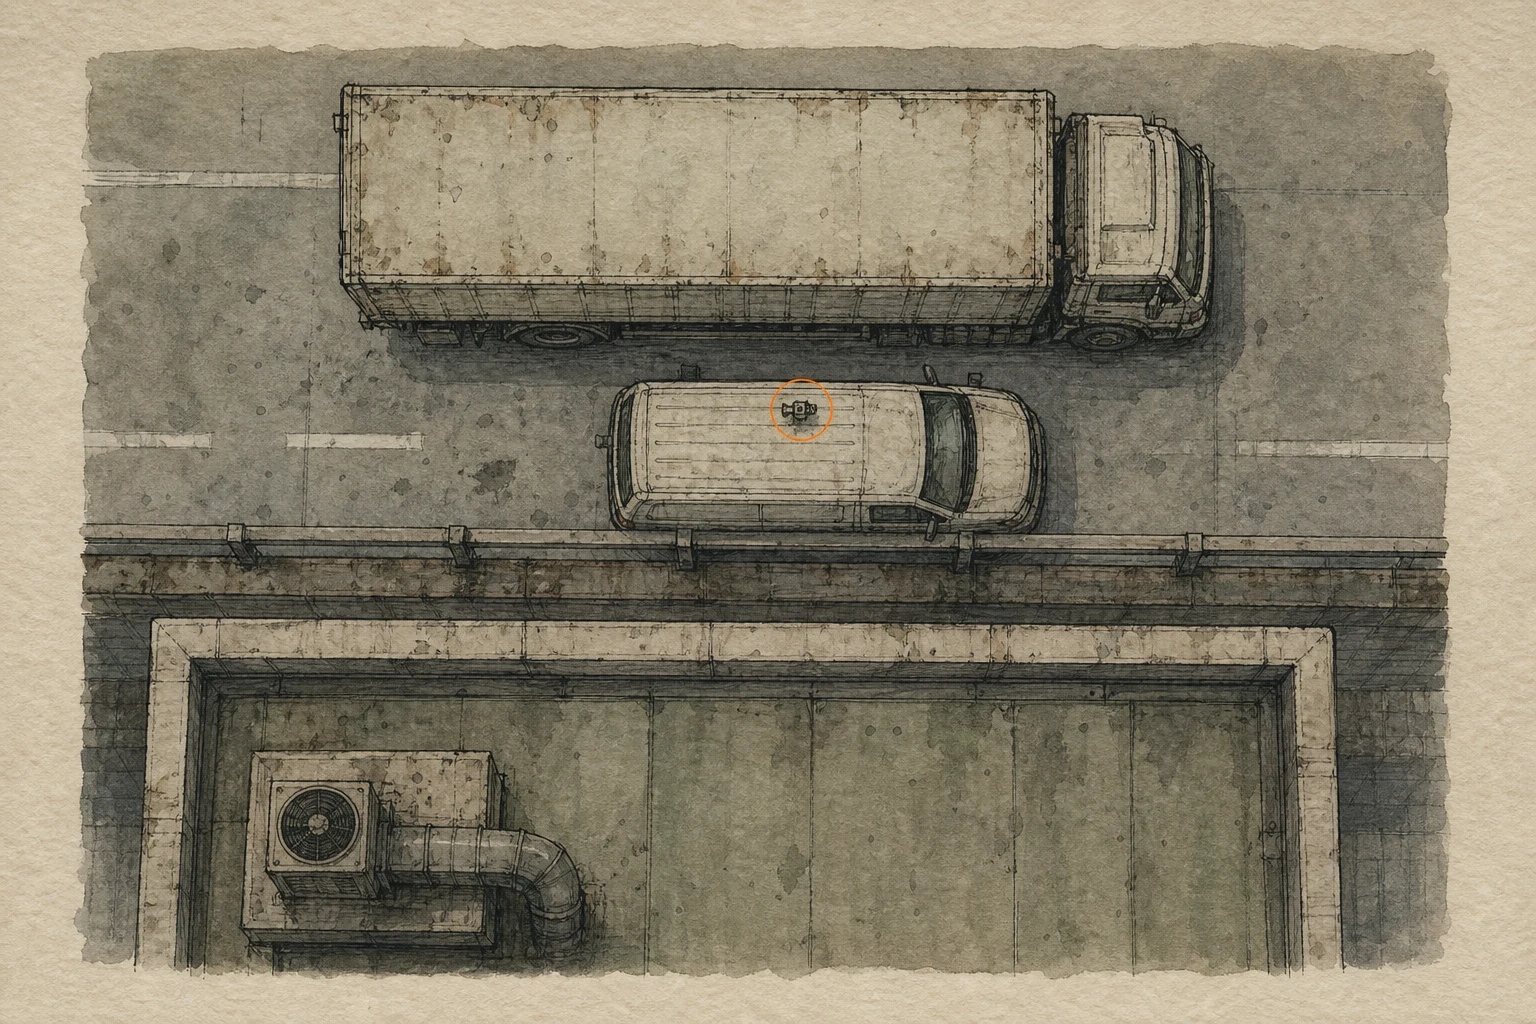
Mr. Raccoon #12 (missable)
Mr. Raccoon figure
HintFrom the high warehouse roof, scan the distant wrecked vehicles with a scope.
WhereFrom the Logistics Warehouse roof, face west toward the highway and aim at the van in front of the delivery truck.
Full detailAfter collecting the Distributor, turn around toward the rooftop elevator and face west toward the highway; locate the van directly in front of a delivery truck, then use a scoped sniper rifle to shoot the Mr. Raccoon sitting on top of that van.
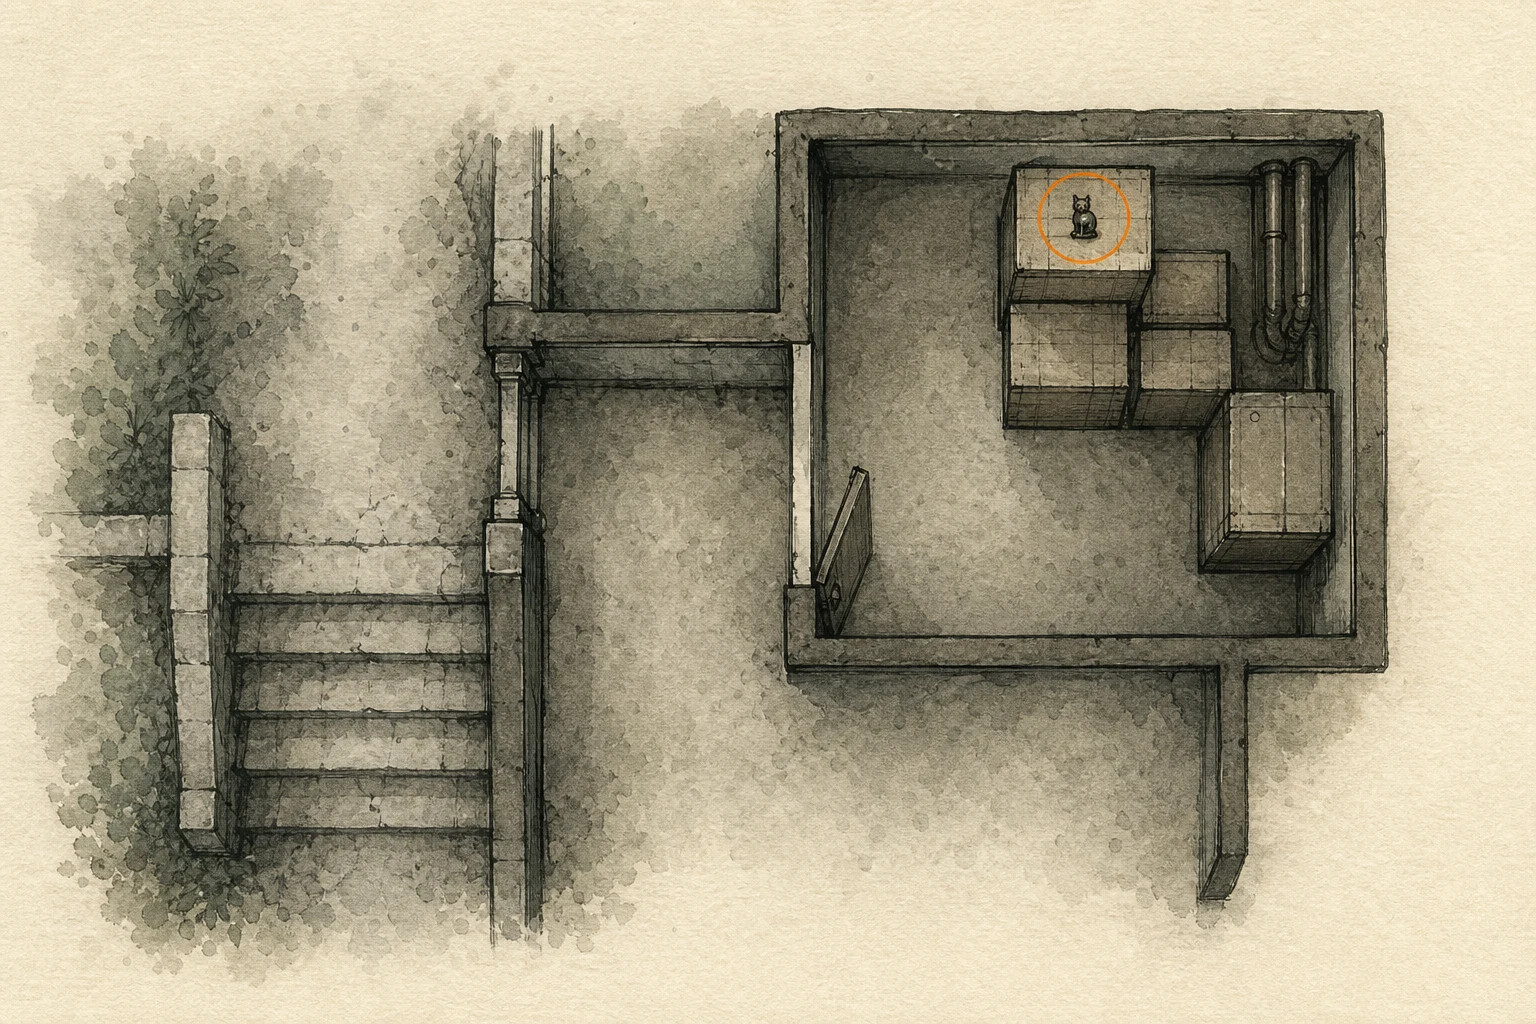
Mr. Raccoon #13 (missable)
Mr. Raccoon figure
HintBelow the camp, search the side rooms along the underground parking route.
WhereUse the Cedarbrook Apartments Key on the gate beside the Central Camp elevator, go downstairs through the right-hand door, and check the room on the left near the stealth-training area.
Full detailUnlock the gate beside the Central Camp elevator with the Cedarbrook Apartments Key, descend the stairs, and enter the door on the right; when you reach the first stealth-training enemy, enter the room on the left and shoot or strike the Mr. Raccoon on the box.
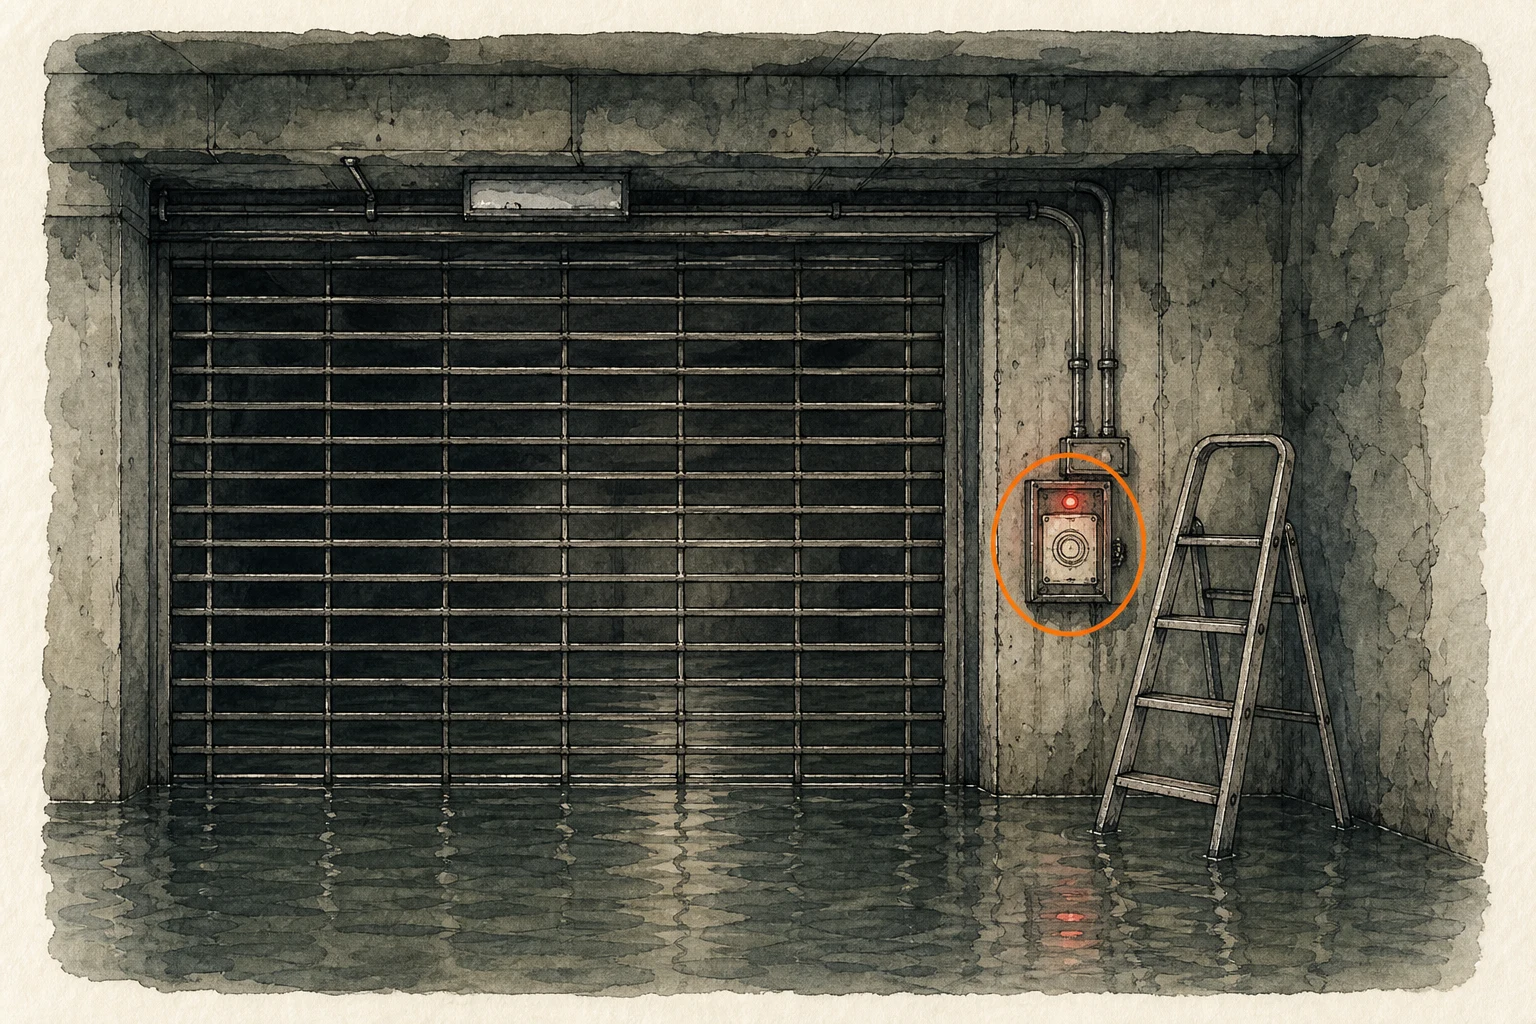
File #51 - Battery Storage Locations (missable)
File
HintThe flooded garage has a readable utility notice near its secured equipment.
WhereIn the next flooded section of the Underground Parking Garage, turn left and inspect the red-lit box to the right of the gate.
Full detailFrom the previous figure, enter the next parking-garage section, turn left into the flooded area, and approach the gate; interact with the red-lit box on the gate's right side to register Battery Storage Locations.
Battery #1 (missable)
Key item
HintA required power component is hidden in a far room of the flooded garage.
WhereFrom the red-lit file box, turn around, climb over the ladder, and take Battery #1 from the wall in the small room at the garage's northwest corner.
Full detailAfter reading Battery Storage Locations, turn around 180 degrees, climb over the ladder, and cross the flooded garage to its northwest corner; enter the small room there and remove Battery #1 from its wall mount.
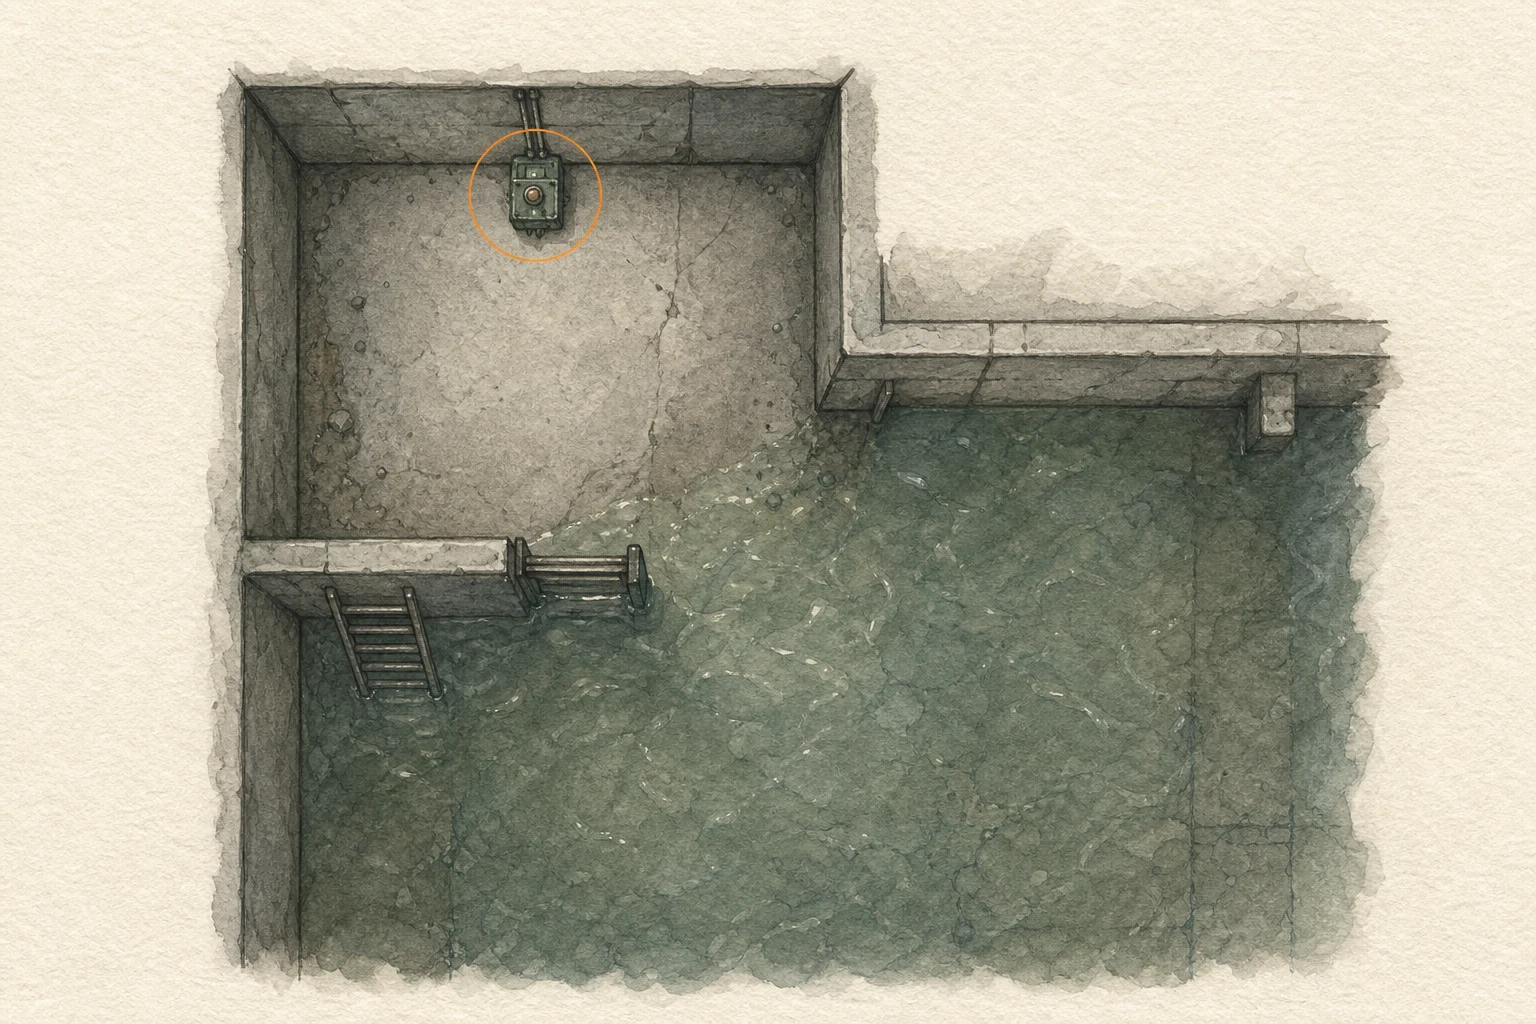
Gal (SMG) (missable)
Weapon
HintA weapon case shares one of the flooded garage's small utility rooms.
WhereIn the same northwest flooded-garage room as Battery #1, open the silver box.
Full detailAfter removing Battery #1 from the wall, inspect the silver box in that same small room, open it, and take the Gal SMG.
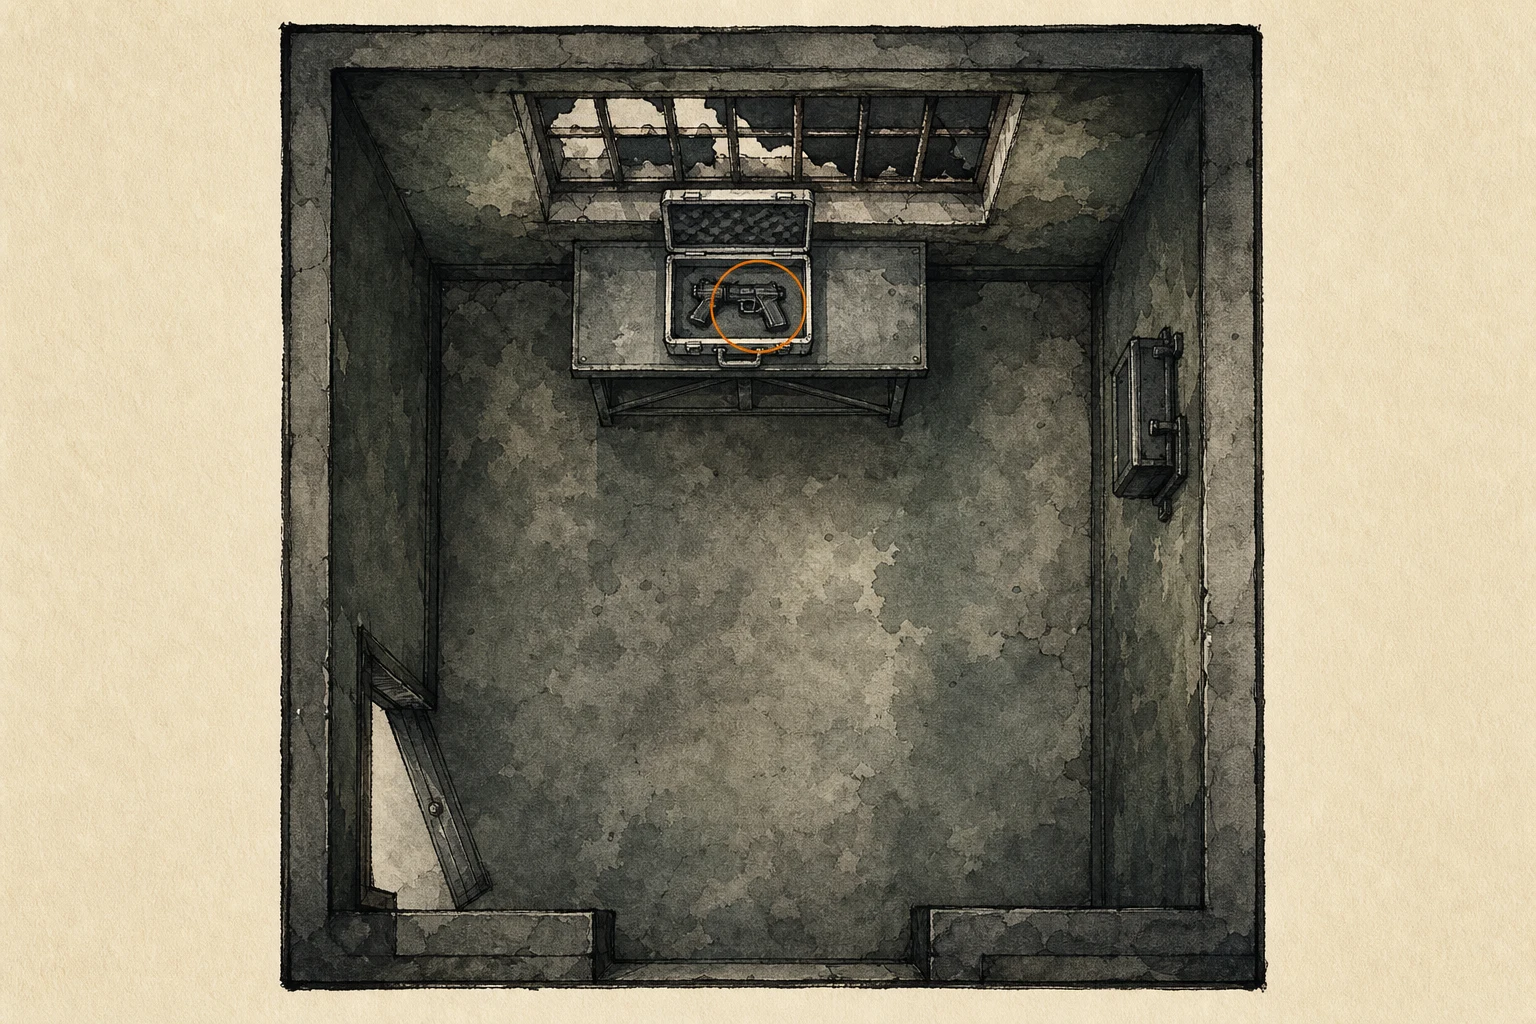
Valve Handwheel (missable)
Key item
HintAfter descending into the sewage facility, watch the main route for a reusable mechanism part.
WhereAfter dropping into the Sewage Facility, pick up the Valve Handwheel from the path ahead.
Full detailFollow the Sewage Facility route until the drop, collect the Valve Handwheel from the path after landing, and keep it for the mechanism directly across the next room.
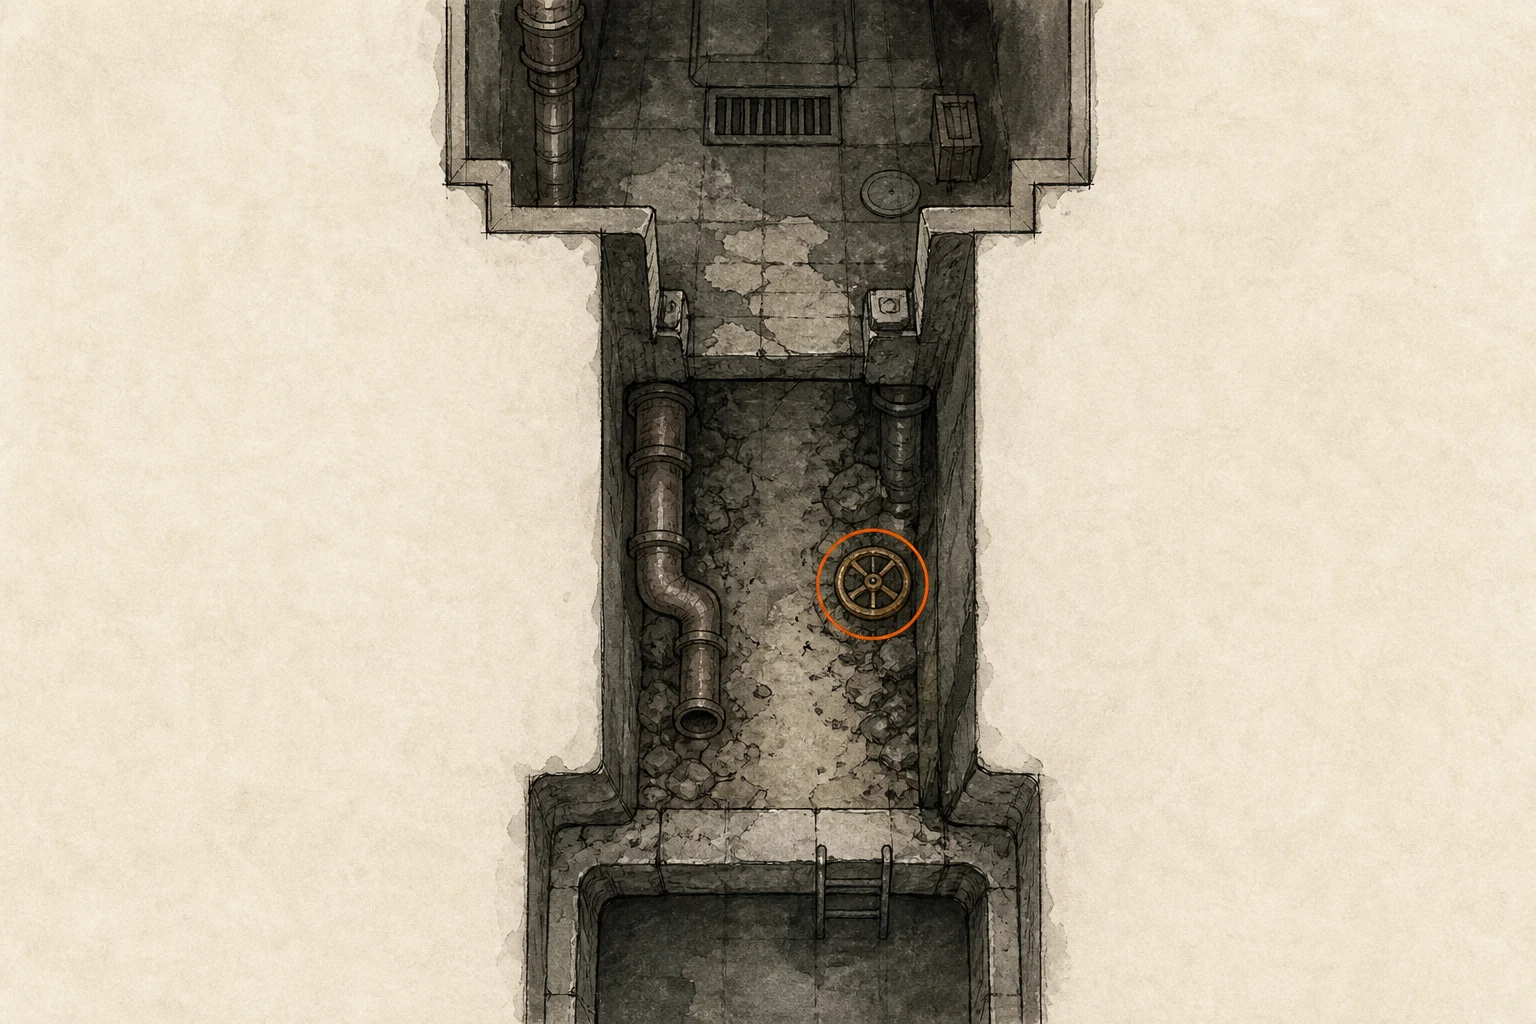
Battery #2 (missable)
Key item
HintA second power component becomes accessible after reconfiguring an upper route.
WhereInsert the Valve Handwheel into the mechanism on the opposite door, turn it fully to form an upper bridge, and cross to Battery #2.
Full detailPlace the Valve Handwheel into the mechanism on the door directly across the room and turn it all the way; this creates a walkable bridge along the upper level, which you must cross to reach and collect Battery #2.
File #52 - Inventory List (missable)
File
HintNear the apartment entrance, search the open cargo containers.
WhereAfter receiving the BSAA Container Keys, turn immediately left and read the Inventory List inside the open container in front of Cedarbrook Apartments.
Full detailAs soon as the route grants the BSAA Container Keys, look immediately left before entering Cedarbrook Apartments, step inside the open cargo container, and interact with the Inventory List so it registers.
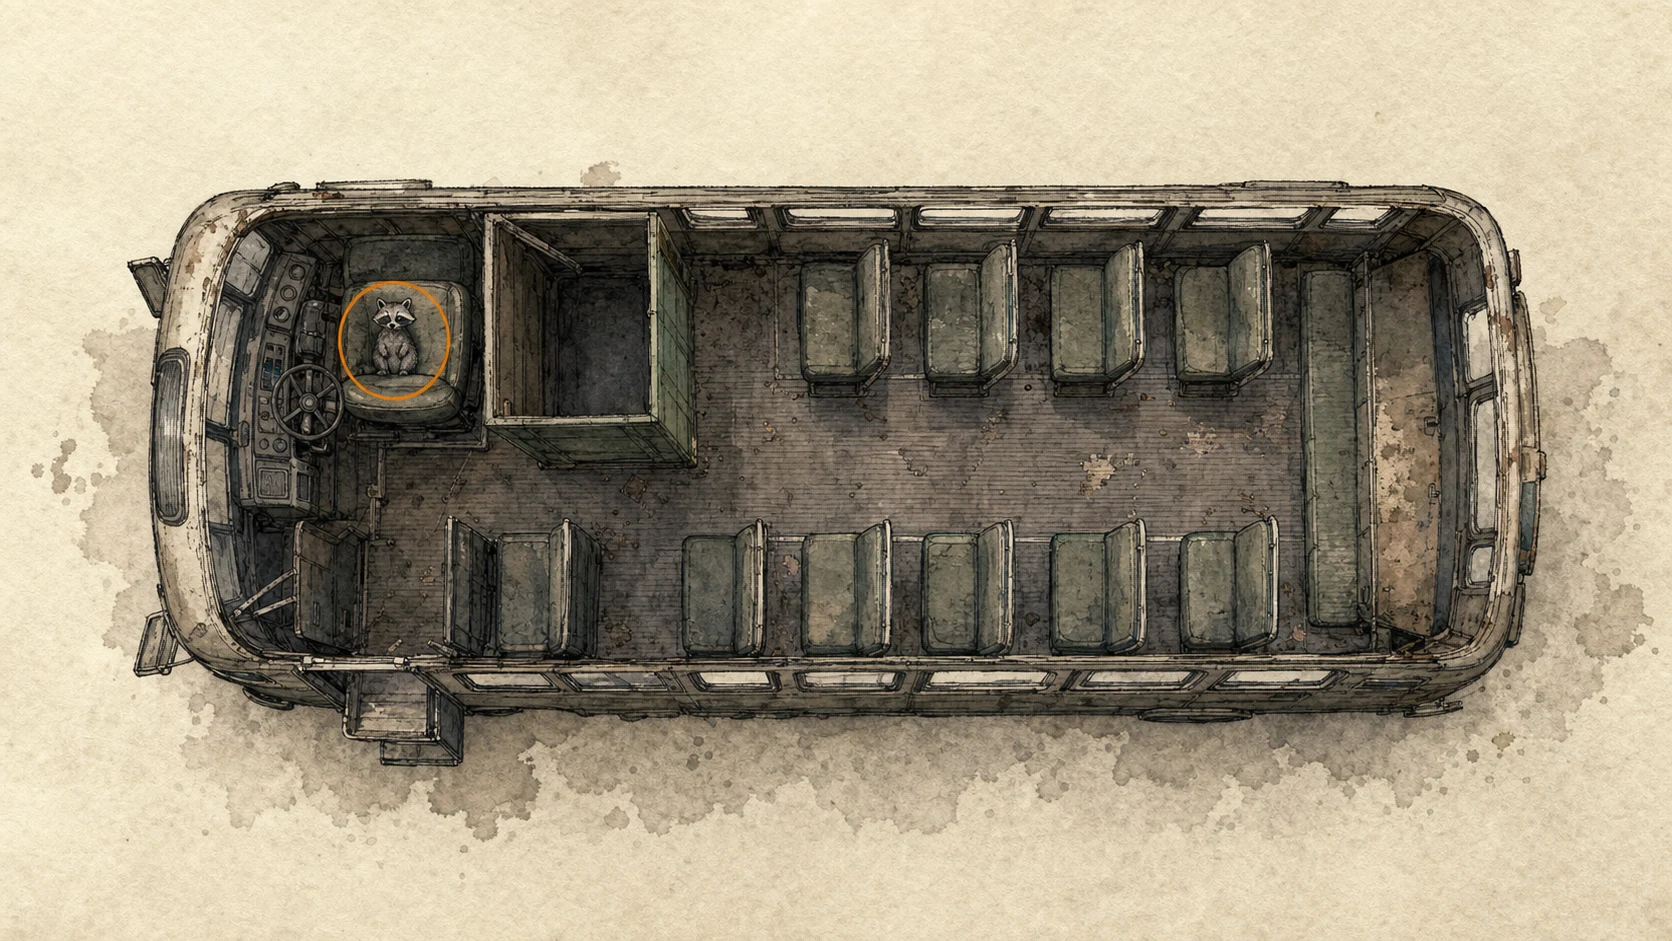
Mr. Raccoon #14 (missable)
Mr. Raccoon figure
HintCheck the parked vehicles around the apartment approach.
WhereBeside the open container holding File #52, look for the figure on the driver's seat of the bus.
Full detailFrom the open container containing the Inventory List, enter the adjacent bus, find the Mr. Raccoon on the driver's seat, and shoot or strike it until it breaks.
Rusty Crank (missable)
Key item
HintA reusable crank is found while clearing the lower apartments.
WhereOn the first floor of Cedarbrook Apartments, follow the lower-floor route to the crank-operated door and collect the Rusty Crank there.
Full detailCollect the Rusty Crank while progressing through the bottom floor of Cedarbrook Apartments, then carry it back upstairs and use it on the balcony gate; it can also open an optional route to consumables in the Sewage Facility.
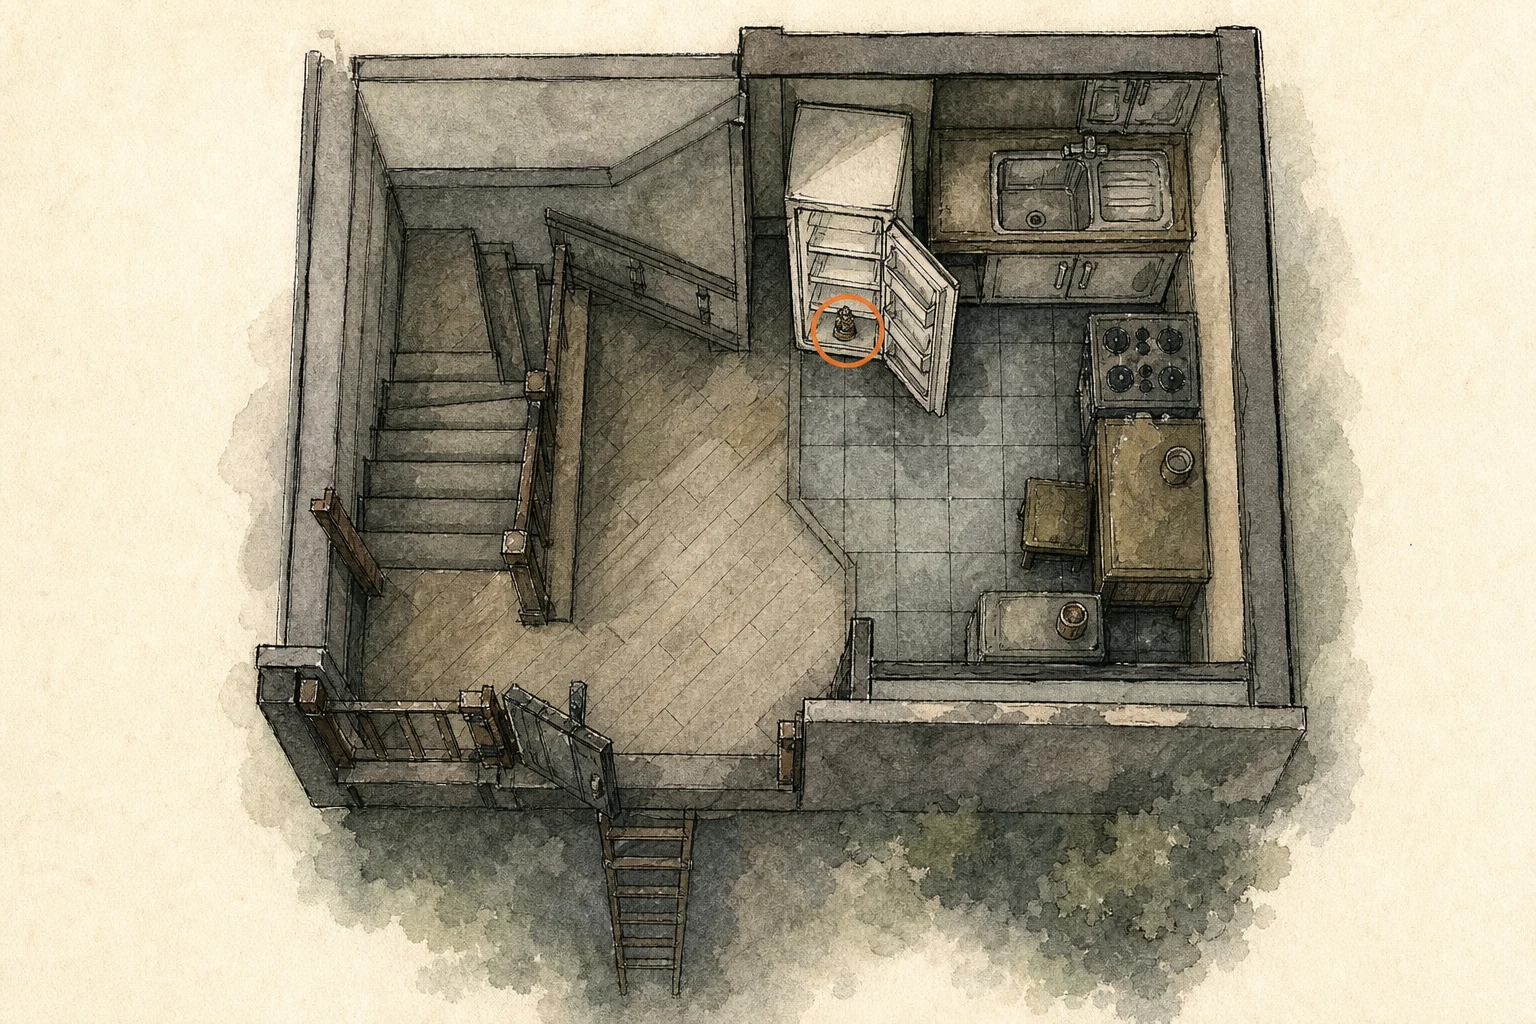
Mr. Raccoon #15 (missable)
Mr. Raccoon figure
HintAfter using the crank upstairs, search the upper apartment interior before taking the stairs down.
WhereUse the Rusty Crank on the upstairs balcony gate, climb the next ladder, turn right into the upper floor, and check the open refrigerator at the back near the stairwell.
Full detailReturn upstairs with the Rusty Crank, use it on the balcony gate, and climb the ladder beyond it; turn right into the upper apartment floor, go right toward the stairwell without descending, continue to the back, and shoot or strike the Mr. Raccoon inside the open refrigerator.
Broken Signal Receiver (missable)
Key item
HintAt the far end of the apartment rooftop route, inspect the colored equipment boxes.
WhereOn the Cedarbrook Apartments roof, open the yellow box at the far end of the route and take the Broken Signal Receiver.
Full detailCross the Cedarbrook Apartments rooftop route to its far end, open the yellow box, and collect the Broken Signal Receiver; combine it with the Distributor in your inventory to create the Distributor & Broken Signal Receiver.
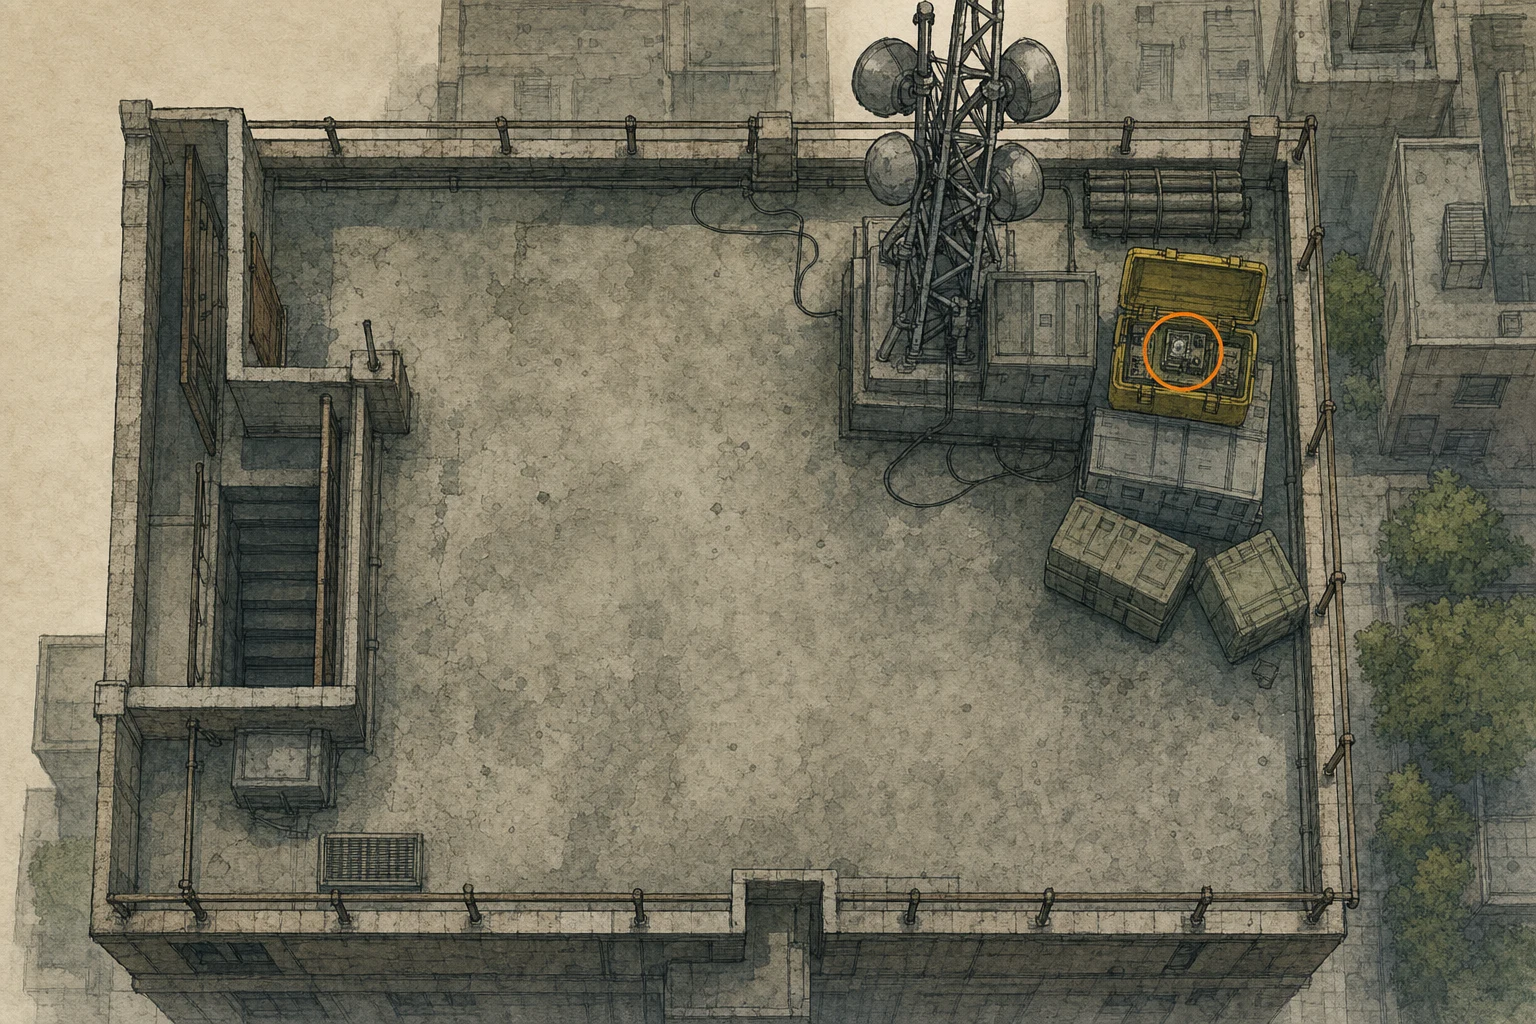
File #53 - Engineer Corps Note (missable)
File
HintBefore leaving the apartment roof, check the work surfaces beside the key-item container.
WhereOn the Cedarbrook Apartments roof, read the Engineer Corps Note immediately to the right of the yellow receiver box.
Full detailTake the Broken Signal Receiver from the rooftop's far-end yellow box, then turn immediately right and read the Engineer Corps Note before leaving.
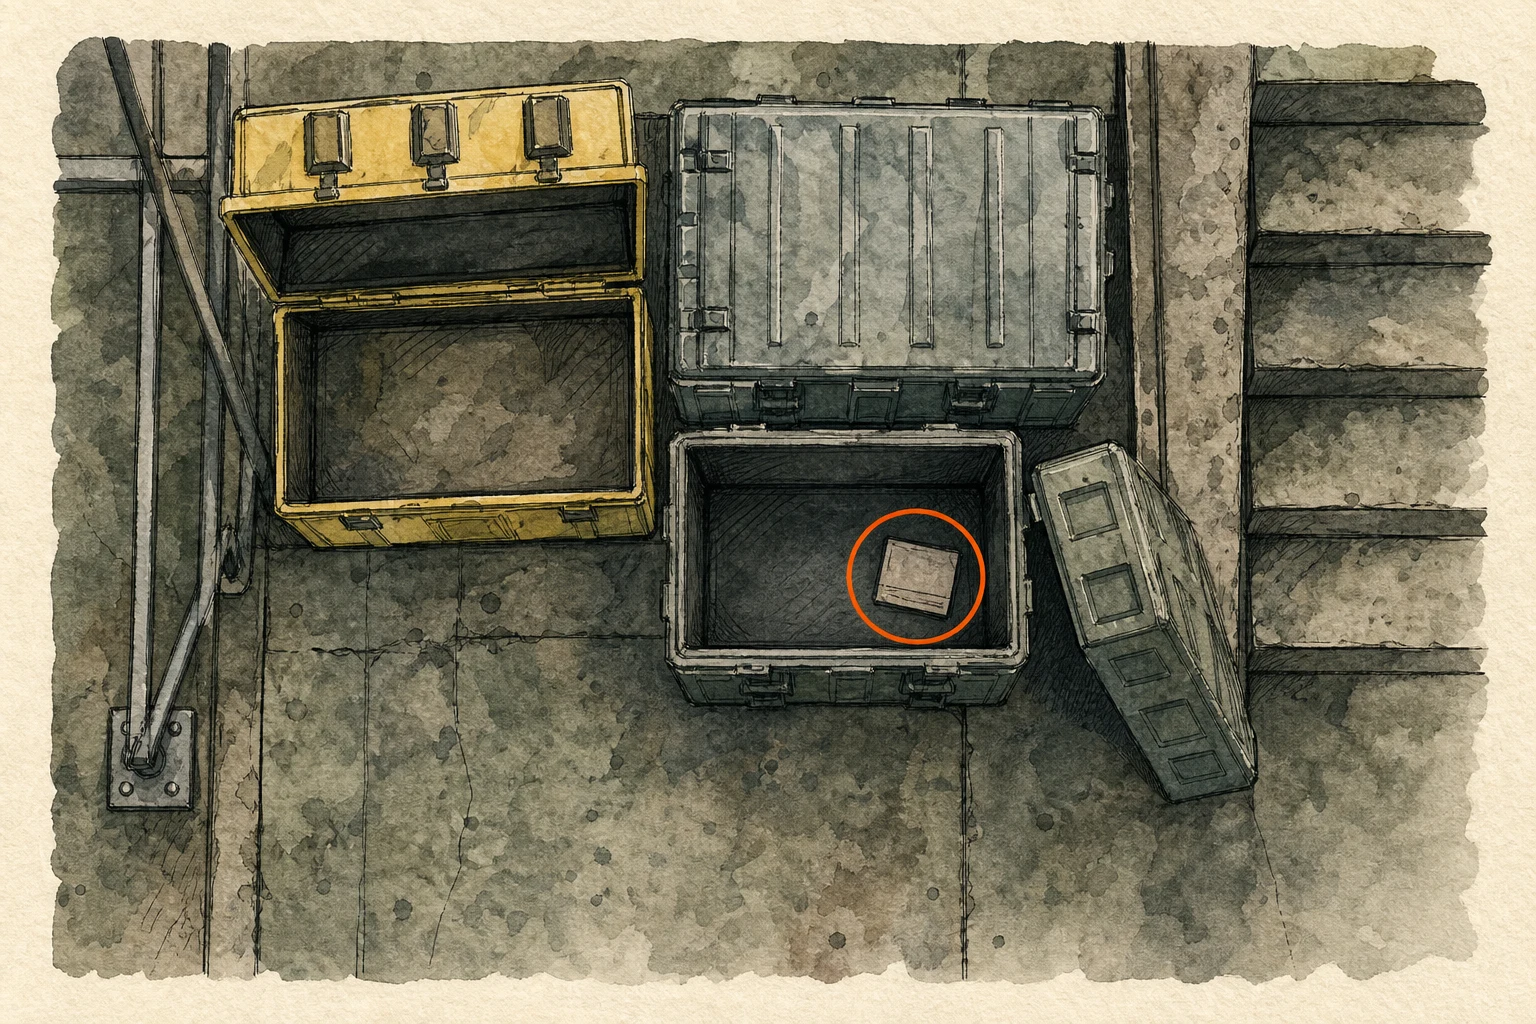
Mr. Raccoon #16 (missable)
Mr. Raccoon figure
HintExplore the gas-station interior carefully before restoring power outside.
WhereShoot down the ladder across the street from Cedarbrook Apartments, climb it, drop into the Gas Station, and check the metal shelving inside.
Full detailOn the street opposite the Cedarbrook Apartments entrance, shoot the raised ladder to lower it, climb up, and follow the route down into the Gas Station; find the Mr. Raccoon on a metal shelf inside and shoot or strike it until it breaks.
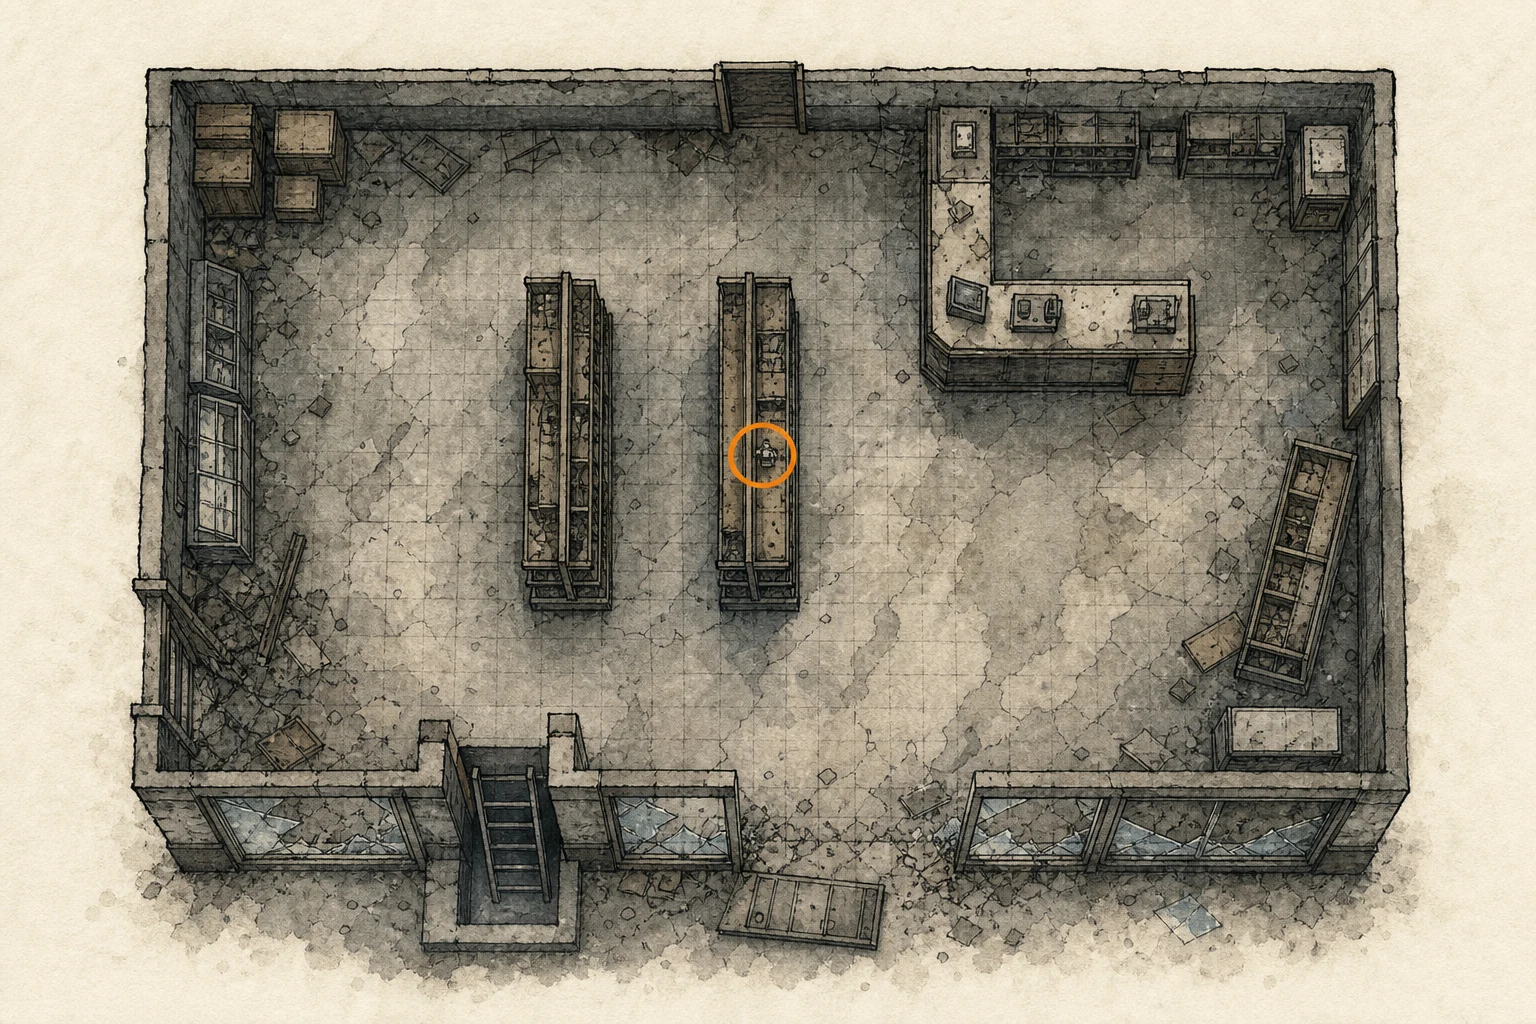
Gas Can (missable)
Key item
HintThe station grounds contain fuel equipment needed for nearby machinery.
WhereFollow the route through the Gas Station and take the Gas Can beside the generator.
Full detailCollect the Gas Can beside the generator after passing through the Gas Station, carry it to the filling point at the back of the station's main yard to turn it into the Gas Can with Fuel, then return and use it on the generator where the empty can was found.
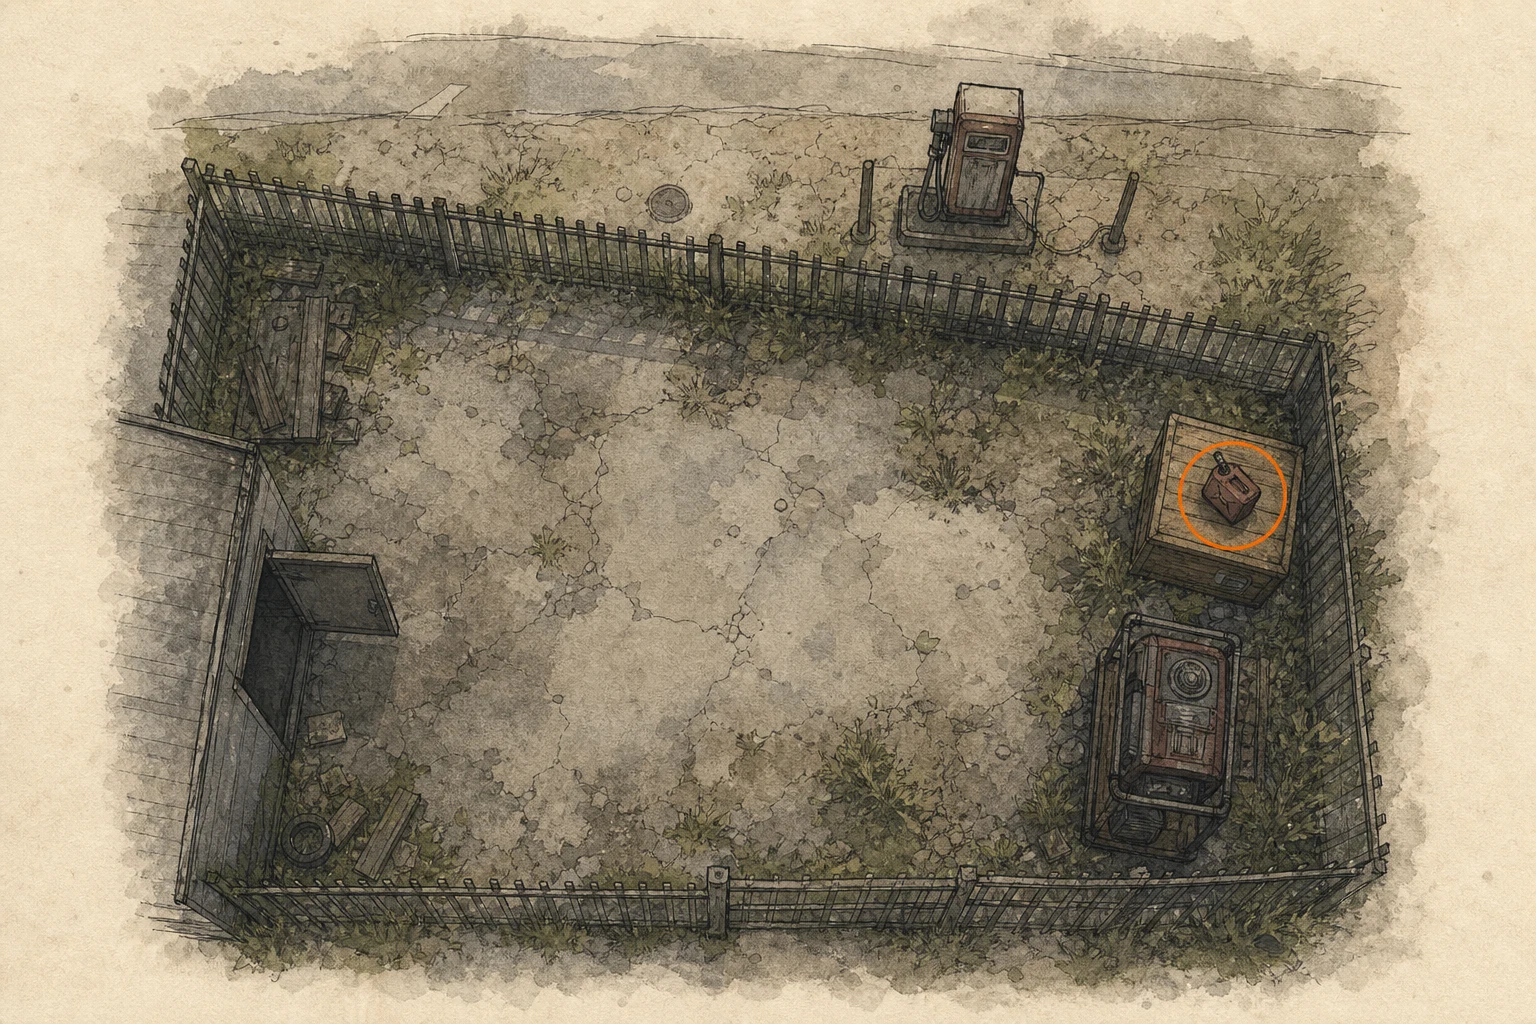
BSAA Container #1 (missable)
BSAA container
HintSearch the elevated roadside routes for the first locked blue container.
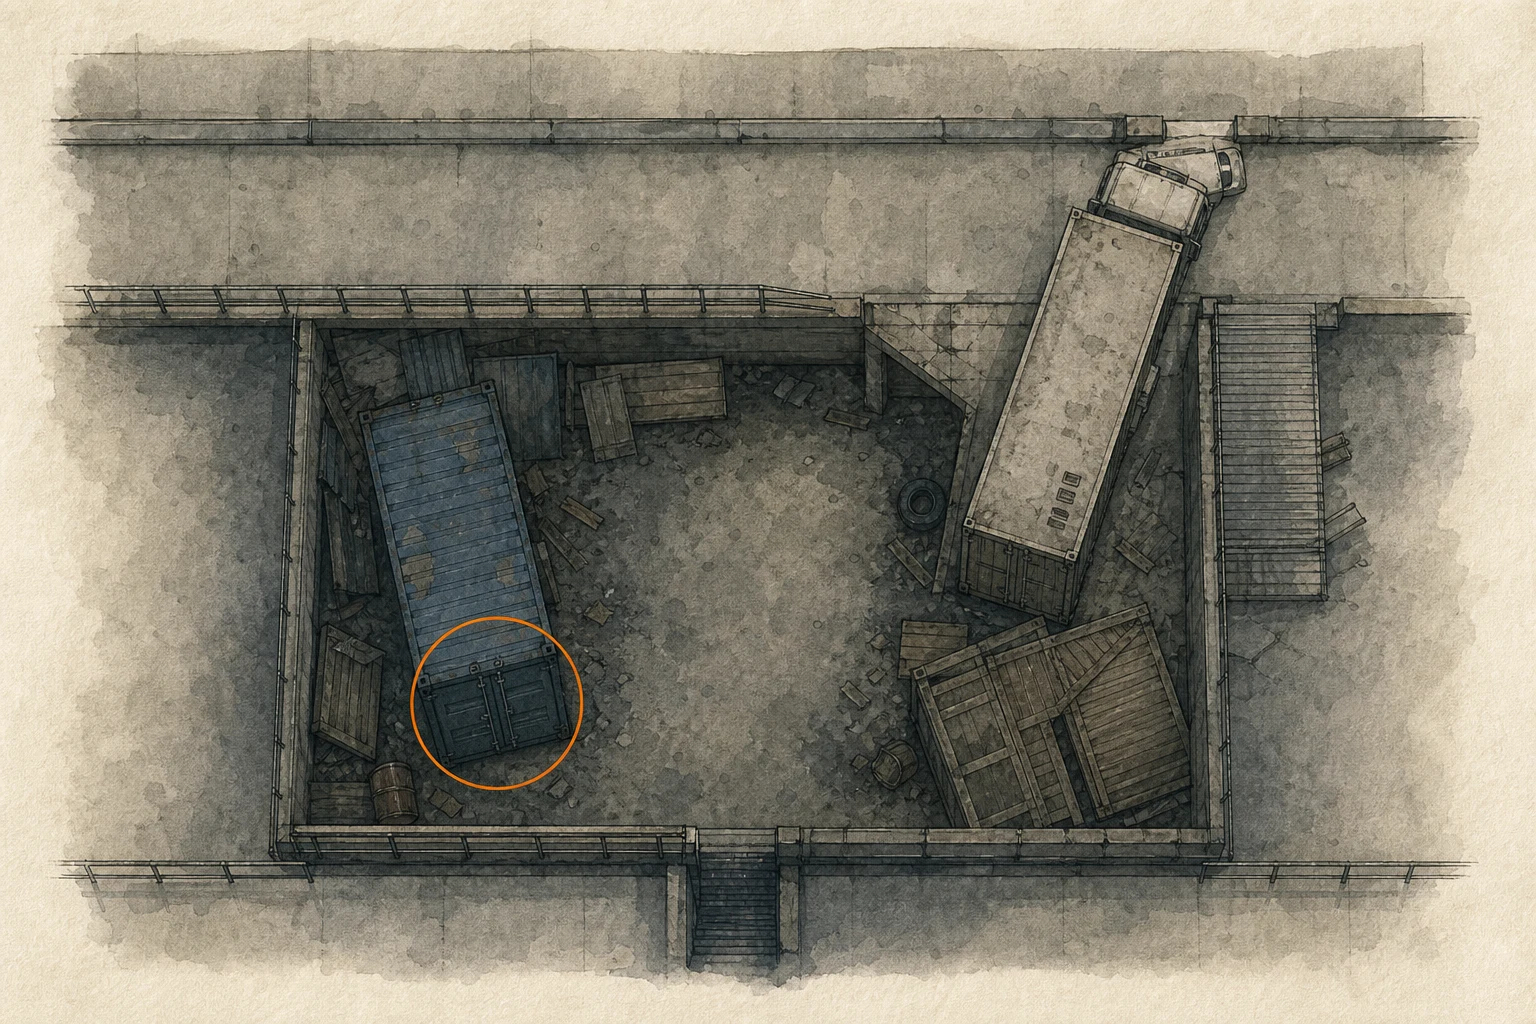
WhereOn the main road's eastern end between the Gas Station and Cedarbrook Apartments, climb behind the truck and unlock the large blue container with the BSAA Container Keys.
Full detailFollow the main road east from the Gas Station toward Cedarbrook Apartments, climb the route behind the truck at the road's end, and use the BSAA Container Keys on the large blue container; all three containers appear on the map when you approach them, and the weapon inside this one can still be purchased later if it does not fit in your inventory.
Marksman 1A (Sniper) (missable)
Weapon
HintMake room before opening the first locked blue container; it holds a large weapon.
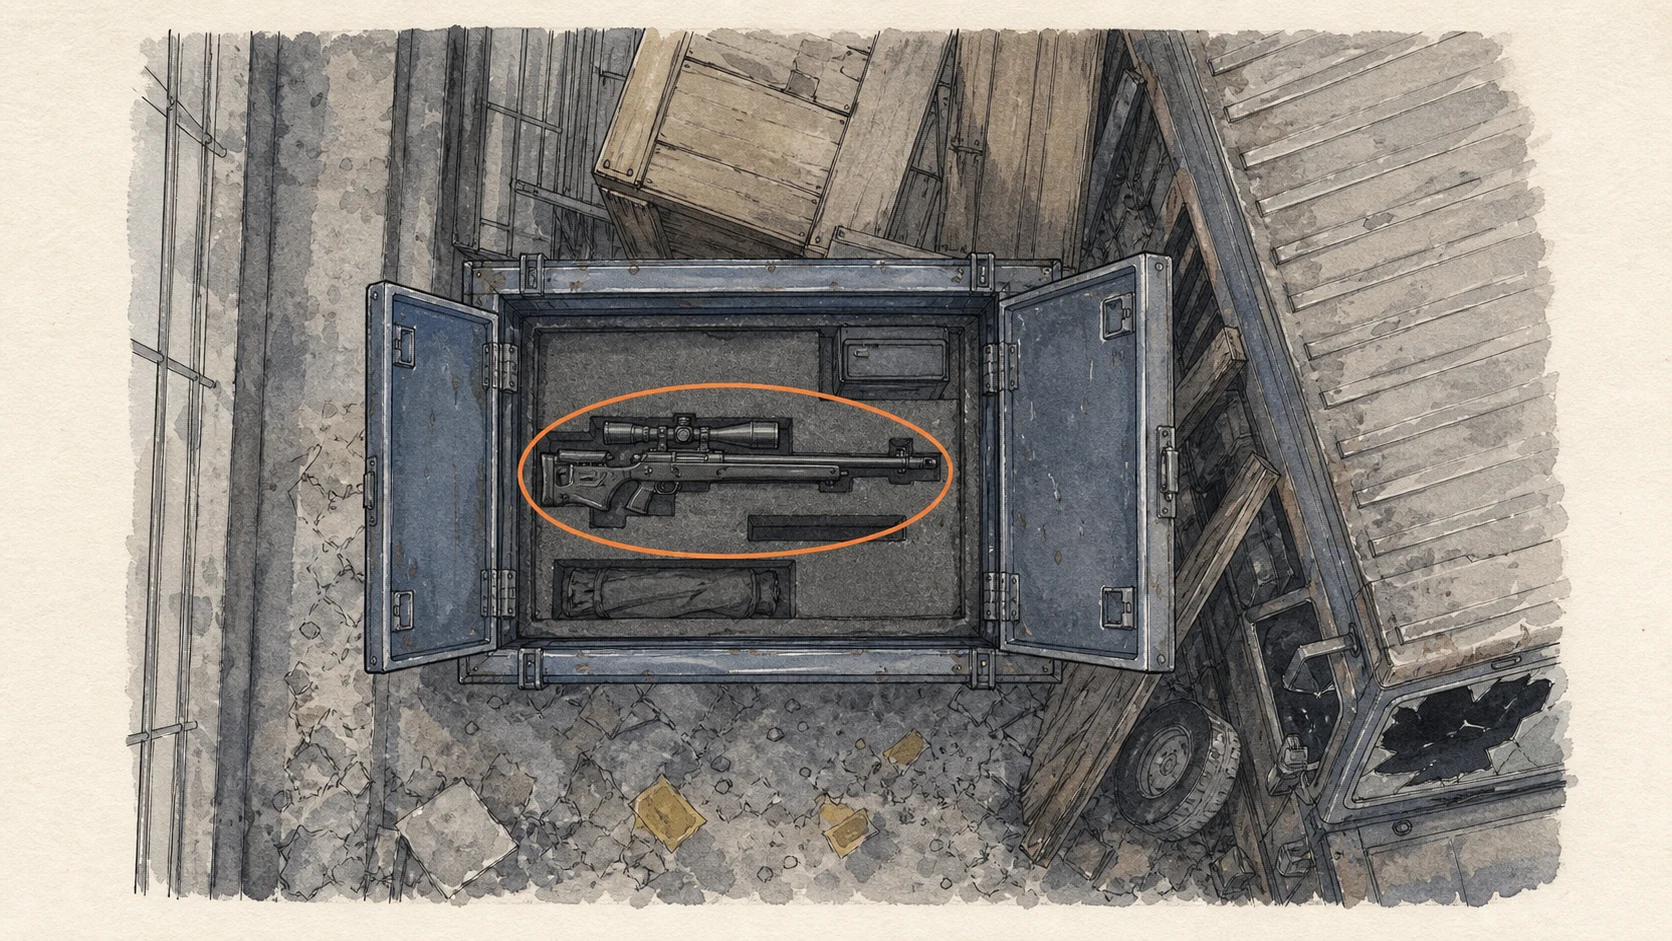
WhereUnlock BSAA Container #1 on the main road's eastern end, between the Gas Station and Cedarbrook Apartments, to obtain the Marksman 1A.
Full detailAt the main road's eastern end, climb behind the truck and use the BSAA Container Keys on Container #1. Take the Marksman 1A; if the case is full, later Supply Boxes will sell it.
Mr. Raccoon #17 (missable)
Mr. Raccoon figure
HintA newly opened road shortcut has something hidden below it.
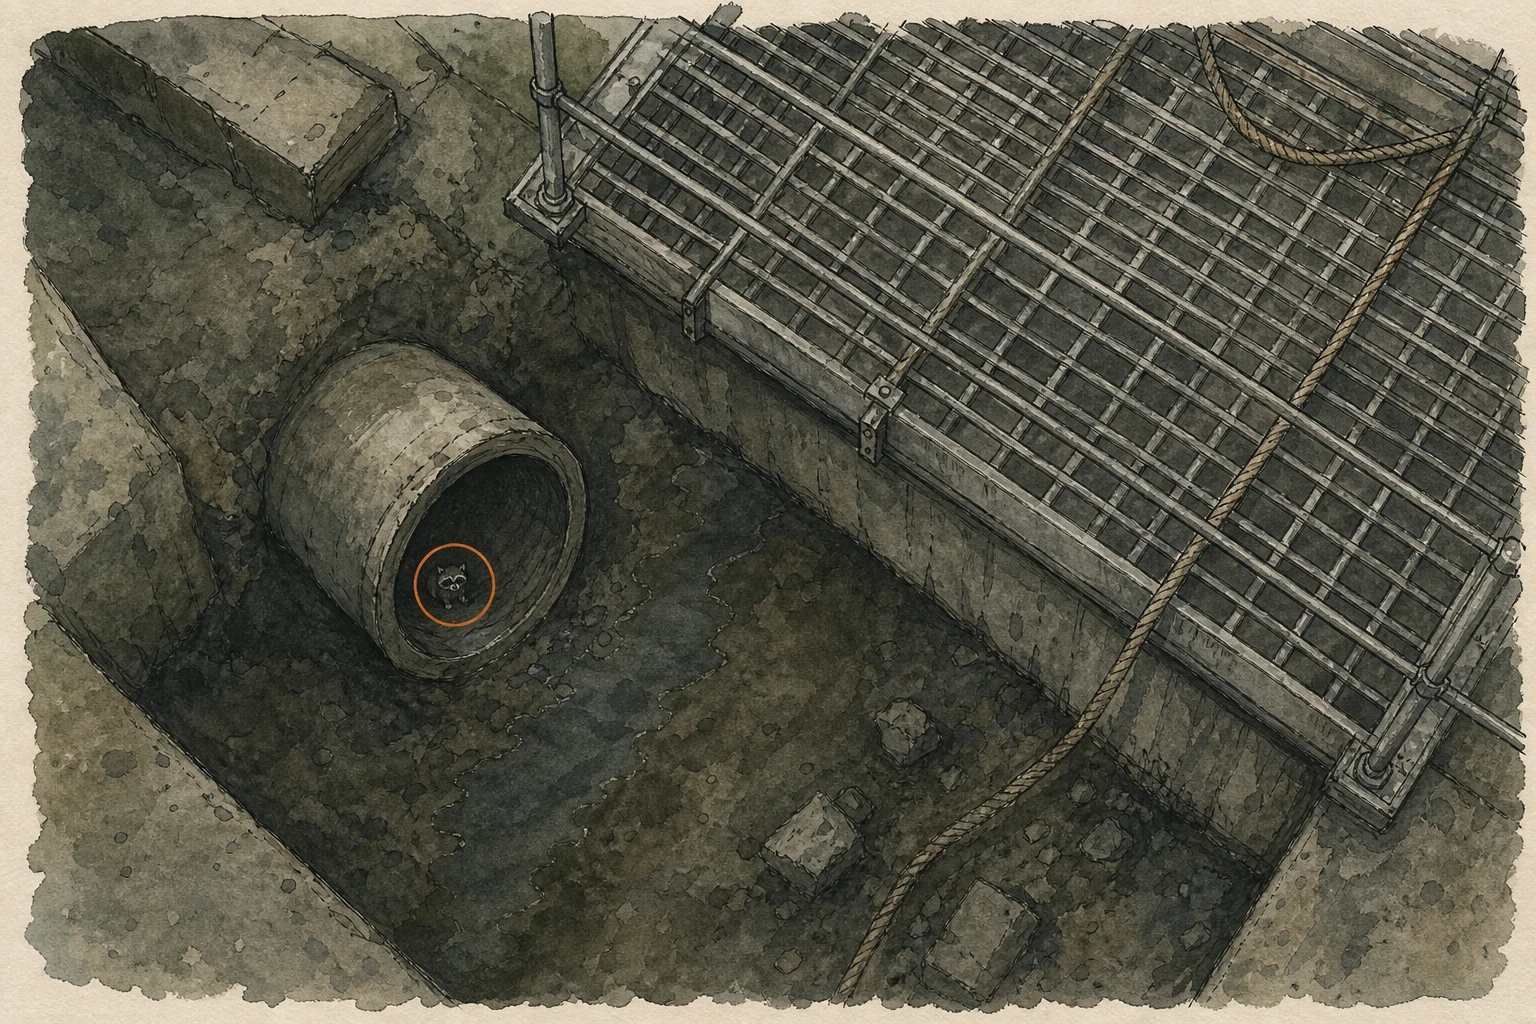
WhereAt the west end of the main road, activate the large crane shortcut and look down to the left while crossing it toward Central Camp.
Full detailAt the main road's western end, activate the large crane to form the Central Camp shortcut and start crossing it. Aim down-left into the exposed sewage pipe and destroy the figure inside.
BSAA Container #2 (missable)
BSAA container
HintRevisit the camp's large blue container after obtaining its matching keys.
WhereIn Central Camp, use the BSAA Container Keys on the large blue container in the corner beside the tent.
Full detailBacktrack to Central Camp, locate the large blue container in the corner beside the tent, and unlock it with the BSAA Container Keys; take the Repair Kit from inside before leaving.
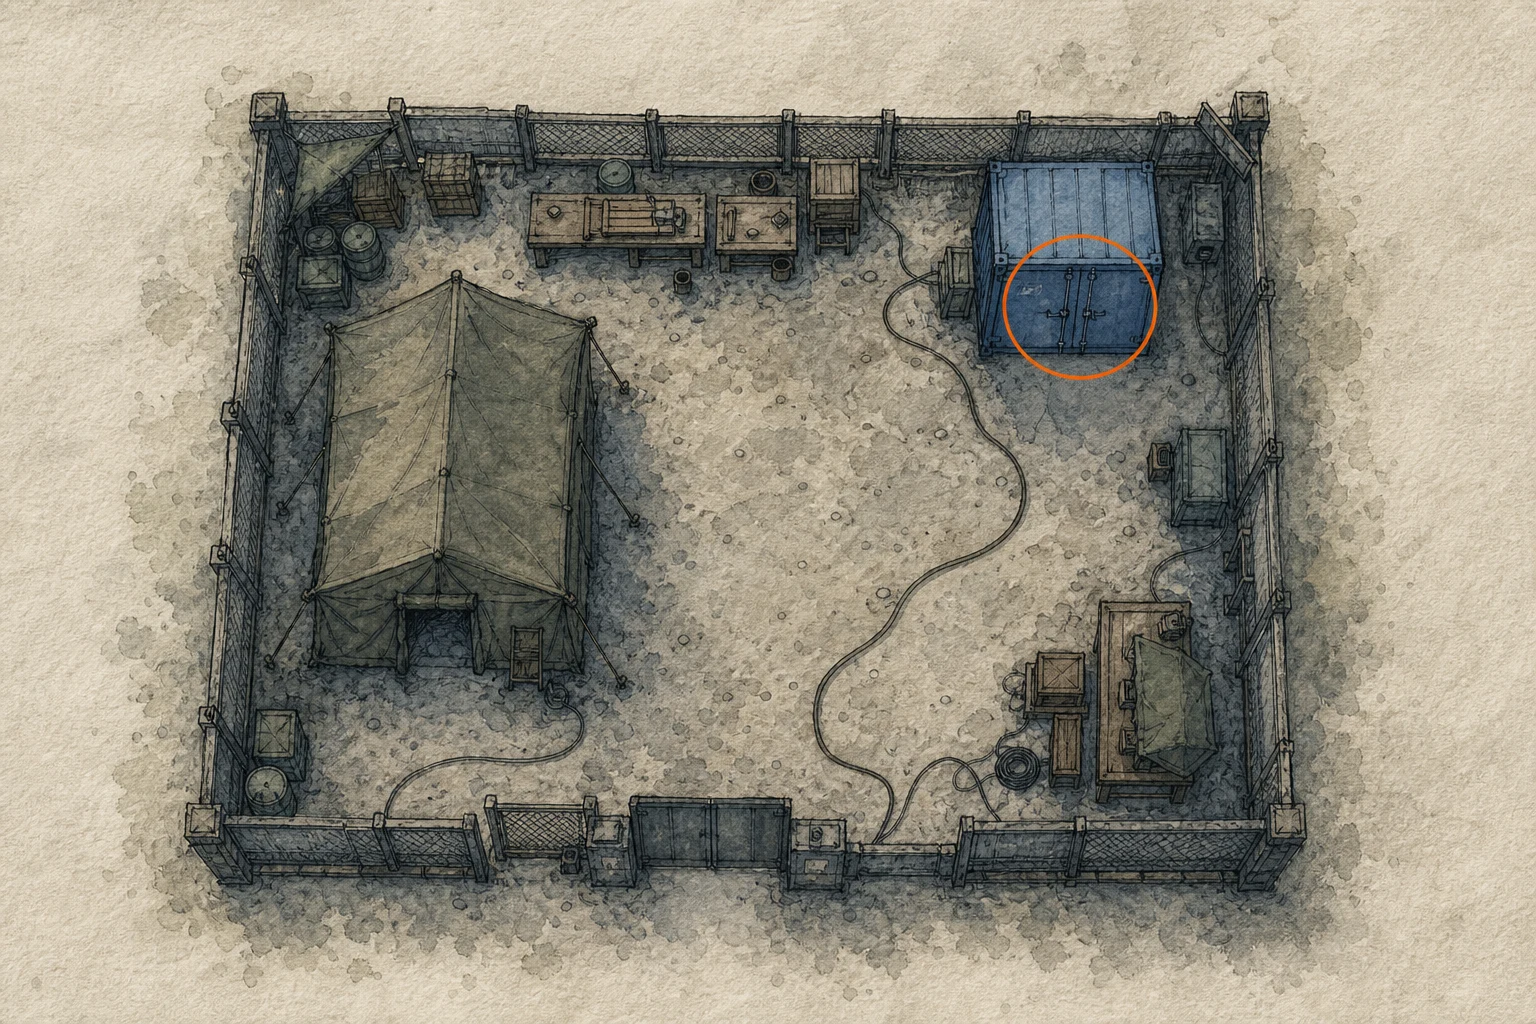
Repair Kit (missable)
Key item
HintA component inside one locked blue container repairs an assembled signal device.
WhereOpen BSAA Container #2 in the corner of Central Camp beside the tent and take the Repair Kit.
Full detailUse the BSAA Container Keys on the large blue container beside the Central Camp tent, collect the Repair Kit inside, and combine it with the Distributor & Broken Signal Receiver in your inventory.
Mr. Raccoon #18 (missable)
Mr. Raccoon figure
HintA subterranean route from the main road passes through a place worth searching seat by seat.
WhereUse the fueled generator at the large crane between the Gas Station and Central Camp, enter the opened route, descend underground, and check the passenger seats in the train compartment.
Full detailUse the Gas Can with Fuel on the generator beside the large crane on the road between the Gas Station and Central Camp, pass through the newly opened gate, and descend the ladder; follow the underground route into the train compartment, then shoot or strike the Mr. Raccoon sitting on a passenger seat.
BSAA Container #3 (missable)
BSAA container
HintAfter the underground station loop returns you near the city's opening streets, search outside the nearby buildings.
WhereContinue through Ridgewood Station until you emerge near the area's starting point, then open the large blue container outside The Applegate Hotel.
Full detailFrom the train compartment, continue through Ridgewood Station until the route returns you to the opening streets, locate the large blue container outside The Applegate Hotel, and unlock it with the BSAA Container Keys to collect the charm inside.
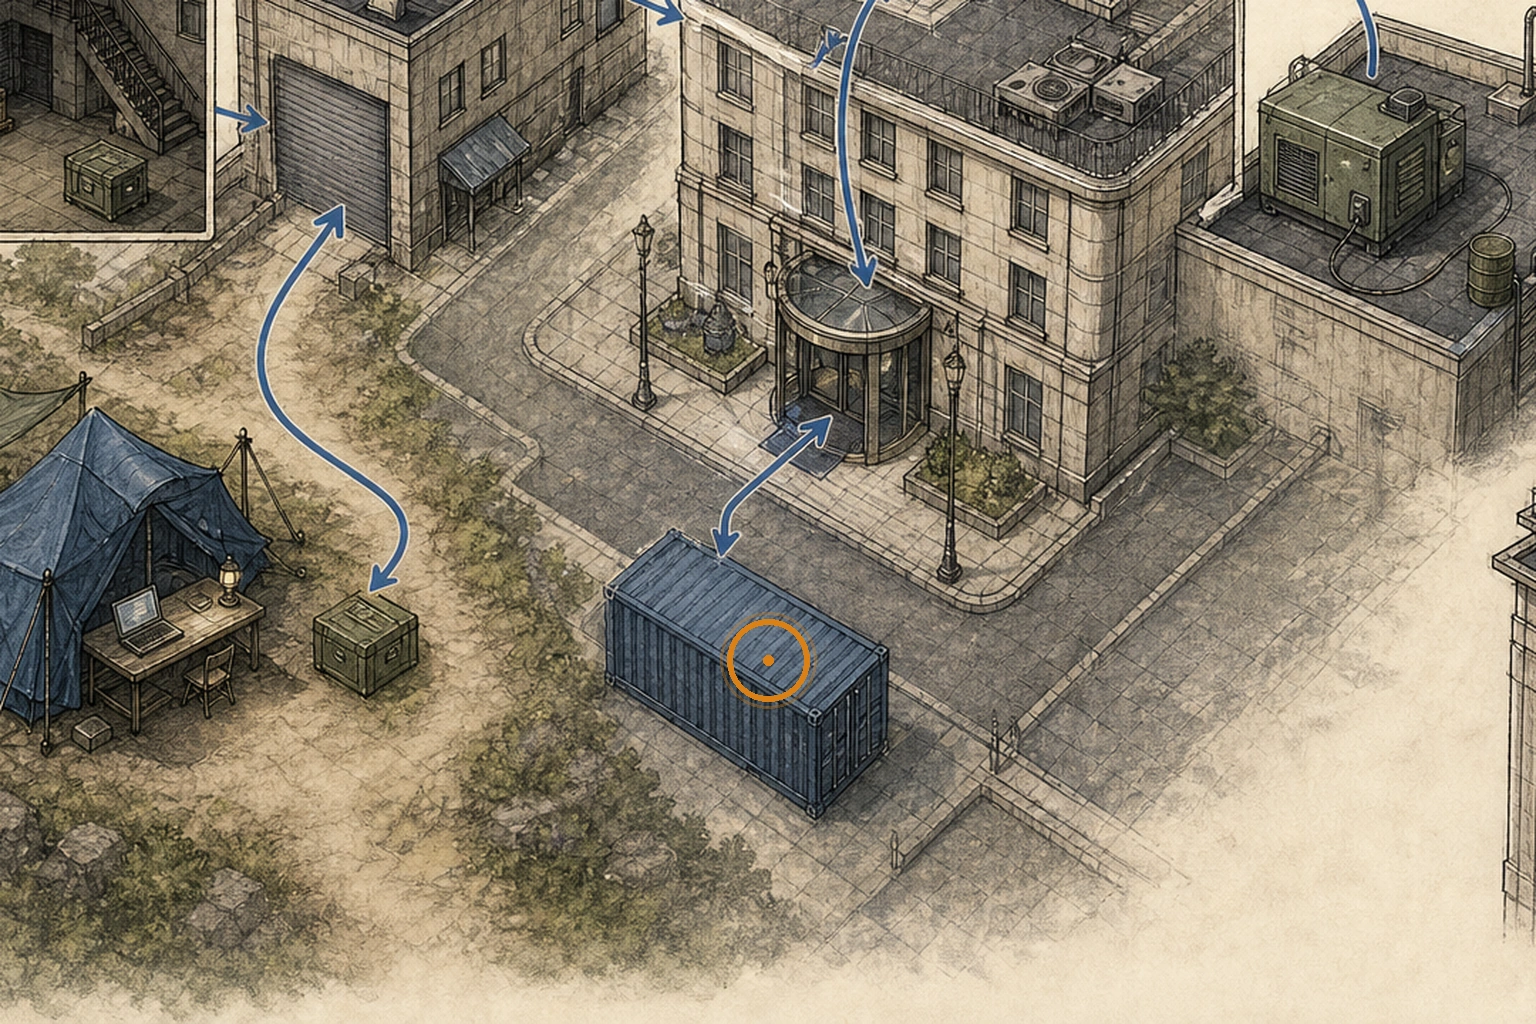
BSAA Emblem Charm (missable)
Charm
HintA late blue-container reward improves unscoped firepower.
WhereOpen BSAA Container #3 outside The Applegate Hotel after returning through Ridgewood Station.
Full detailFollow Ridgewood Station back to the area's opening streets and unlock the large blue container outside The Applegate Hotel with the BSAA Container Keys; take the BSAA Emblem Charm inside, whose firepower bonus applies only while a scope is not equipped.
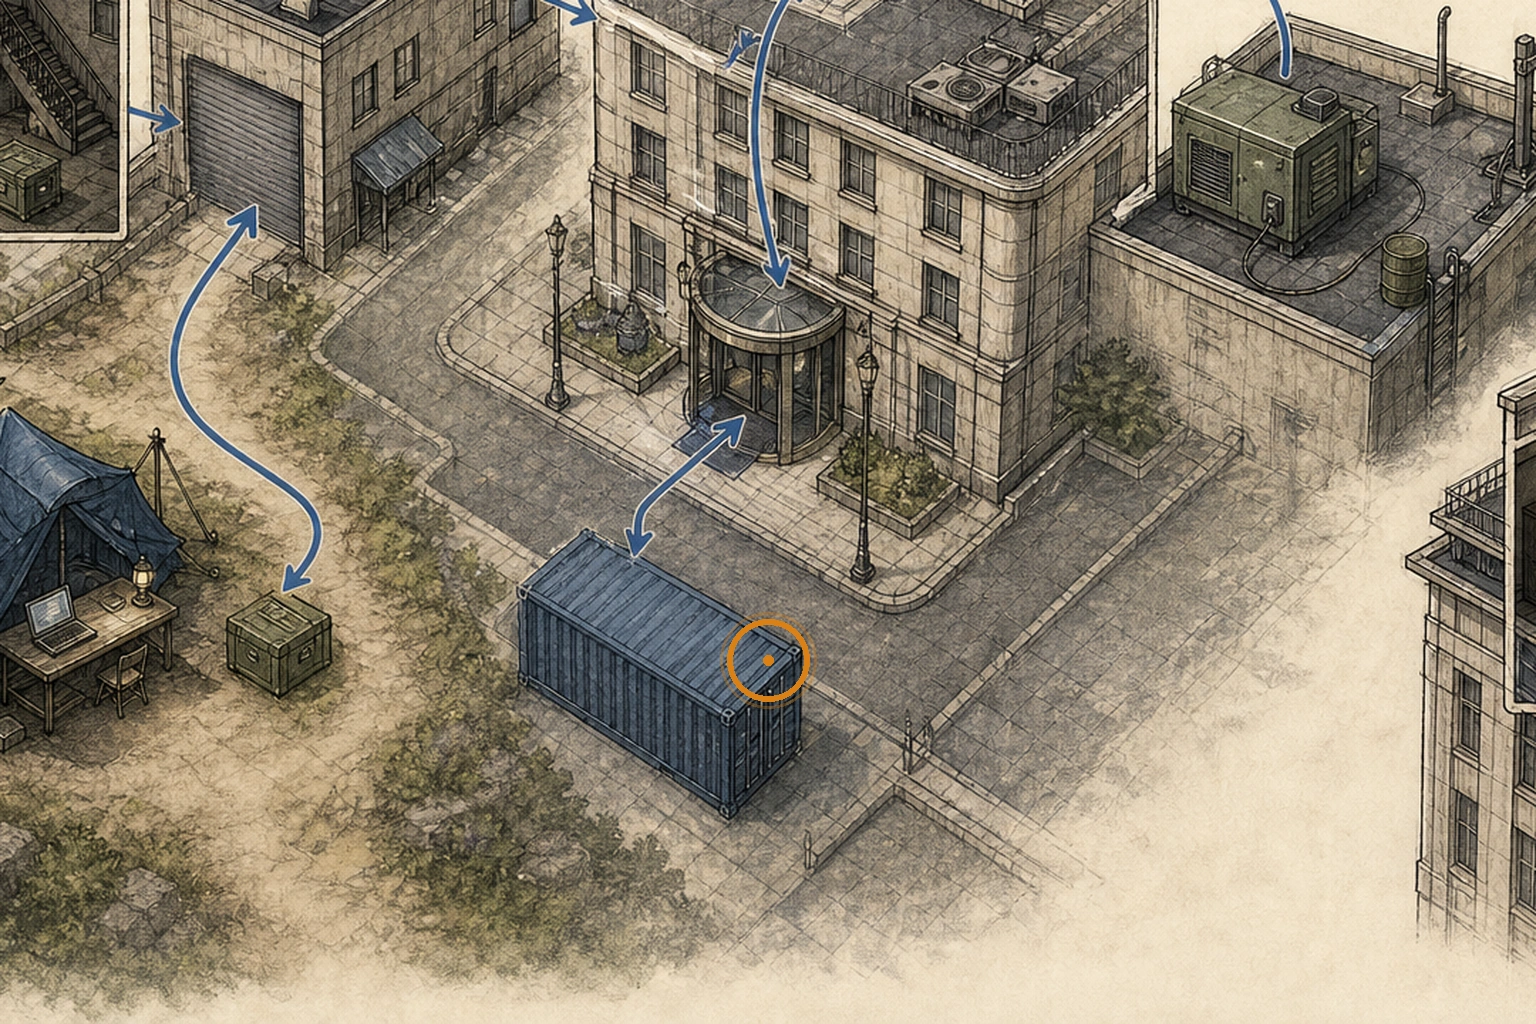
Mr. Raccoon #19 (missable)
Mr. Raccoon figure
HintA powered rooftop route from the camp leads to an elevated building with a hidden figure.
WhereReturn to Central Camp, take the elevator to the roof, climb down the right-hand ladder, power the generator, ride the zipline to Willis Tower, and check the shelf in the room beyond the upstairs sofas.
Full detailReturn through Ridgewood Station's second revolving door to Central Camp. Ride the camp elevator upward, descend the right-hand rooftop ladder, fuel the generator, press its red button, and zipline to Willis Tower. From the landing, go upstairs, turn right, follow the sofas into the next room, and break the shelf figure.
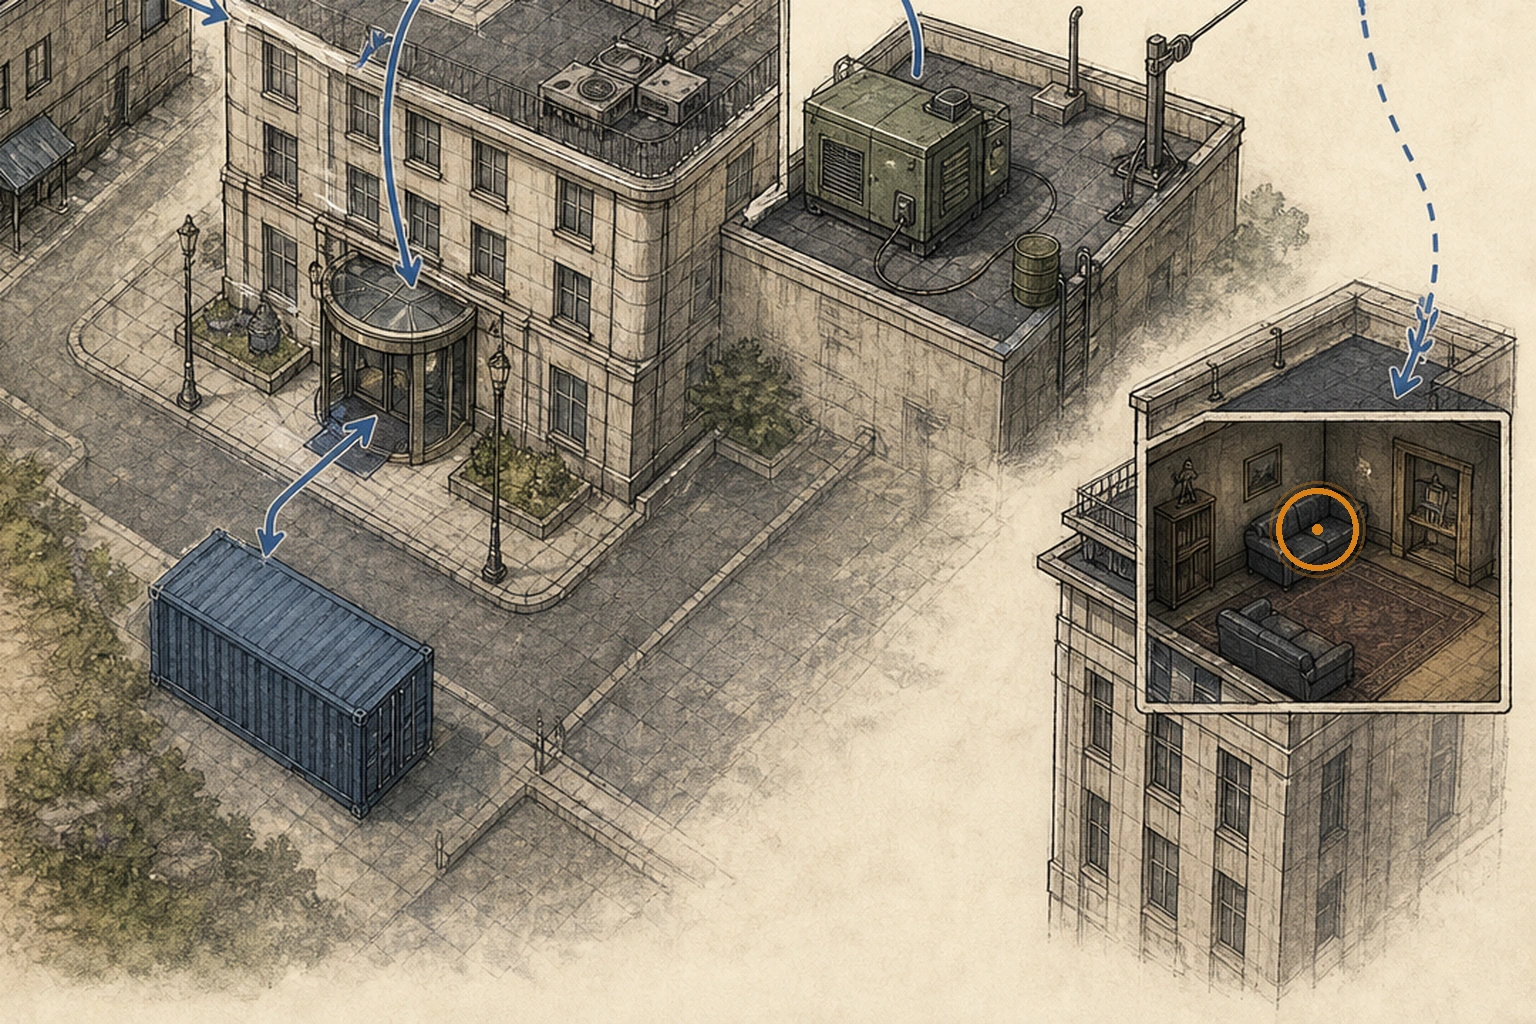
Relay (missable)
Key item
HintSearch the far end of the tower route for a component that completes an existing device.
WhereAt the end of Willis Tower, collect the Relay and combine it with the other detonator parts.
Full detailFollow the Willis Tower route to its end, take the Relay, then open your inventory and combine it with the other detonator components to create the finished Detonator.
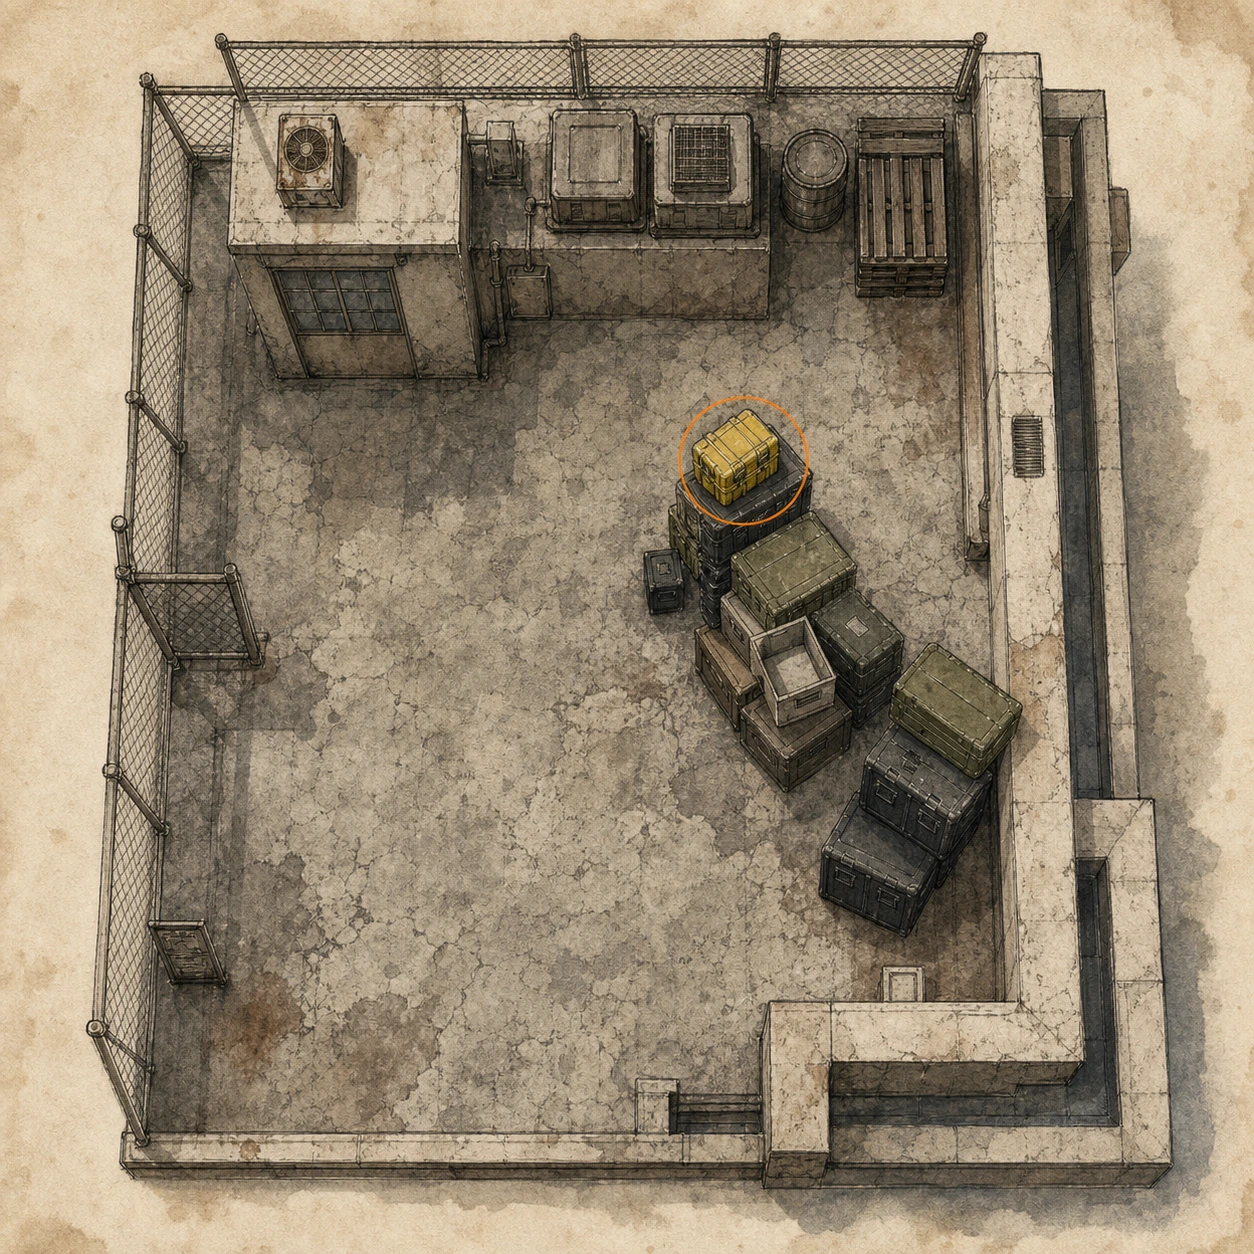
1998 Letter #1 (missable)
1998 Letter
HintThe hotel lobby contains optional reading before you take its main route.
WhereBefore using The Applegate Hotel's revolving-door route, take the letter from the couch in the lobby.
Full detailEnter The Applegate Hotel lobby before committing to the revolving-door route, inspect the couch, and collect the optional letter from its seat so it registers.
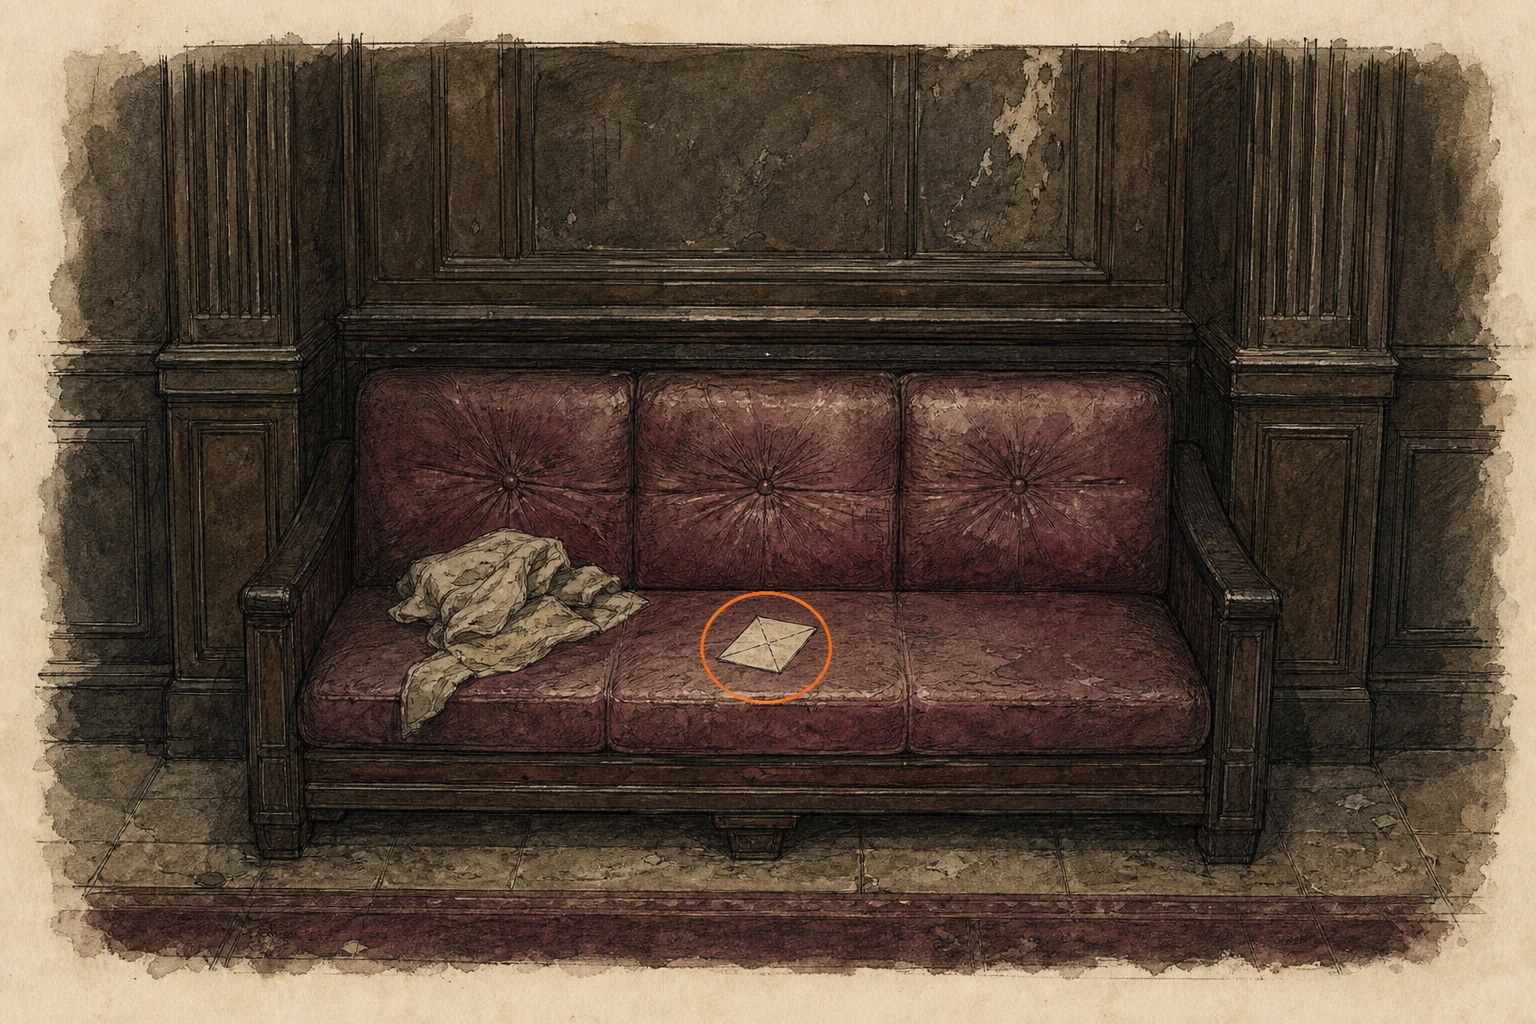
1998 Letter #2 (missable)
1998 Letter
HintExplore the gas-station shop shelves before leaving the city.
WhereInside the Gas Station store, take the letter from one of the shop shelves.
Full detailDuring the Gas Station sweep, enter the store area, inspect its shelving, and interact with the optional letter before leaving the building.
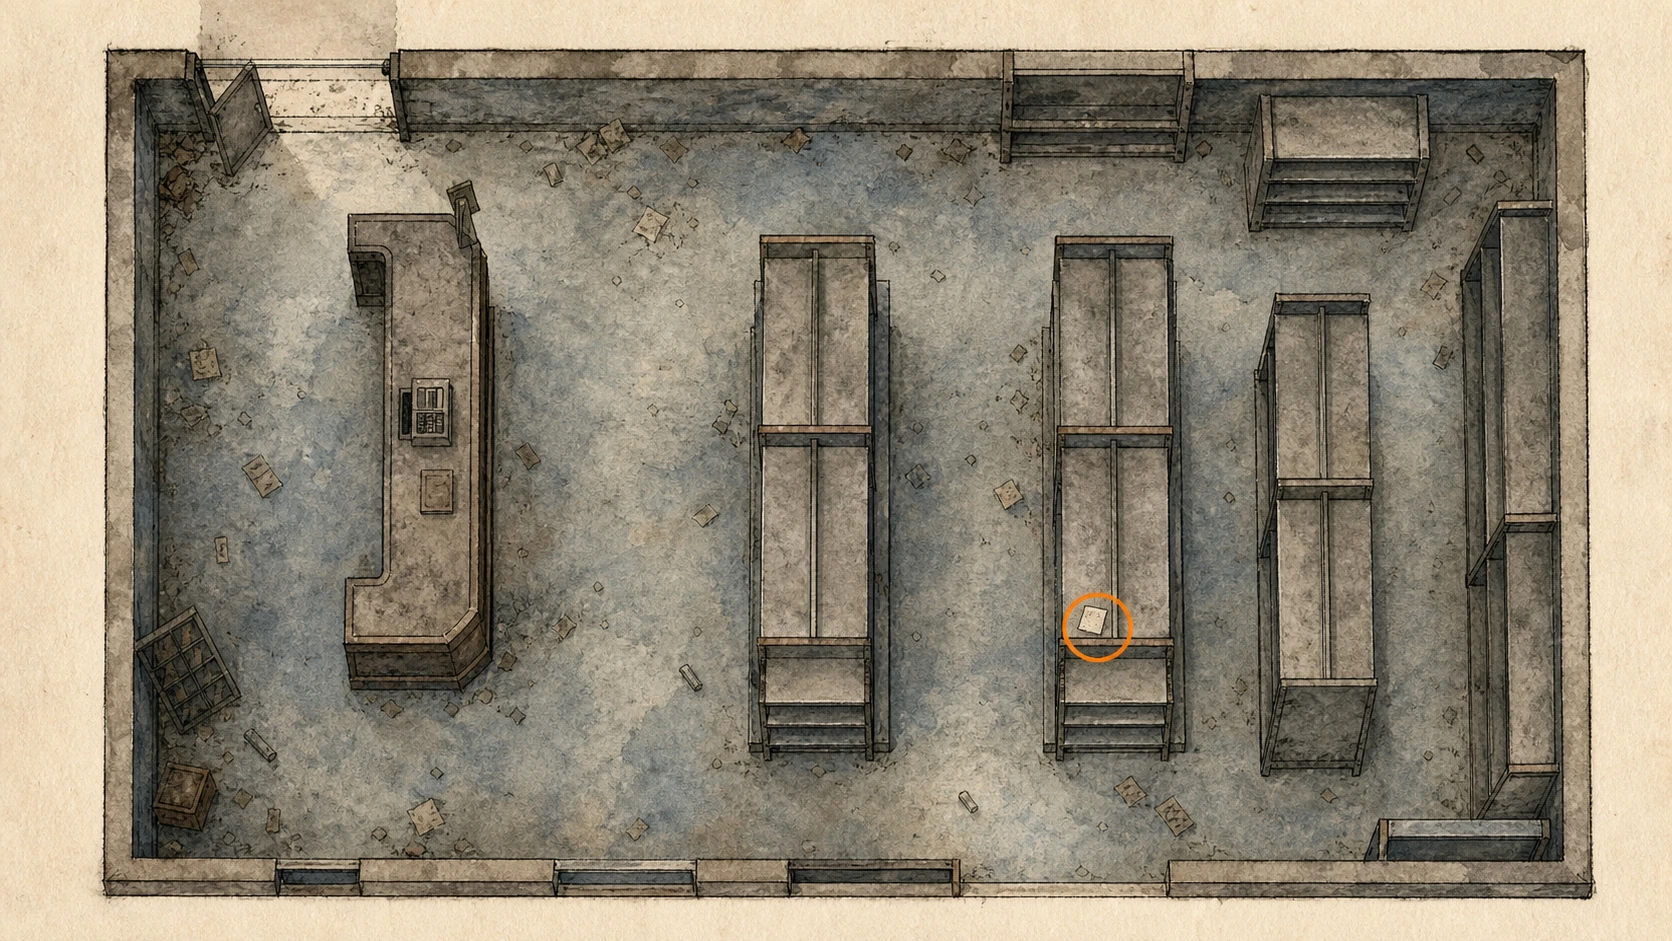
Raccoon City Center and R.P.D.
You are here when: A city-center approach into the police station main hall, west office, operations room, reception ladder route, S.T.A.R.S. office, and library.
R.P.D. route with a small exterior pickup first and several clue-linked office/library items.
Mr. Raccoon #20 (missable)
Mr. Raccoon figure
HintWhen city-center travel returns to foot, search the debris around the largest wrecks.
WhereAt the start of the on-foot city-center route, turn slightly left and look in the rubble in front of the destroyed tanker.
Full detailAs soon as the city-center route returns you to foot, angle slightly left toward the destroyed tanker, find the Mr. Raccoon in the rubble directly in front of it, and shoot or strike it until it breaks.
File #54 - R.P.D. Perimeter Report (missable)
File
HintEarly in the station interior, check the supply surfaces around the central save area.
WhereIn the R.P.D. Main Hall, read the report on the box opposite the save point.
Full detailAfter entering the R.P.D. Main Hall, face away from the save point, locate the report on the box directly opposite it, and interact with the document until it registers.
File #55 - Top Secret Operation (missable)
File
HintSearch the desks in the first offices adjoining the station's save point.
WhereIn the West Office beside the save point, read the file on the first desk to the right.
Full detailEnter the West Office next to the save point, turn toward the first desk on the right, and interact with Top Secret Operation before searching deeper into the room.
Mr. Raccoon #21 (missable)
Mr. Raccoon figure
HintA damaged ground-floor room hides a figure within its debris.
WhereIn the Operations Room, look into the rubble behind the wooden barricade on the room's left side.
Full detailMove to the left side of the Operations Room, aim into the rubble behind the wooden barricade, and shoot the concealed Mr. Raccoon until it breaks.
File #56 - Record of Events (missable)
File
HintInspect wall displays while sweeping the station's ground-floor work rooms.
WhereIn the Operations Room, interact with the Record of Events on the chalkboard.
Full detailApproach the chalkboard in the Operations Room and inspect the Record of Events directly on its surface, making sure the file registers before leaving.
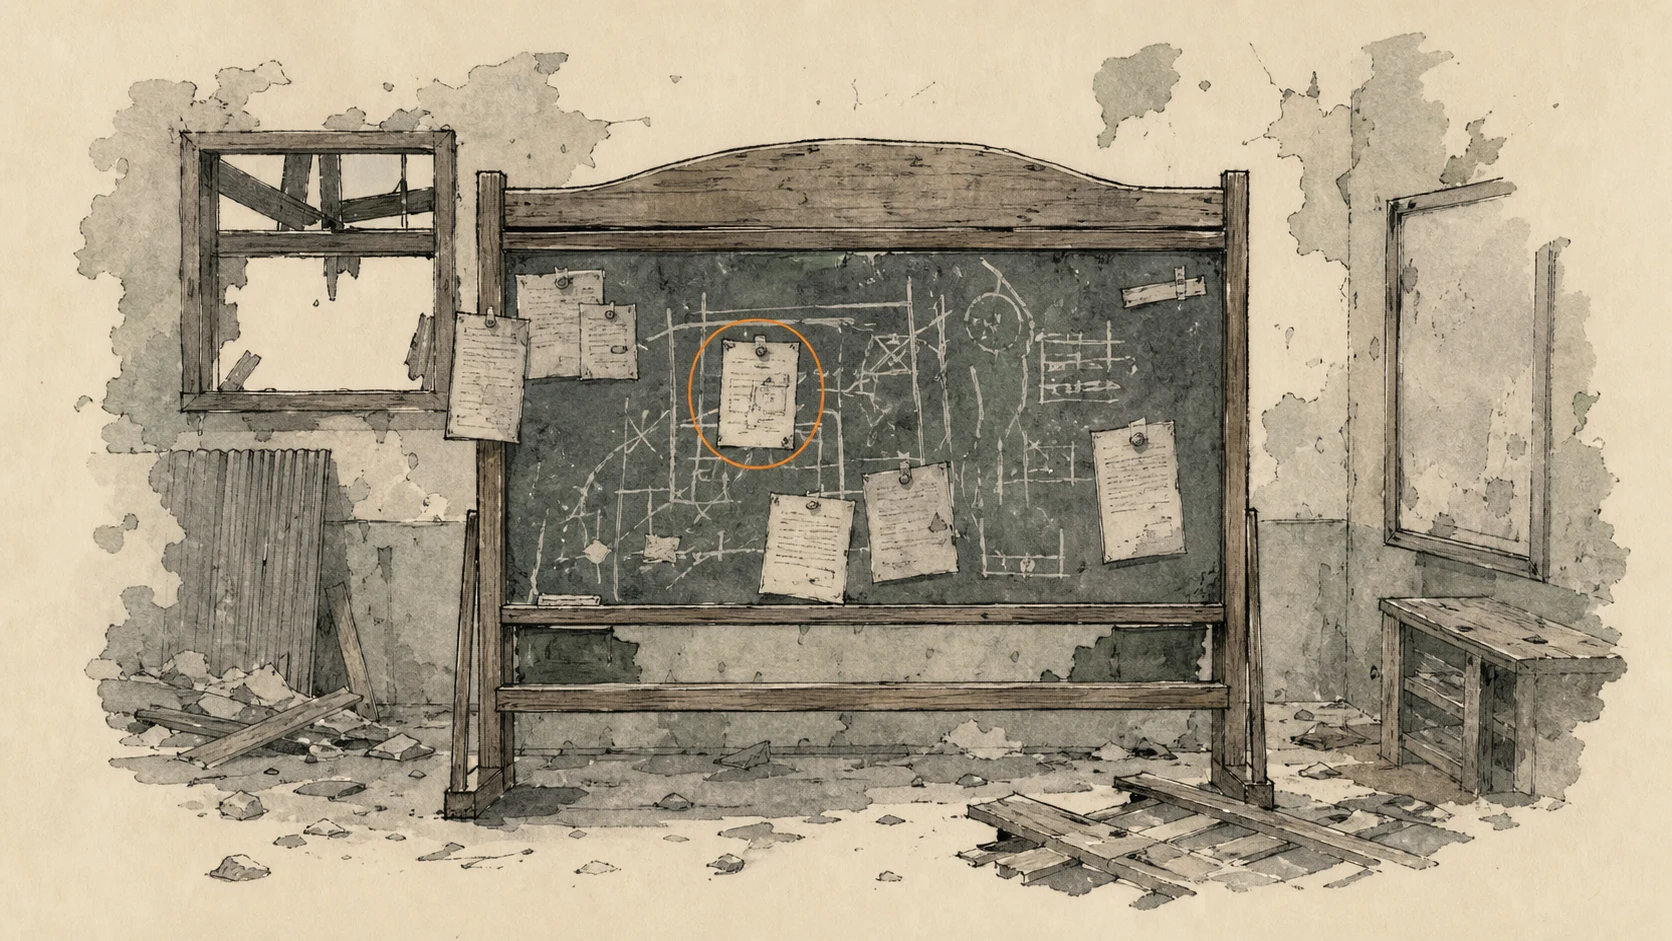
File #57 - Scavenger Hunt - Clue 2 (missable)
File
HintAn upstairs office reached from Reception holds an examinable clue among its storage furniture.
WhereAt Reception, shoot down and climb the ladder, follow the upper corridor past the Library, enter the S.T.A.R.S. Office, and inspect the shelf on the right.
Full detailGo south from the Operations Room to Reception, shoot down the ladder above the locked shutter, and climb to the second floor; continue straight through the corridor without entering the Library, enter the S.T.A.R.S. Office at the corridor's end, take the clue from the shelf on the right, and rotate it to read the note.
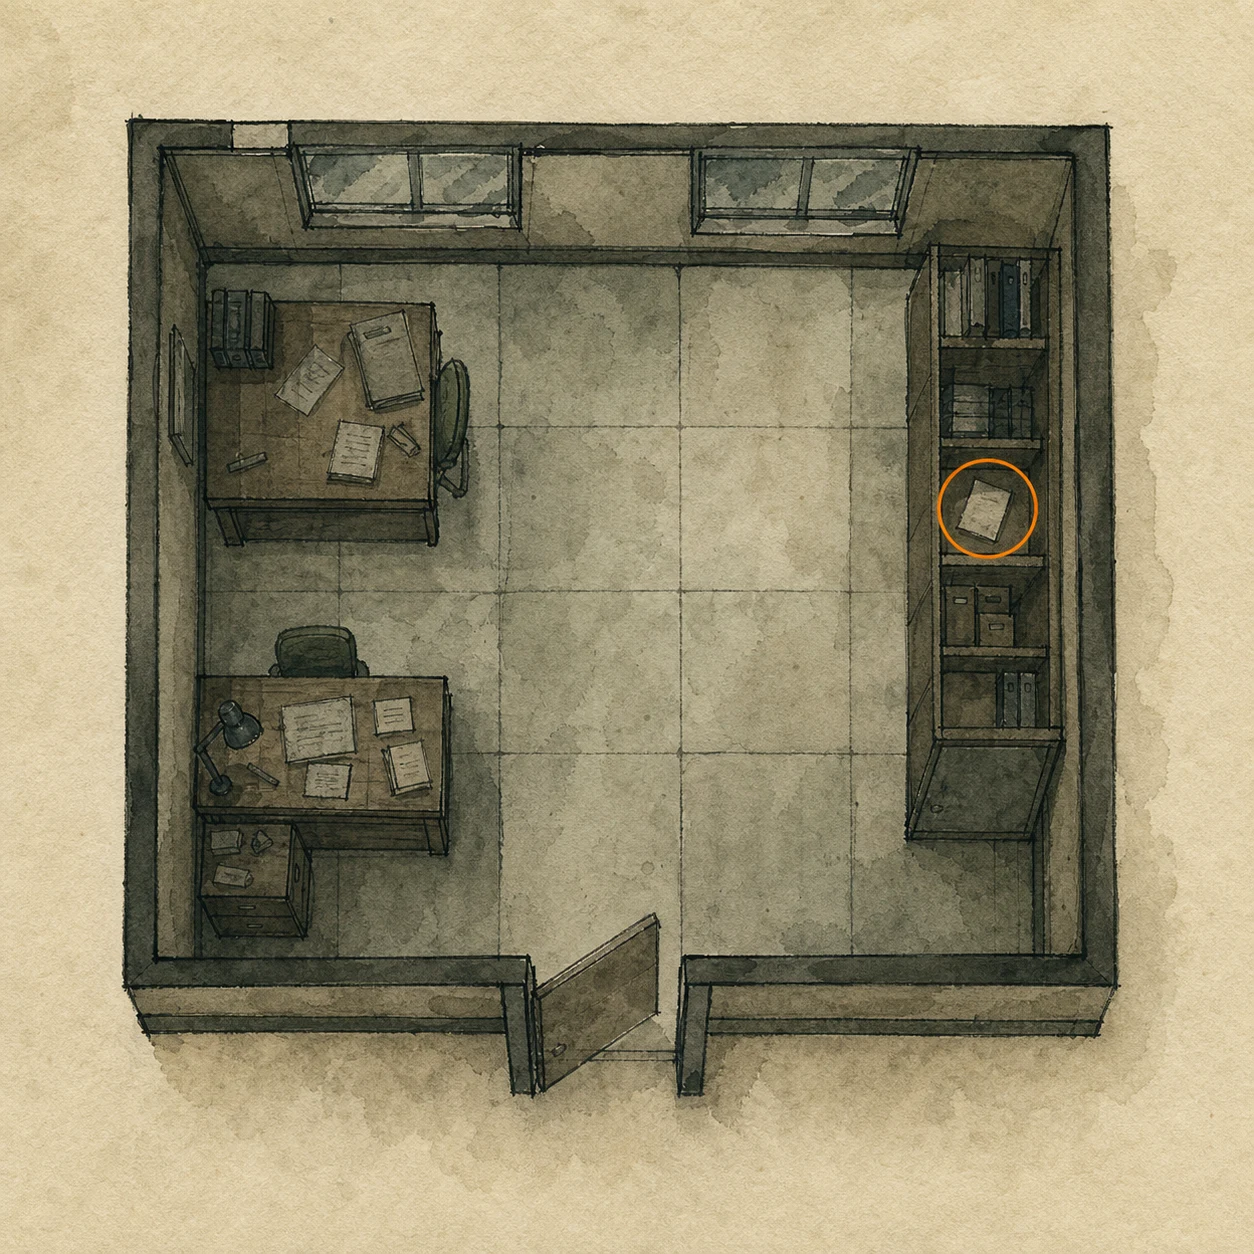
File #58 - Library Card (missable)
File
HintThe small side office adjoining the upstairs team room has a file requiring an extra interaction.
WhereIn the S.T.A.R.S. Office, enter the small side office on the left and open the desk drawer.
Full detailEnter the small side office to the left of the S.T.A.R.S. Office entrance, interact with the desk drawer to open it, then wait a moment for the Library Card to appear and collect it.
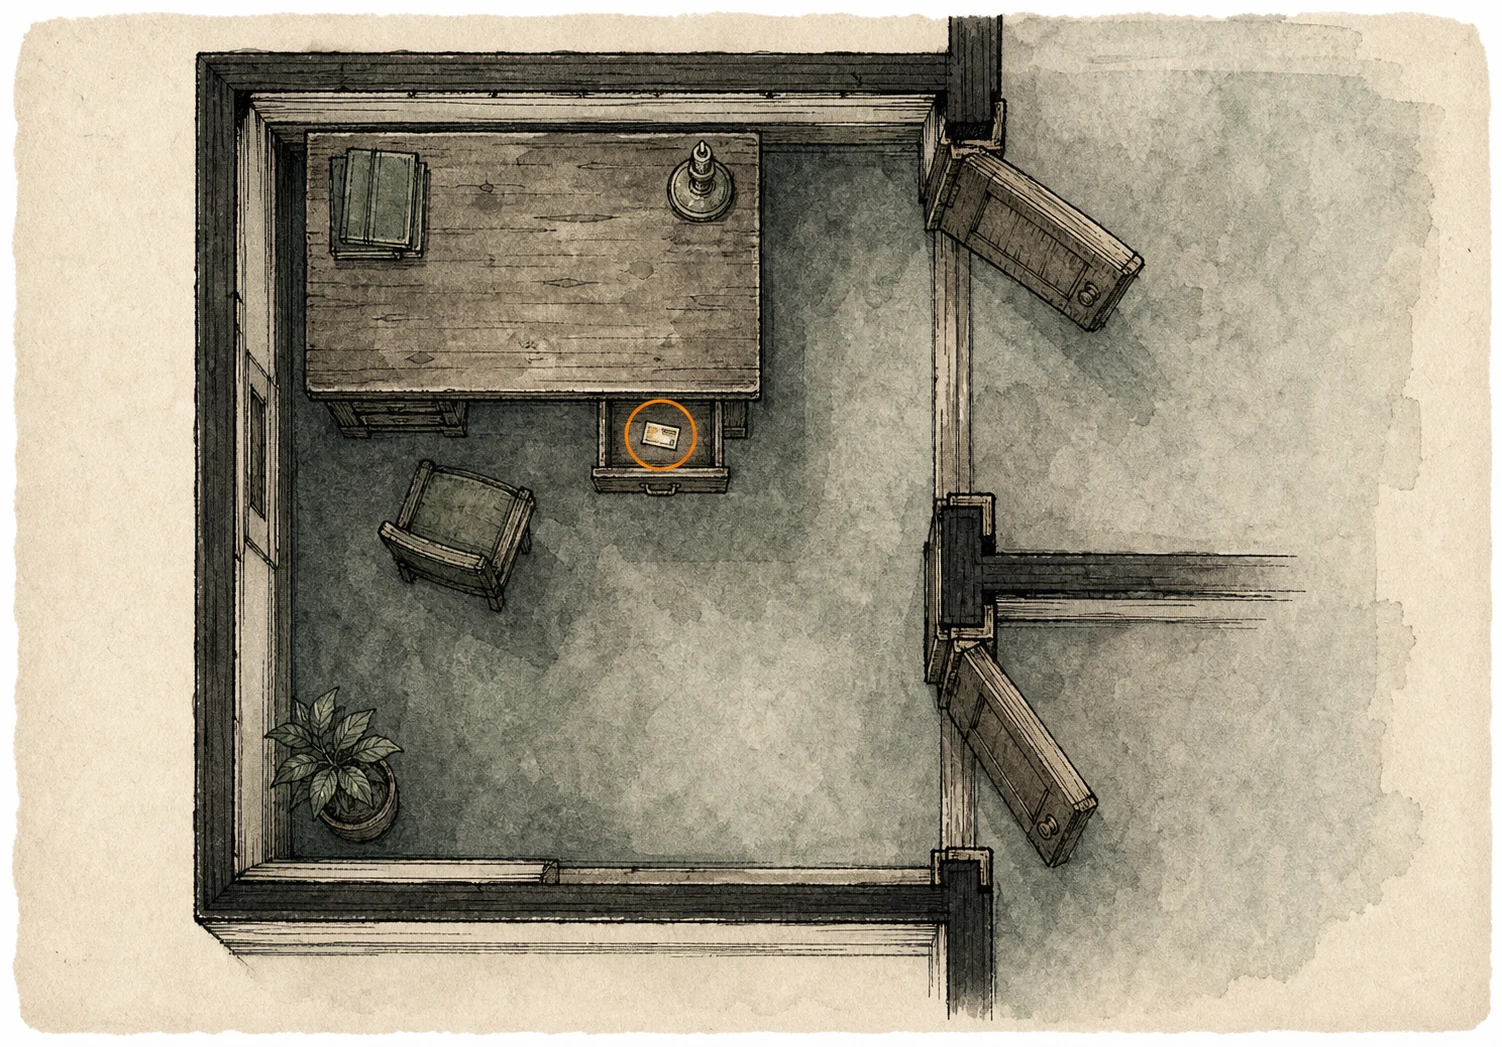
File #59 - Scavenger Hunt - Clue 1 (missable)
File
HintPersonal effects in the upstairs office conceal another clue.
WhereIn the S.T.A.R.S. Office, inspect the brown jacket hanging between the desks opposite the entrance.
Full detailStand inside the S.T.A.R.S. Office and face the wall directly opposite its entrance, interact with the brown jacket hanging between the desks, then rotate the recovered file to read the clue.
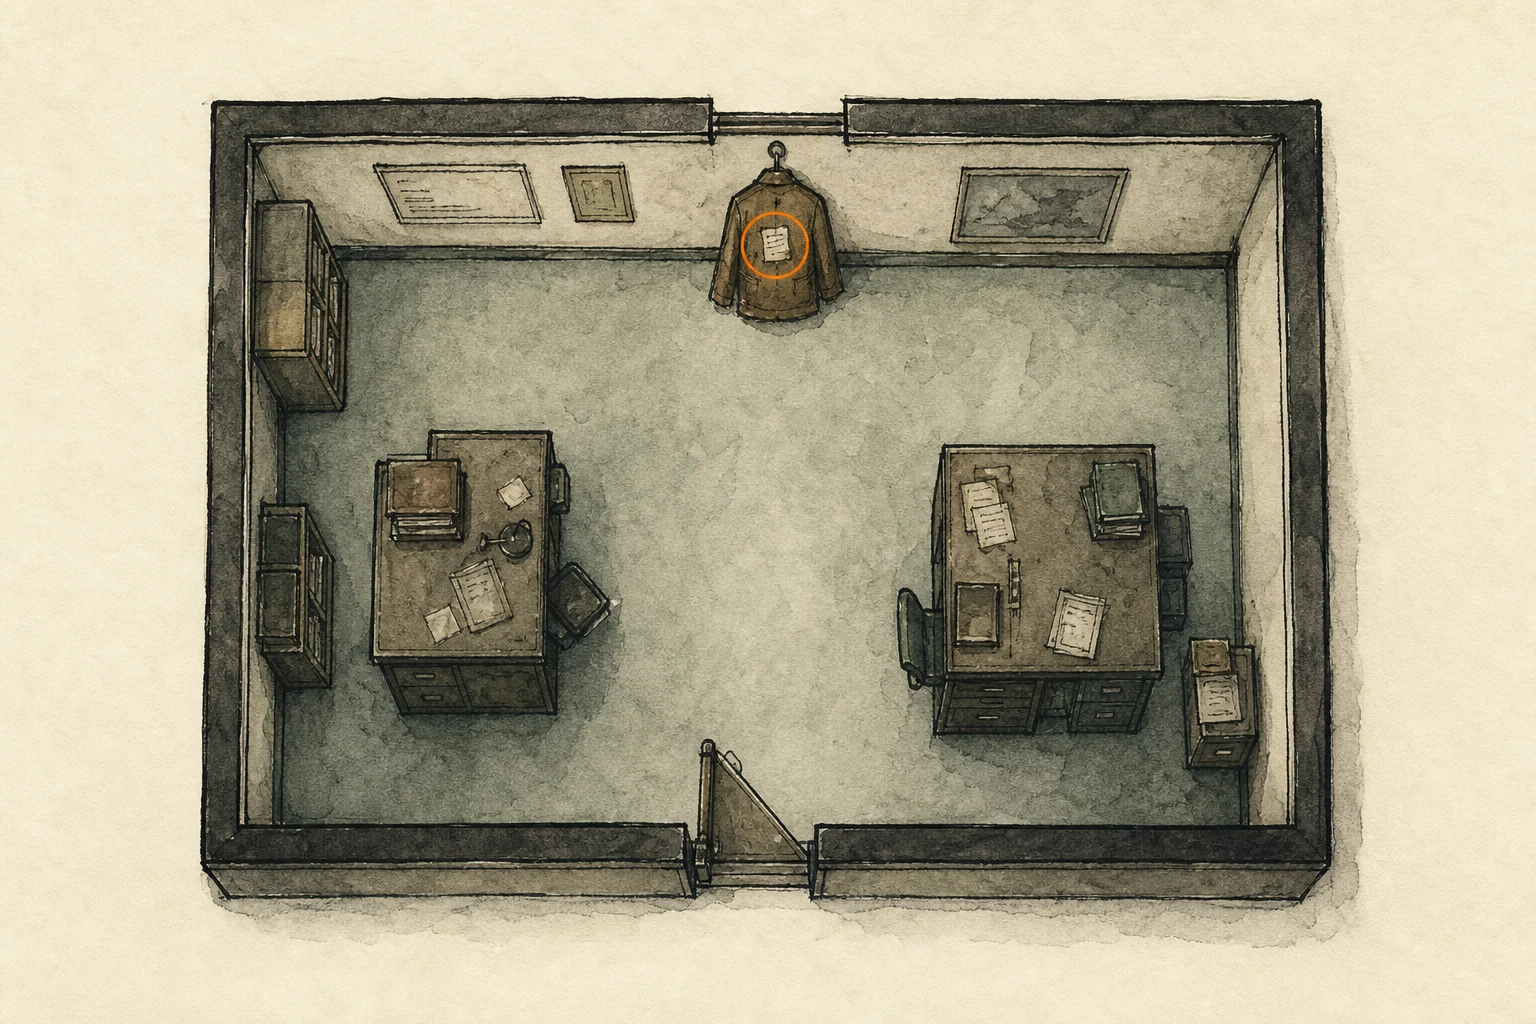
File #60 - Barry's To Do List (missable)
File
HintCheck every desk in the upstairs office before moving on to the Library.
WhereIn the S.T.A.R.S. Office, read Barry's To Do List on the leftmost desk.
Full detailMove to the leftmost desk in the S.T.A.R.S. Office, interact with Barry's To Do List on its surface, and make sure the file registers before leaving.
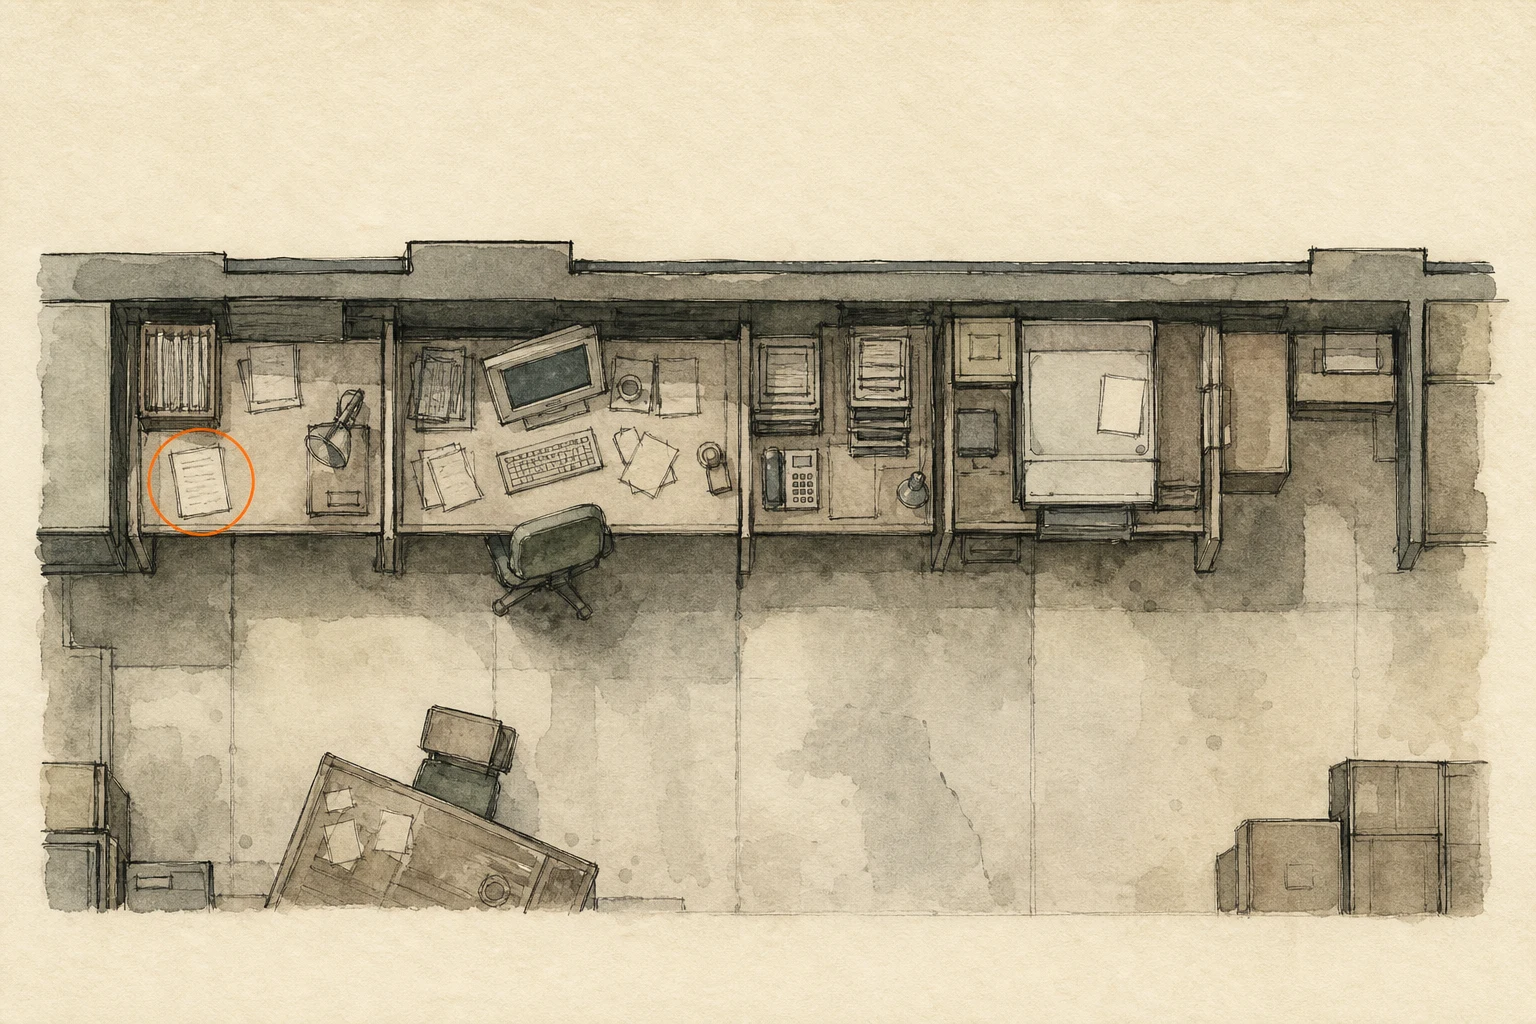
Power Shades Charm (missable)
Charm
HintA coded case in an upstairs side room can be opened before its formal clue appears.
WhereIn the locker room at the left corner of the S.T.A.R.S. Office, inspect the locked briefcase.
Full detailIn the locker room at the S.T.A.R.S. Office's left corner, set the briefcase to RRR. It opens before File #61 is found; Power Shades lets rounds pass through any number of targets and boosts the cylinder's last shot.
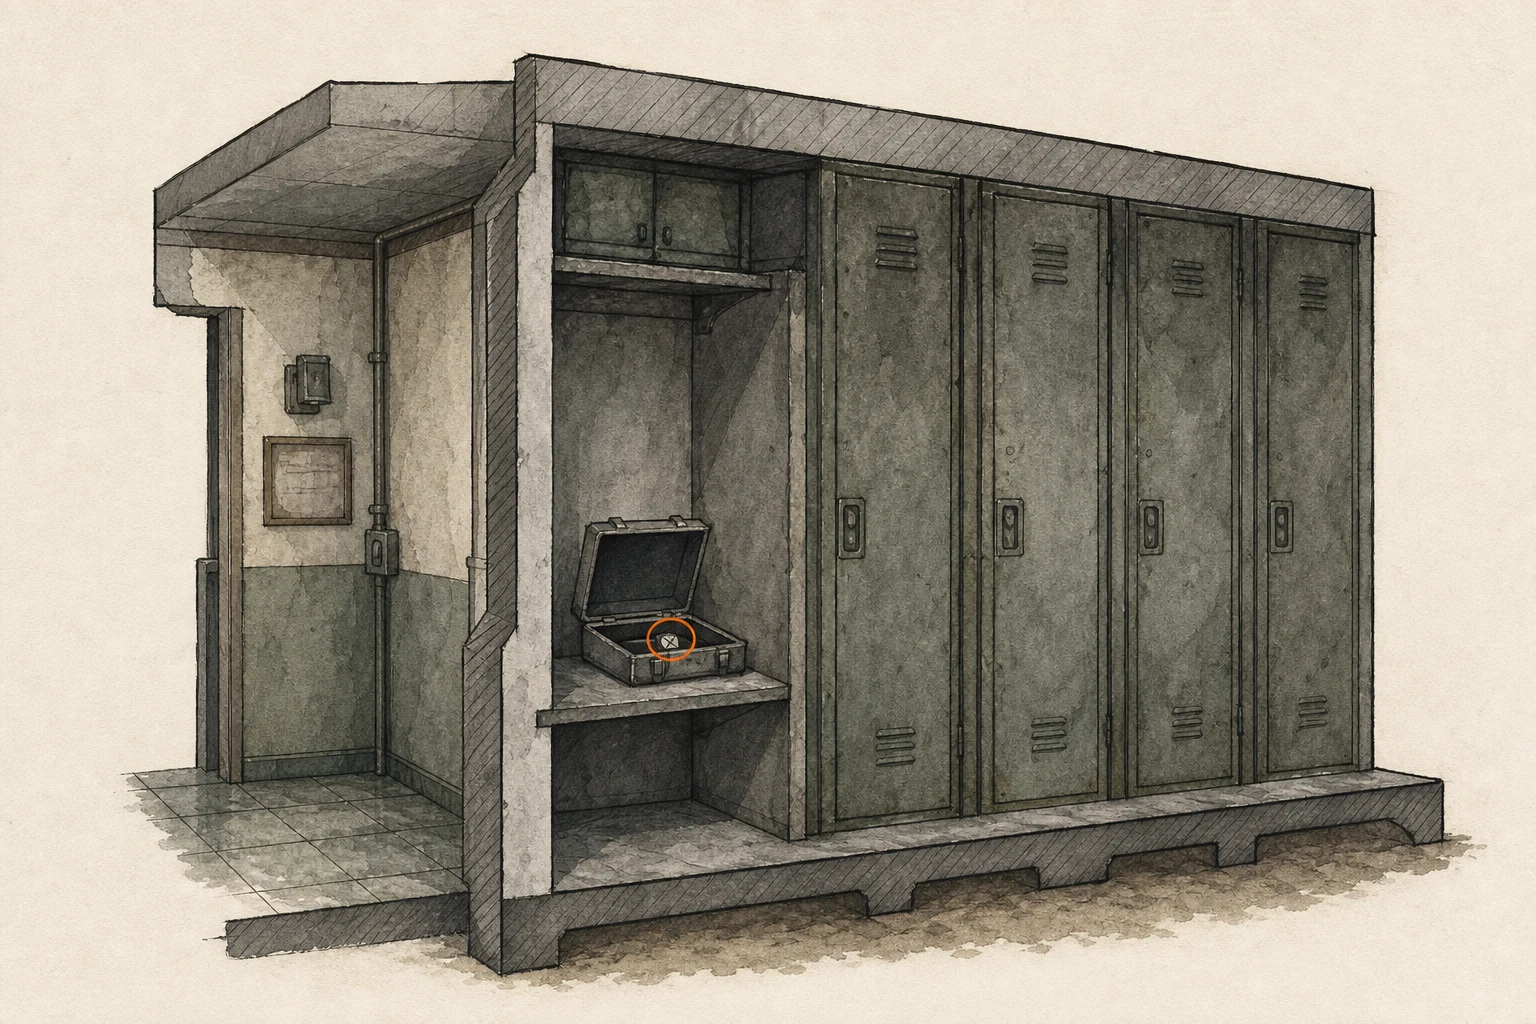
Locker Key (missable)
Key item
HintTwo related clue files make a hidden key appear back on the ground floor.
WhereAfter reading both Scavenger Hunt clue files, return to the Operations Room, climb the crate beside the chalkboard, and look toward the ceiling-mounted television.
Full detailRead both Scavenger Hunt clue files in the S.T.A.R.S. Office first, because the Locker Key does not appear until both have been opened; return downstairs to the Operations Room, climb onto the crate in front of the corner chalkboard, turn toward the television fixed to the ceiling, and collect the newly visible key.
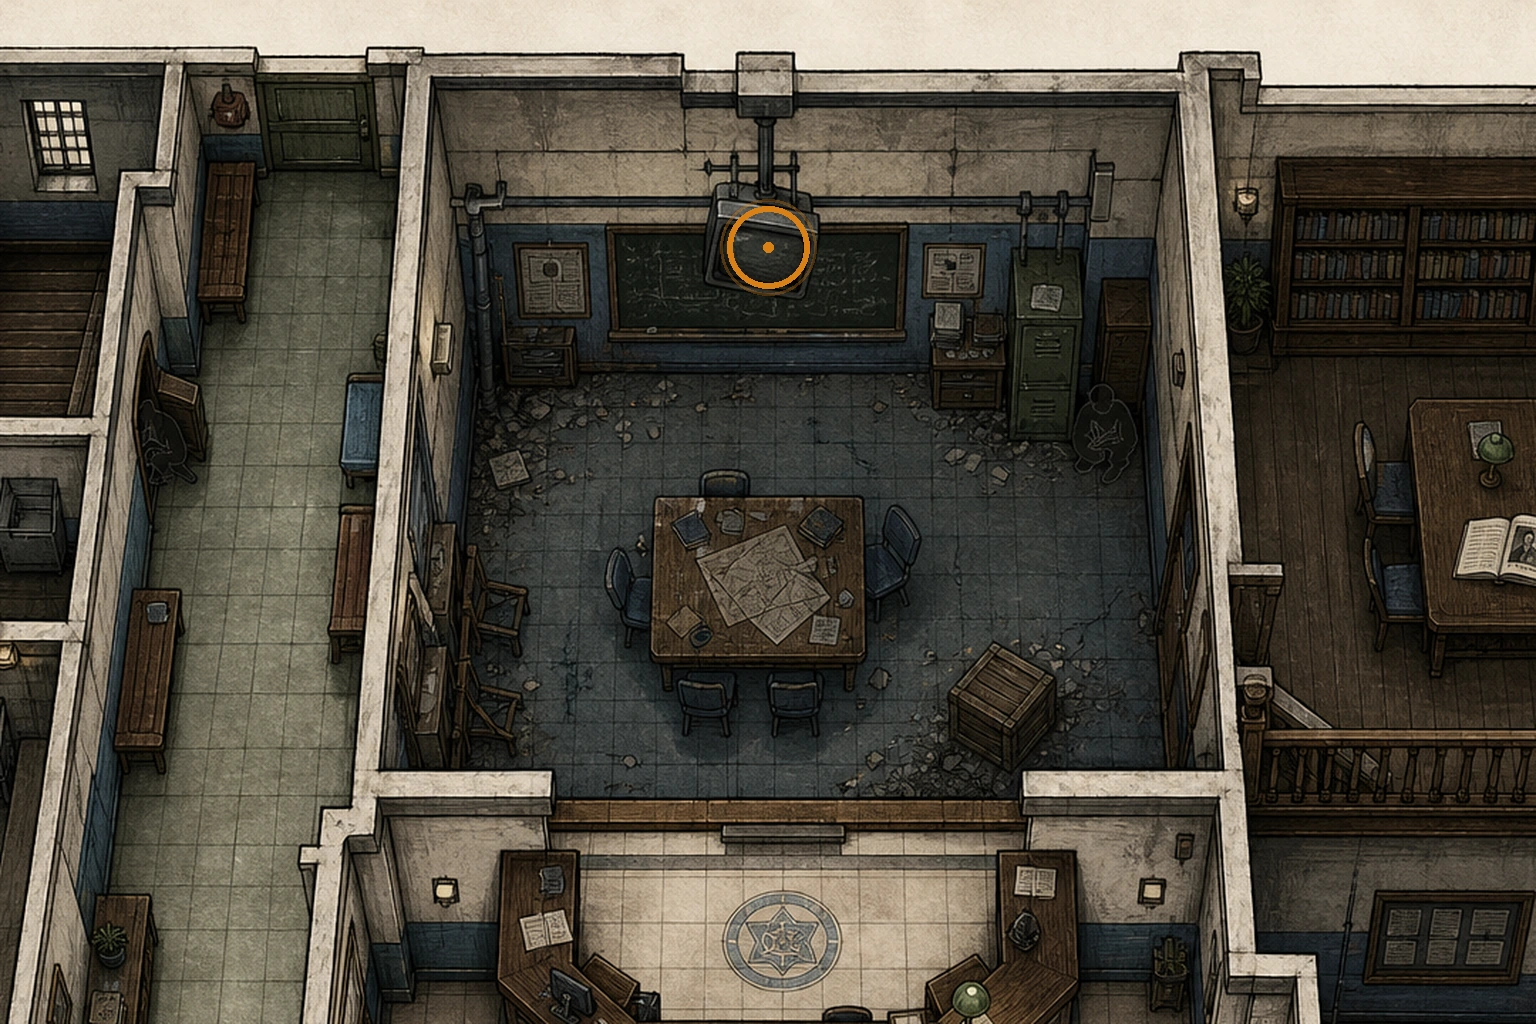
S.T.A.R.S. Emblem Charm (missable)
Charm
HintThe scavenger-hunt key opens a marked locker elsewhere in the station.
WhereReturn to the West Office and use the Locker Key on the locker marked with an exclamation point on the map.
Full detailUse the Locker Key on the marked West Office locker, take the S.T.A.R.S. Emblem Charm, and rotate the zoo tickets to view their backs and complete the clue sequence; the charm increases firepower at the cost of greater aiming sway.
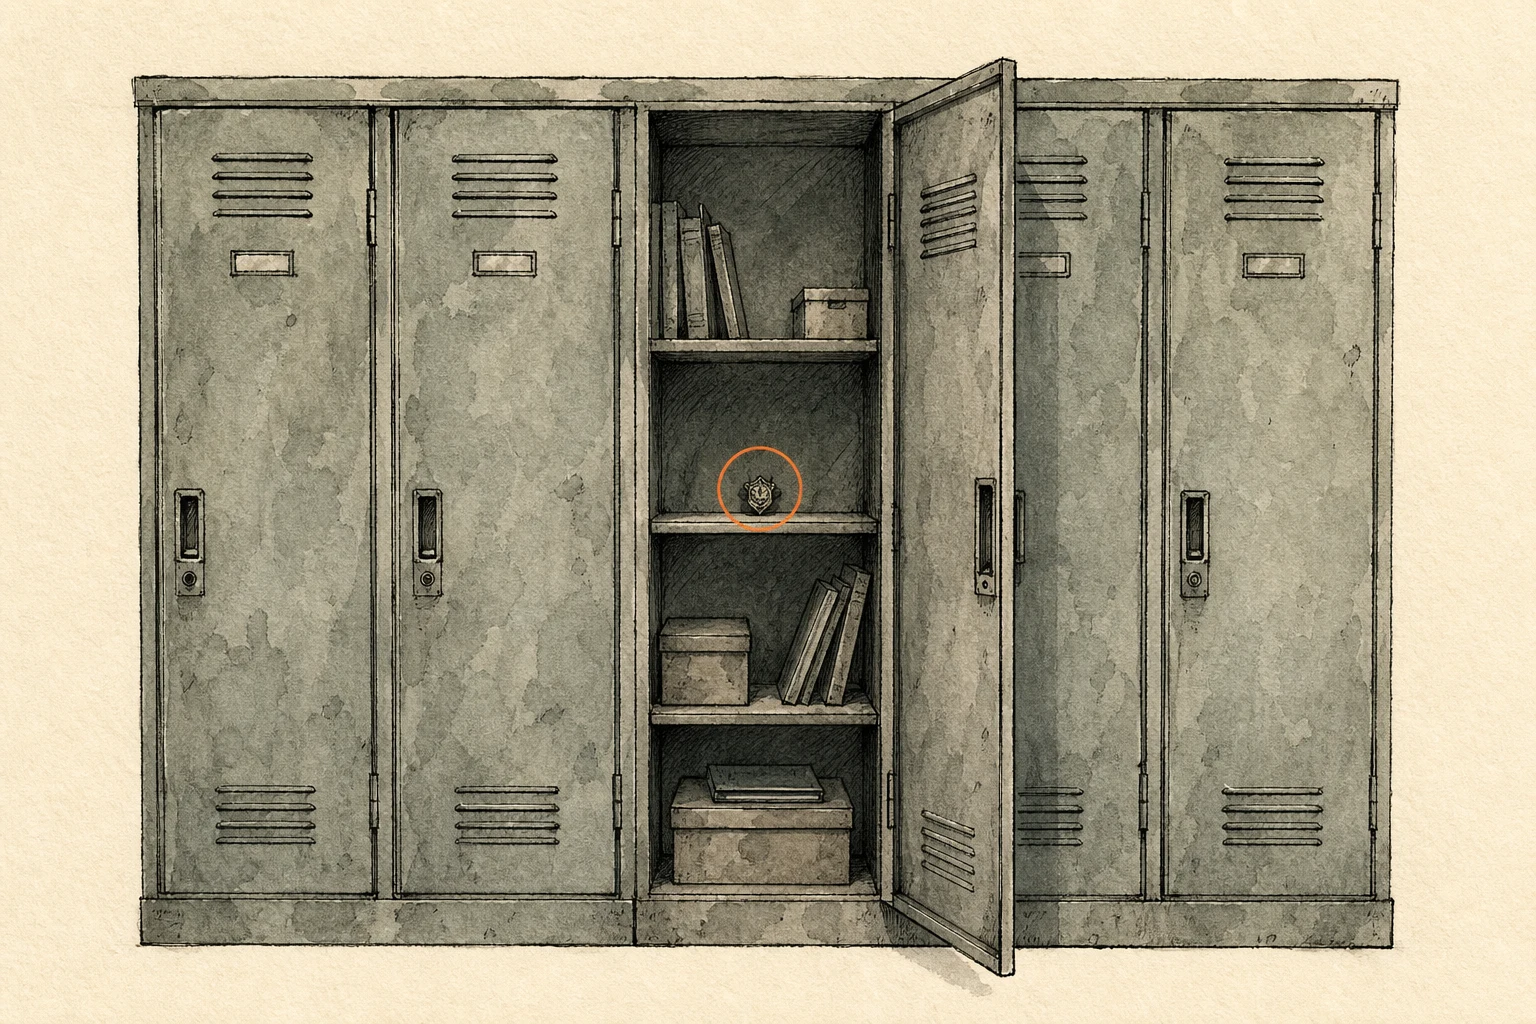
Mechanic Jack (missable)
Key item
HintSearch the Library floor before exploring its upper walkways.
WhereClimb the Reception ladder to the second floor, enter the Library through the door on the right, and take the Mechanic Jack from the floor in the room's northern section.
Full detailFrom Reception, shoot down and climb the ladder above the locked shutter, then use the right-hand door to enter the Library; search the northern part of the ground floor and collect the Mechanic Jack lying beside the central shelving.
Mr. Raccoon #22 (missable)
Mr. Raccoon figure
HintBooks can obscure a figure in the Library's central shelving.
WhereOn the north-facing side of the tall central Library bookshelf, aim at the second bottom-row shelf from the left beside the Mechanic Jack.
Full detailBeside the Mechanic Jack, face the Library's central tall bookshelf from its north side. Aim along the bottom row at the second compartment from the left and shoot the figure behind the books.
File #61 - Photograph (missable)
File
HintAfter fully reading the files in the nearby office, recheck the Library bookshelves for a newly available entry.
WhereAfter reading all four S.T.A.R.S. Office files, go upstairs in the Library, cross left toward the locked wooden door, and inspect the brown leather book in the shelf to its right.
Full detailOpen these four S.T.A.R.S. Office files first: (1) Barry's To Do List; (2) Scavenger Hunt - Clue 1; (3) Scavenger Hunt - Clue 2; and (4) Library Card. The target book will not appear earlier. Go to the Library's upper floor, follow the left walkway to the locked wooden door, open the brown leather book on the shelf beside it, and examine the Photograph.
Tofu Sighting (missable)
Secret sighting
HintBefore leaving Reception, scan for a small optional visual reference.
WhereIn the R.P.D. Reception area, look for the small hidden figure or reference before finishing the station sweep.
Full detailComplete a deliberate visual sweep of Reception, checking its low sightlines and side angles, and confirm the small hidden figure or reference before leaving the station.
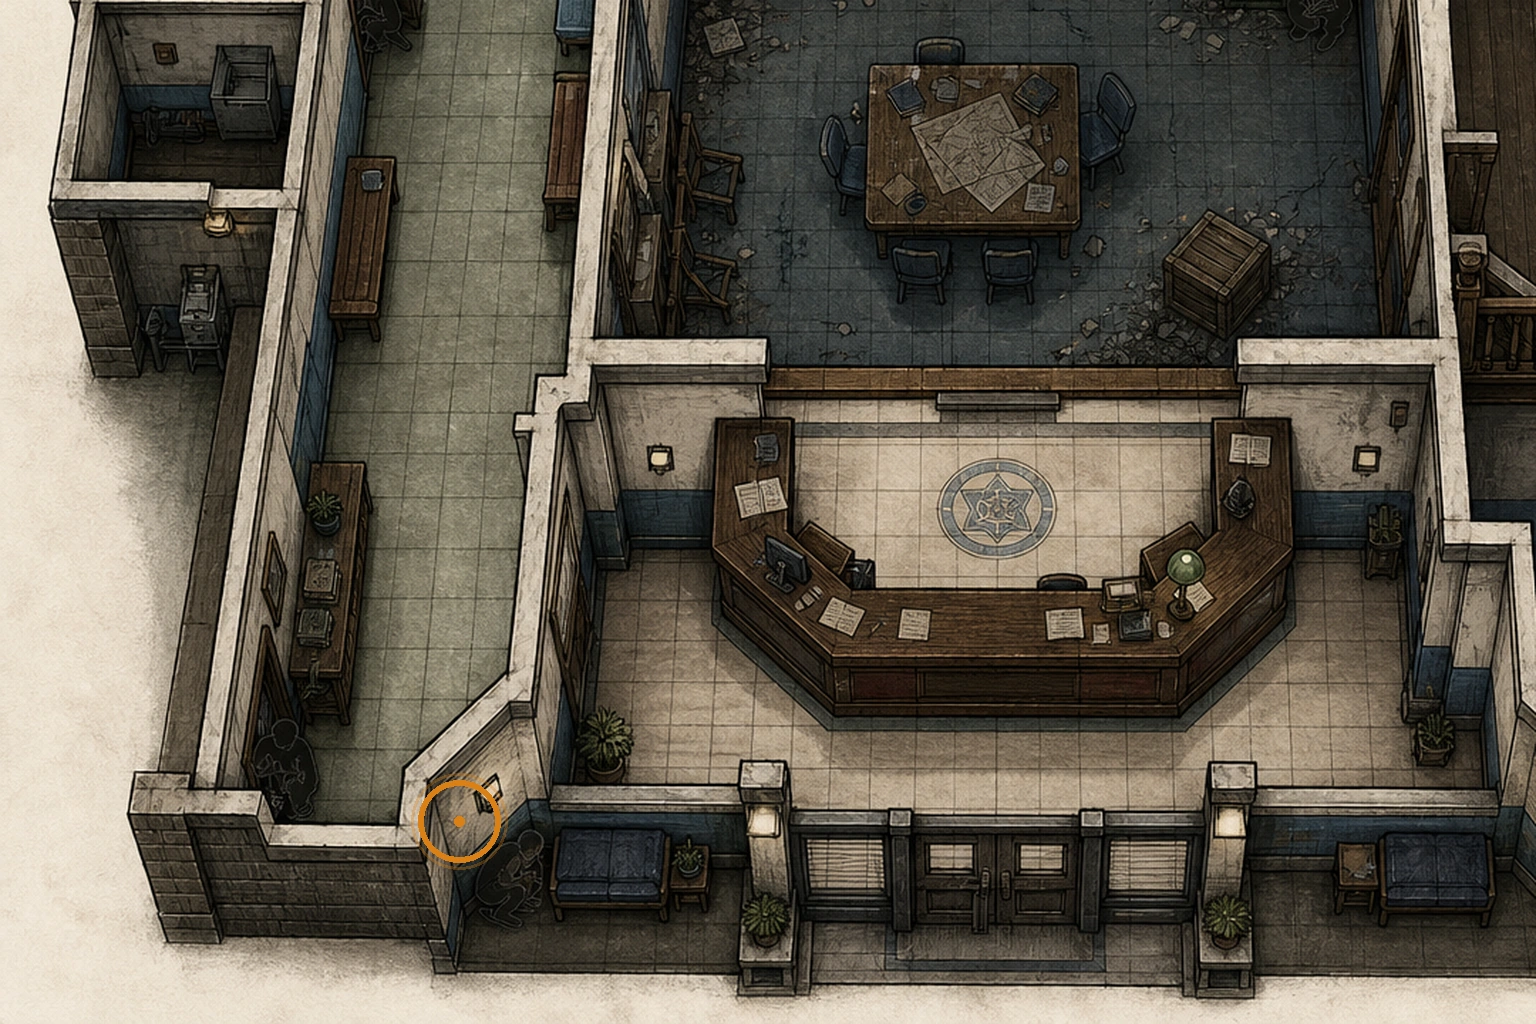
Tofu Sighting (missable)
Secret sighting
HintThe west-side corridor hides a small optional reference at a low angle.
WhereIn the R.P.D. West Corridor, check the corridor corners and low sightlines for the small hidden figure or reference.
Full detailWalk the full West Corridor slowly, inspect each corner at floor level, and visually confirm the small hidden figure or reference before leaving the station.
Tofu Sighting (missable)
Secret sighting
HintBefore leaving the Operations Room, inspect its rubble from several angles for an optional reference.
WhereIn the Operations Room, look around the rubble and side angles for the small hidden figure or reference.
Full detailCircle the Operations Room rubble and inspect it from the side rather than only from the main path, then visually confirm the hidden figure or reference before using the station exit route.
Mr. Charlie Doll Base (missable)
Secret reference
HintThe station's upper floor has another optional reference around its stairwells.
WhereOn the R.P.D. second floor, inspect the stairs outside the chief-office side of the building.
Full detailReach the second floor and search the area immediately around the stairs outside the chief-office side, checking the nearby surfaces and low angles until you visually confirm the Mr. Charlie Doll Base.
S.T.A.R.S. Office Mementos (missable)
Secret or Easter egg
HintSlow down around the desks and display pieces in the upstairs office.
WhereInspect the beret and medical bag displayed inside the S.T.A.R.S. Office.
Full detailEnter the second-floor S.T.A.R.S. Office and examine the beret and medical bag rather than crossing directly to the objective. Both are retained props associated with that office's earlier occupants.
Hidden Library Photograph (missable)
Secret or Easter egg
HintA card found upstairs opens a small library discovery.
WhereAfter taking the Library Card from the S.T.A.R.S. Office, inspect the book on the library's upper level.
Full detailCarry the Library Card to the upper library walkway and use it on the eligible book. Open the book to reveal and inspect the hidden photograph; this is separate from merely collecting the card.
Orphanage
You are here when: Inside an old building route that leads through a lower chapel-like area and then into a white lab corridor with a meeting room.
Short stealth/puzzle route. The meeting-room remote is the lock.
File #62 - Toe Tag (missable)
File
HintAfter operating the chapel mechanism, search the side chamber's containers before continuing.
WhereOnce the Underground Chapel's wall lever has been operated, pass through the side door it opened and lift the right-hand coffin lid.
Full detailOperate the wall lever in the Underground Chapel, pass through the side door that opens, and approach the pair of black coffins immediately inside; open the coffin on the right, take the Toe Tag, rotate it, and read the back so the file registers.
File #63 - Series 60 Results (missable)
File
HintEarly in the laboratory section, check the first few side rooms before moving deeper.
WhereIn the white laboratory corridor, enter the first green-lit door on the right; the file is directly ahead.
Full detailIn the white laboratory corridor, enter the first green-lit door on the right and collect Series 60 Results directly ahead before continuing.
File #64 - New Researcher's Notebook (missable)
File
HintBefore leaving the early laboratory room, sweep its work surfaces carefully.
WhereIn the same laboratory room as the previous file, collect the notebook from the desk in the back-right corner.
Full detailIn the white laboratory corridor, enter the first green-lit door on the right, then collect the New Researcher's Notebook from the desk in that room's back-right corner.
Raccoon City Side Street
You are here when: Back outside the station, around an upper-hall bench, parking garage, gun shop, alley, train, and cave-like path.
Short city-side route with optional garage/gun-shop pickups and a plant-seedling sequence.
File #65 - Guide Pamphlet (missable)
File
HintWhen returning to a familiar large interior, check nearby seating before moving on.
WhereOn returning to the R.P.D. Main Hall, collect the pamphlet from a bench on the eastern upper floor before leaving the building.
Full detailAs soon as the R.P.D. Main Hall route resumes, turn back toward the eastern upper-floor bench and collect the pamphlet before taking the exit path.
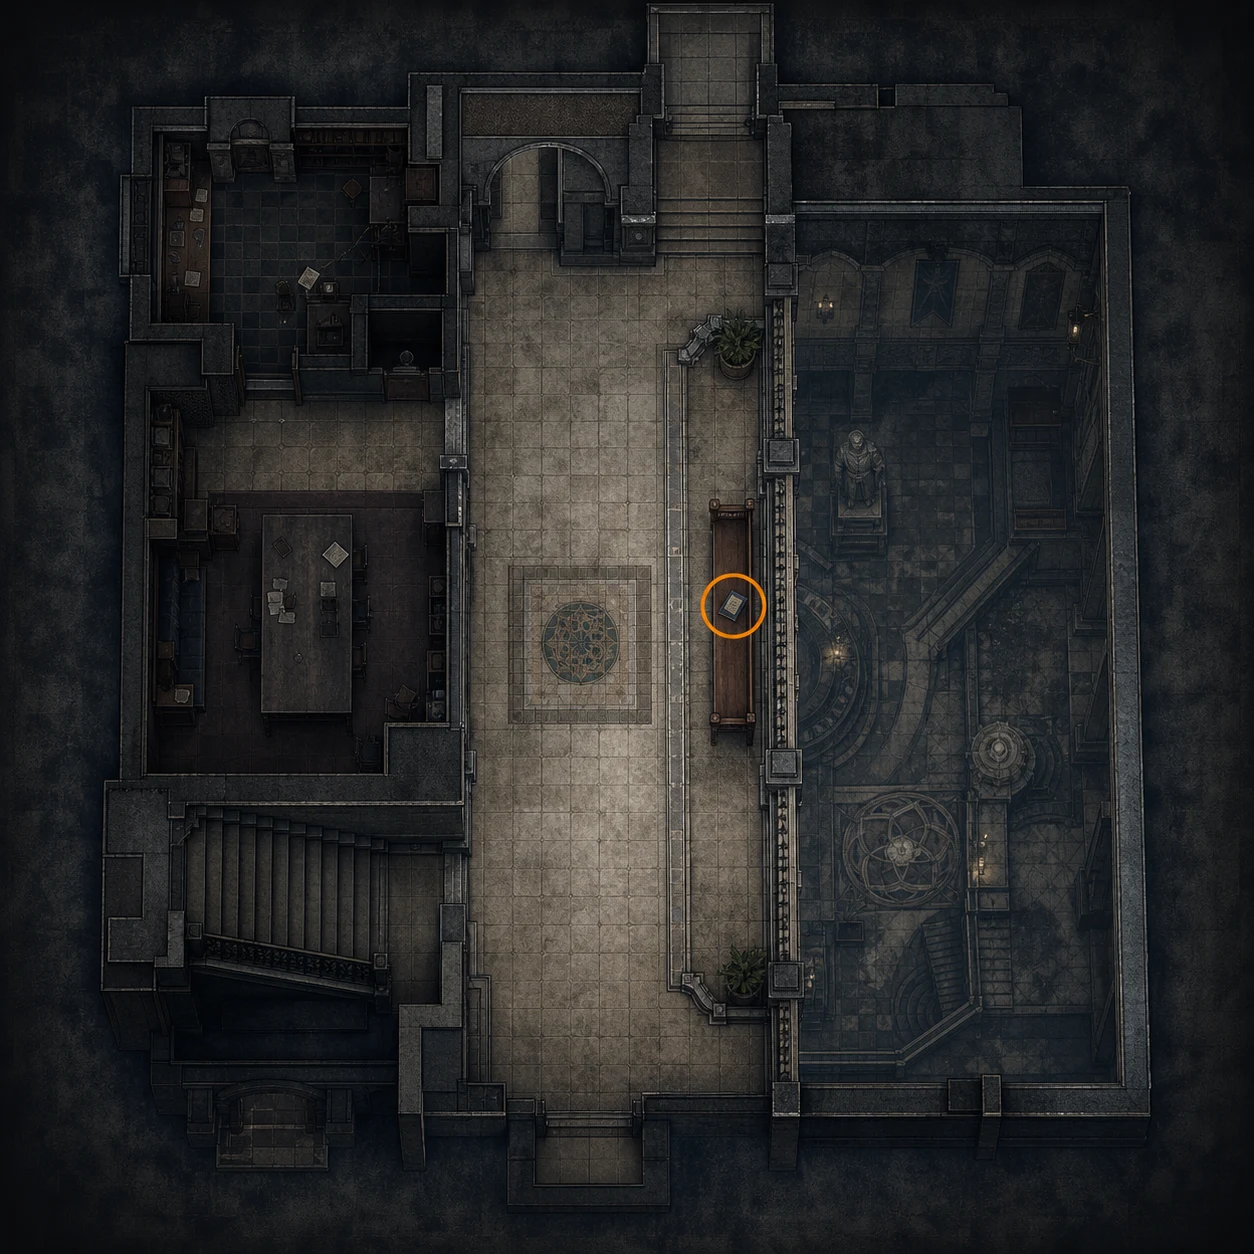
Cute Bear Charm (missable)
Charm
HintAn optional detour shortly after reaching the street hides a useful charm near illuminated storage.
WhereAfter leaving the R.P.D., go left into the dark Parking Garage and collect the charm from the ground to the right of the illuminated open container.
Full detailAfter leaving the R.P.D., descend into the optional Parking Garage on the left, approach the illuminated open container, and collect the charm from the ground on its right; it boosts mid-range firepower while reducing close-range power.
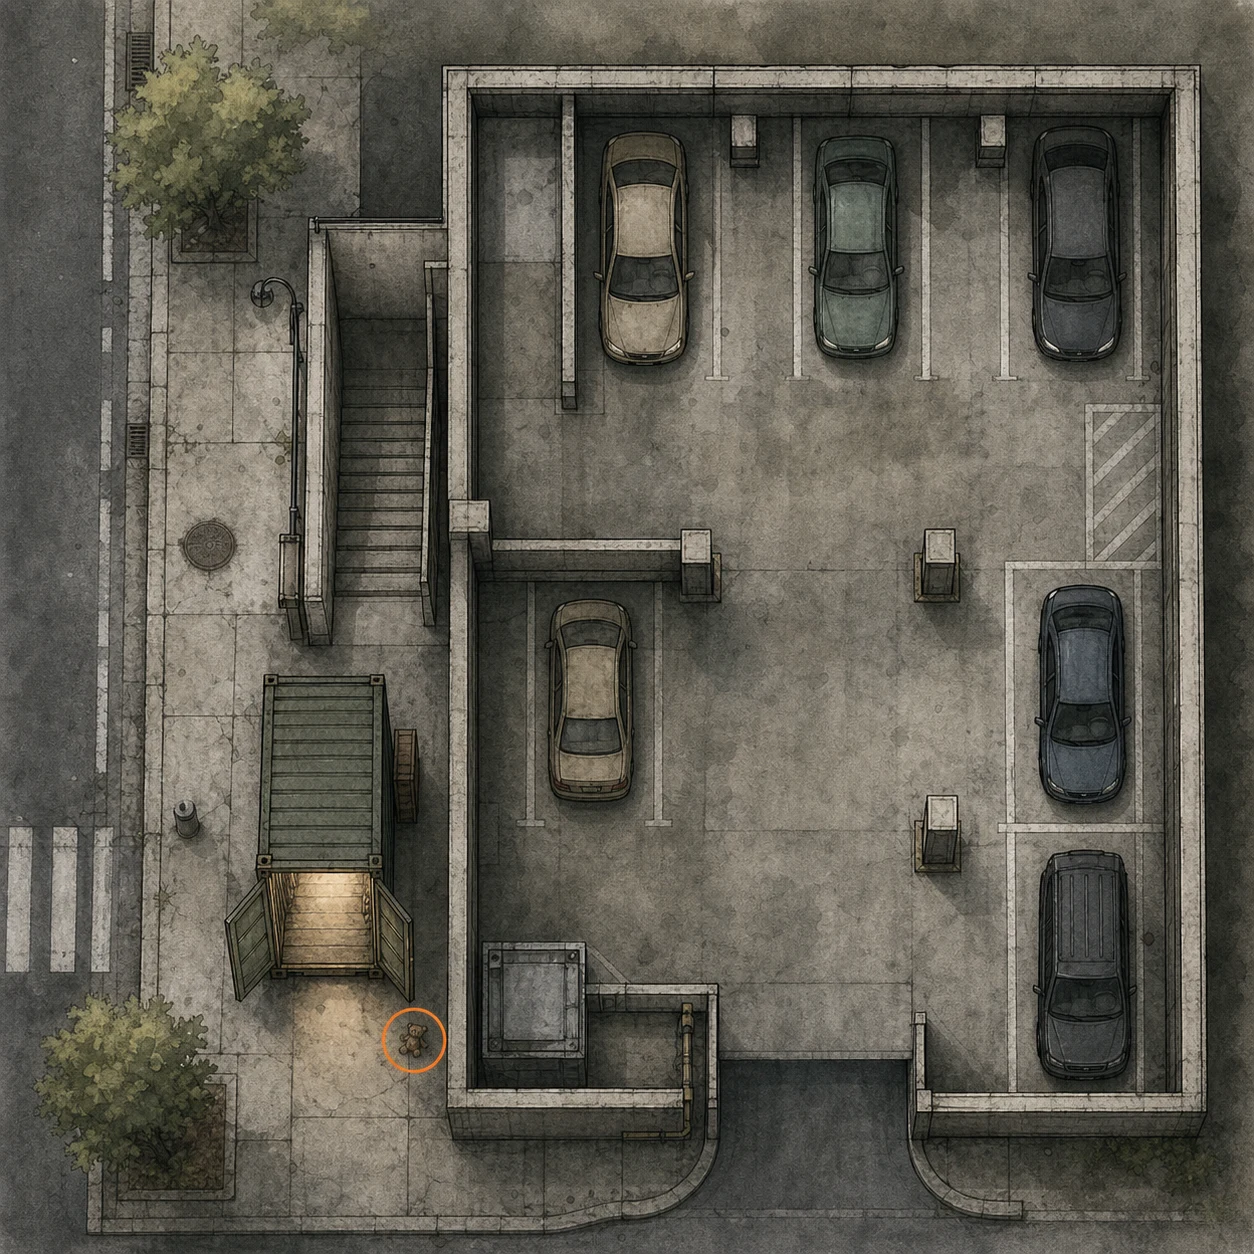
Silver Finish Scope (Classic 70) (missable)
Weapon part
HintThe same optional parking detour contains a weapon part inside an obvious container.
WhereIn the dark Parking Garage left of the R.P.D. exit, collect the scope from inside the illuminated open container.
Full detailEnter the optional Parking Garage left of the R.P.D. exit and search the illuminated open container for the Silver Finish Scope.
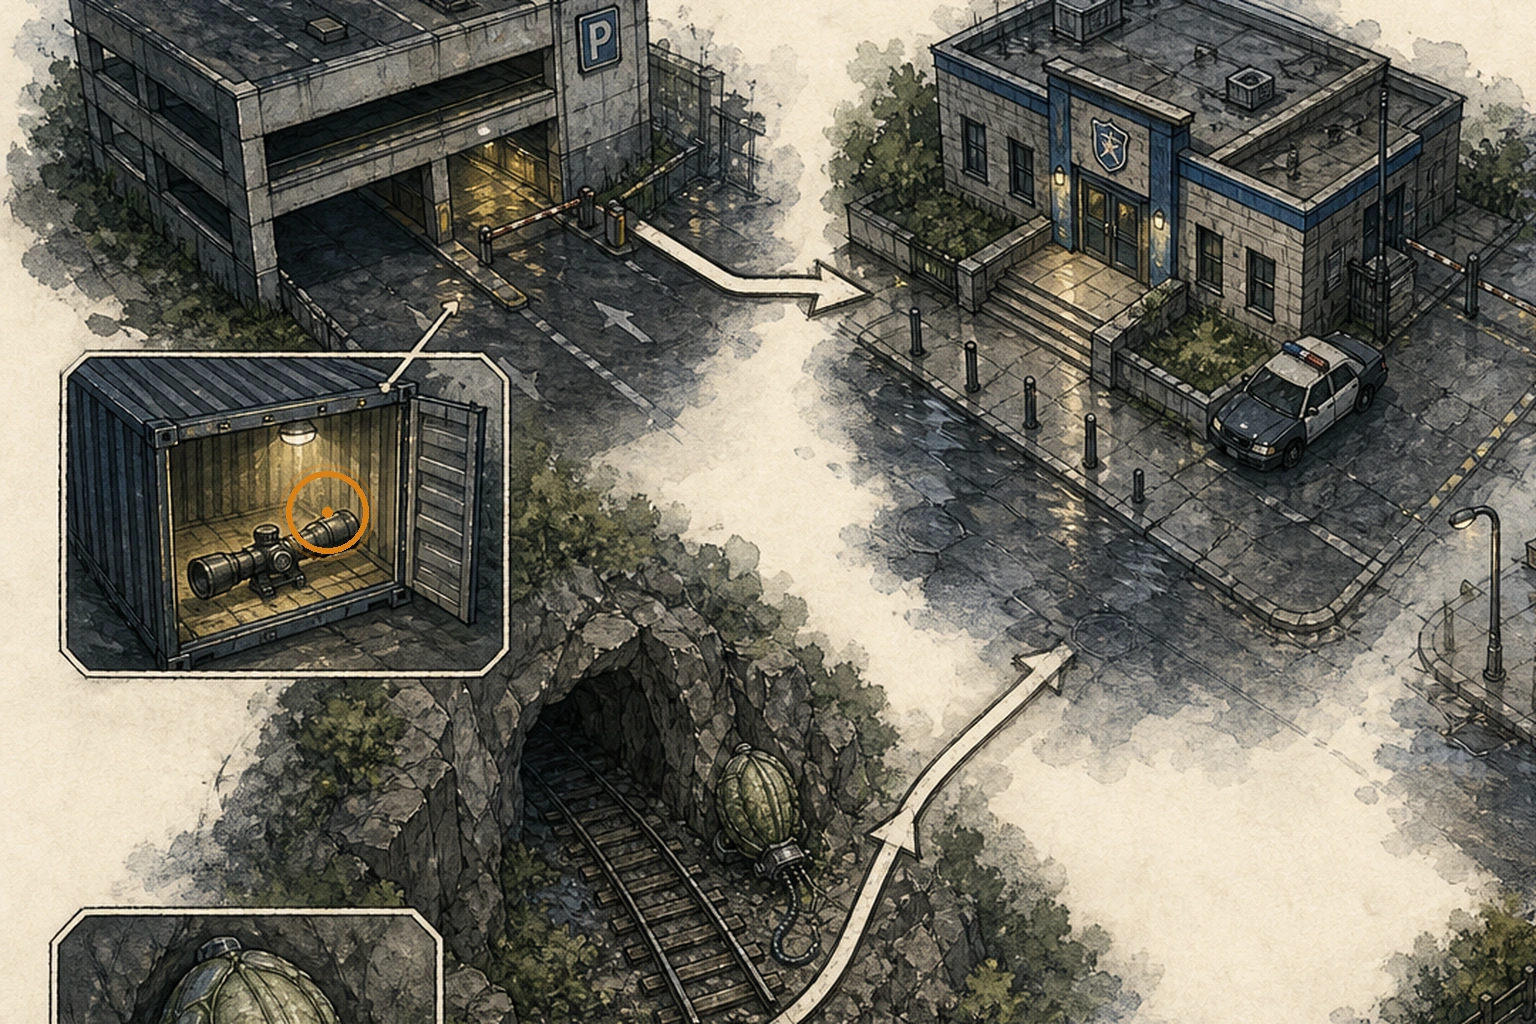
W870 Police (Shotgun) (missable)
Weapon
HintBefore continuing along the shop-lined street, recheck the weapon displays inside the accessible gun shop.
WhereEnter the gun shop from the main road and, once the interior route opens, turn around to take the shotgun from the shelf behind the door.
Full detailEnter the gun shop from the main road; once the interior route opens, turn around 180 degrees and take the shotgun from the shelf behind the door, using the nearby Supply Box first if inventory space is full.
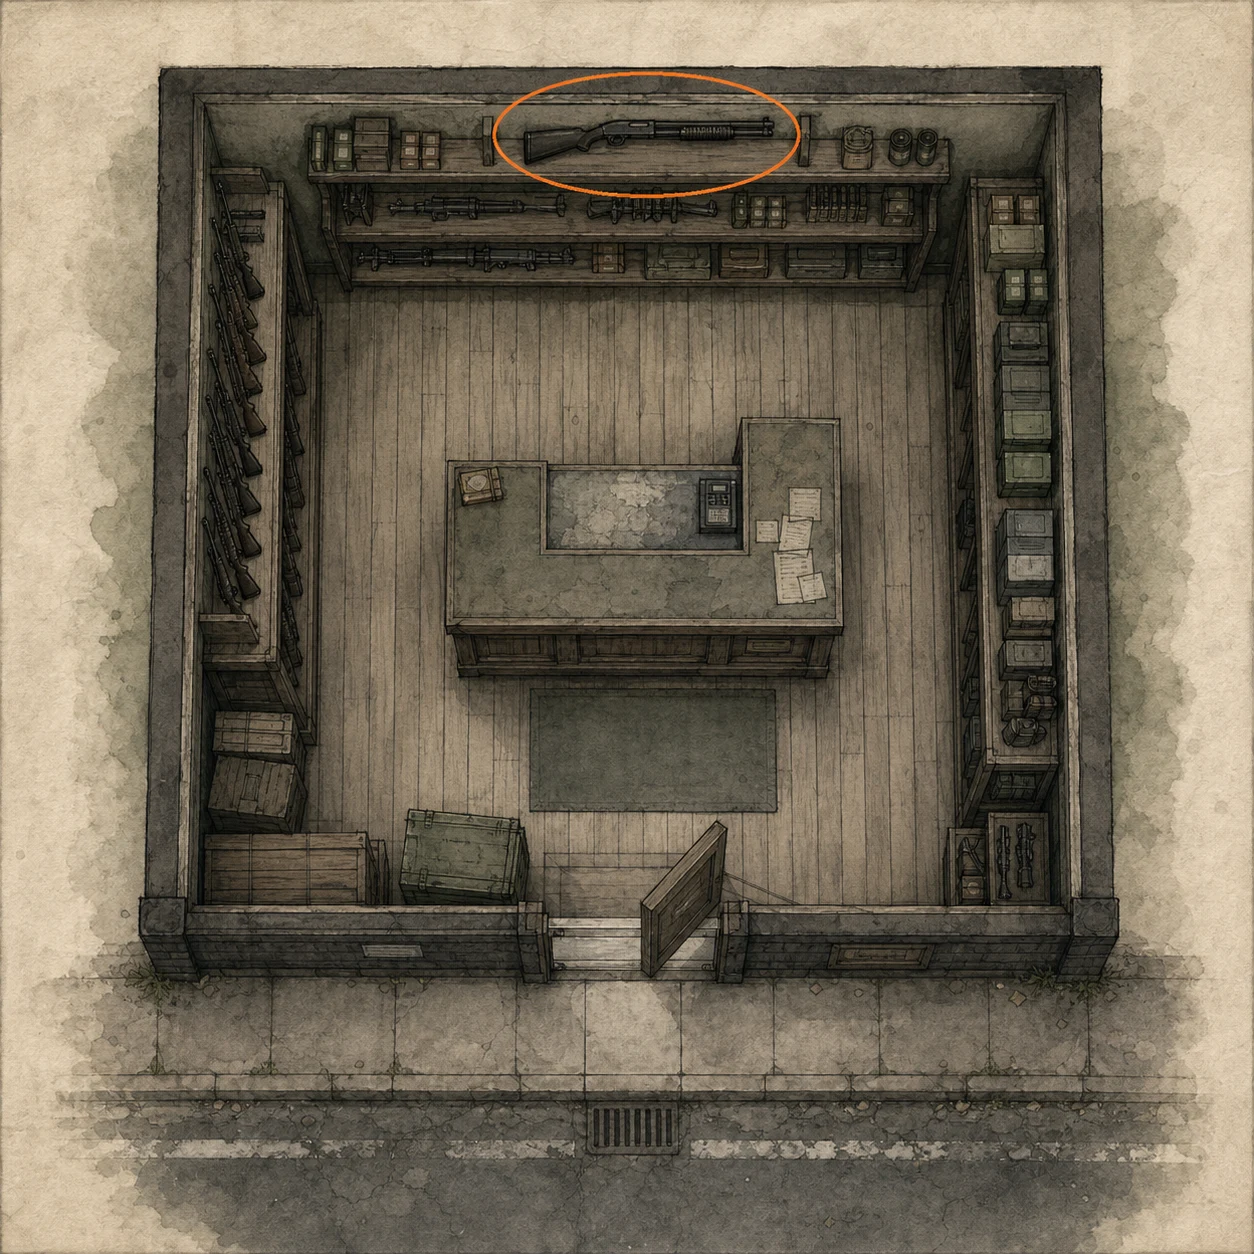
Mr. Raccoon #23 (missable)
Mr. Raccoon figure
HintA nearby alley rewards looking above street level rather than along the ground.
WhereFrom the gun shop, enter the side alley and look up at the open window at the far end, left of the Umbrella billboard.
Full detailEnter the side alley beside the gun shop, walk to its far end, then look up at the open window left of the Umbrella billboard and destroy the figure.
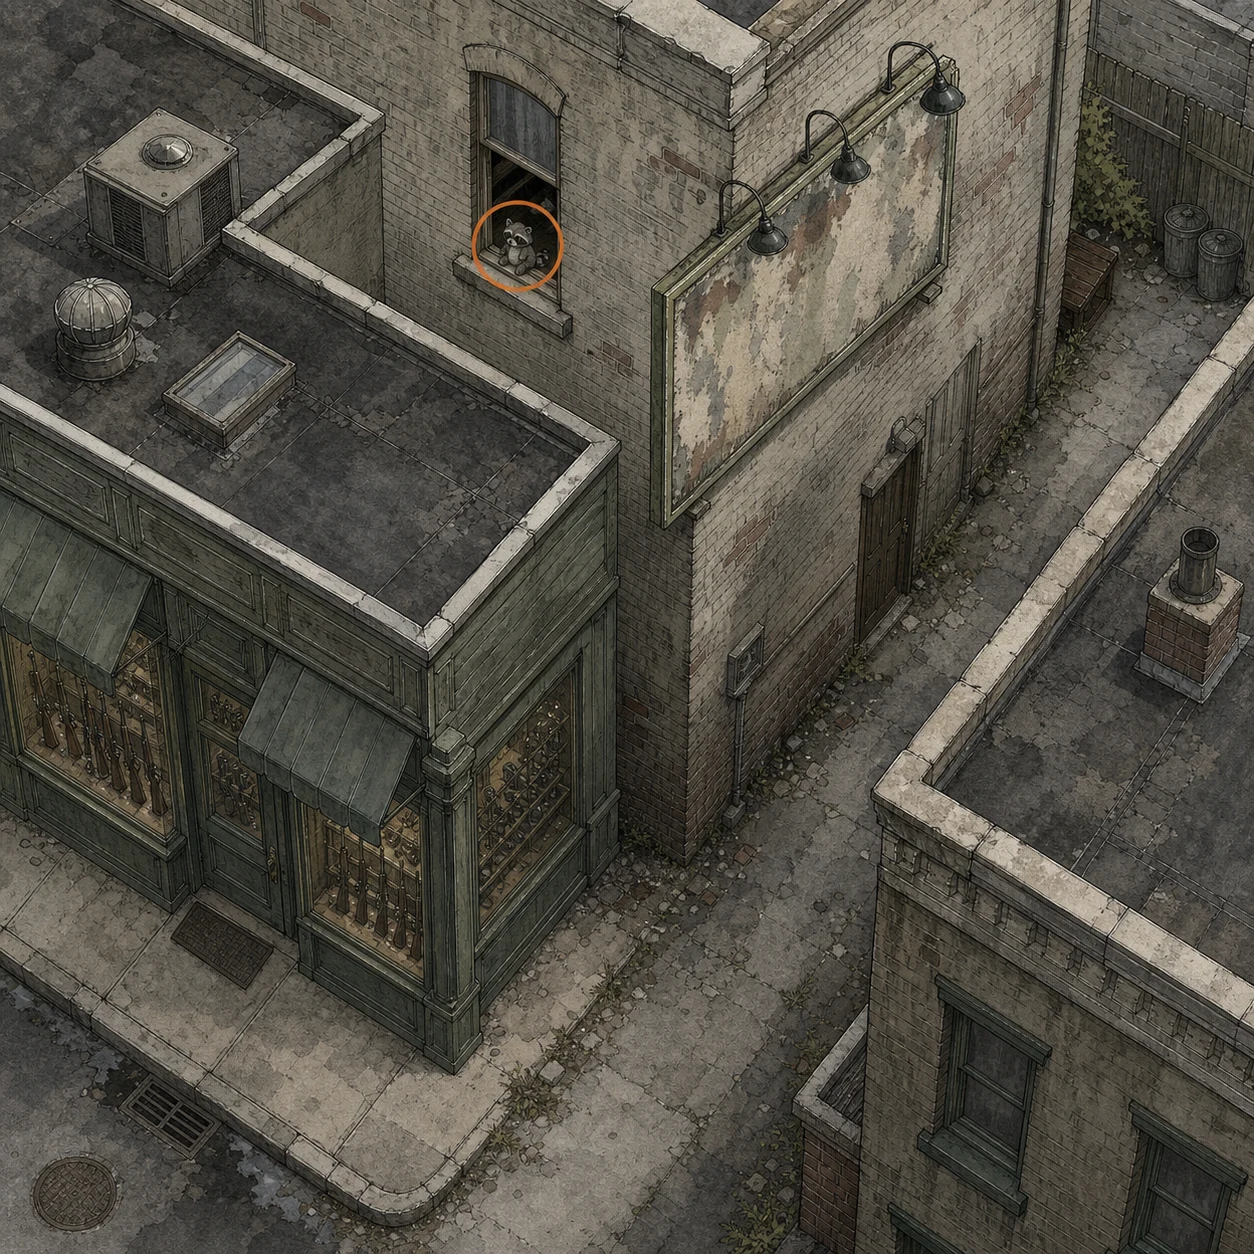
Plant 43 Seedling #1 (missable)
Plant 43 Seedling
HintNear the start of the plant route, watch for an automatic attachment and react when it opens.
WhereNear the start of the train route, destroy the first seedling when it attaches and opens.
Full detailNear the start of the train route, destroy the first seedling when it attaches and opens. Make sure the target is destroyed before advancing.
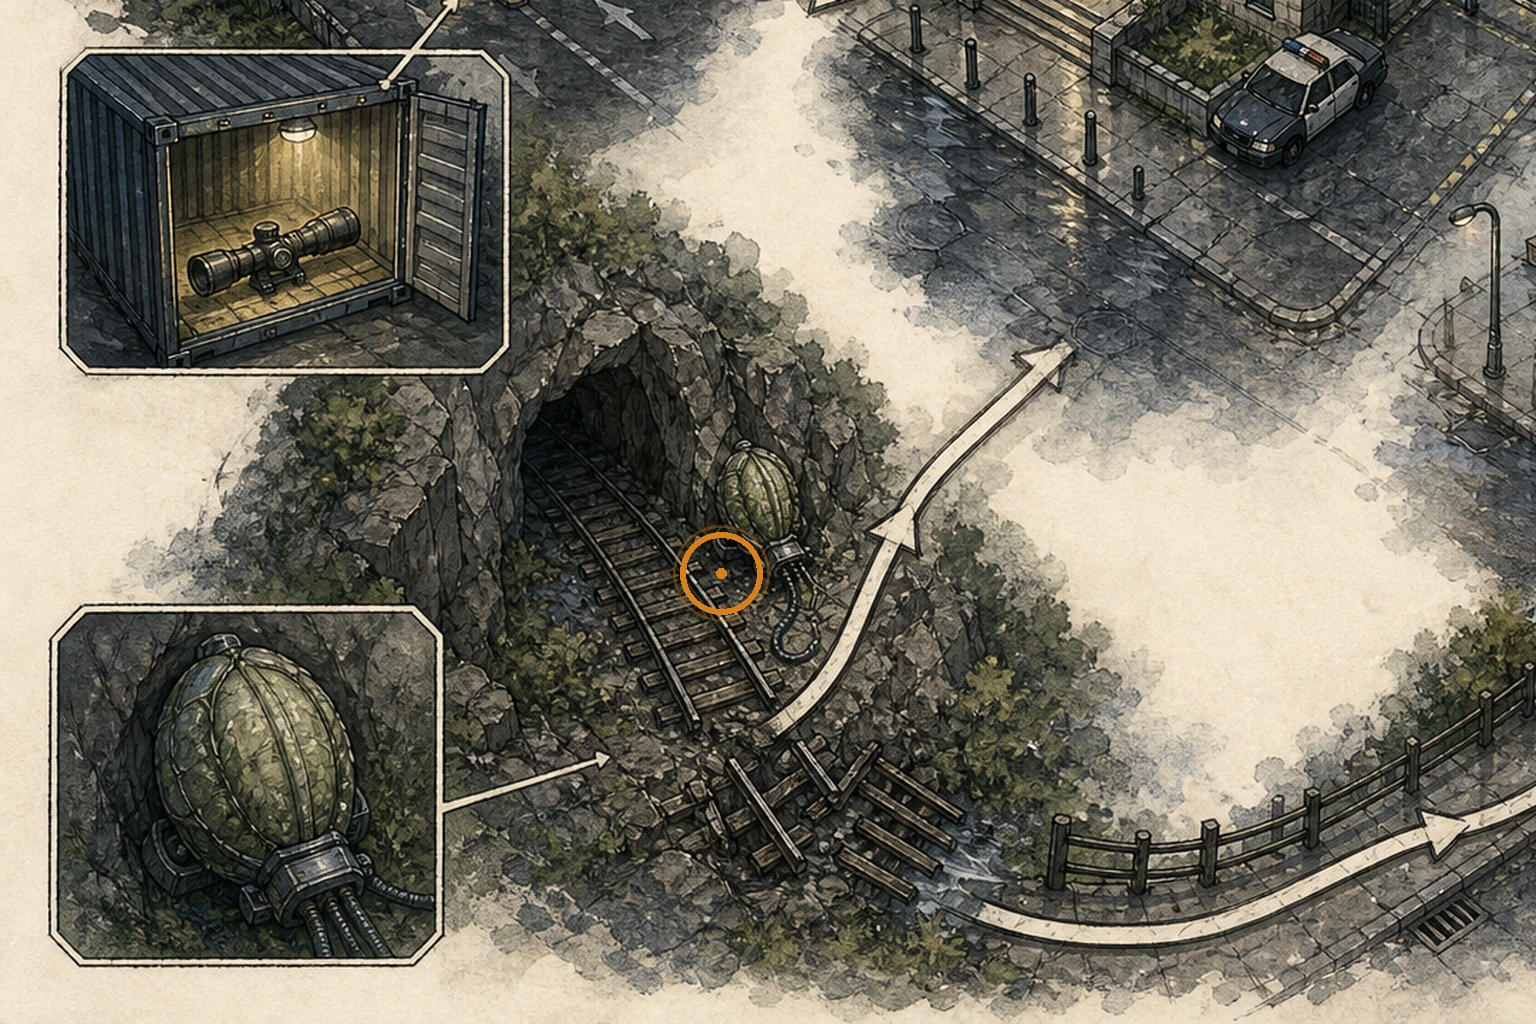
Plant 43 Seedling #2 (missable)
Plant 43 Seedling
HintEarly in the cave route, watch the main path for a low target.
WhereNear the start of the cave route, destroy the seedling on the main path when it opens.
Full detailNear the start of the cave route, destroy the seedling on the main path when it opens. Make sure the target is destroyed before advancing.
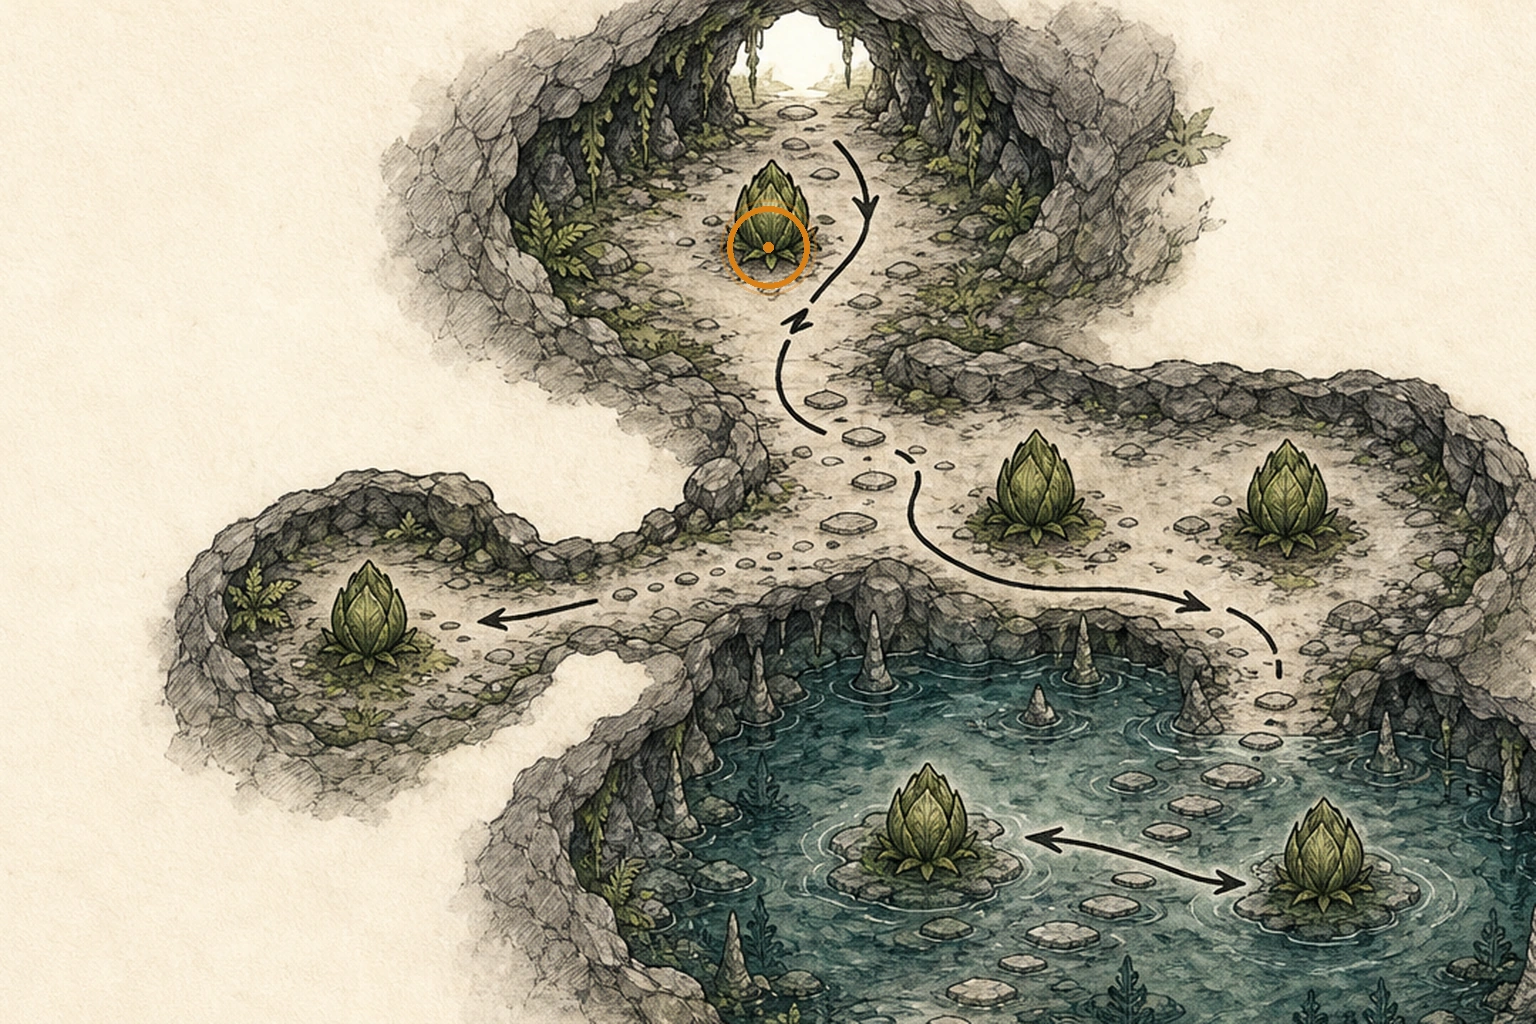
Plant 43 Seedling #3 (missable)
Plant 43 Seedling
HintIn the next cave section, watch for a closely spaced pair on the main path.
WhereIn the next cave section, destroy the first seedling in the main-path pair.
Full detailIn the next cave section, destroy the first seedling in the main-path pair. Make sure the target is destroyed before advancing.
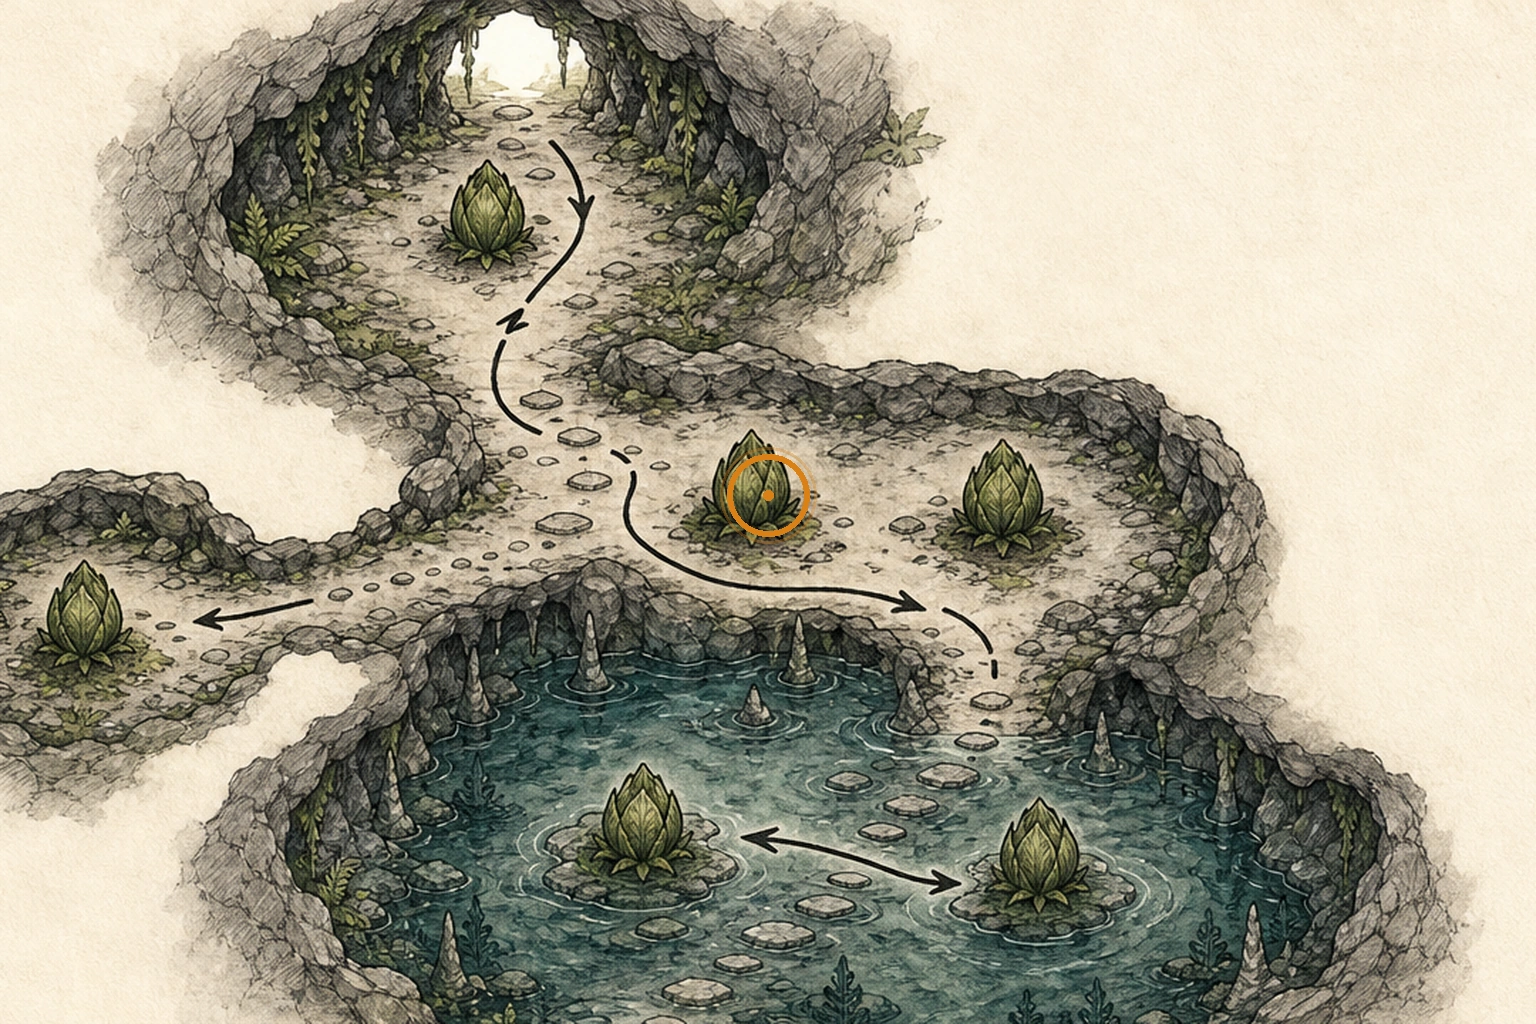
Plant 43 Seedling #4 (missable)
Plant 43 Seedling
HintIn the next cave section, watch for a closely spaced pair on the main path.
WhereIn the next cave section, destroy the second seedling in the main-path pair.
Full detailIn the next cave section, destroy the second seedling in the main-path pair. Make sure the target is destroyed before advancing.
Plant 43 Seedling #5 (missable)
Plant 43 Seedling
HintA short cave-side detour hides another low target away from the main line.
WhereTake the left side path beside the paired seedlings and destroy the floor-level seedling there.
Full detailTake the left side path beside the paired seedlings and destroy the floor-level seedling there. Make sure the target is destroyed before advancing.
Plant 43 Seedling #6 (missable)
Plant 43 Seedling
HintThe flooded cave stretch contains another target directly along the route.
WhereAfter returning from the side path, destroy the seedling on the main route through the flooded cave.
Full detailAfter returning from the side path, destroy the seedling on the main route through the flooded cave. Make sure the target is destroyed before advancing.
Plant 43 Seedling #7 (missable)
Plant 43 Seedling
HintThe flooded cave stretch contains two targets close together.
WhereIn the flooded cave, destroy the seedling directly left of the previous one.
Full detailIn the flooded cave, destroy the seedling directly left of the previous one. Make sure the target is destroyed before advancing.
Plant 43 Seedling #8 (missable)
Plant 43 Seedling
HintAs the cave brightens near its exit, keep checking the main path.
WhereWhile heading toward the light at the cave exit, destroy the next seedling on the main path.
Full detailWhile heading toward the light at the cave exit, destroy the next seedling on the main path. Make sure the target is destroyed before advancing.
Plant 43 Seedling #9 (missable)
Plant 43 Seedling
HintAs the cave brightens near its exit, watch for a final paired target.
WhereOn the final cave-exit stretch, destroy the seedling paired with the previous one.
Full detailOn the final cave-exit stretch, destroy the seedling paired with the previous one. Make sure the target is destroyed before advancing.
1998 Letter #3 (missable)
1998 Letter
HintBefore entering the optional parking route, check behind vehicles along the street approach.
WhereBefore entering the R.P.D. Parking Garage route, collect the letter from behind a car on the street approach.
Full detailBefore entering the R.P.D. Parking Garage route, circle behind the car on the street approach and pick up the third letter before descending.
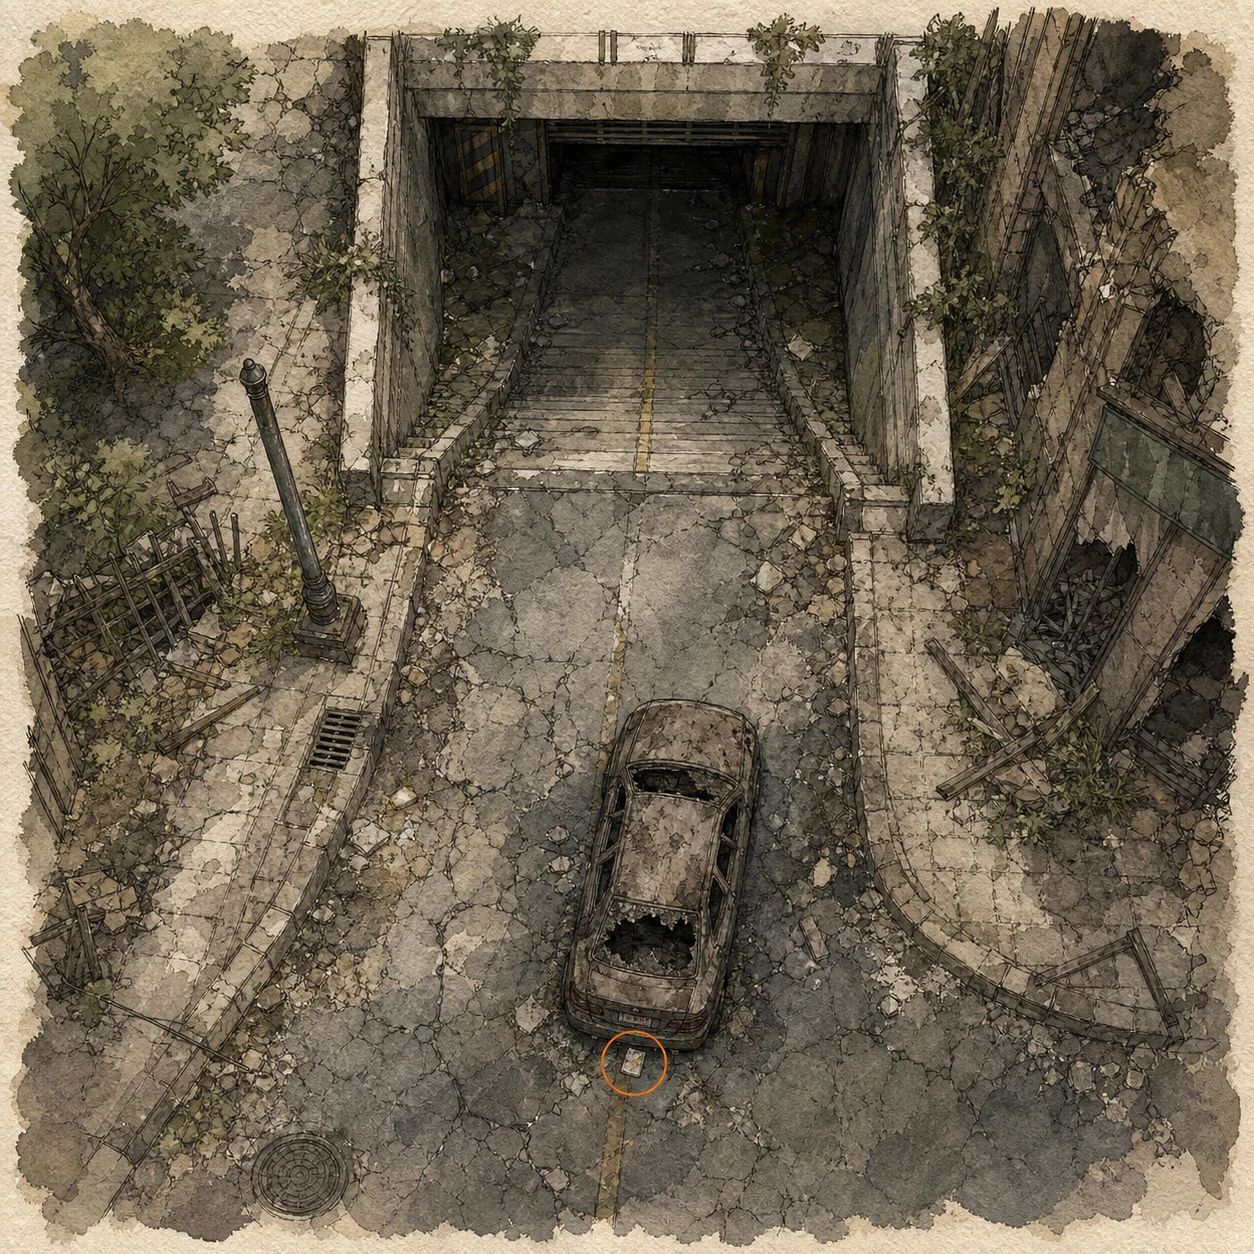
1998 Letter #4 (missable)
1998 Letter
HintNear the blue-container route, inspect damaged vehicles rather than only the containers.
WhereCollect the letter from inside the broken car near the blue-container route.
Full detailAt the blue-container route, inspect the interior of the broken car and collect the fourth letter before moving past the vehicle.
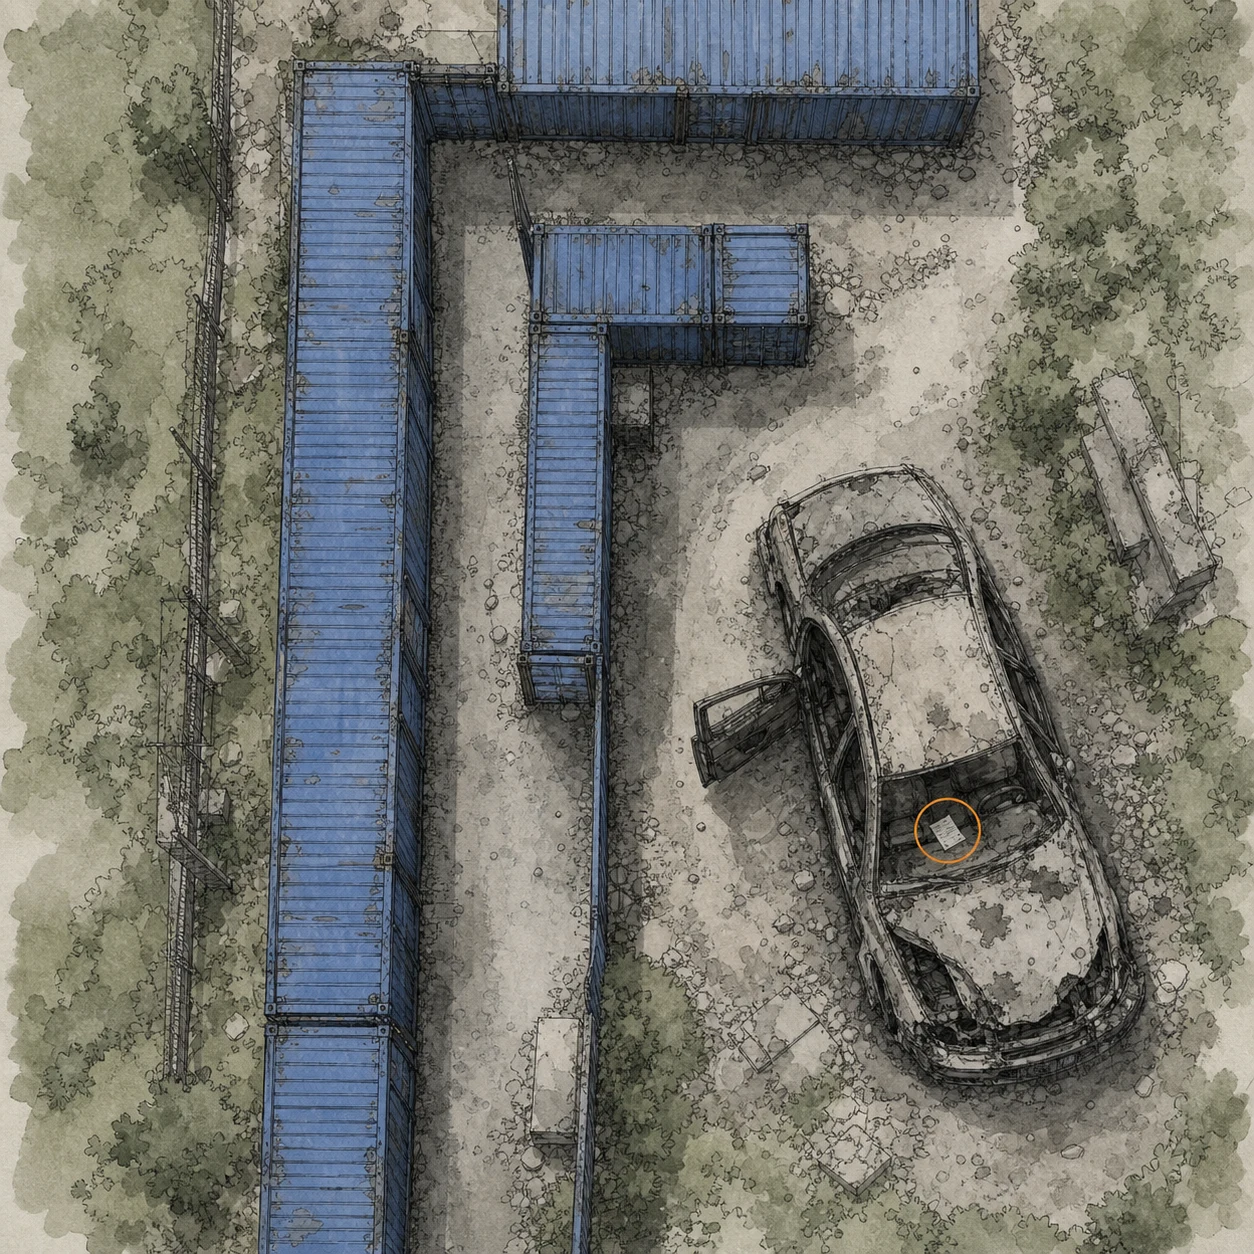
1998 Letter #5 (missable)
1998 Letter
HintLate in the street sweep, check the ground beyond the gun shop.
WhereAfter collecting the first four letters, collect the fifth from the ground east of the gun shop.
Full detailCollect the first four letters, then search the ground east of the gun shop for the fifth; taking all five makes the nearby charm available.
R.P.D. Charm (missable)
Charm
HintCompleting the optional letter set makes a reward appear near the final letter route.
WhereAfter collecting all five 1998 Letters, collect the charm east of the gun shop.
Full detailCollect all five 1998 Letters first, then return to the area east of the gun shop and pick up the newly available charm.
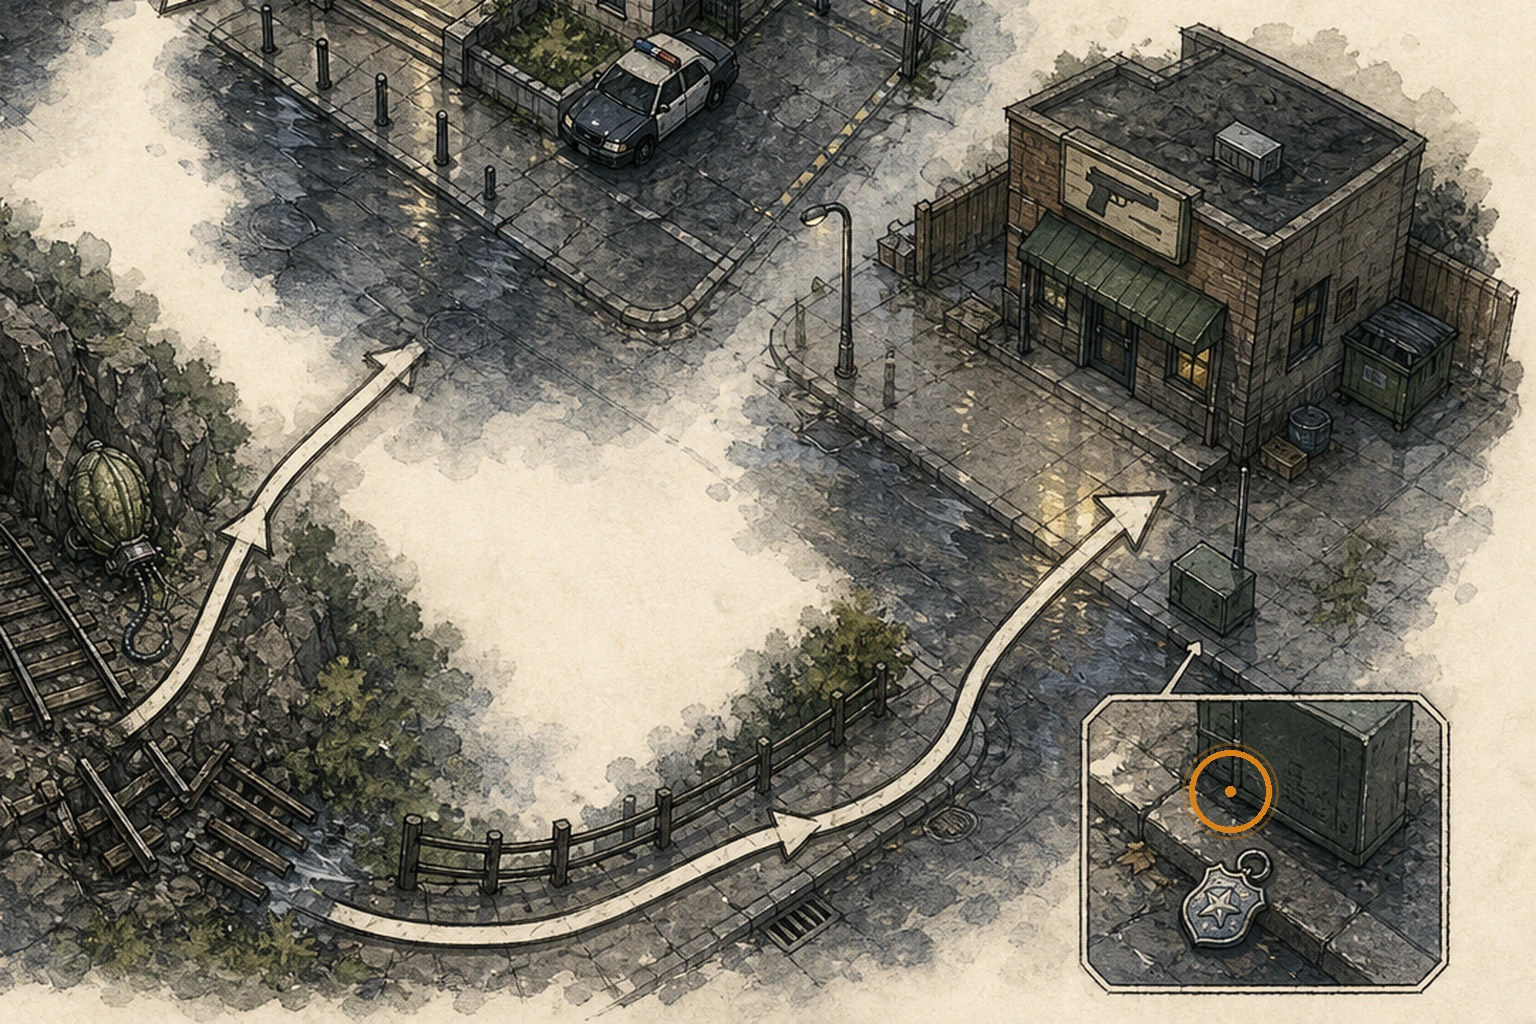
Mr. Charlie Doll Head (missable)
Secret reference
HintAn optional reference rests in an open recreational area along the street route.
WhereIn the basketball-court area, collect the doll head from the middle of the court after that route opens.
Full detailOnce the basketball-court route is accessible, check the center of the court and collect the doll head before leaving the district.
ARK - Entry and Guest Lounge
You are here when: A clean underground facility entrance with a decontamination tunnel, save room, stockroom, exhibition room, stairway statues, and guest lounge monitors.
Facility entry route. Clear the save-room corridor and guest lounge before passing the deeper system route.
File #66 - N0-AH Status Report (missable)
File
HintAfter the entrance tunnel, check the first nearby safe room and its wall displays.
WhereLeave the decontamination tunnel, take the left green doorway into the safe room, and examine its wall monitor.
Full detailTurn left after the decontamination tunnel, enter the green-door safe room, and inspect the wall monitor to register the report.
Mr. Raccoon #24 (missable)
Mr. Raccoon figure
HintBefore descending from the entrance level, check behind corridor clutter.
WhereLeave the first safe room, go straight, and look behind the boxes on the right before going downstairs.
Full detailFrom the first safe room, continue straight, look behind the boxes on the right side of the corridor before the stairs, and destroy the figure.
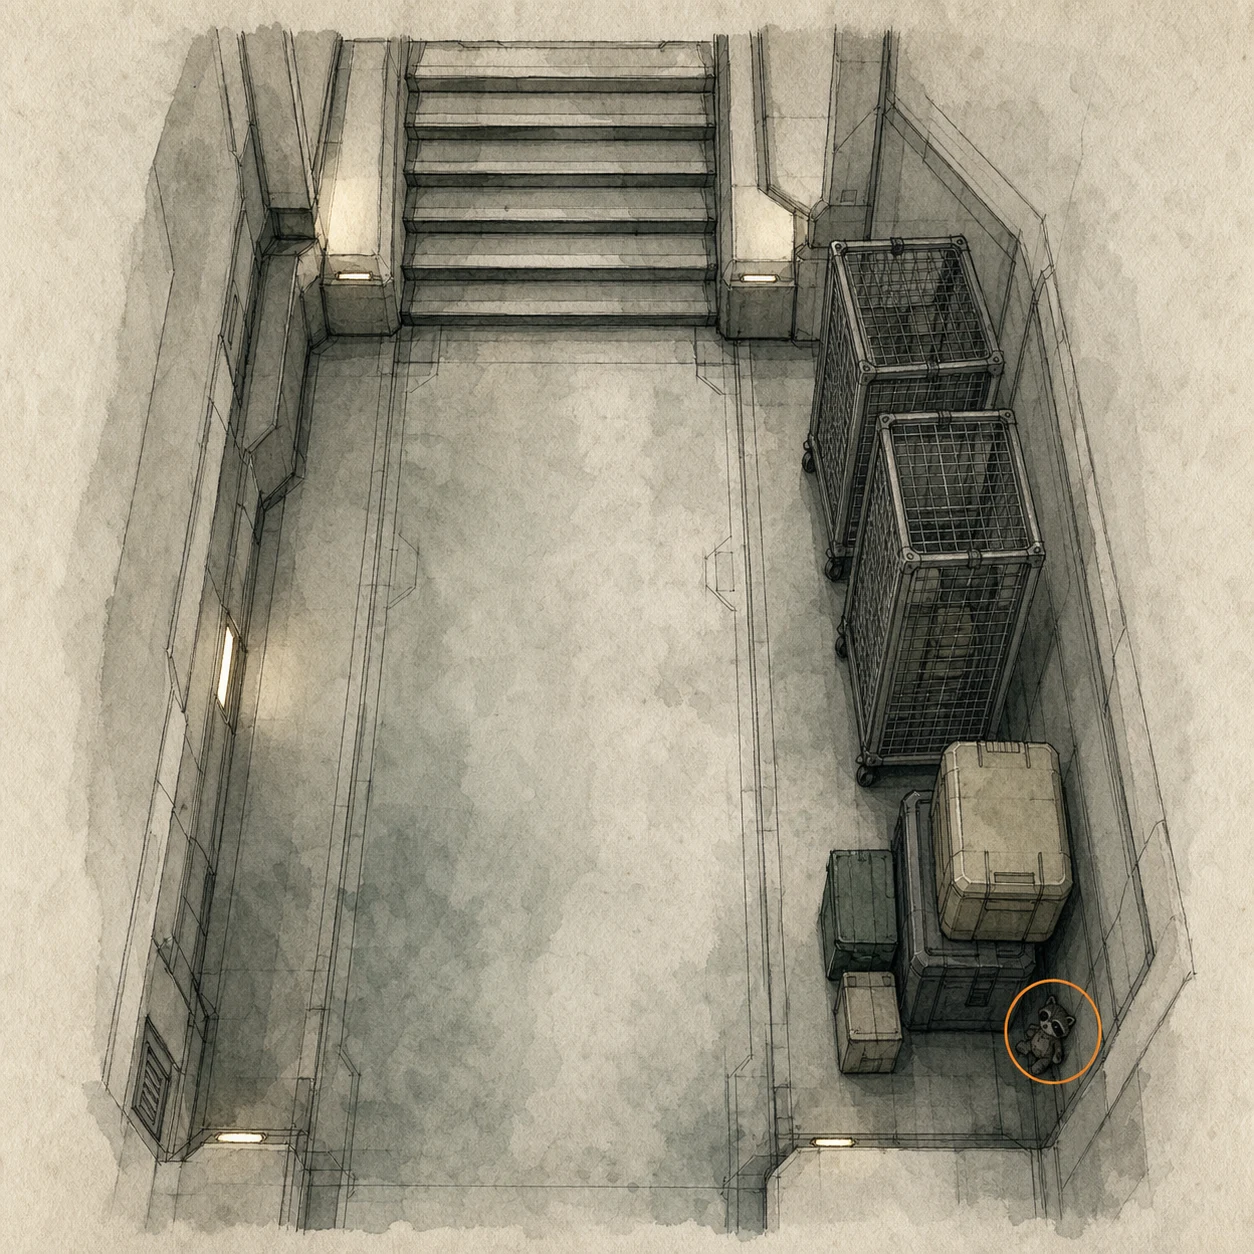
File #67 - Raccoon City Bioweapon Research - Report (missable)
File
HintA lounge beyond the statue-lined stairs has several separate wall displays to inspect.
WhereClimb the golden-statue staircase, take the right green doorway into the Guest Lounge, and examine all three wall monitors.
Full detailEnter the Guest Lounge through the green door to the right of the golden-statue stairs and inspect all three wall monitors; this report is one of the three separate files.
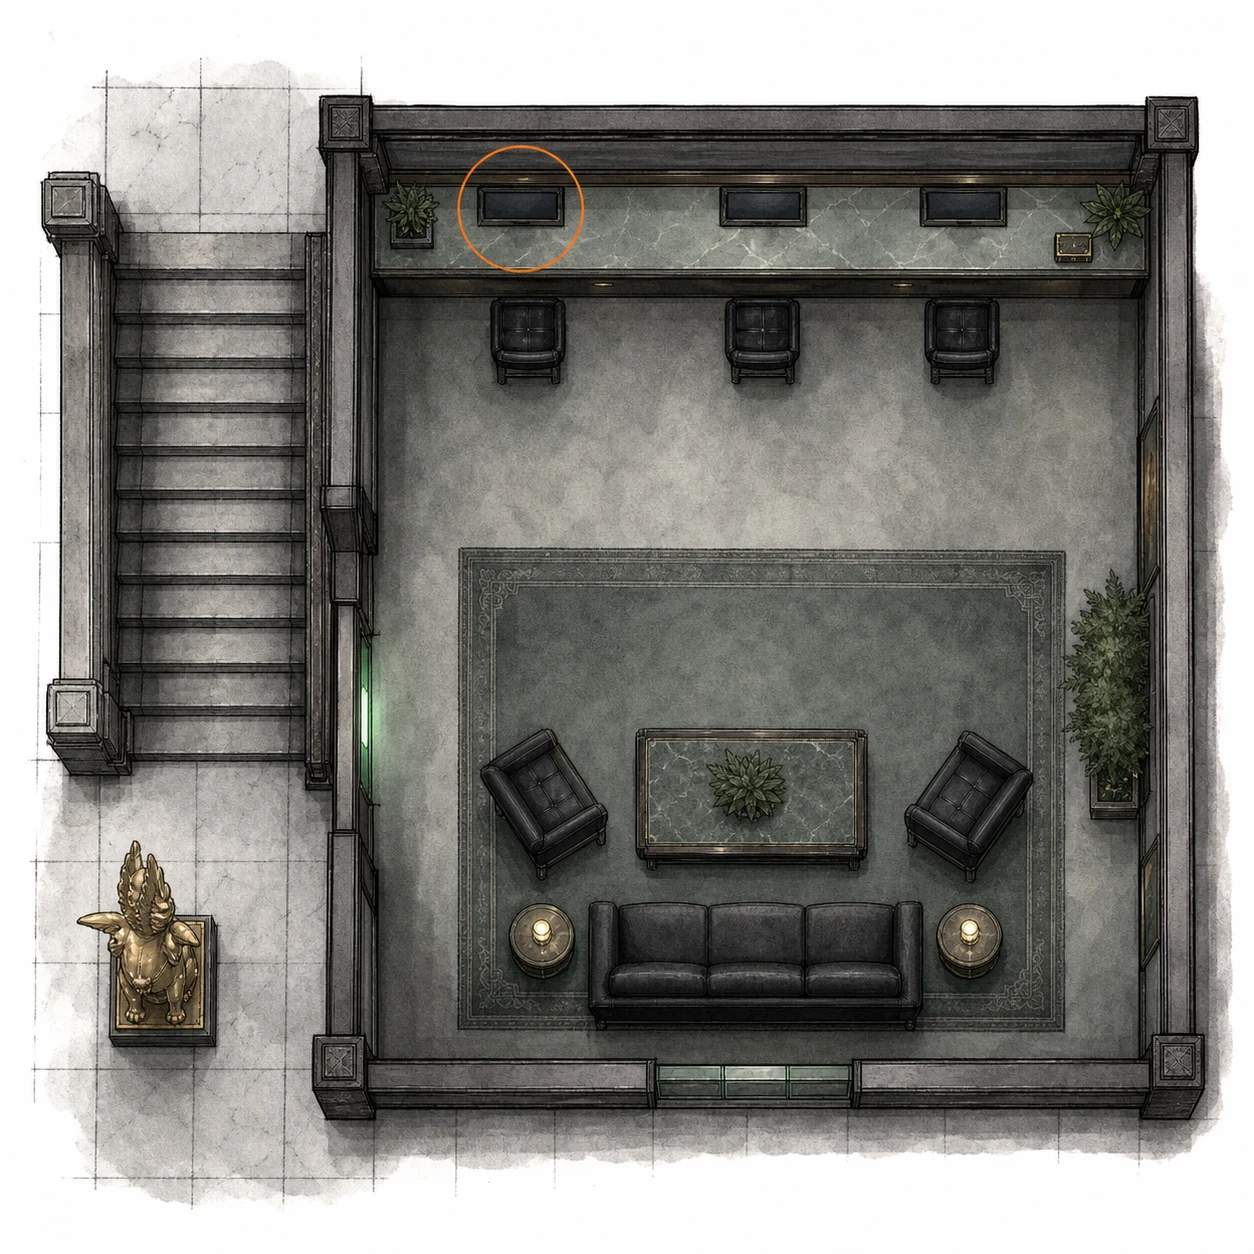
File #68 - Product Catalog 1 (2026) (missable)
File
HintA lounge beyond the statue-lined stairs has several separate wall displays to inspect.
WhereIn the Guest Lounge beyond the golden-statue stairs, inspect all three wall monitors to register this catalog and the two adjacent files.
Full detailEnter the Guest Lounge through the green door to the right of the golden-statue stairs and inspect each wall monitor individually; this catalog is one of the three entries.
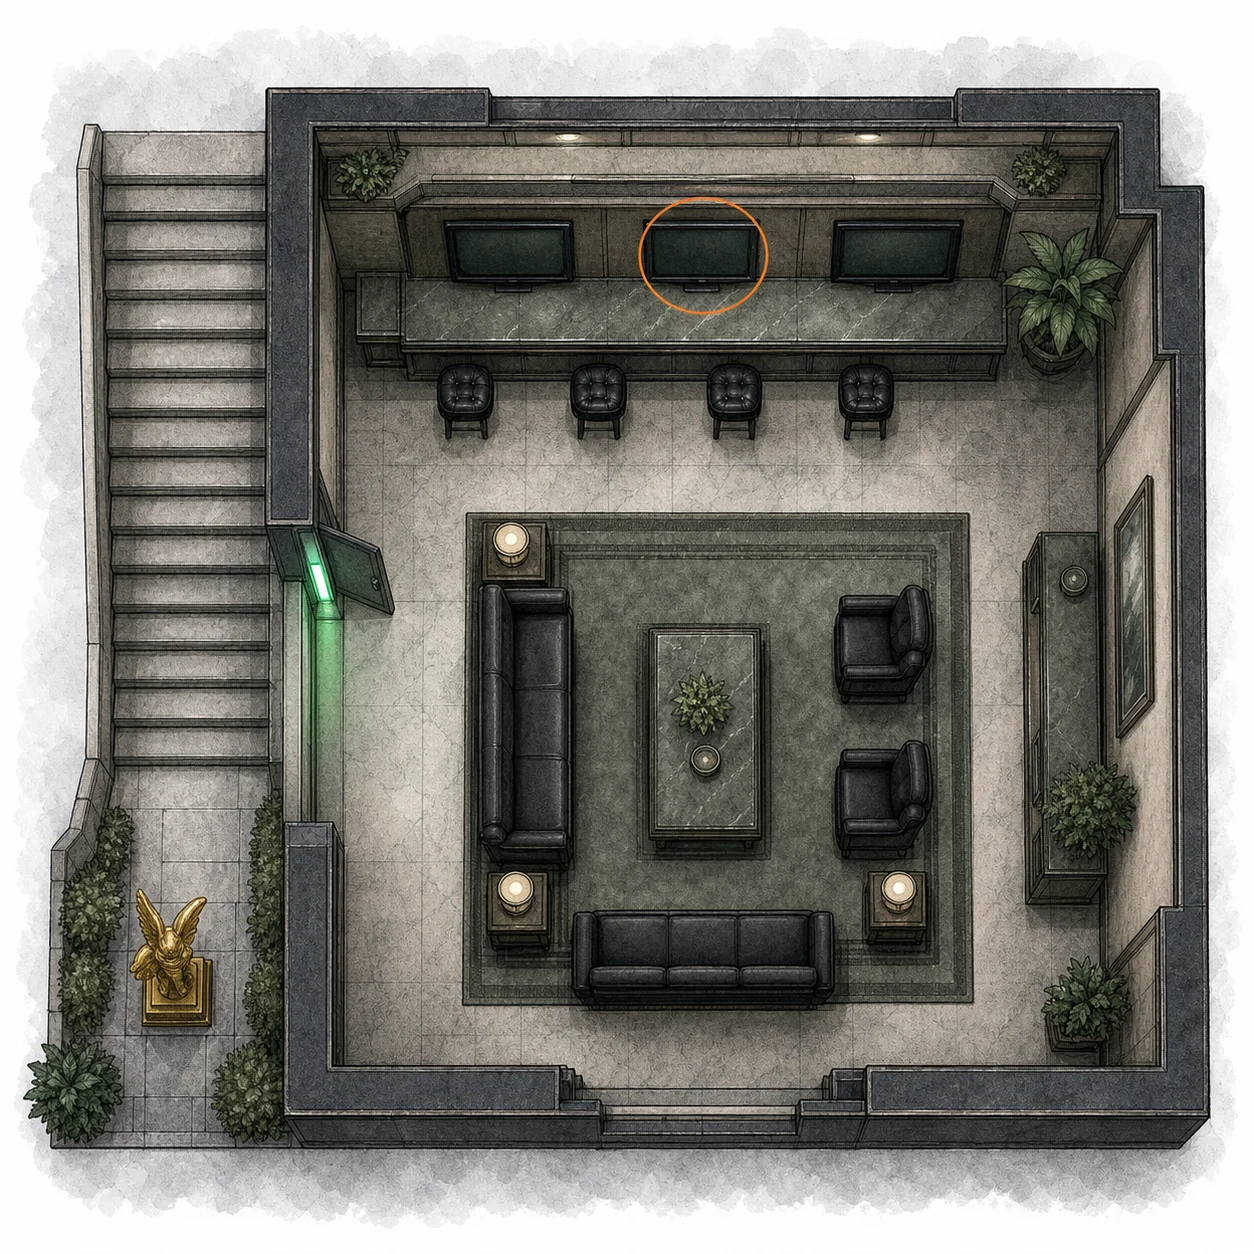
File #69 - Product Catalog 2 (2026) (missable)
File
HintA lounge beyond the statue-lined stairs has several separate wall displays to inspect.
WhereIn the Guest Lounge beyond the golden-statue stairs, inspect all three wall monitors to register this catalog and the two adjacent files.
Full detailEnter the Guest Lounge through the green door to the right of the golden-statue stairs and inspect each wall monitor individually; this catalog is one of the three entries.
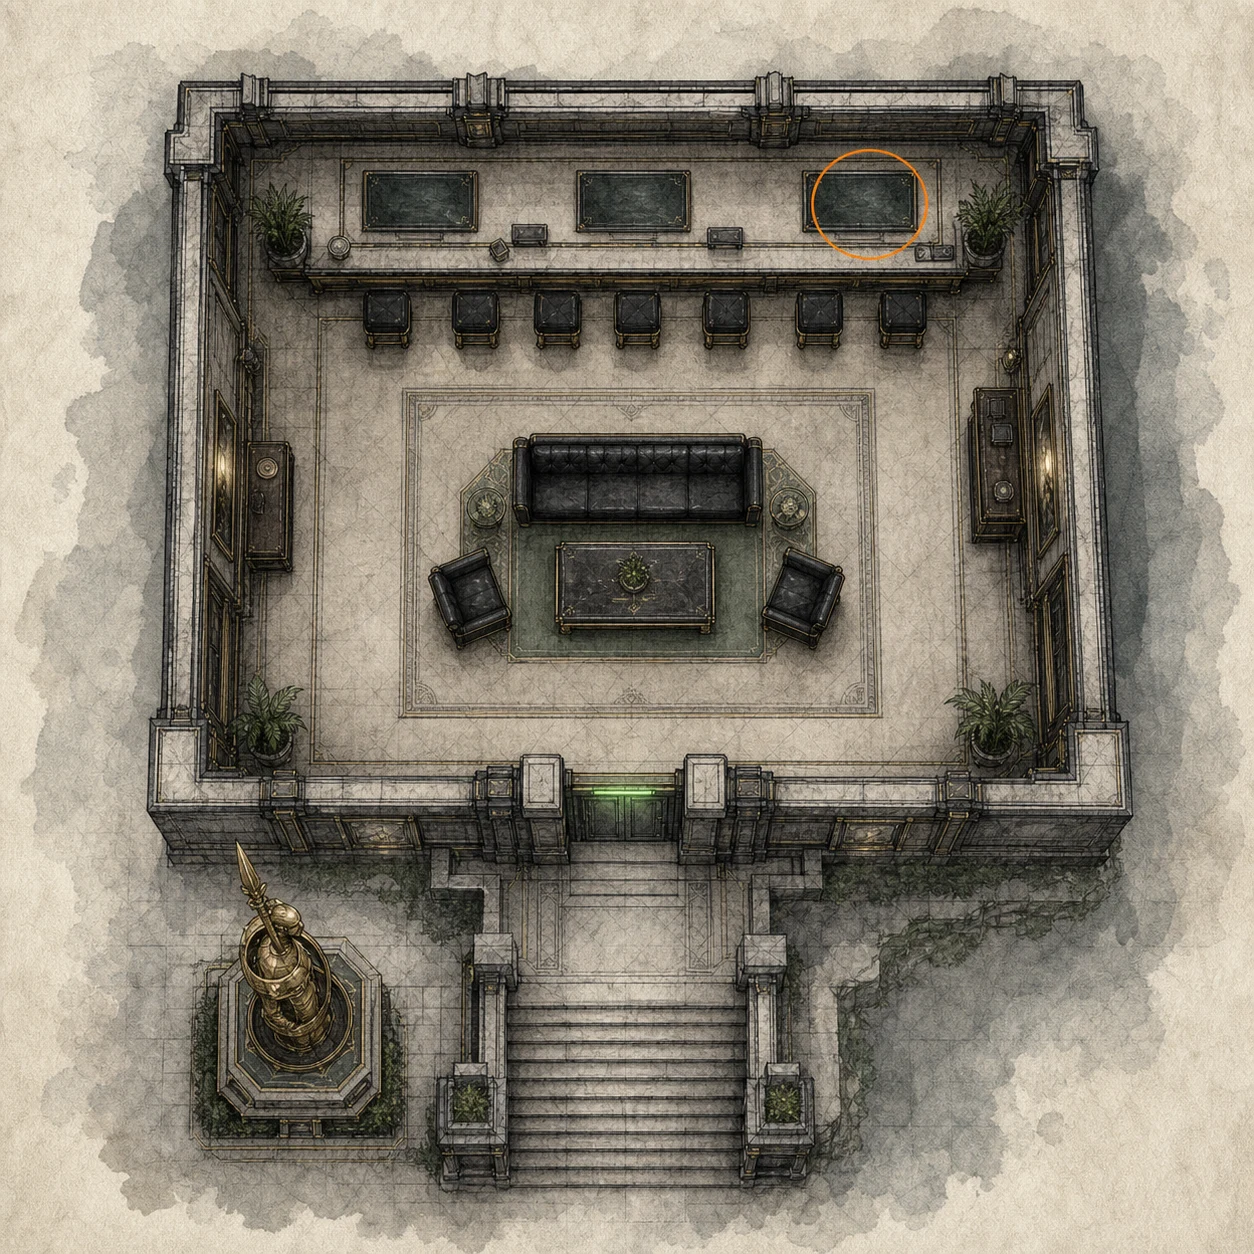
Mortal Edge (missable)
Weapon
HintAfter the major encounter in this section, check the ground before moving onward.
WhereAfter the major encounter, collect Mortal Edge from the defeated enemy before leaving the room.
Full detailCollect Mortal Edge from the defeated enemy after the encounter, then unequip the current hatchet and choose Equip on Mortal Edge; it deals more damage and has better durability.
Tricell Barrel Reference (missable)
Secret or Easter egg
HintCheck cargo markings while entering the industrial complex.
WhereInspect the labeled barrel along the first interior approach.
Full detailDuring the entry route, look across the stored industrial containers for a barrel marked Tricell. Reading the company name is the entire discovery; it does not award an item.
ARK - Lab and Repository Rooms
You are here when: The facility route with a typewriter landing, sterilization chamber, chemical storage, red-door lobby, monitor control room, anteroom, repository containers, operations room, cleanroom, and archives.
Puzzle-and-repository section. Collect both orbs and the archive monitor before using the large console.
Safe #4 (missable)
Safe
HintNear the next safe point, an adjacent chamber contains a safe along its outer edge.
WhereFrom the next typewriter, enter the open door on the right into the Sterilization Chamber and reach the safe on the window directly ahead.
Full detailIn the Sterilization Chamber, sneak around the nearby enemy and open the window-side safe with Right 10, Left 90, Right 20 on Casual/Standard or Left 80, Right 50, Left 0 on Insanity; the later code file is not required.
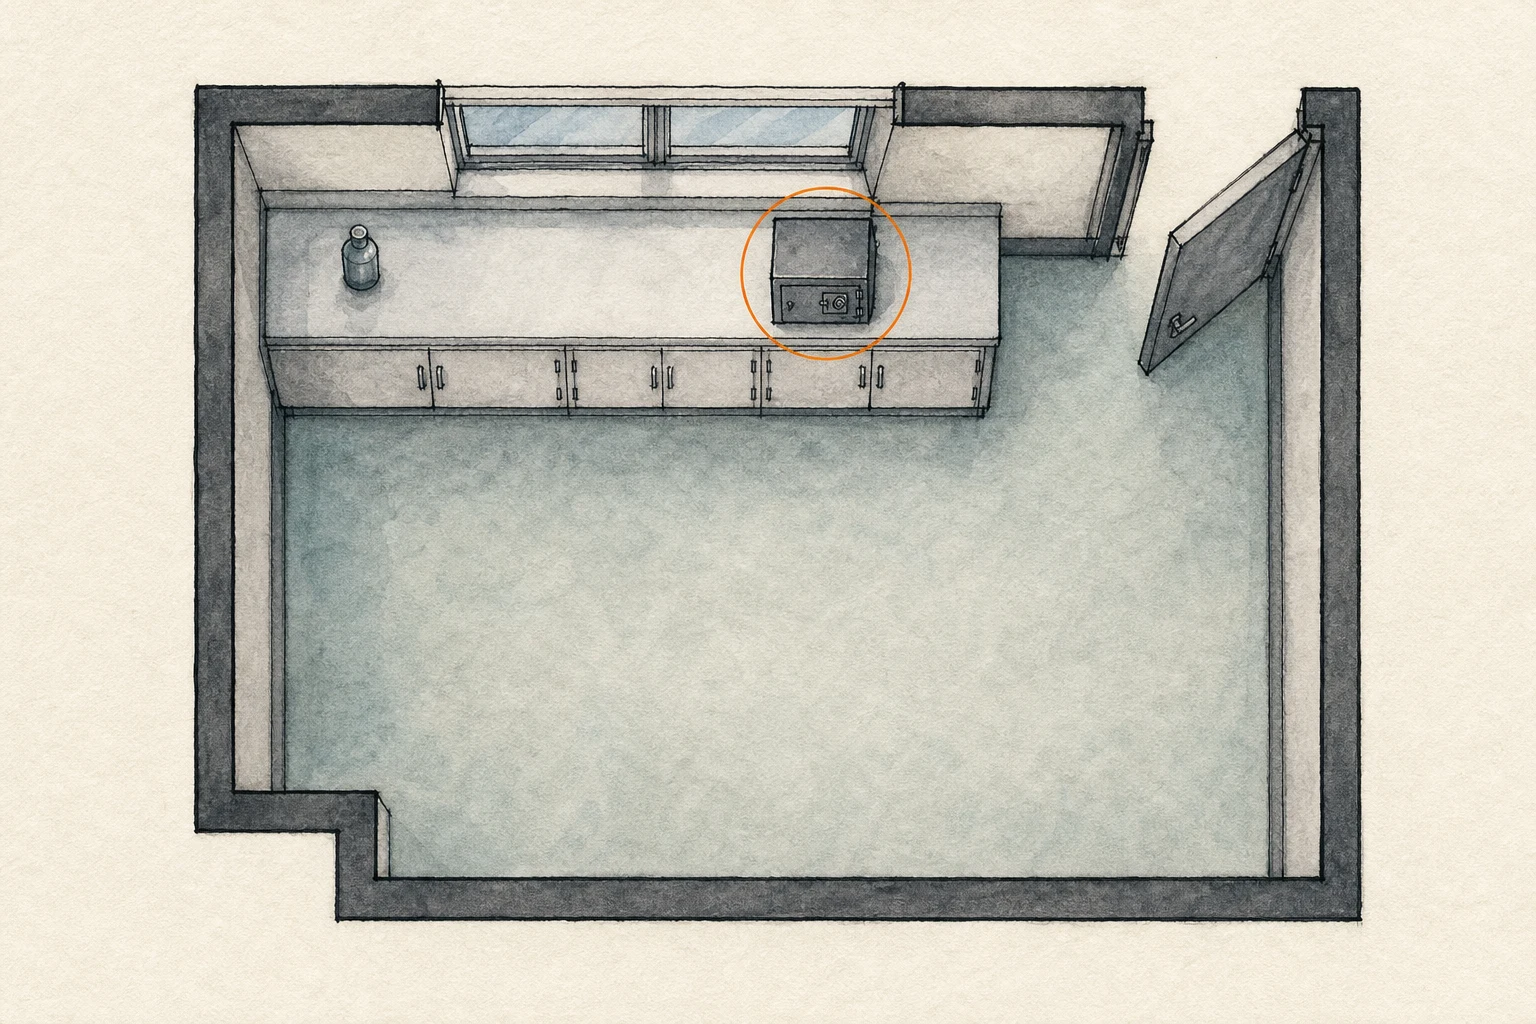
Bottle of Acid (missable)
Weapon
HintThe next storage room has a useful weapon on a surface near its entrance.
WhereEnter Chemical Storage and collect the Bottle of Acid from the table near the entrance.
Full detailProceed into Chemical Storage and take the Bottle of Acid from the table immediately inside before moving deeper into the room.
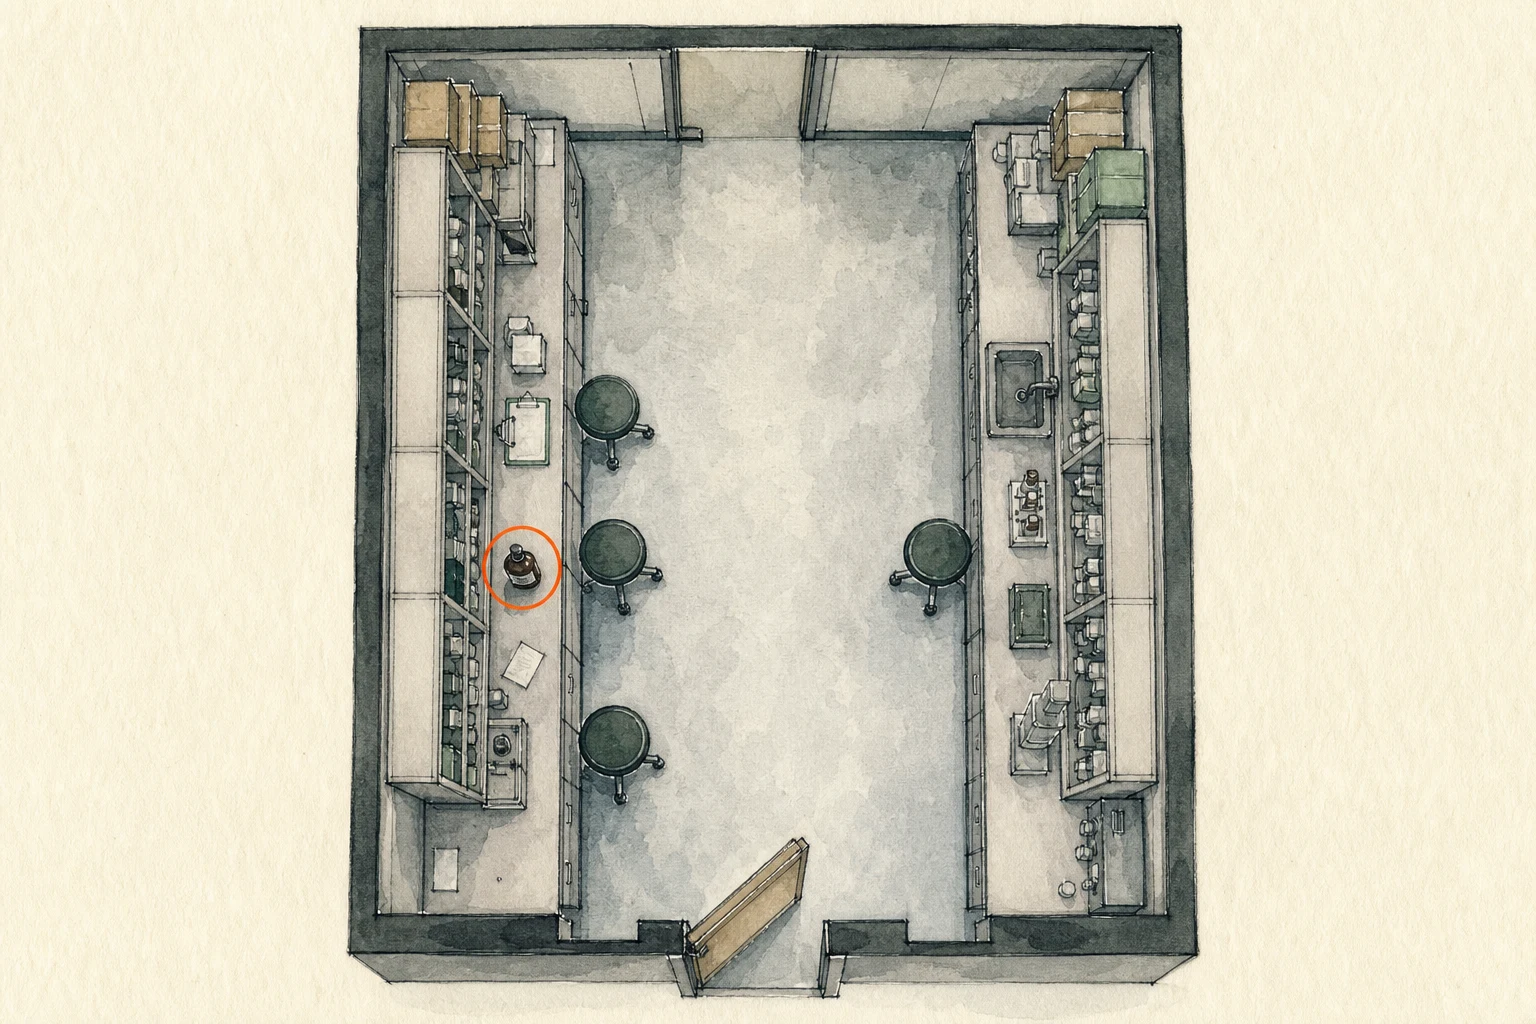
Override Key (missable)
Key item
HintSearch the far end of the chemical-storage route for a glowing control panel.
WhereCollect the Override Key from the green-glowing computer panel at the far end of Chemical Storage.
Full detailTake the Override Key from the green-glowing computer panel at the far end of Chemical Storage, then backtrack below the typewriter and use it on the Dump Control Room console.
Magnetic Key (missable)
Key item
HintAfter operating the lower control-room console, recheck the room's illuminated wall panels.
WhereAfter using the Override Key in the Dump Control Room, collect the Magnetic Key from the green-glowing wall panel in the same room.
Full detailUse the Override Key on the Dump Control Room console, then collect the Magnetic Key from the green-glowing wall panel before leaving.
File #70 - Access Log: 51st Assembly Minutes (missable)
File
HintBeyond the first red security door, inspect the monitors in the nearby side room.
WhereUnlock the typewriter-side red door with the Magnetic Key, cross the red Lobby, take its leftmost green doorway, and examine the monitor on the right.
Full detailUse the Magnetic Key beside the typewriter, cross the red-floored Lobby, and take the leftmost green doorway. Inside Monitor Control, interact with the screen on the right.
Safe #5 (missable)
Safe
HintThe same monitor room contains a safe on its counter.
WhereIn the Monitor Control Room, use the safe on the counter beside the wall displays.
Full detailOpen the Monitor Control Room counter safe with Left 50, Right 60, Left 80 on Casual/Standard or Right 20, Left 0, Right 70 on Insanity; the later code file is not required.
Bottle of Acid Recipe (missable)
Crafting recipe
HintBefore leaving the monitor room, check the counter space around the safe.
WhereIn the Monitor Control Room, collect the Bottle of Acid recipe immediately left of the safe.
Full detailAfter opening or locating the Monitor Control Room safe, collect the Bottle of Acid recipe from the counter immediately to its left.
File #71 - Sterilization Chamber Safe (missable)
File
HintOn the descending route toward the large repository, check the intermediary spaces.
WhereTake the next green door into the Anteroom, go downstairs, and collect the file from the crate at the first corner before entering Bioweapon Repository 05.
Full detailEnter the Anteroom through the next green door, descend the stairs, and inspect the crate at the first corner for the safe-code file before entering Bioweapon Repository 05.
Hip Pouch (missable)
Hip Pouch (inventory upgrade)
HintThe first container in the large repository room holds an inventory upgrade.
WhereIn Bioweapon Repository 05, open the first container on the left and collect the Hip Pouch inside.
Full detailAfter entering Bioweapon Repository 05, open the first container on the left and take the Hip Pouch before crossing the enemy-filled room.
File #72 - Monitor Control Room Safe (missable)
File
HintIn the large repository room, inspect the open containers rather than only the main route.
WhereIn Bioweapon Repository 05, collect the file from the rightmost open container in the middle row.
Full detailClear or evade the enemies in Bioweapon Repository 05, then inspect the rightmost open container in the middle row for the file; the other containers hold replacement crafting materials.
Mr. Raccoon #25 (missable)
Mr. Raccoon figure
HintThe next operations space has a figure positioned near its largest display.
WhereIn the Operations Room, find the figure directly in front of the large monitor.
Full detailEnter the Operations Room, look directly in front of the large monitor, and destroy the figure before interacting with the room's controls.
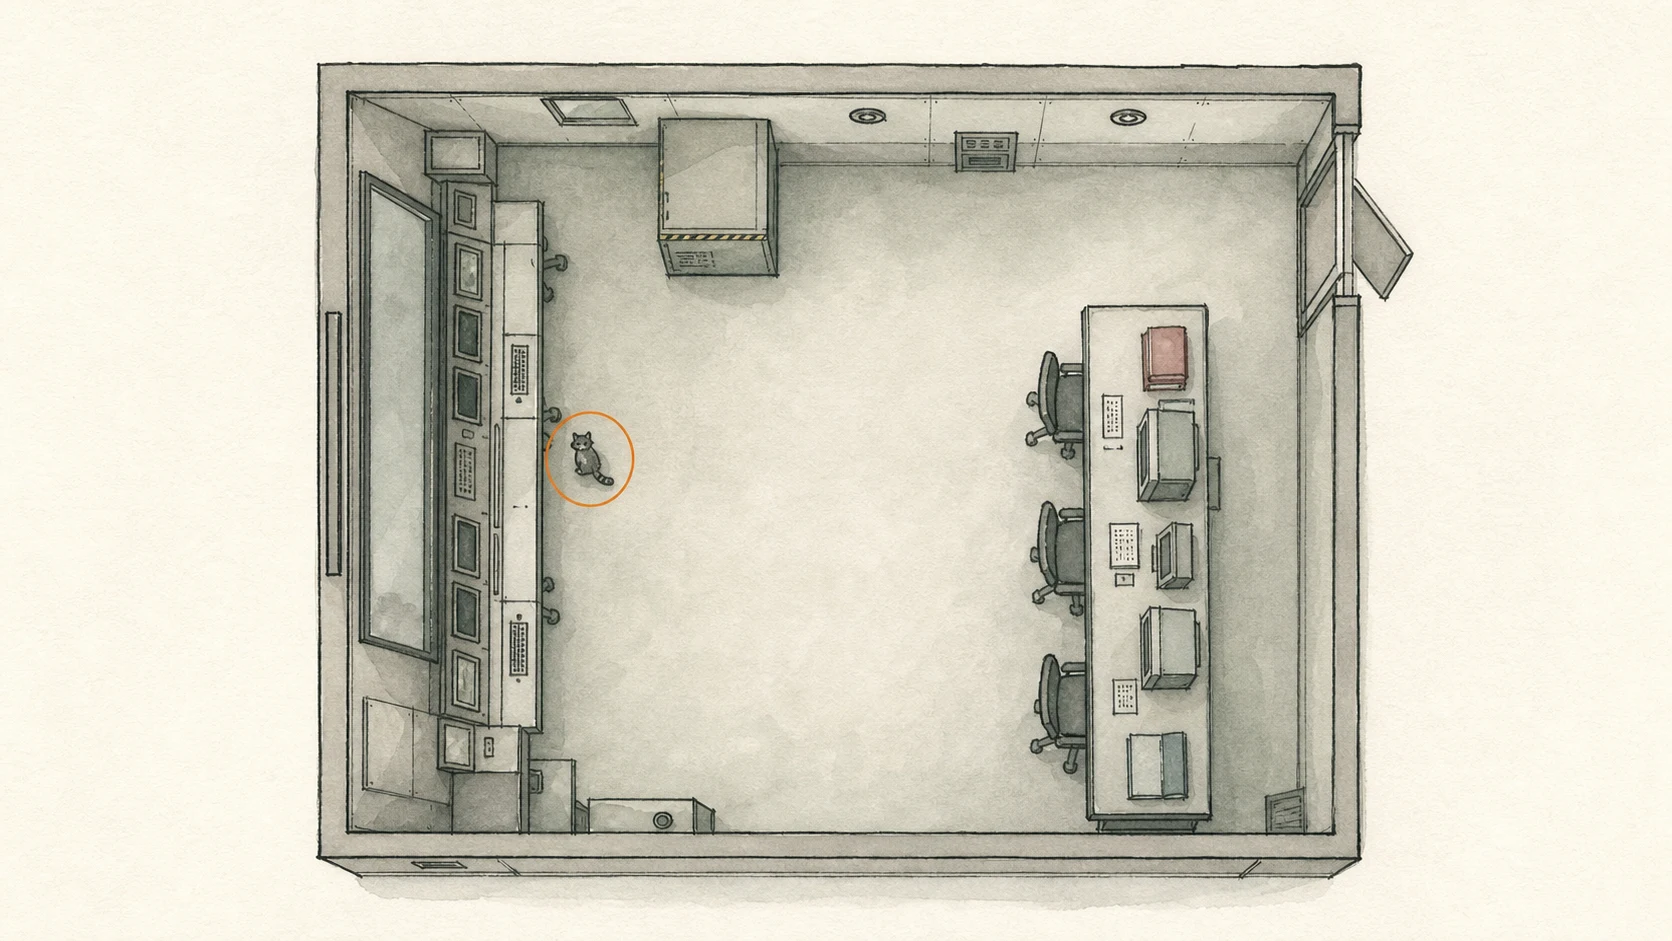
Noblesse Orb (missable)
Key item
HintA colored container beside the operations-room figure holds a required key item.
WhereIn the Operations Room, open the red box beside Mr. Raccoon #25 and take the Noblesse Orb.
Full detailAfter destroying Mr. Raccoon #25, open the adjacent red box and collect the Noblesse Orb before leaving the Operations Room.
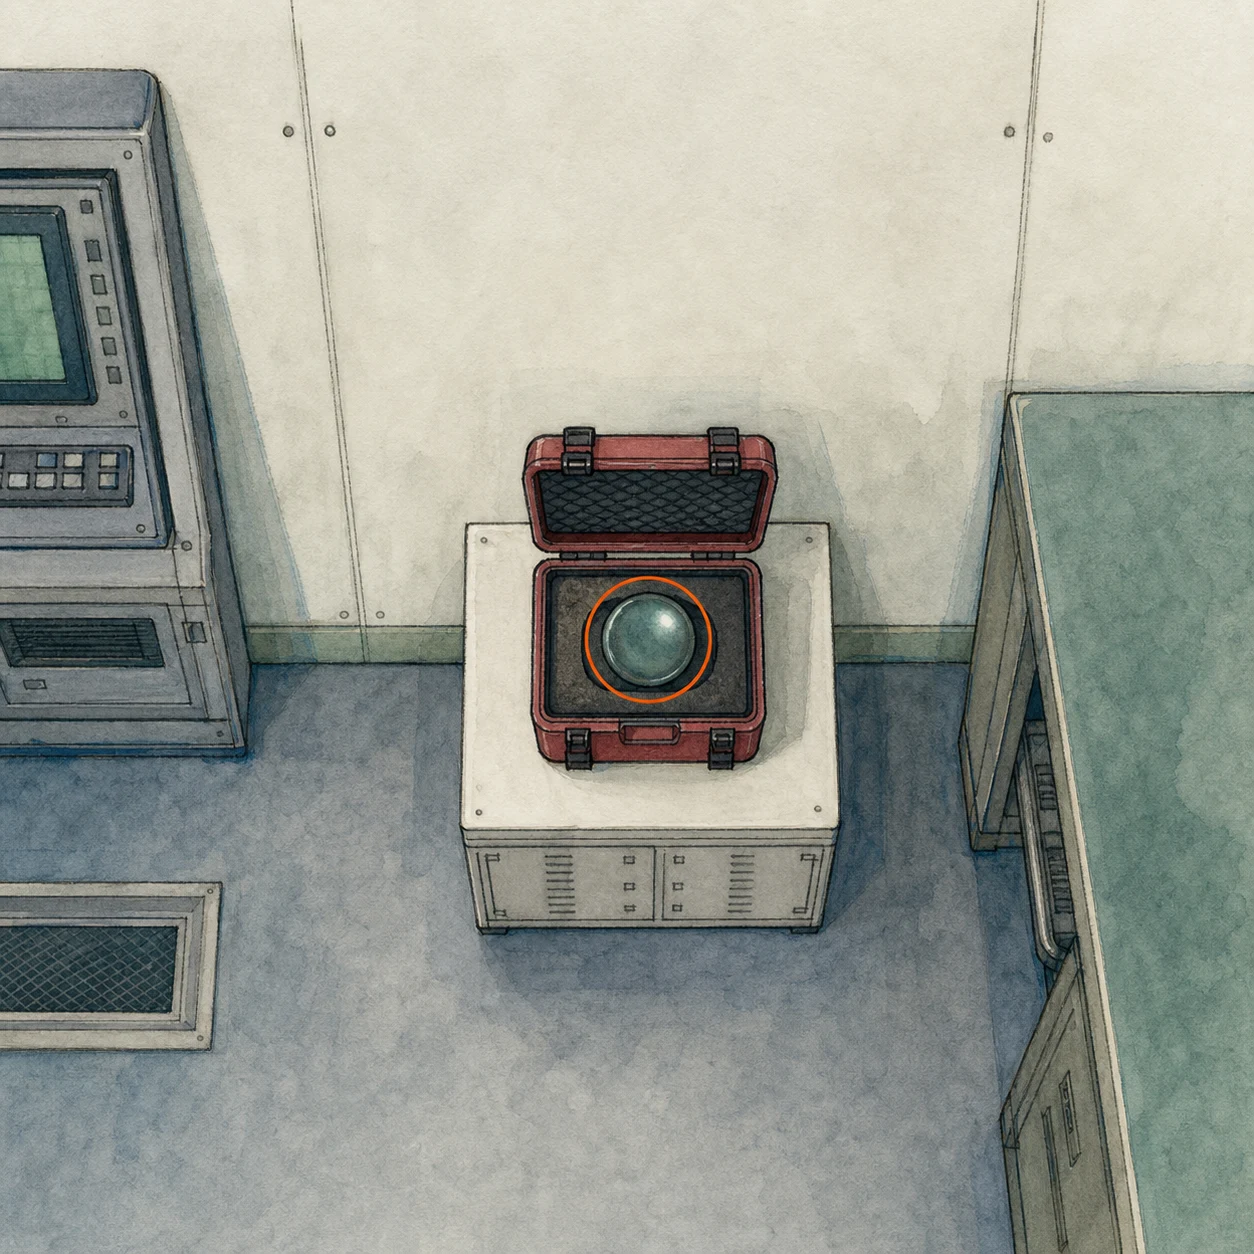
Animus Orb (missable)
Key item
HintA second orb is hidden along an upper backtracking route beyond another repository room.
WhereBacktrack to the first Lab Entrance typewriter, go north through Bioweapon Repository 02, enter the Cleanroom, and take the Animus Orb from the red box.
Full detailBacktrack to the Lab Entrance's initial typewriter, head north through Bioweapon Repository 02, unlock the Cleanroom, and take the Animus Orb from its red box.
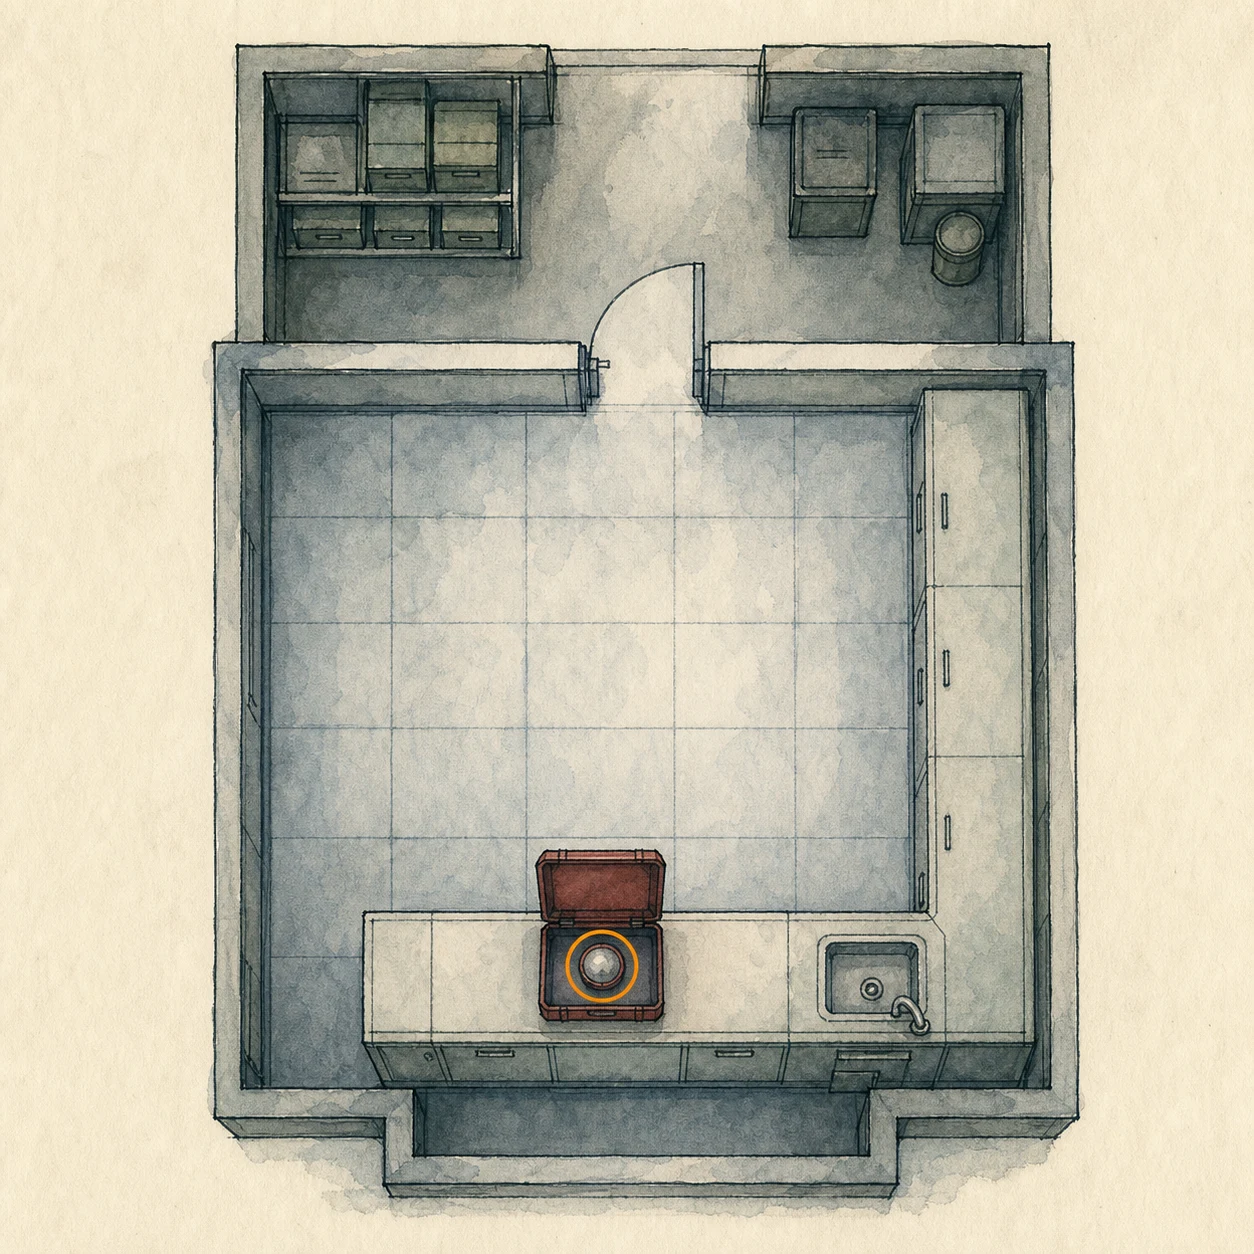
File #73 - Access Log: First Assembly Minutes (missable)
File
HintIn the late archive room, inspect the wall displays before using the large console.
WherePlace both orbs in the red-floored Lobby, enter the Archives, and inspect the last monitor on the right wall before using the large console.
Full detailInsert the Noblesse and Animus Orbs in the red-floored Lobby, enter the Archives, and inspect the final monitor on the right wall before interacting with the large console, which closes this sweep.
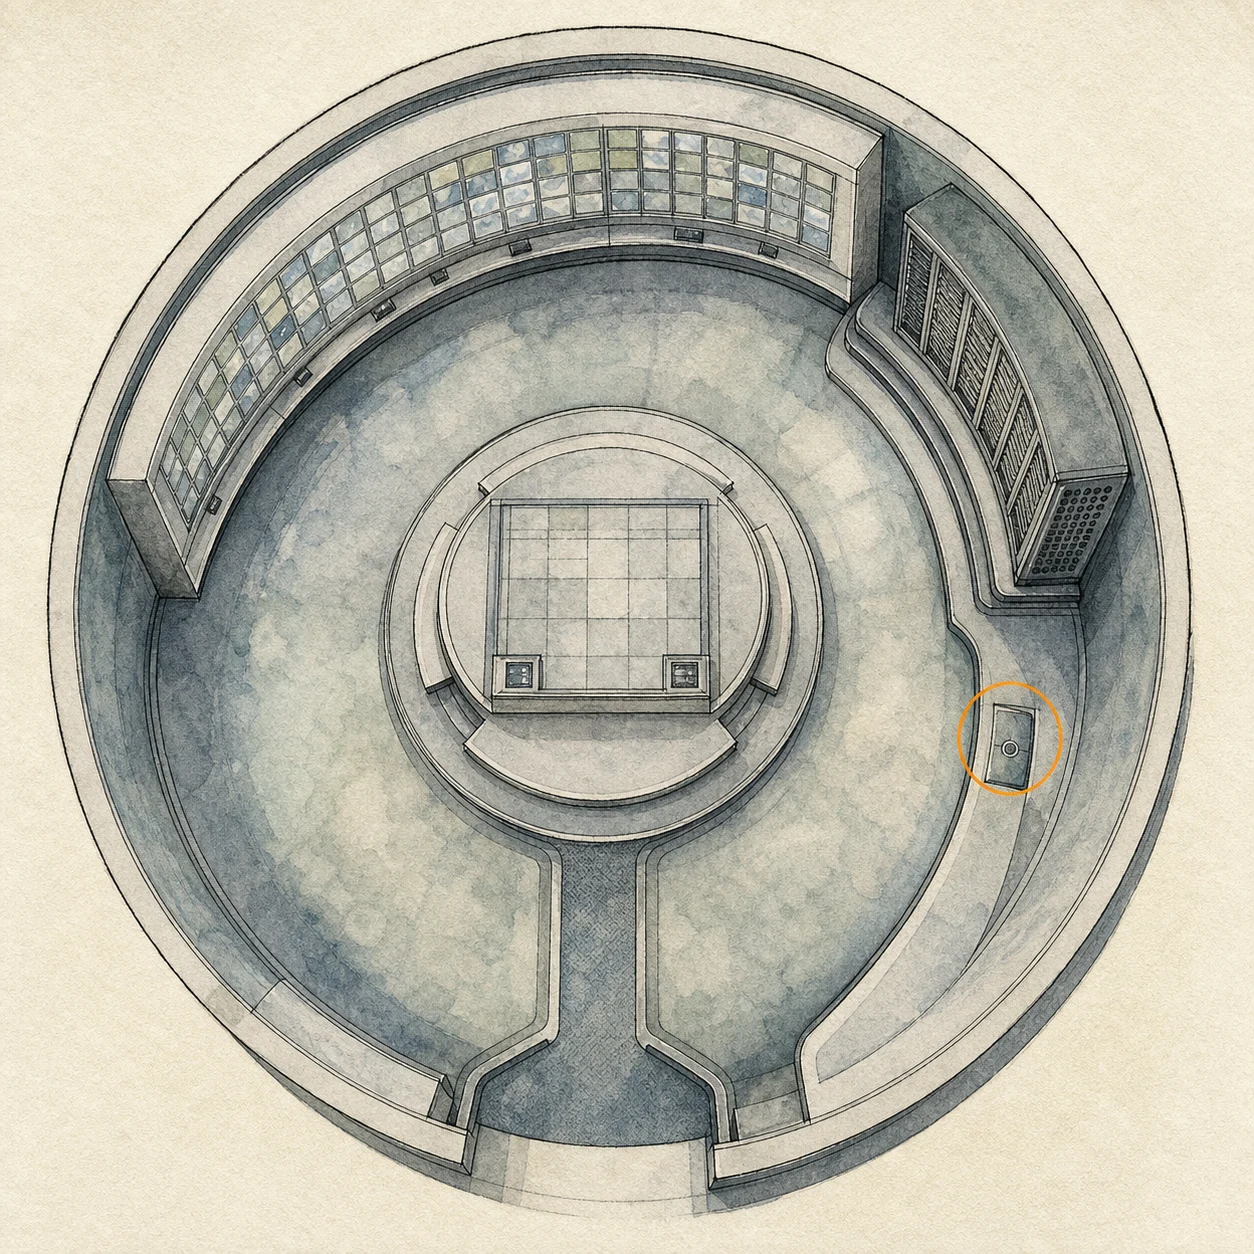
Signed Nursery Painting Reference (missable)
Secret or Easter egg
HintOne study painting carries a deliberately minimal signature.
WhereExamine the woman-and-child painting in the study and look at its signature.
Full detailInspect the study's painting of a woman holding a child. The single-letter M signature and composition point to imagery from an earlier village setting; no pickup or reward appears.
ARK - Deeper Repository
You are here when: A deeper facility route with repository rooms, licker-filled containers, system management, a staff-room corridor, and an elevator in Repository 11.
Deep facility route. The elevator is the hard lock before the ending branch.
Override Key (missable)
Key item
HintIn the deeper facility route, check the walls of the systems-management room.
WhereCollect the Override Key from the wall in Systems Management.
Full detailBefore leaving Systems Management, take the Override Key mounted on the wall for the Bioweapon Repository 11 route.
Ending Choice
You are here when: At the terminal-like choice prompt after the deep-facility elevator sequence.
The branch is reload-safe if you preserve the pre-choice autosave or backup.
Ending Branch Choice
Completion-safe choice
HintAt the late terminal-like confirmation, pause before choosing and preserve a reloadable save.
WhereAt the terminal-like prompt, preserve the autosave or a manual backup before selecting either of the two confirmations.
Full detailPreserve a pre-choice save, select either confirmation and complete that route, then reload the pre-choice state and select the other confirmation so both routes register.
Ending Route A
Ending route
HintUse the pre-choice backup so the first confirmation can be completed without losing access to the other.
WhereSelect the first confirmation, complete the route, then reload the pre-choice autosave or backup.
Full detailFrom the preserved pre-choice state, select the first confirmation and complete the route; afterward, reload the preserved state to access Route B.
Ending Route B
Ending route
HintUse the pre-choice backup so the second confirmation can be completed after the other route.
WhereReload the pre-choice state, select the other confirmation, and complete the second route.
Full detailAfter completing Route A, reload the preserved pre-choice state, select the other confirmation, and complete Route B so both routes register.
Completion Run Planner
You are here when: Use this after opening the pause-menu Challenges page or after a clear file returns you to the title screen.
Some requirements are mutually exclusive or unlock only after a clear. This route minimizes repeat runs without exposing story events.
Foundation Completion Run (missable)
Run plan
HintMake the first clear thorough; learn the route and leave speed restrictions for later.
WhereFinish the current run while collecting every permanent pickup, completing both late confirmations from a backup, and doing all Blood Collector tasks.
Full detailIf choosing difficulty before starting, Standard (Classic) is the efficient first setting because its clear also registers the Casual and Standard (Modern) requirements; it additionally lets you use one Ink Ribbon for its challenge. If a different run is already underway, finish it rather than restart. Sweep each area before its warning card, complete the Blood Collector analysis/crafting/counter tasks, preserve the late-choice backup, and finish both confirmations by reloading it.
Casual Triple-Challenge Run (missable)
Run plan
HintReserve one post-clear run for three restrictions that work well together.
WhereOn Casual, combine the four-hour clear, zero manual healing, and zero Blood Collector uses.
Full detailAfter the first clear, buy useful bonus weapons and infinite gun ammo if affordable. Start Casual, never use a Herb or Med Injector, and do not use the Blood Collector, leaving it uncollected removes accidental inputs. Skip optional rooms and combat, monitor all three counters in Pause > Challenges, choose Release at the late confirmation, and finish below 4:00:00. Casual's automatic recovery does not invalidate the no-item-healing counter.
Insanity Completion Run
Run plan
HintSave the hardest campaign setting until the post-clear tools are ready.
WhereAfter Insanity unlocks, begin a replay with purchased bonus weapons and modifiers enabled.
Full detailFinish any clear to unlock Insanity, then spend CP on Infinite Ammo (Guns) and a strong bonus weapon before starting it. Grace can claim bonus weapons and earlier charms from item boxes but must reacquire ordinary health, damage, and inventory upgrades; Leon receives bonus gear through supply boxes and must repurchase ordinary weapons and tuning. Complete the campaign on Insanity with no added restriction unless desired.
Post-Clear Mode Cleanup
Run plan
HintThe title screen gains a separate repeatable combat mode after a campaign clear.
WhereUse Extra Games to clear every rank, internal challenge, and Special Content entry for the added mode.
Full detailAfter the campaign clear, update the game and open Extra Games > Leon Must Die Forever. Clear Ranks 1 through 5 in order, complete its eleven challenge records, purchase every LMDF Special Content entry, and verify every loadout and enhancer reward in its menus. This mode has no checkpoints; failed attempts restart the run but do not erase permanent rank unlocks.
Post-Clear Replay Rules
You are here when: The title screen after any completed campaign, with hidden Challenge text, Bonuses, and Insanity now available.
This is a replay system rather than a conventional inventory-preserving New Game+ mode.
Global Completion Progress
Replay rule
HintA clear reveals hidden requirements and preserves account-wide completion records.
WhereAfter the credits, inspect Challenges and Bonuses before starting another run.
Full detailChallenge checks, earned CP, purchased Special Content, destroyed figures, read-file progress, and unlocked menu galleries persist globally. Insanity, post-clear cosmetics, the extra mode, and hidden challenge descriptions become available after the first clear.
Grace Replay Inventory
Replay rule
HintDo not assume ordinary exploration upgrades remain equipped on a later run.
WhereGrace can claim purchased bonus gear and prior charms from item boxes, but ordinary upgrades must be found again.
Full detailOn a replay, open Grace's first available item box to retrieve eligible bonus weapons and charms earned previously. Her normal Hip Pouches, Steroids, Stabilizers, and other route upgrades do not carry as equipped inventory; collect them again if the run needs them.
Leon Replay Inventory
Replay rule
HintLeon gains earlier access to purchases, but the ordinary arsenal is not simply copied forward.
WhereUse supply boxes to claim bonus gear and buy back regular weapons and upgrades during later runs.
Full detailLeon begins earning Credits earlier and sees more supply boxes. Purchased Special Content appears there, while normal campaign weapons and their tuning must be bought again from the supply-box catalog. Budget first for the shotgun before the attic route and the rifle before the long-range defense section.
No Campaign S-Rank Requirement
Verified scope
HintDo not add an unsupported rank grind to the campaign checklist.
WhereThe verified campaign challenge ledger uses difficulty clears and a four-hour timer, not S or S+ results ranks.
Full detailFor the base campaign, complete Standard (Classic), Insanity, and Speed Demon; no separate S/S+ campaign unlock is listed in the in-game challenge set. The post-clear extra mode instead uses sequential Forever Ranks 1 through 5, tracked separately below.
Challenge Records
You are here when: The Challenges page in the pause menu; hidden descriptions become readable after the first clear.
These are in-game completion records and Completion Point sources.
Hope and Requiem (missable)
Challenge
HintComplete the route tied to one of the two late confirmations.
WhereUse the preserved late-choice save and finish the Release confirmation.
Full detailAt the late two-option prompt, preserve the backup first, select Release, and complete that route through the results screen. Confirm the record and 200 CP before reloading for the other ending. Reward: 200 CP.
Rookie Agent
Challenge
HintAny completed difficulty satisfies the entry-level clear.
WhereFinish the campaign on Casual or any harder setting.
Full detailComplete the campaign on at least Casual. A Standard (Classic) clear also registers Rookie Agent and the two Standard records, so a separate Casual difficulty clear is unnecessary. Reward: 800 CP.
Rising Agent
Challenge
HintA Standard clear can satisfy more than one difficulty record.
WhereFinish on Standard (Modern), Standard (Classic), or Insanity.
Full detailComplete the campaign on at least Standard (Modern). Standard (Classic) is the efficient choice because that clear also covers Rookie Agent and Resolute Agent. Reward: 1000 CP.
Resolute Agent
Challenge
HintThe manual-save version of Standard has its own completion record.
WhereFinish the campaign on Standard (Classic).
Full detailStart or finish a run on Standard (Classic), where typewriter saves consume Ink Ribbons, and complete it through the results screen. This clear also covers both lower difficulty records. Reward: 1500 CP.
Remarkable Agent
Challenge
HintThe highest campaign setting unlocks only after a clear.
WhereUnlock Insanity with any clear, then complete an Insanity run.
Full detailAfter a first clear, start Insanity. Purchase infinite gun ammo and a strong bonus weapon first if desired, reclaim bonus gear from boxes, reacquire ordinary Grace upgrades, repurchase Leon's normal arsenal, and finish the run for 40,000 CP. Reward: 40000 CP.
Out of Sight, Out of Mind
Challenge
HintTry the storage system once while controlling Grace.
WhereMove any carried item into an item box as Grace.
Full detailAt any Grace item box, select a nonessential carried object and choose Store. Reopen Pause > Challenges and verify the single storage action registered for 200 CP. Reward: 200 CP.
The Ol' Fashioned Way (missable)
Challenge
HintOne save-system interaction requires the Classic ruleset.
WhereOn Standard (Classic), spend one Ink Ribbon at a typewriter.
Full detailDuring the Standard (Classic) run, pick up an Ink Ribbon, interact with any typewriter, and confirm a manual save. Autosaves and typewriter interactions on other settings do not satisfy it. Reward: 200 CP.
Like Mother, Like Daughter (missable)
Challenge
HintUse one expendable unlocking tool before leaving the medical building.
WhereAs Grace, use a Lockpick on any drawer displaying a padlock icon.
Full detailTake a Lockpick during the Care Center sweep and use it on a locked drawer before crossing the area's departure warning. Verify the drawer opens and the record checks for 200 CP. Reward: 200 CP.
Fatal Dose (missable)
Challenge
HintA crafted medical tool has an offensive use against an ordinary infected target.
WhereDefeat one zombie with a Hemolytic Injector.
Full detailAfter unlocking or finding a Hemolytic Injector, equip it, approach a normal zombie, and use it at close range for the finishing blow. The Examination Room route provides an early safe opportunity. Reward: 200 CP.
Science! (missable)
Challenge
HintThe Blood Lab analyzer can teach a recipe from a specimen.
WhereUse the Blood Collector and denatured specimen at the Blood Lab analyzer.
Full detailPick up the Blood Collector and the denatured specimen beside the analyzer. Insert both, finish the model-analysis interaction, and wait for the new recipe notice before leaving the lab. Reward: 200 CP.
The Power of Blood (missable)
Challenge
HintSpend collected microsamples on one recipe.
WhereCraft any item whose recipe consumes infected-blood microsamples.
Full detailGather blood with the Blood Collector, open Crafting, select any recipe showing a microsample cost, and craft it once. Merely collecting blood does not complete this record. Reward: 200 CP.
Blood! More Blood!
Challenge
HintRegular blood-based crafting builds a cumulative spending counter.
WhereSpend a total of 300 infected-blood microsamples through crafting.
Full detailUse microsample recipes throughout Grace's route until Pause > Challenges shows 300 used. The counter measures microsamples spent, so stockpiling them without crafting does not advance it. Reward: 200 CP.
Bring Out the Big Guns (missable)
Challenge
HintA powerful late weapon can interrupt the pursuing threat.
WhereDuring the Water Treatment Plant pursuit, stun the pursuing target with Requiem.
Full detailWhen Requiem becomes available in the plant, wait for the pursuer to commit to a forward rush and fire into center mass before contact. A visible stagger confirms the challenge window registered. Reward: 200 CP.
The Hunt Begins
Challenge
HintDestroy one small commemorative figure.
WhereShoot or strike any Mr. Raccoon memoriam.
Full detailDestroy any one Mr. Raccoon listed in the location areas. Wait for its break animation and verify the first-figure record checks for 200 CP. Reward: 200 CP.
Untouchable
Challenge
HintPractice one precisely timed defensive hatchet action.
WhereParry any enemy attack while Leon has a hatchet equipped.
Full detailEquip a usable hatchet, face a clear melee wind-up, and press Parry immediately before impact. A successful deflection, not a block or dodge, completes the record. Reward: 200 CP.
Can I Borrow This? (missable)
Challenge
HintAn enemy-dropped melee object can be returned as a projectile.
WherePick up a weapon dropped by an enemy and throw it at a target.
Full detailAfter an enemy drops a pipe or similar weapon, collect it, aim at any hostile target, and use the throw input. The thrown object only has to connect; it does not need to kill. Reward: 200 CP.
Chop Chop
Challenge
HintUse the prompted hatchet finisher repeatedly.
WhereDefeat three zombies with hatchet finishing attacks.
Full detailWeaken ordinary zombies until the close-combat finishing prompt appears, then use the hatchet prompt. Repeat for three separate zombie kills; they do not need to occur together. Reward: 200 CP.
Retail Therapy
Challenge
HintMake one purchase through Leon's field shop.
WhereBuy any item from a supply box.
Full detailOpen a supply box as Leon, choose any affordable ammo, recovery item, weapon, or upgrade, and confirm the Credit purchase. Simply browsing the catalog does not count. Reward: 200 CP.
Tailor Made
Challenge
HintInvest Credits in one weapon statistic.
WherePurchase any weapon upgrade from a supply box.
Full detailAt a Leon supply box, open the tuning tab, select any owned weapon, buy one power, capacity, reload, or related upgrade, and confirm the weapon's stat changes. Reward: 200 CP.
Road Rage (missable)
Challenge
HintWatch for a short interrupt prompt during the highway sequence.
WhereShoot the adjacent attacker when the red warning marker appears during the highway ride.
Full detailDuring the highway chase, keep the weapon ready. When the attacker draws alongside and a red arrow appears overhead, fire immediately to cancel the incoming move. Missing this window requires reloading a pre-highway save or trying on another run. Reward: 200 CP.
Master Craftsman (missable)
Challenge
HintLeon must personally produce every recipe result at least once.
WhereLearn Leon's full recipe list and craft one of each possible item.
Full detailReserve gunpowder and parts until all nine Leon recipes are visible, then craft each distinct result once. Check the record after every craft; pickups and shop purchases do not substitute for crafting. Reward: 200 CP.
Bang for Your Buck (missable)
Challenge
HintLine up a crowd before firing the high-penetration weapon.
WhereKill at least three enemies with one Requiem shot.
Full detailGroup three weakened ordinary enemies in a narrow street or corridor, align their torsos or legs, and fire one Requiem round through the line. All three deaths must result from that single projectile. Reward: 500 CP.
Cat Got Your Tongue? (missable)
Challenge
HintA tongue strike creates a special parry opportunity.
WhereSever a Licker's extended tongue with a hatchet parry.
Full detailKeep a usable hatchet equipped near a Licker, maintain enough distance to bait the tongue lash, and perfect-parry as the tongue reaches Leon. The sever animation must occur; an ordinary body parry does not count. Reward: 500 CP.
Order Up! (missable)
Challenge
HintAn optional heavy enemy patrols the kitchen wing.
WhereDefeat the large kitchen patrol before leaving the Care Center.
Full detailIn the West Wing Kitchen area, use the doorway and furniture to limit the heavy patrol's turns, stagger it with focused shots, and finish it. Loot the dropped key and charm, then verify the record before the area's point of no return. Reward: 500 CP.
Deadly Duet (missable)
Challenge
HintTwo sound-producing infected are optional combat targets in separate Care Center rooms.
WhereDefeat both singer-type infected before leaving the Care Center.
Full detailKill the singer in the Bar/Lounge and the one in the Conference Room during the same campaign completion file. Prioritize each when its song begins and verify the pair counter reaches two before departure. Reward: 500 CP.
Grace and Goliath (missable)
Challenge
HintGrace can defeat one heavy East Wing patrol instead of only avoiding it.
WhereDefeat a Chunk while controlling Grace.
Full detailUse narrow doorways to control the East Wing heavy patrol, retreat between shots, and finish it as Grace. Hemolytic tools or Requiem can shorten the fight. Confirm the record before leaving the building. Reward: 1000 CP.
Internal Dispute (missable)
Challenge
HintAn enraged infected can damage another infected nearby.
WhereCause one zombie to attack another in the hospital wards.
Full detailIn a ward containing at least two zombies, throw a bottle to enrage one while the other stands close to its swing path. Keep repositioning until its attack damages the second zombie; player damage between them does not count. Reward: 500 CP.
Seasoned Pro
Challenge
HintEnemy defeats accumulate across playthroughs.
WhereDefeat 300 enemies in total.
Full detailContinue defeating enemies across campaign and extra-mode attempts until the global Challenges counter reaches 300. If short after other requirements, use dense Casual combat sections rather than resetting collectible progress. Reward: 1500 CP.
Not Today, Buds! (missable)
Challenge
HintA complete city sweep includes every small plant growth.
WhereDestroy all nine Plant 43 seedlings before leaving Raccoon City.
Full detailUse the nine individually listed seedling entries in the Side Street area, destroy each growth, and confirm the challenge counter is complete before the next irreversible transition. Reward: 500 CP.
No Safe is Safe (missable)
Challenge
HintEvery combination safe belongs to one shared completion record.
WhereOpen all five campaign safes.
Full detailOpen the Bar/Lounge, Examination Room, Care Center Basement, ARK Sterilization Chamber, and ARK Monitor Control Room safes. Use each area's level-3 code and verify the global counter reaches 5/5. Reward: 500 CP.
Crate Expectations (missable)
Challenge
HintLarge marked containers in the city share a completion counter.
WhereOpen all four BSAA containers during the Raccoon City sweep.
Full detailCollect the BSAA keys, open every marked shipping container in the city, and verify 4/4 before leaving. The pack lists each container and its required key route separately. Reward: 500 CP.
Case Closed (missable)
Challenge
HintEvery readable document contributes to a persistent file counter.
WhereRead all 75 main-story files.
Full detailOpen every file listed across the location areas and scroll each to register it. Check Challenges for 75/75; file progress persists across playthroughs, but the area backup is faster than waiting for another full route. Reward: 3000 CP.
You Little Rascal! (missable)
Challenge
HintThe full commemorative-figure set unlocks this record and another bonus.
WhereDestroy all 25 Mr. Raccoon memoriams.
Full detailUse the 25 figure entries and both Raccoon Roundup maps to destroy every memoriam. Confirm 25/25; this also makes Advanced Tuning available in Special Content. Reward: 2000 CP.
Speed Demon (missable)
Challenge
HintA dedicated post-clear route has a strict results-screen timer.
WhereChoose Release and finish the campaign in under four hours.
Full detailRun Casual with cutscenes skipped, optional rooms ignored, and bonus weapons enabled. Monitor Pause > Challenges rather than real time, select Release at the late prompt, and reach the results screen below 4:00:00. This also unlocks Infinite Ribbon. Reward: 20000 CP.
Credit Where Credit Is Due
Challenge
HintLeon has a cumulative currency-earning record.
WhereEarn 200,000 Credits across Leon sections.
Full detailEquip the Tactical Tracker or its modded bonus version and defeat enemies while controlling Leon until the global earned-Credits counter reaches 200,000. Spending Credits does not reduce progress. Reward: 3000 CP.
Bloodlust
Challenge
HintThe Blood Collector has a large cumulative gathering counter.
WhereCollect 5,000 infected-blood microsamples.
Full detailUse the Blood Collector on every available source and convert Transfusion Bags until Pause > Challenges reaches 5,000 collected. This is cumulative; do it on a collector-enabled run, never during Minimalist. Reward: 10000 CP.
Model Mania
Challenge
HintPurchased models still need to be opened once.
WhereBuy and view every model in Bonuses.
Full detailSpend CP until all 44 Model entries are unlocked, then open each unseen entry so no new marker remains. The check occurs on viewing, not merely purchasing. Reward: 1000 CP.
Curator
Challenge
HintPurchased gallery art still needs to be opened once.
WhereBuy and view every concept-art entry in Bonuses.
Full detailSpend CP until all 56 Concept Art entries are unlocked, then open each unseen image so no new marker remains. Prioritize gameplay bonuses before this CP sink. Reward: 1000 CP.
Never Touch the Stuff (missable)
Challenge
HintOne manual healing input invalidates this record for the run.
WhereFinish a campaign without using any Herb or Med Injector.
Full detailOn Casual, remap or avoid the quick-heal input, never consume Herbs or Med Injectors, and check that the challenge counter stays at zero. Automatic recovery and forced health resets are allowed. Combine with Speed Demon and Minimalist for an efficient run. Reward: 35000 CP.
Minimalist (missable)
Challenge
HintKeep the Blood Collector use counter at zero for an entire clear.
WhereFinish a campaign without Grace using the Blood Collector.
Full detailOn the Casual triple-challenge run, leave the Blood Collector uncollected or store it immediately and never activate it, analyze with it, gather blood, or craft from it. Check Pause > Challenges for zero uses through the results screen. Reward: 35000 CP.
The Final Puzzle (missable)
Challenge
HintA multi-run secret depends on a precise first-run setup and a carried pair later.
WherePrepare the hidden doll on one run, finish with it, then use it with its paired item at the research-office symbol device on a later run.
Full detailOn the setup run, wait 15 real minutes before stopping the Processing wheel, let the grinder kill every reanimated body, verify the 'ton of blood' message, flush the first-floor toilet eight times, and collect Marie's Doll at the Collection & Testing stairs. Finish while retaining the doll. On a later run, carry Marie's Doll and Emily to the Lead Researcher's Office device. Enter row 1: Sun, Sun, Star; row 2: Sun, Moon, Star; row 3: Sun, Moon, Sun; row 4: Moon, Star, Moon. Reward: 20000 CP.
Post-Run Bonus Menu
You are here when: In the title/menu bonus-content screens after a clear file exists.
Menu-only content. This is not an in-world pickup route.
Bonus Models
Bonus menu set
HintAfter a clear file exists, browse the bonus collections and check every model entry.
WhereOpen the Bonus Menu, purchase the Models with challenge points, and view each unlocked entry.
Full detailPurchase and view all 44 Model entries from the Bonus Menu; these are menu unlocks rather than in-world pickups.
Bonus Concept Art
Bonus menu set
HintAfter a clear file exists, browse the bonus collections and check every concept-art entry.
WhereOpen the Bonus Menu, purchase the Concept Art with challenge points, and view each unlocked entry.
Full detailPurchase and view all 56 Concept Art entries from the Bonus Menu; these are menu unlocks rather than in-world pickups.
Freya's Needle
Bonus weapon
HintAfter a clear file exists, inspect the purchasable bonus equipment.
WherePurchase Freya's Needle from the Bonus Menu with challenge points.
Full detailEarn enough challenge points, purchase Freya's Needle from the Bonus Menu, and confirm that it appears in your unlocked bonus content.
Kotetsu
Bonus weapon
HintAfter a clear file exists, inspect the purchasable bonus equipment.
WherePurchase Kotetsu from the Bonus Menu with challenge points.
Full detailEarn enough challenge points, purchase Kotetsu from the Bonus Menu, and confirm that it appears in your unlocked bonus content.
Matilda IMP
Bonus weapon
HintAfter a clear file exists, inspect the purchasable bonus equipment.
WherePurchase Matilda IMP from the Bonus Menu with challenge points.
Full detailEarn enough challenge points, purchase Matilda IMP from the Bonus Menu, and confirm that it appears in your unlocked bonus content.
Ghost Grudge
Bonus weapon
HintAfter a clear file exists, inspect the purchasable bonus equipment.
WherePurchase Ghost Grudge from the Bonus Menu with challenge points.
Full detailEarn enough challenge points, purchase Ghost Grudge from the Bonus Menu, and confirm that it appears in your unlocked bonus content.
Redemption
Bonus weapon
HintAfter a clear file exists, inspect the purchasable bonus equipment.
WherePurchase Redemption from the Bonus Menu with challenge points.
Full detailEarn enough challenge points, purchase Redemption from the Bonus Menu, and confirm that it appears in your unlocked bonus content.
RPG-7
Bonus weapon
HintAfter a clear file exists, inspect the purchasable bonus equipment.
WherePurchase RPG-7 from the Bonus Menu with challenge points.
Full detailEarn enough challenge points, purchase RPG-7 from the Bonus Menu, and confirm that it appears in your unlocked bonus content.
Matsuoka Master Manual
Bonus upgrade
HintAfter a clear file exists, inspect the purchasable bonus upgrades.
WherePurchase Matsuoka Master Manual from the Bonus Menu with challenge points.
Full detailEarn enough challenge points, purchase Matsuoka Master Manual from the Bonus Menu, and confirm that it appears in your unlocked bonus content.
Tactical Tracker Modded
Bonus upgrade
HintAfter a clear file exists, inspect the purchasable bonus upgrades.
WherePurchase Tactical Tracker Modded from the Bonus Menu with challenge points.
Full detailEarn enough challenge points, purchase Tactical Tracker Modded from the Bonus Menu, and confirm that it appears in your unlocked bonus content.
Advanced Tuning
Bonus upgrade
HintCompleting the full figure set unlocks an additional bonus upgrade.
WhereDestroy every Mr. Raccoon figure, then unlock and purchase Advanced Tuning through the Bonus Menu.
Full detailAfter all Mr. Raccoon figures have been destroyed, open the Bonus Menu and purchase Advanced Tuning for use in a subsequent playthrough.
Rugged Rookie Charm
Bonus charm
HintAfter a clear file exists, inspect the purchasable bonus upgrades.
WherePurchase Rugged Rookie Charm from the Bonus Menu with challenge points.
Full detailEarn enough challenge points, purchase Rugged Rookie Charm from the Bonus Menu, and confirm that it appears in your unlocked bonus content.
Trusted Companion Charm
Bonus charm
HintAfter a clear file exists, inspect the purchasable bonus upgrades.
WherePurchase Trusted Companion Charm from the Bonus Menu with challenge points.
Full detailEarn enough challenge points, purchase Trusted Companion Charm from the Bonus Menu, and confirm that it appears in your unlocked bonus content.
FBI Attire
Bonus costume
HintAfter a clear file exists, inspect the purchasable bonus costumes.
WherePurchase FBI Attire from the Bonus Menu with challenge points.
Full detailEarn enough challenge points, purchase FBI Attire from the Bonus Menu, and confirm that it appears in your unlocked bonus content.
RPD Uniform
Bonus costume
HintAfter a clear file exists, inspect the purchasable bonus costumes.
WherePurchase RPD Uniform from the Bonus Menu with challenge points.
Full detailEarn enough challenge points, purchase RPD Uniform from the Bonus Menu, and confirm that it appears in your unlocked bonus content.
Infinite Ribbon
Bonus modifier
HintA fast clear unlocks unrestricted typewriter saving for later runs.
WhereComplete the Release route in under four hours to unlock Infinite Ribbon.
Full detailFinish the campaign through the Release confirmation with the Speed Demon timer below 4:00:00. Infinite Ribbon then unlocks automatically and can be enabled from Bonus Settings for later Standard (Classic) runs.
Infinite Ammo - Guns
Bonus modifier
HintAfter a clear file exists, inspect the purchasable gameplay modifiers.
WherePurchase Infinite Ammo - Guns from the Bonus Menu with challenge points.
Full detailEarn enough challenge points, purchase Infinite Ammo - Guns from the Bonus Menu, and confirm that it appears in your unlocked bonus content.
Infinite Ammo - RPG-7
Bonus modifier
HintAfter a clear file exists, inspect the purchasable gameplay modifiers.
WherePurchase Infinite Ammo - RPG-7 from the Bonus Menu with challenge points.
Full detailEarn enough challenge points, purchase Infinite Ammo - RPG-7 from the Bonus Menu, and confirm that it appears in your unlocked bonus content.
Infinite Durability - Hatchets
Bonus modifier
HintAfter a clear file exists, inspect the purchasable gameplay modifiers.
WherePurchase Infinite Durability - Hatchets from the Bonus Menu with challenge points.
Full detailEarn enough challenge points, purchase Infinite Durability - Hatchets from the Bonus Menu, and confirm that it appears in your unlocked bonus content.
Clatter Carbine
Bonus unlock
HintA suppressed long gun becomes purchasable after the first clear.
WhereBuy Clatter Carbine for 6,000 CP in Bonuses > Special Content.
Full detailAfter a clear, spend 6,000 CP on Clatter Carbine, then claim it from Leon's next supply box.
Mortal Edge - Bonus Copy
Bonus unlock
HintA permanent parry-focused melee option is sold in the bonus catalog.
WhereBuy Mortal Edge for 3,000 CP in Bonuses > Special Content.
Full detailSpend 3,000 CP on Mortal Edge and claim the bonus copy from Leon's supply box; this purchase is separate from finding the campaign copy.
Raccoon Roundup Map - Raccoon City
Bonus unlock
HintA post-clear map can reveal the remaining city figures.
WhereBuy the Raccoon City Raccoon Roundup Map for 300 CP.
Full detailIn Bonuses > Special Content, spend 300 CP on the Raccoon City map; its figure markers then appear on later city runs.
Post-Clear Jacket Variants
Bonus unlock
HintThe first clear adds alternate jacket toggles for both playable routes.
WhereAfter the first clear, open Bonus Settings and inspect both Jacket options.
Full detailFinish the campaign once; in Bonus Settings, toggle and confirm the Jacket variant for each playable character so both automatic unlocks are recorded.
Tactical Light Weapon Skin
Bonus unlock
HintA first-clear weapon appearance option unlocks automatically.
WhereAfter the first clear, inspect the Tactical Light skin in Bonus Settings.
Full detailFinish once, open Bonus Settings, select the Alligator Snapper appearance options, and confirm Tactical Light is available.
Behind-the-Scenes Video
Bonus unlock
HintA clear adds a development video to the Bonuses menu.
WhereOpen the post-clear behind-the-scenes video from Bonuses.
Full detailFinish once, enter Bonuses, play the behind-the-scenes video, and let it open far enough to clear its unseen marker.
Grace's Report
Bonus unlock
HintA long post-clear archive document appears in Bonuses.
WhereOpen Grace's Report after completing the campaign once.
Full detailAfter the first clear, enter Bonuses, open Grace's Report, and page through the document until its unread marker clears.
Leon Must Die Forever Ranks
You are here when: The Extra Games menu after a campaign clear and the free mode update is installed.
Each successful cycle raises the next run's Forever Rank; there is no campaign S-rank requirement.
Forever Rank 1 Clear
Extra-mode rank
HintA successful extra-mode cycle unlocks a tougher rank and permanent preparation options.
WhereIn Extra Games, complete Leon Must Die Forever on Forever Rank 1.
Full detailStart Rank 1, use red doors to choose a route, gather weapon chests and enhancers, extend time with gold or colored spinners, and defeat the final target before the timer expires. Dying restarts the cycle. The clear unlocks Wolf Mode loadout and Surveyor enhancer.
Forever Rank 2 Clear
Extra-mode rank
HintA successful extra-mode cycle unlocks a tougher rank and permanent preparation options.
WhereIn Extra Games, complete Leon Must Die Forever on Forever Rank 2.
Full detailStart Rank 2, use red doors to choose a route, gather weapon chests and enhancers, extend time with gold or colored spinners, and defeat the final target before the timer expires. Dying restarts the cycle. The clear unlocks Turbo GT loadout and Strategist enhancer.
Forever Rank 3 Clear
Extra-mode rank
HintA successful extra-mode cycle unlocks a tougher rank and permanent preparation options.
WhereIn Extra Games, complete Leon Must Die Forever on Forever Rank 3.
Full detailStart Rank 3, use red doors to choose a route, gather weapon chests and enhancers, extend time with gold or colored spinners, and defeat the final target before the timer expires. Dying restarts the cycle. The clear unlocks Hot Fuzz loadout and Big Game Hunter enhancer.
Forever Rank 4 Clear
Extra-mode rank
HintA successful extra-mode cycle unlocks a tougher rank and permanent preparation options.
WhereIn Extra Games, complete Leon Must Die Forever on Forever Rank 4.
Full detailStart Rank 4, use red doors to choose a route, gather weapon chests and enhancers, extend time with gold or colored spinners, and defeat the final target before the timer expires. Dying restarts the cycle. The clear unlocks access to the Rank 5 attempt.
Forever Rank 5 Clear
Extra-mode rank
HintA successful extra-mode cycle unlocks a tougher rank and permanent preparation options.
WhereIn Extra Games, complete Leon Must Die Forever on Forever Rank 5.
Full detailStart Rank 5, use red doors to choose a route, gather weapon chests and enhancers, extend time with gold or colored spinners, and defeat the final target before the timer expires. Dying restarts the cycle. The clear unlocks Axe-orcist loadout and Maverick enhancer.
Leon Must Die Forever Challenges
You are here when: The LMDF Challenges page inside Extra Games after the post-clear mode is unlocked.
Counters and rank requirements belong only to the separate extra mode.
Ready to Die
Extra-mode challenge
HintA separate-mode record rewards experimenting with routes, ranks, and enhancer builds.
WhereLet three LMDF attempts end in failure.
Full detailStart the mode and fail three runs; timeout or death counts. Verify the failure counter reaches three. Reward: 1000 CP.
Farewell to Arms
Extra-mode challenge
HintA separate-mode record rewards experimenting with routes, ranks, and enhancer builds.
WhereDiscard any carried weapon during an LMDF run.
Full detailOpen the case during a run, select a weapon rather than ammo, and choose Discard. Do this only after another usable weapon is secured. Reward: 1000 CP.
Just Say... Yes?
Extra-mode challenge
HintA separate-mode record rewards experimenting with routes, ranks, and enhancer builds.
WhereRefine 50 enhancers across LMDF attempts.
Full detailFill the Cloud 9 gauge through kills, choose enhancer refinements whenever available, and continue across runs until the cumulative counter reaches 50. Reward: 3000 CP.
The Exterminator
Extra-mode challenge
HintA separate-mode record rewards experimenting with routes, ranks, and enhancer builds.
WhereDefeat 30 time-extending gold or colored spinners.
Full detailShoot every Midas and Aurora Spinner encountered; their time bonuses help the run and the cumulative challenge accepts either type until 30 total. Reward: 3000 CP.
Going Door-to-Door
Extra-mode challenge
HintA separate-mode record rewards experimenting with routes, ranks, and enhancer builds.
WhereUse every distinct glowing red door across the mode's maps.
Full detailTake alternate routes on repeated attempts and enter each unique red door at least once. Check the challenge after every new route until all doors register. Reward: 5000 CP.
Same City, Different Tyrant
Extra-mode challenge
HintA separate-mode record rewards experimenting with routes, ranks, and enhancer builds.
WhereDefeat the city tyrant target on Rank 2 or higher.
Full detailOn Forever Rank 2+, route through the city encounter and defeat its tyrant before continuing. A lower-rank kill does not count. Reward: 10000 CP.
Leon's ARK
Extra-mode challenge
HintA separate-mode record rewards experimenting with routes, ranks, and enhancer builds.
WhereDefeat the repository commander target on Rank 2 or higher.
Full detailOn Forever Rank 2+, choose the ARK route, prepare a high-rank weapon, and defeat the commander encounter before leaving that stage. Reward: 9000 CP.
Victor Must Die Now
Extra-mode challenge
HintA separate-mode record rewards experimenting with routes, ranks, and enhancer builds.
WhereComplete the mode's final target on Rank 3 or higher.
Full detailOn Forever Rank 3+, preserve enough time and ammunition for the final door, then defeat the closing target and reach the clear screen. Reward: 35000 CP.
Leon's Limbo
Extra-mode challenge
HintA separate-mode record rewards experimenting with routes, ranks, and enhancer builds.
WhereMeet both a survival-time and defeat counter before the final target on Rank 3+.
Full detailOn Rank 3 or higher, remain in the run for at least 40 minutes and defeat at least 110 enemies before entering the final encounter; verify both live counters first. Reward: 15000 CP.
Leon's Purgatory
Extra-mode challenge
HintA separate-mode record rewards experimenting with routes, ranks, and enhancer builds.
WhereFinish Rank 3+ without increasing enhancer-slot capacity.
Full detailOn Rank 3 or higher, never collect or use a Slot Expansion. Complete the entire run with the starting slot count and defeat the final target. Reward: 15000 CP.
Leon's Inferno
Extra-mode challenge
HintA separate-mode record rewards experimenting with routes, ranks, and enhancer builds.
WhereDeal one extremely high non-rocket hit to the city tyrant on Rank 3+.
Full detailOn Rank 3 or higher, stack single-hit damage enhancers and a high-rank firearm, then deal at least 5,000 damage to the tyrant with one hit. RPG-7 damage is excluded. Reward: 15000 CP.
LMDF Special Content Completion
Extra-mode unlocks
HintChallenge Points can permanently improve future extra-mode attempts.
WhereOpen Bonuses > Special Content > LMDF and purchase every listed entry.
Full detailSpend the mode's CP on every LMDF entry: starting recovery, case capacity, spinner options, ability upgrades, Hellblaze, and the once-per-run RPG-7. In the loadout menu, verify No-Frills plus the rank rewards: Wolf Mode (1), Turbo GT (2), Hot Fuzz (3), and Axe-orcist (5).
Post-Run Continuation Secret
You are here when: On a continued or later run, back inside the medical building with the research office puzzle available again.
One optional secret cannot be fully completed in a single fresh run, so its first-run setup is included earlier in the guide.
The Final Puzzle Completion (missable)
Continuation-only secret
HintA continuation-only secret uses the setup items prepared earlier; revisit a familiar research puzzle.
WhereOn a continued or later run, bring the prepared doll and required carried state to the research-office sun puzzle after re-analyzing the hand-shaped item.
Full detailOn a continued or later run, bring the prepared doll and required carried state to the research-office sun puzzle after re-analyzing the hand-shaped item. Enter row 1: Sun, Sun, Star; row 2: Sun, Moon, Star; row 3: Sun, Moon, Sun; row 4: Moon, Star, Moon. This continuation cannot be completed on the first fresh run.
Open the spoiler-free interactive guide
Part of the 100% guide collection at
samimirash.com/guides.